

BALL x PIT Base Setup Guide | Best Base Layout
Getting your base right in BALL x PIT decides how fast you’ll grow, earn gold, and upgrade before your next dive. It might look simple, but layout and structure order make a huge difference in how fast you collect materials and build momentum.
How the Base Actually Works
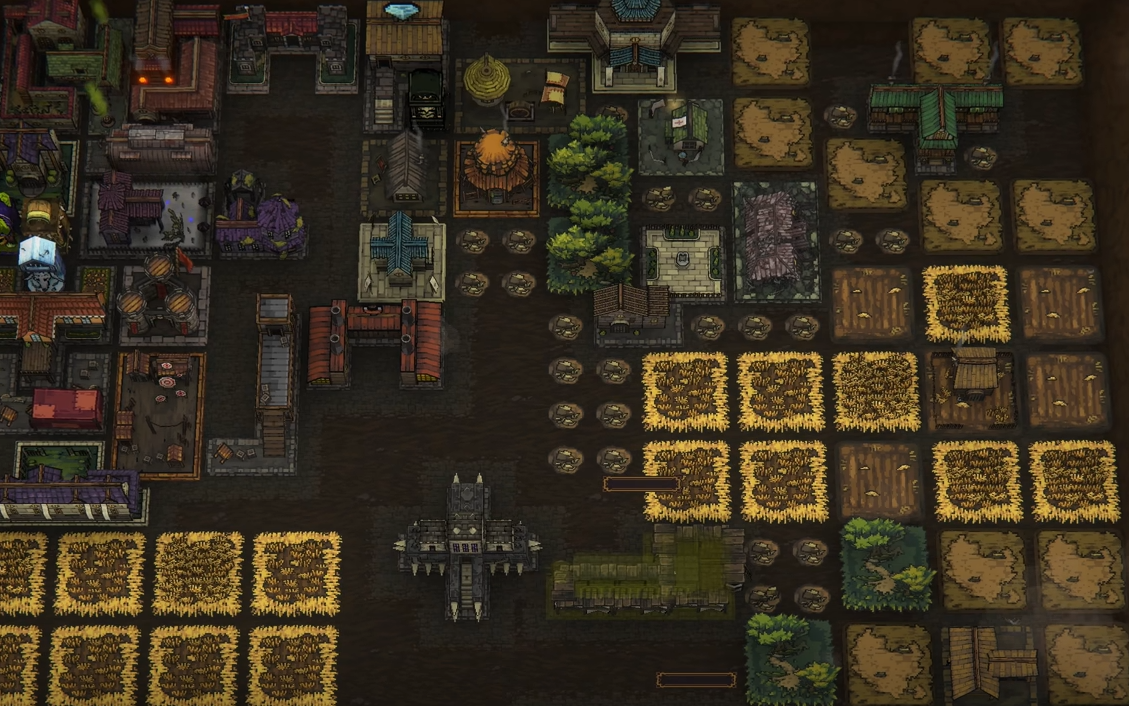
Your base isn’t just decoration. Every building you hit with your ball gives materials or boosts future pit runs. Farming wheat and wood comes first, then gold mines start feeding your upgrades. When you fire, the goal is to make the ball bounce as many times as possible before it rolls out of range.
Keep your first few structures close together. That compact setup helps the ball hit more walls per launch and fills your storage faster. Once you have new buildings unlocked, rebuild sections of your base around them so no bounce goes to waste.
Building the Right Layout
The best base layouts use narrow paths where the ball can rebound multiple times per shot. Try shaping your setup into a tight U or corner so your shots keep bouncing between buildings. Replace natural walls with structures once possible so every hit earns progress.
Upgrade markers turn blue when a building is ready to level up. Red means you’re short on materials. Prioritize key production spots like mines and wood mills before smaller structures so your resource flow keeps scaling.
Making Gold Fast
Gold is what keeps your upgrades running. The easiest way to farm it is by stacking gold mines close together in a compact loop. The ideal early setup uses seven mines, with three on each side and one across the top. It keeps your ball moving in a short loop so you don’t waste any rebounds.
Assign a character to each mine to keep it active. Each mine empties after one harvest, but you can pay to restart them right away. The cost goes up every time, so stop once the return isn’t worth it. Swapping between harvest routes saves more gold long term than endlessly paying to reset one loop.
Upgrade Order That Works
Upgrading keeps the base efficient. Focus on anything that feeds your pit performance first.
Gold mines for faster gold generation
Resource producers like farms and mills for steady material gain
Buff or character structures for passive boosts
When you fire the ball at your base, aim to hit upgradeable buildings in a single shot chain. Shorter, tighter paths earn the most with the least effort.
Connecting Base Growth to Pit Progress
Everything you do at the base strengthens your runs. Some buildings unlock new heroes, while others boost strength or recovery inside the pit. Even unused characters benefit from shared upgrades, so building regularly pays off across every layer.
After every few runs, return to harvest, spend your gold, and rearrange buildings for better rebound angles. Keeping the base active between pit dives speeds up long-term progress more than grinding layers without upgrades.
Final Blurb
The base in BALL x PIT is the quiet part of the grind that makes every run easier. Build close, aim tight, and upgrade in short loops. Seven gold mines in a compact U will handle your income, and keeping your resource buildings close turns every shot into progress.
Once it’s all working together, you’ll enter the pit richer, stronger, and ready to evolve faster each time.
FAQ
What layout gives the best rebound rate
A U or corner layout with buildings placed close together works best for multi-hit harvests.
How many gold mines should I use
Seven mines give the best balance between payout speed and rebound control.
How do I tell when buildings are ready to upgrade
They glow blue when upgradeable and red when you lack materials.
Do base upgrades affect pit gameplay
Yes, some buildings boost your hero stats, XP gain, or recovery during pit runs.
© 2025 GamerBlurb. Linking is welcome with credit to GamerBlurb.com. Copying or reproduction without permission is not allowed.
More BALL x PIT Articles


