Dive or Die Children of Rain Guide: Best Upgrades, Buildings, and Survival Tips
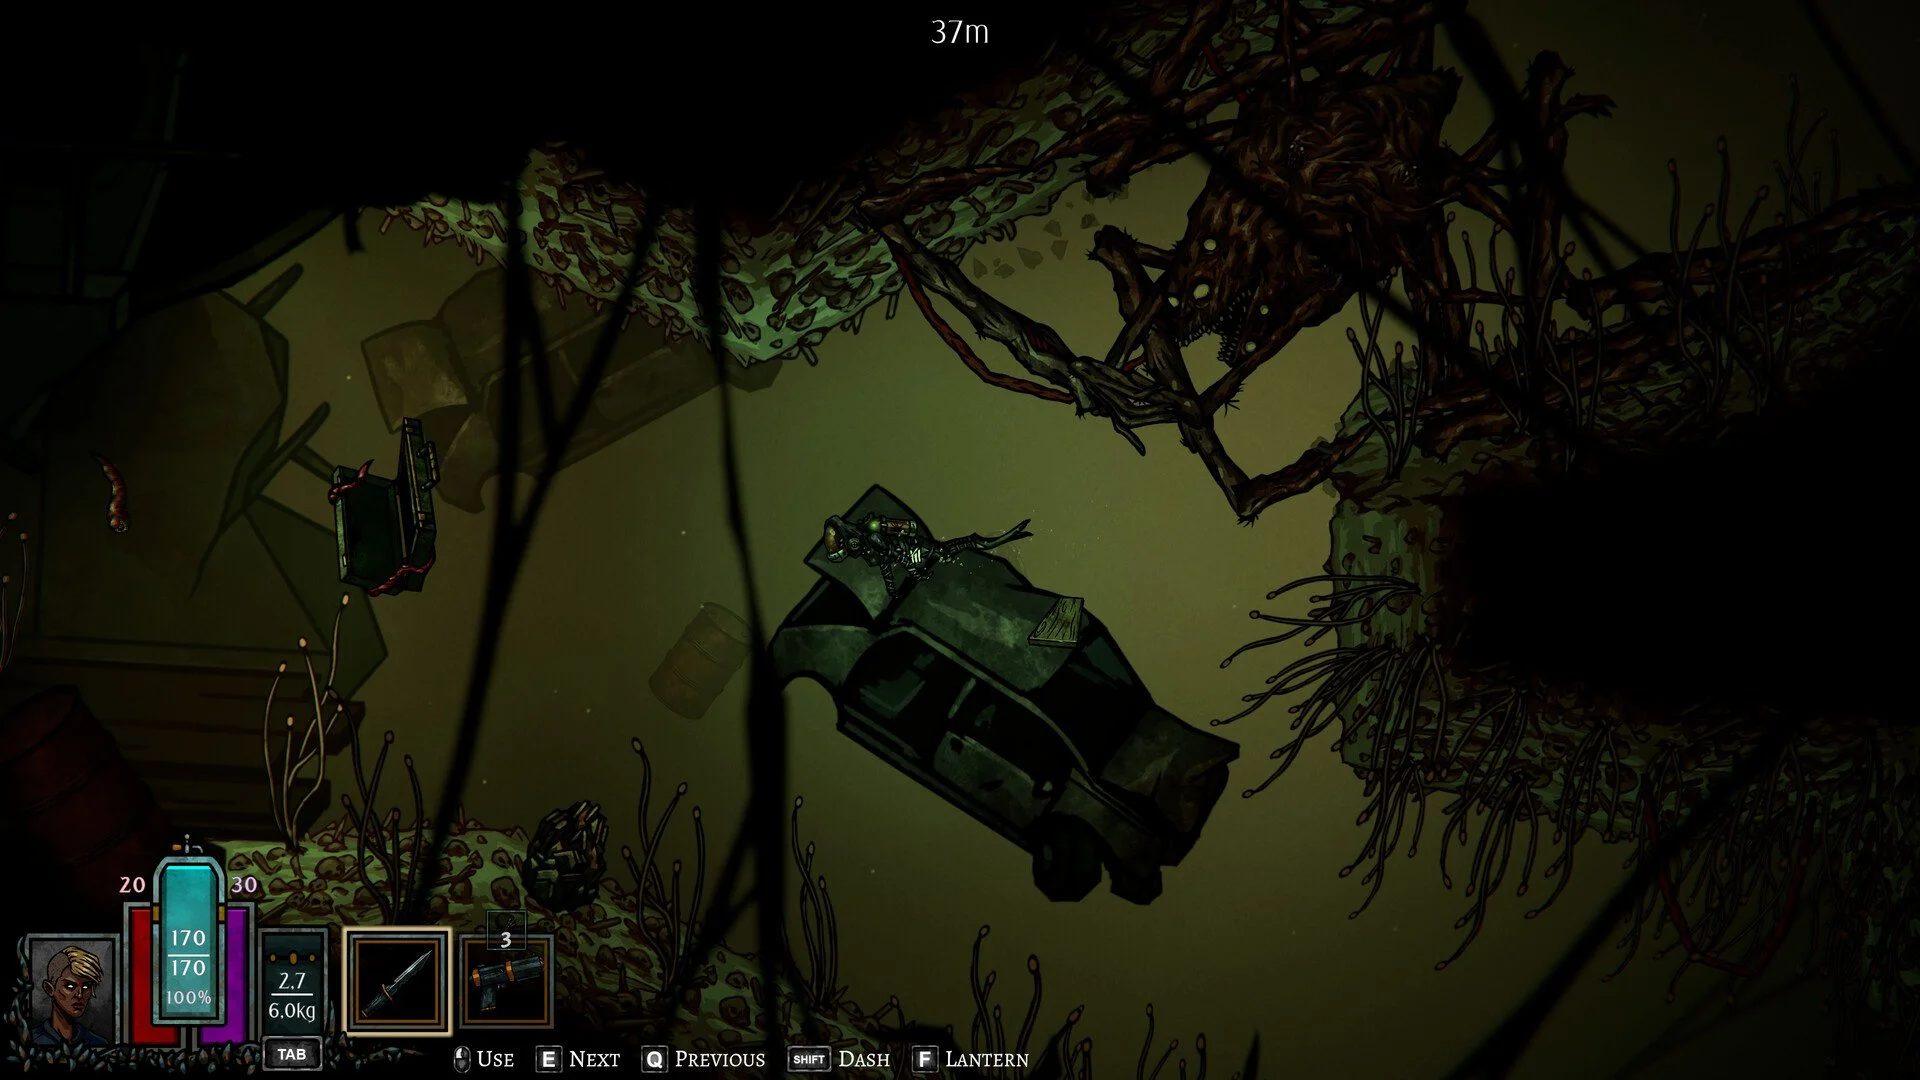
DIVE or DIE: Children of Rain divides your attention between two equally dangerous problems. Below the surface, oxygen, hostile creatures, and poor preparation can end a dive within minutes. Back at camp, hunger, collapsing morale, untreated conditions, and inefficient upgrades can quietly destroy the survivors you managed to bring home.
The campaign gives you 40 days to explore the Abyssal Pool, recover the idols connected to the Rainmaker, and prevent the final Flood. That sounds like enough time to experiment freely, but every dive or passed day advances the countdown. The strongest runs are not built by upgrading everything immediately. They come from creating a settlement that steadily makes each future descent safer, faster, and more productive.
How DIVE or DIE Children of Rain Works
Each day revolves around preparing a survivor, selecting equipment, and descending into one of the available diving locations. The resources recovered underwater can be used to craft equipment, improve buildings, feed the settlement, maintain morale, and work toward the larger objective.
Your survivor’s health and sanity must be managed alongside oxygen and inventory capacity. Returning alive is not always the same as returning in good condition. A diver can survive an expedition while accumulating injuries or negative conditions that make them less reliable on the following day.
Death is permanent, which makes experienced survivors one of your most valuable resources. Losing a trained diver also means losing the time invested in their levels, traits, and equipment proficiency. There are situations where sacrifice becomes strategically useful, but careless deaths should never be treated as an ordinary operating cost.
The settlement contains nine buildings: the Diving Deck, Workshop, Lighthouse, Town Hall, Fishing Hut, Library, Infirmary, Memorial, and Altar. Most structures become substantially more effective when assigned a survivor with the appropriate perk, so camp management is about matching people to jobs rather than simply recruiting as many bodies as possible.
What to Prioritize During the First Few Days
Your first objective should be establishing a stable daily cycle. You need enough Nutrition and Morale to support the camp, a functioning Workshop for essential equipment, and at least one healthy survivor capable of handling repeated dives.
Do not immediately accept every recruit who appears at the Lighthouse. Each new survivor increases your options, but also adds another person who must be fed and kept sane. A smaller settlement with productive workers is easier to sustain than a crowded camp full of survivors who have no useful assignment.
Early dives should emphasize basic construction materials and immediate survival resources. Iron Ore, Copper Ore, Carbon, Aluminium, Algae Tissue, Rain Rot, Web Coral, and Planks are repeatedly used across the first building tiers. Returning with a balanced inventory is often better than dedicating an entire day to a rare upgrade while the camp runs short on food.
Before every dive, check the Camp Report and identify what will become a problem first. If Nutrition is approaching a dangerous level, another equipment upgrade can probably wait. If the settlement is stable, the next dive can focus on materials, blueprints, or deeper exploration.
Best Buildings to Upgrade First
The Workshop, Diving Deck, Fishing Hut, and Lighthouse provide the strongest early return on investment, although the exact order should respond to what your settlement is currently missing.
The Workshop should usually receive one of your first major upgrades because new crafting tiers directly improve what can be taken underwater. Tier 2 unlocks Advanced items, Tier 3 opens Electronic crafting, and Tier 4 provides access to Eldritch equipment. Better tools create a compounding advantage: stronger equipment produces safer dives, and safer dives bring back more resources for the next upgrade.
The Diving Deck becomes increasingly important as new destinations and shortcuts become available. Tier 2 allows access to different diving locations. Tier 3 introduces a Young Warper that can transport the diver farther into the depths, while Tier 4 upgrades it into an Adult Warper capable of reaching even deeper areas. These shortcuts reduce the oxygen and time spent crossing familiar territory.
The Fishing Hut is less dramatic, but it provides something equally important: passive stability. It can generate Nutrition or Morale without risking a diver, and additional nets increase its output. This does not replace collecting supplies underwater, but it creates breathing room on days when a dive produces mostly crafting materials.
The Lighthouse becomes valuable once Expeditions are available. Sending survivors away can produce additional materials or recruits while your primary diver handles a different objective. Expeditions carry their own risks, so they become much stronger when the Lighthouse is staffed by someone with Navigation.
Use the Workshop to Improve the Entire Run
The Workshop is where recovered blueprints and materials become useful equipment. It handles both new item production and upgrades for core diving gear, including the oxygen tank, backpack, fins, and Needlegun.
Inventory capacity and oxygen efficiency are usually more valuable than a marginal combat improvement during the opening days. A larger backpack allows you to return with more resources, while better oxygen support gives you more time to search safely. Both upgrades improve nearly every future dive rather than solving one specific encounter.
Assign a survivor with Mechanics whenever possible. Mechanics can preserve random materials during crafting, reducing the effective cost of repeated equipment production. At its highest level, the perk also unlocks additional recipes.
Do not craft every newly available item merely because you found its blueprint. Materials committed to situational equipment cannot be used for permanent building upgrades. Craft around the next location, known hazards, and the limitations of the survivor actually making the dive.
Prepare Every Dive at the Diving Deck
The Diving Deck controls the survivor’s loadout and serves as the departure point for each descent. Treat this screen as the final risk assessment before committing to the day.
Check the selected survivor’s health, sanity, traits, carrying capacity, and available consumables. A technically healthy survivor may still be a poor choice for a specific location if their negative traits interact badly with darkness, combat, or other environmental pressures.
A survivor with Quartermaster can provide an additional consumable slot for each level of the perk while manning the Diving Deck. Once fully developed, the perk can also make Tools and Consumables weightless. That creates significantly more room for recovered materials without forcing the active diver to abandon utility items.
Upgrading the deck is particularly useful when repeated travel through early areas begins consuming too much oxygen. The Warper unlocked at higher tiers turns progression into a logistical advantage by letting experienced divers skip part of the descent they have already mastered.
Keep Nutrition and Morale Stable With the Fishing Hut
The Fishing Hut can be configured to prioritize fish or treasures, allowing it to support whichever resource is currently placing the most pressure on the camp. Its output must be collected before the next dive, so make checking the building part of the daily routine.
Nutrition should generally take priority when the settlement is unstable. Treasure becomes more attractive once food production is reliable and the camp can afford to trade immediate survival for additional materials or valuables.
Assign a survivor with Fishing to improve the quality of the catch. At maximum level, the perk also increases the daily yield. Blessed Netter is another useful staffing perk because it adds a random resource to the normal production.
Additional nets eventually break and must be rebuilt. Check their condition rather than assuming an upgraded Fishing Hut will continue producing at maximum capacity forever.
Recruit Carefully and Use Lighthouse Expeditions
At least one potential recruit can appear at the Lighthouse each day. New survivors can replace losses, staff buildings, dive, or join Expeditions, but recruitment should be based on what the camp can support.
Look beyond a recruit’s headline statistics. A survivor with the correct building perk may contribute more to the run from shore than someone with slightly better diving attributes. Negative traits also matter because a recruit who creates repeated treatment costs can become a burden during an already unstable campaign.
Blessed Host is particularly useful at the Lighthouse because it can prevent new recruits from arriving with negative traits. Navigation, meanwhile, raises the success rate of Expeditions. At its maximum level, Navigation can allow survivors to return alive with low health and a negative condition even after a failed mission.
Do not send away your only competent diver or essential building specialist simply because an Expedition is available. Passive resource generation is useful only when it does not cripple the rest of the settlement.
Expand the Town Hall Only When Population Is the Problem
The Town Hall is used to level survivors, inspect traits and conditions, and monitor the camp’s upkeep. Its upgrades increase the settlement’s population limit from the initial capacity of eight survivors to a maximum of 20.
Population upgrades are not automatically urgent. Eight survivors can cover the opening phase comfortably when they are assigned efficiently. Raising the cap does not provide free workers; it only gives you permission to recruit more people who must then consume resources.
Upgrade the Town Hall when useful recruits are being turned away, when several buildings lack workers, or when you need dedicated divers and Expedition teams in addition to camp staff.
A survivor with Bookkeeping increases the settlement’s maximum Nutrition and Morale while assigned to the Town Hall. At higher levels, newly recruited survivors can also begin with the Grateful condition for their first five days.
Do Not Let Injuries Accumulate
The Infirmary restores Health and Sanity and removes negative conditions. Ignoring treatment can turn a capable survivor into someone who is unreliable underwater or unavailable when the campaign reaches a critical point.
Additional Infirmary tiers provide more beds, allowing multiple survivors to receive treatment at once. This becomes increasingly important after difficult dives or unsuccessful Expeditions begin returning several injured people on the same day.
Medicine is the key staffing perk. Improving it unlocks additional treatment options, eventually including Heal Body and Mind, Cure All Conditions, Enhance Abilities, and Experiment.
Rotate divers rather than repeatedly sending the same damaged survivor into the Abyssal Pool. A second competent diver costs more to train, but provides insurance against an injury that would otherwise halt progress.
Use the Library to Develop the Whole Settlement
The Library stores discovered maps, journals, monster entries, and information about collected resources. It is easy to view this as a reference screen rather than an active part of progression, but its staffing benefits can affect the entire population.
A survivor with Erudition grants experience to everyone in the settlement whenever you dive or pass the day. At maximum level, survivors also lose curable negative conditions when they level up.
Library upgrades allow newly recruited survivors to begin at higher levels. This becomes more valuable later in the campaign, when replacing a veteran with a completely undeveloped recruit would otherwise create a significant loss of capability.
The Library is not usually the first structure that needs to reach its highest tier, but its experience generation becomes increasingly powerful over a long campaign. Assigning the right survivor early allows that benefit to accumulate over many days.
Use the Altar to Control the Flood Countdown
The Altar accepts offerings for the Rainmaker. Filling the Worship meter can extend the Flood Countdown by one day, turning excess resources into additional time to search for the remaining objectives.
This is not a reason to sacrifice essential supplies casually. An extra day has limited value if the offering leaves the settlement without enough Nutrition, Morale, or crafting resources to use that time productively.
The Altar also houses discovered Eldritch Idols. Assigning a survivor with Dark Arts improves the benefits provided by the equipped Idol, while the third level of the perk unlocks the Devotion offering.
Unlike most settlement buildings, the Altar reaches its maximum at Tier 3. Its importance depends heavily on the state of the campaign. Early investments are difficult to justify when basic survival systems remain incomplete, but the ability to purchase another day can become decisive near the deadline.
Turn Losses Into Something Useful at the Memorial
The Memorial records deceased survivors and allows resources to be burned as Tributes for temporary benefits. It is most useful when you have a specific reason to activate a bonus rather than simply disposing of materials that seem unnecessary.
Ritual Practice adds Nutrition and Morale when Tributes are burned. At its maximum level, the perk can also provide resources based on the survivors who have died.
The Memorial becomes more relevant in campaigns that have already suffered losses, but it should not be mistaken for a reason to accept preventable deaths. Recovering some value from a dead survivor is still worse than preserving an experienced member of the settlement.
Match Survivors to Buildings Instead of Chasing Perfect Stats
Building assignments provide experience, which means even a survivor who is not currently diving can continue developing. Leaving people idle wastes both their labor and a limited day of potential growth.
Quartermaster belongs at the Diving Deck, Mechanics at the Workshop, Navigation or Blessed Host at the Lighthouse, Bookkeeping at the Town Hall, Fishing or Blessed Netter at the Fishing Hut, Erudition at the Library, Medicine at the Infirmary, Ritual Practice at the Memorial, and Dark Arts at the Altar.
You will not always have a perfect specialist for every structure. Prioritize buildings whose effects are being used that day. A Lighthouse specialist provides little immediate value when no Expedition is planned, while a Workshop specialist can save materials during a large crafting session.
Reassign workers as your plans change. Camp roles are part of daily preparation, not permanent careers that can never be adjusted.
Which Resources Should You Avoid Wasting?
Planks appear throughout the settlement’s upgrade paths and should rarely be discarded or spent on unnecessary crafting. Iron Ore, Aluminium, Carbon, Copper Ore, Rain Rot, Web Coral, and Algae Tissue are also repeatedly required during early and middle progression.
Rare eggs often function as progression gates for particular structures. Finding one does not mean you can immediately finish the corresponding upgrade, but selling or sacrificing it without checking its purpose can delay that building substantially.
Crystallized Rain, Living Wood, Blood Crystal, Rainium, Rain Scale, and blessed materials appear throughout the highest tiers. These should be treated as late-game infrastructure resources until you know that the settlement no longer needs them.
The safest habit is to inspect every currently available upgrade before spending an unfamiliar material. A single item can be worth far more as the final component of a permanent structure than as part of a temporary tribute or optional recipe.
Mistakes That Can Ruin an Otherwise Strong Campaign
Recruiting faster than the camp can produce Nutrition is one of the easiest ways to create an avoidable crisis. More survivors only become an advantage when they are working, diving, or preparing for an Expedition.
Another common mistake is investing entirely in the active diver while leaving the settlement undeveloped. Powerful equipment can win difficult encounters, but it cannot compensate indefinitely for poor food production, overcrowding, or untreated survivors.
Passing days without a clear purpose is equally dangerous in the standard campaign. Treatment, fishing, recruitment, and Expeditions may justify advancing the clock, but every day should improve the settlement or move the expedition closer to its final objective.
Finally, do not attempt to maximize every building in one run before pursuing the idols. The settlement exists to support progress through the Abyssal Pool. Once a building provides what your strategy requires, resources may be better spent on equipment or the next area rather than chasing Tier 4 for completion alone.
Build a Camp That Gives Every Dive a Purpose
The best settlement is not necessarily the one with the most Tier 4 buildings. It is the one that removes pressure from the next dive. The Fishing Hut should reduce the need to hunt desperately for food, the Workshop should turn recovered materials into meaningful equipment, the Infirmary should keep experienced survivors available, and the Diving Deck should shorten the journey back into explored territory.
When those systems support one another, each descent can focus on a deliberate objective instead of repairing yesterday’s mistakes. Decide what the camp needs, equip the right survivor, recover the materials that solve that problem, and return before greed turns a productive dive into a permanent loss.
The Flood Countdown is ultimately a measure of efficiency. Every upgrade, recruit, offering, and expedition should either help you reach the idols or make the people searching for them more likely to survive. Build around that principle, and the settlement becomes more than another resource-management screen. It becomes the reason your divers have a chance of coming back.