

How to Get the Deadpool Nameplate/Banner in Marvel Rivals
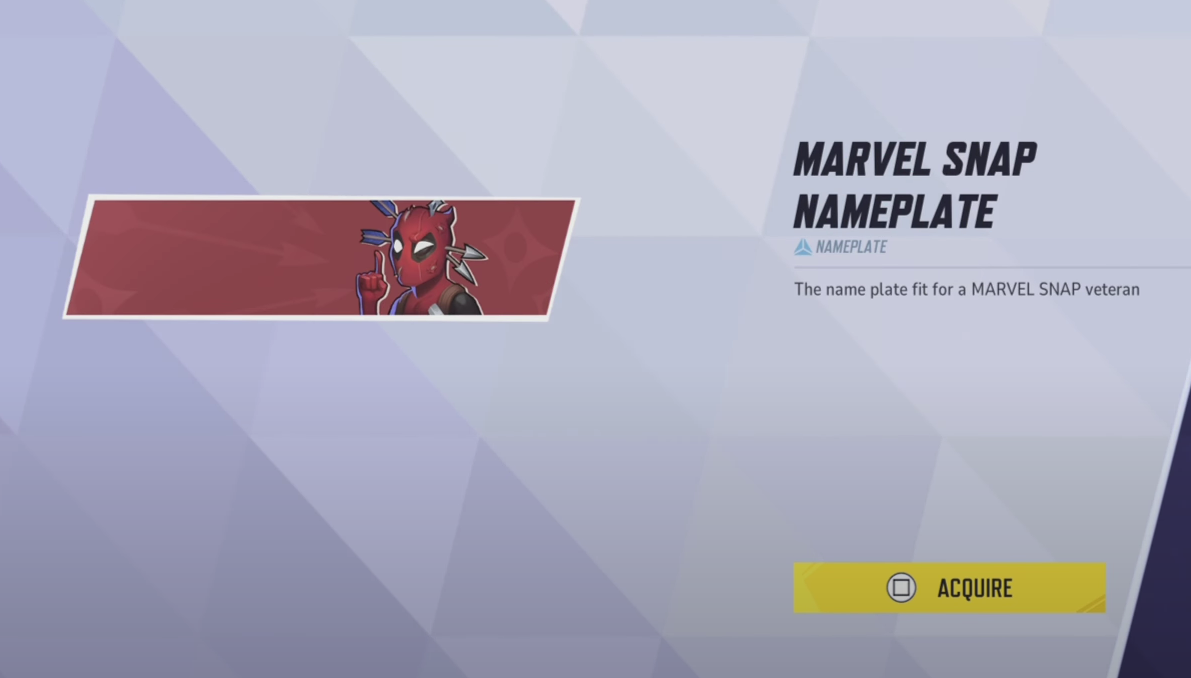
Image Credit: Marvel Rivals
Want to snag the cool Deadpool name plate/banner in Marvel Rivals? Awesome, then follow these simple steps:
Go to the Marvel Games Collab Section
Look at the top-left corner of your screen.
Click on “Marvel Games Collab” to open the collab menu.
Select “Collab Name Plates”
On the screen that pops up, you’ll see two sections: Collab Sprays and Collab Name Plates.
Click on “Collab Name Plates” to view the available options.
Find the Deadpool Name Plate
Scroll through the name plates until you see the Deadpool name plate.
There are other options too, like ones for Future Fight and Puzzle Quest, but most people will, obviously, want the Deadpool one.
Buy the Name Plate for 300 Tokens
The Deadpool name plate costs 300 tokens, but don’t worry—it’s easy to earn those tokens for free in the battle pass.
Equip and Enjoy!
Once you purchase it, equip the Deadpool name plate and show it off like a real G.
That’s it. Now you’ve got the Deadpool name plate!
Recommended


