

Borderlands 4 How to Get Clearance for Elevator
This guide explains how to get elevator clearance and continue the quest. One of the first missions in Borderlands 4 has players stuck at a blocked elevator during Recruitment Drive. Claptrap waits below, but the elevator requires clearance before it moves.
How to Get Clearance for the Elevator
During Recruitment Drive, you will reach an elevator that refuses to activate. The solution is to take clearance from a fallen Timekeeper nearby.
Turn around from the elevator controls and check the bodies near the railing. Interact with the corpse leaning against a crate to collect his Bolt. This item grants you the clearance needed to activate the lift.
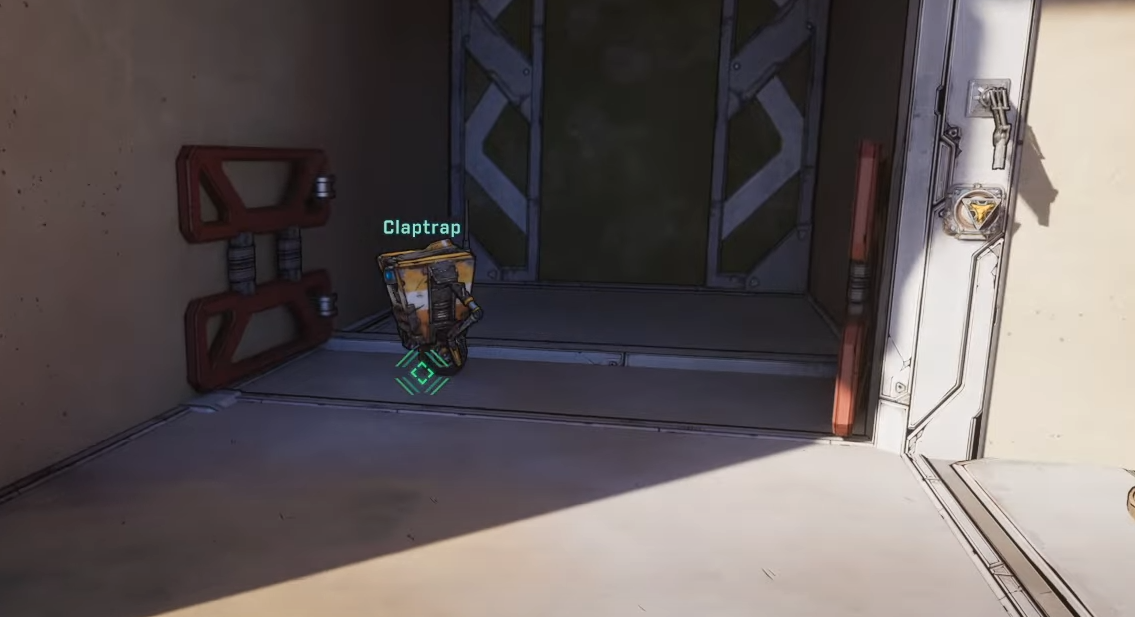
Once picked up, return to the panel and use the elevator. Claptrap will rise to your level, letting you finish the mission.
What Happens After Getting Clearance
When the elevator works, you establish your first safehouse. Inside you will find vending machines, a fast travel point, and a few side quests. This hub becomes your base for the early game on Kairos.
Safehouses are scattered across every planet in Borderlands 4. They act as checkpoints, shops, and quest hubs, so be sure to unlock each one as you progress.
Final Blurb
To get elevator clearance in Borderlands 4, interact with the dead Timekeeper near the crate to grab his Bolt. This unlocks the controls and allows you to continue Recruitment Drive. Once cleared, you gain access to your first safehouse, setting up a base for your adventure.
FAQ
Where is the Timekeeper with clearance located?
He is sitting against a crate by the railing near the elevator.
What item gives elevator clearance?
The Bolt taken from the corpse provides access.
Can you miss the prompt to interact?
Yes. The font is small and only appears when close, so stand right in front of the body.
What do you unlock after the elevator?
You gain your first safehouse, complete with vending machines, fast travel, and side quests.
More Borderlands 4


