MegaBonk Final Boss Guide | How to Beat the Final Boss
The final boss in MegaBonk is the biggest wall in the game right now. Reaching stage 3 feels like a victory in itself, but then you hit a fight that flips everything upside down. Instead of letting you enjoy the build you crafted, the boss strips away most of your weapons and forces you into a one-dimensional slugfest.
How the Final Boss Works
When the fight begins, the boss deletes all of your weapons except your starting one. This instantly kills off many late-game builds and narrows your options. If you were stacking secondary weapons or relying on lifesteal, you’ll notice right away that they are useless in this fight.
The boss also has an absurd health pool, reported around 8 million HP or more. On top of that, there are invulnerability phases where you must disable beacons around the arena. If you take too long, the boss heals all the way back to full. Combine that with his AoE floor spikes, homing orbs, and knockback effects, and the fight can quickly spiral into chaos.
To make things worse, every time you get hit you risk being juggled around the arena. Even with massive armor or health stacking, the red circles and homing attacks will chunk your bar. Dodging is mandatory, and low movement speed characters are nearly unplayable here.
Best Strategies for Beating the Final Boss
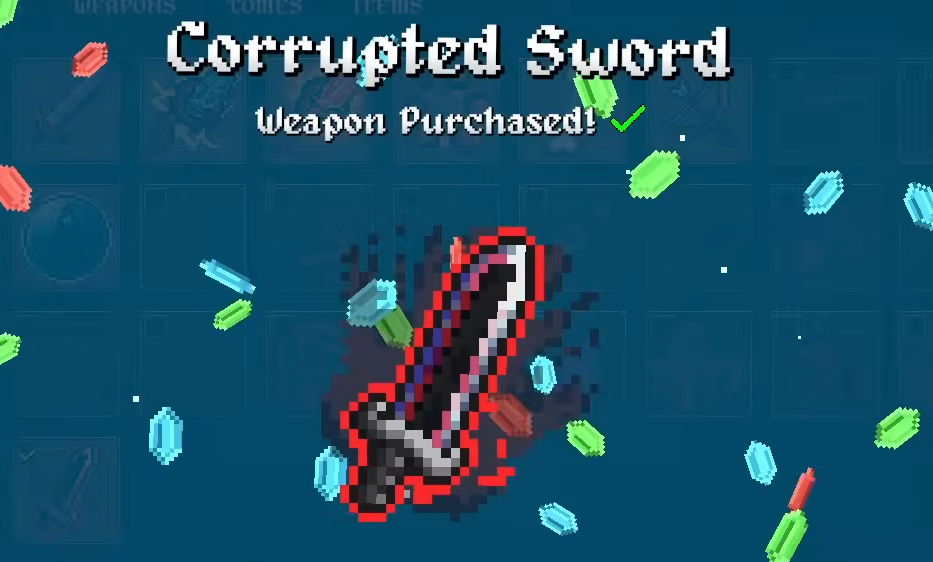
Your best bet is to fully invest in your primary weapon throughout the run. Do not spread upgrades across multiple weapons. Weapons like Bone, Revolver, or Axe can carry you if they are leveled and supported with tomes.
Attack speed tomes are vital since they allow faster damage output and help with boss pressure during beacon phases. Damage tomes, projectile count, and shield regeneration are also strong. Avoid wasted tomes like silver gain or projectile speed; they add nothing in this fight.
Survivability comes down to movement and shields. Health and lifesteal alone will not save you, since most lifesteal setups rely on multiple weapons. Instead, stack shield tomes or pick characters with strong defensive tools. Movement speed items and upgrades also make it much easier to reach beacons before the boss heals.
The fight is long, frustrating, and often feels overtuned. Right now, the only consistent path is to build for your primary weapon as if you knew this fight was coming all along.
Final Blurb
The MegaBonk final boss is divisive, but it is beatable with the right setup. Focus entirely on your primary weapon, invest in attack speed and damage tomes, and stack survivability through shields and movement. Until the fight gets balanced, this is less about creativity and much more about brute-forcing the exact build that works.
FAQ
How many weapons does the final boss take away?
The boss disables all of your weapons except for your primary starting weapon.
Can you get your weapons back during the fight?
No, once they are removed, they are gone for the rest of the battle.
Does the boss heal?
Yes, the boss fully heals if you do not disable the beacons fast enough during invulnerability phases.
What are the most dangerous attacks?
The red circle explosions, homing orbs, and floor spikes deal huge chunks of damage and can juggle you around the arena.
What is the best way to prepare for the final boss?
Commit to your primary weapon from the start, prioritize attack speed and damage tomes, and bring shield and movement upgrades to survive the beacon mechanics.
More MegaBonk