Mortal Shell 2: How to Get Axe and Dagger
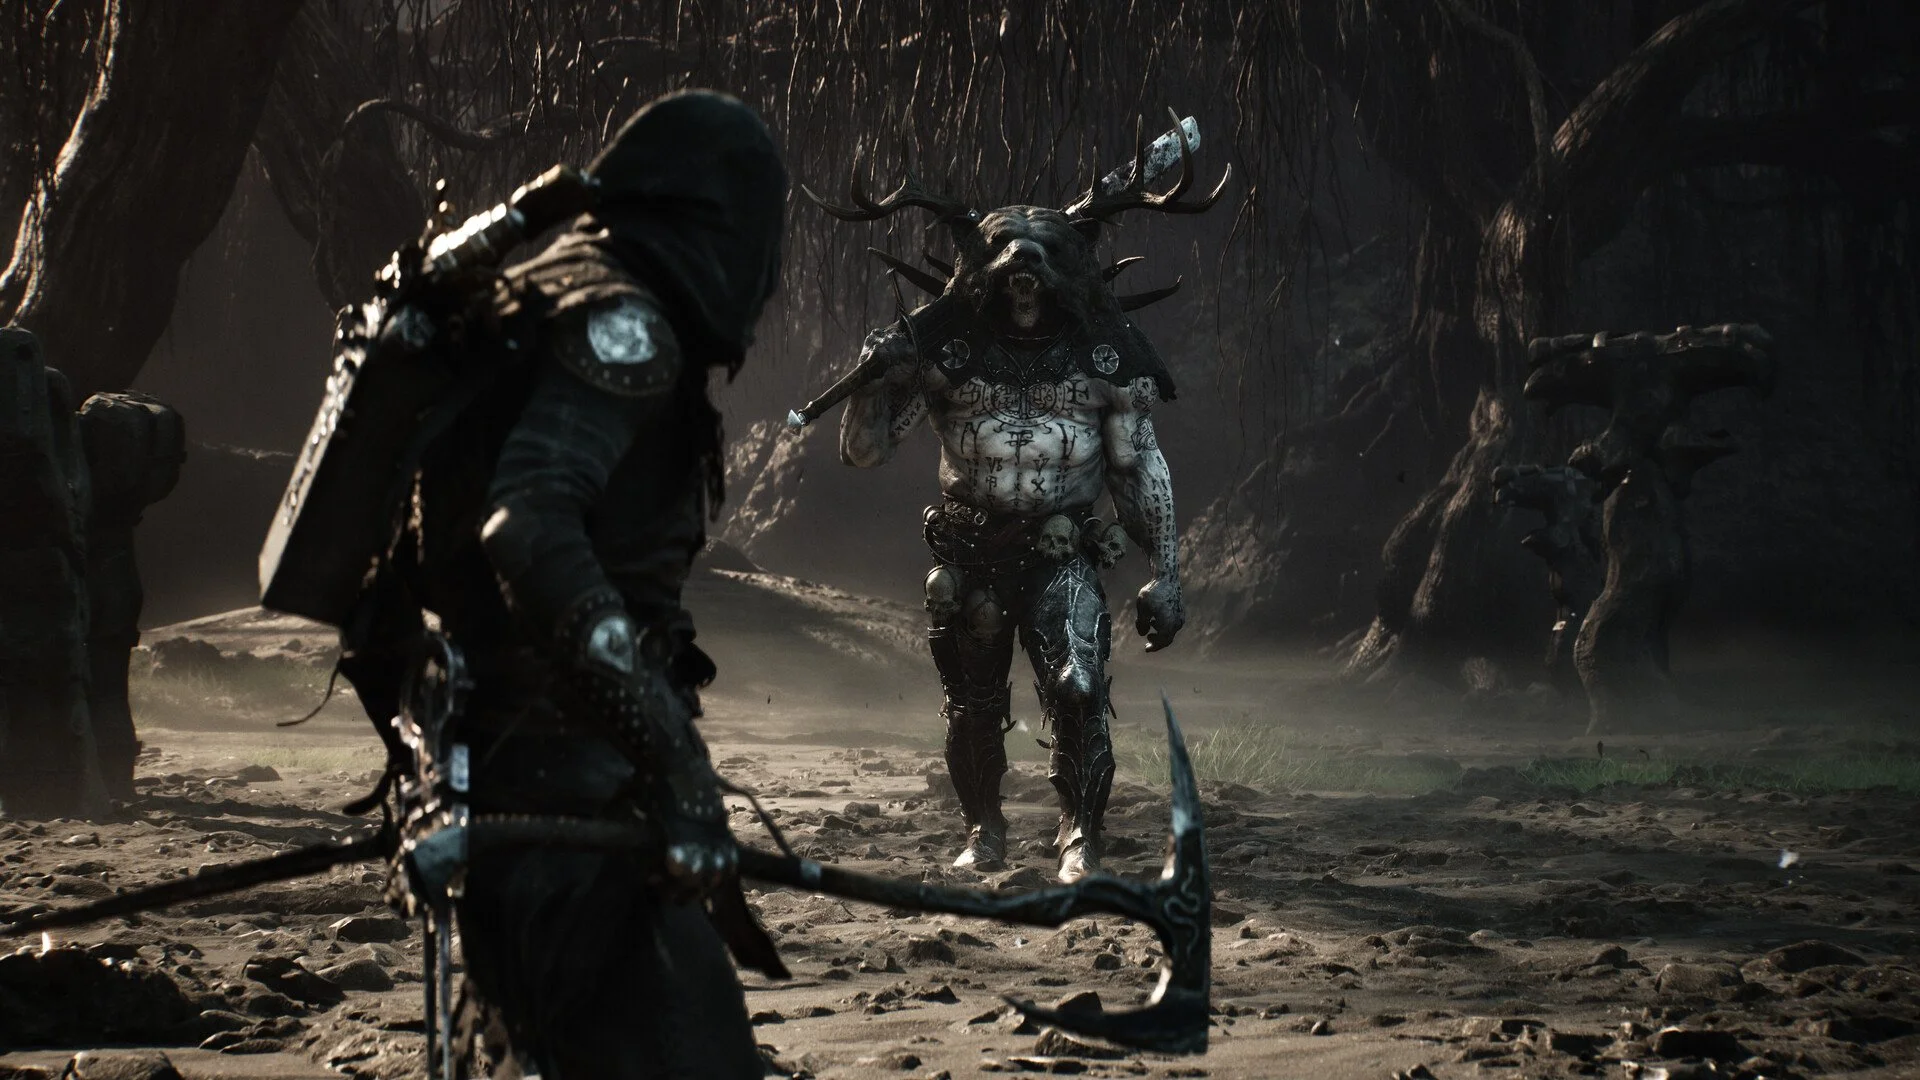
The Axe and Dagger are hidden inside the Shrine of Trials in Mushroom Village, but reaching the weapon involves more than opening a dungeon and defeating its guard. You first need to reveal the Chapel Key through a perspective-based archway puzzle, carry it to Grisha Hunter Camp, and complete several illusion and pressure-plate challenges inside the Shrine.
Jump To Section:
Axe And Dagger Location
How To Find The Chapel Key
How To Enter The Shrine Of Trials
Pressure-Plate Puzzle Solutions
How To Claim The Weapon
Best Axe And Dagger Build
Where Is The Axe And Dagger In Mortal Shell 2?
The Axe and Dagger are located at the end of the Shrine of Trials, a hidden dungeon entered through the locked Chapel in Grisha Hunter Camp. The camp sits in the western section of Mushroom Village, but the Chapel cannot be opened until you obtain the Chapel Key from a concealed statue elsewhere in the region.
The complete route takes you from the Mushroom Village Beacon to a bridge occupied by dancing Babkas, then past a pyre to a magical archway. Revealing the statue through that archway provides the Chapel Key, which opens the Shrine of Trials. Inside, you must pass through an illusory wall, activate three pressure plates across two rooms, and defeat an armored Brigand Knight before collecting the weapon.
How To Find The Chapel Key
Start at the Mushroom Village Beacon and take the path leading to the right. Continue until you find several Babkas dancing near a bridge. Defeat the group, cross the bridge, and clear the additional Babkas gathered around the pyre on the other side.
Once the area is safe, locate the freestanding archway near the pyre. Walking directly through it from your current direction will not reveal the key. Instead, move around to the opposite side of the structure and look back through the opening.
A large kneeling statue should now appear on the other side of the archway. Step through while the statue is visible to bring it fully into the area, then interact with the rope hanging from it. The rope provides the Chapel Key needed for the next part of the route.
This puzzle establishes the visual rule used throughout the weapon hunt: an object may only appear when viewed or approached from the correct direction. If the kneeling statue does not appear, circle the archway again and make sure you are looking through it from the side opposite the pyre encounter.
How To Enter The Shrine Of Trials
Take the Chapel Key to Grisha Hunter Camp in western Mushroom Village. Find the locked Chapel Door inside the camp, use the key, and follow the newly opened path into the Shrine of Trials.
Four cultists wait inside the first chamber. Eliminate them before examining the statue positioned in the middle of the room. Its inscription hints that you must face the depicted king while moving backward.
Stand in front of the statue, keep your character facing it, and walk backward toward the wall behind you. The wall is an illusion, allowing you to pass through it and reach the next chamber. Searching for a lever or attacking the wall will not open the path because the solution depends entirely on your movement direction.
How To Solve The Shrine Of Trials Puzzles
The room beyond the false wall contains two Wraiths, one movable statue, and a pressure plate. Clear both Wraiths first so they cannot interrupt your positioning. Attacking the statue pushes it away from your character, so stand directly opposite the pressure plate and strike the statue toward it. The next door opens once the statue settles on the plate.
The second puzzle expands the same mechanic by adding another statue and another pressure plate. Begin near the entrance with both plates positioned farther into the room. Move behind the left statue and strike it forward until it reaches the space between the two plates.
Walk around to the right side of that statue and hit it toward the left plate. Once it is correctly positioned, return to the entrance side of the right statue and knock it left. Push it forward until it meets the first statue, reposition behind it, and strike it forward again to place it on the remaining plate.
Both plates must remain occupied at the same time. If one statue is knocked out of place while moving the other, correct that statue before continuing. The direction of each hit matters more than the number of attacks, so move around the statues instead of repeatedly striking them from one position.
How To Claim The Axe And Dagger
Activating both pressure plates opens the final room of the Shrine of Trials. An armored Brigand Knight stands between you and the weapon, making this the only mandatory combat encounter after the puzzle chambers.
Defeat the Brigand Knight and approach the statue inside the room. Interact with it to collect the Axe and Dagger. There is no additional puzzle or hidden requirement after the fight, and the weapon becomes available for use immediately.
Before spending heavily on upgrades, you can check our Mortal Shell 2 max level guide for the weapon level cap and an explanation of how weapon progression differs from Shell Bonds, Shell Points, and Tarstones.
Is The Axe And Dagger Worth Using?
The Axe and Dagger favor attack speed and repeated pressure over individual damage and stagger power. Their attacks begin quickly and do not leave you trapped in lengthy windup animations, making it easier to land several hits and retreat before an enemy responds.
That speed also helps generate Resolve, but the weapon is less effective at interrupting larger opponents. It works best when you recognize short openings and avoid treating every exchange as an opportunity to complete a full attack sequence.
Tiel is the clearest Shell pairing because his Shadow Strike playstyle benefits from fast attacks. The Serpent Stone adds a spiraling attack that improves the weapon’s ability to handle groups, while Magdalena’s Momento can infuse it with poison after you defeat Magdalena, the Lady of the Woods. Combining that poison effect with Tiel creates a more specialized setup built around rapid hits and ongoing damage rather than direct stagger.
Final Blurb
Getting the Axe and Dagger requires you to follow Mortal Shell 2’s perspective puzzles from beginning to end. Reveal the kneeling statue through the Mushroom Village archway, take its Chapel Key to Grisha Hunter Camp, walk backward through the Shrine’s false wall, and push the statues onto their pressure plates. Defeating the Brigand Knight at the end then gives you a fast weapon that pairs naturally with Tiel and poison-focused builds.