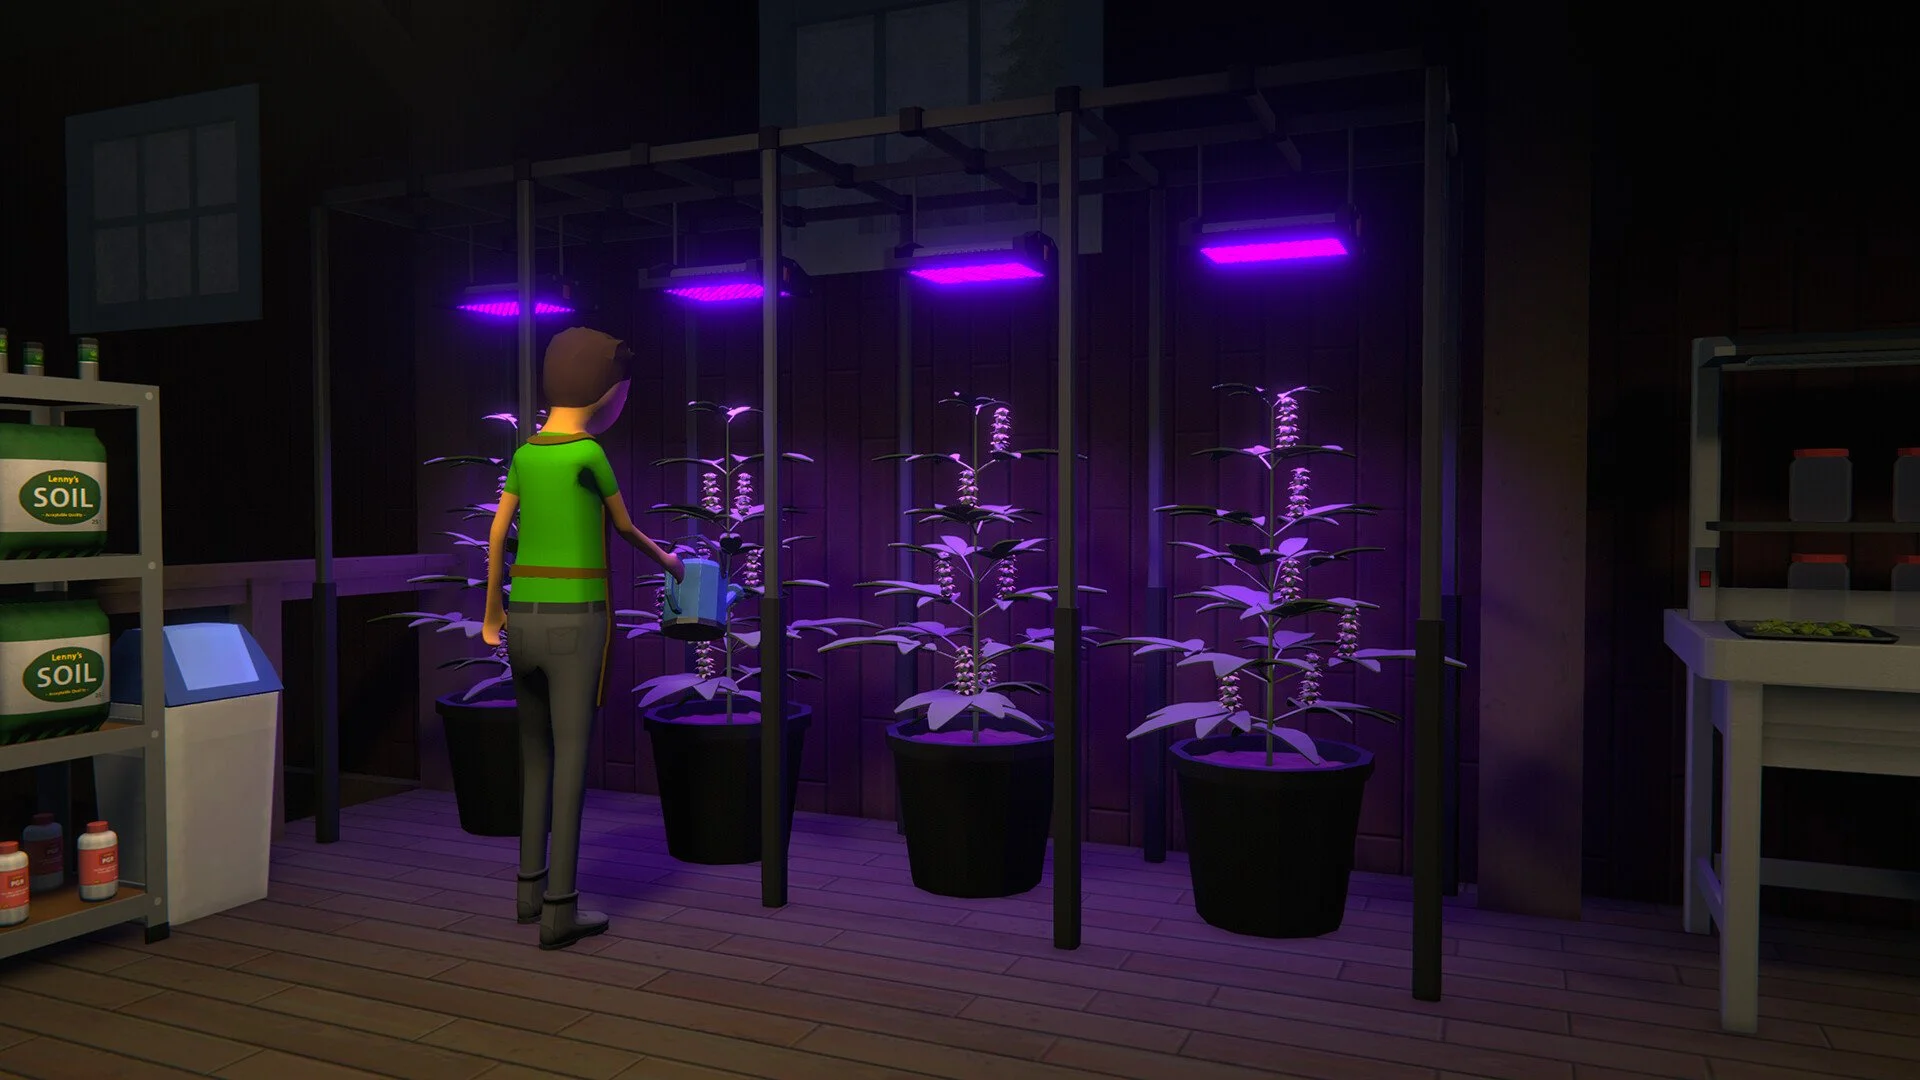
Schedule 1 Yield Per Plant Guide
When trying to maximize your farm in Schedule 1, one of the biggest questions is how much yield you can get per plant. Every container type, soil, and additive affects your output, and knowing the numbers is the key to getting the most out of every seed. This guide covers all yield values, growth times, and strategies to push your efficiency further.
Base Yields per Container
Grow tents give the smallest returns, while pots and racks scale yields higher. Here’s a breakdown:
| Container | Weed Yield | Coc Yield |
|---|---|---|
| Grow Tent | 8 | 6 |
| Plastic Pot | 12 | 9 |
| Moisture-Preserving Pot | 12 | 9 |
| Air Pot | 12 | 9 |
Growth Speed and Light Effects
Yield stays fixed, but growth speed changes how often you can harvest. Lights and additives adjust cycle length:
Halogen Grow Light: baseline growth.
LED Grow Light: 15% faster.
Full-Spectrum Grow Light: 30% faster.
Speed Grow: instantly advances plant halfway, cutting time in half.
Air Pot: adds 15% more speed but needs more watering.
Example: a standard tent weed cycle is 6.25 in-game hours. With a full-spectrum light and speed grow, that drops to about 2.20 in-game hours.
Additives and Their Impact
Additives change yield and quality in different ways:
PGR: boosts yield (weed +33%, coc +77%) but lowers quality by one star.
Fertilizer: raises quality by one star, no yield change.
Speed Grow: halves growth time but reduces quality by one star.
Drying Rack: improves quality by one star every 12 in-game hours, no yield change.
Stacking PGR with pots is the main way to push yield higher than the base 12 or 9.
Soil Choices and Cost Efficiency
Soil doesn’t alter yield directly, but it changes cost and labor per harvest.
Soil: cheapest per run, most work.
Long-Life Soil: balances cost and effort.
Extra Long-Life Soil: most expensive but saves the most time.
For efficiency, Long-Life is usually the best compromise unless you want pure profit margin.
Automation with Botanists
Botanists don’t change yields but let you scale farming. They handle watering, trimming, and replanting as long as they’re supplied. Each botanist can manage up to 8 pots or tents. Use racks, lights, and soil storage to keep them running smoothly.
Yield per Hour Efficiency
This is where things get interesting. Yield alone isn’t everything — what matters is how much you can harvest per hour of growth.
Grow Tent: 8 yield / 6.25 hours = 1.28 yield per hour.
Plastic Pot: 12 yield / 6.25 hours = 1.92 yield per hour.
Air Pot with Full-Spectrum Light: 12 yield / 3.45 hours = 3.47 yield per hour.
That means upgrading to pots and lights more than doubles your efficiency compared to tents. Adding Speed Grow lowers time even more, letting you harvest multiple times a day if you manage water properly.
Final Blurb
Yields in Schedule 1 depend on the setup you use, not just the seeds you plant. Tents will always underperform compared to pots, and lights or additives are the difference between crawling progress and rapid harvest cycles. For the best results, combine pots, high-quality lights, and PGR if you want pure yield… or fertilizer and racks if you want premium quality.
FAQ
Does soil type affect yield?
No. Soil only changes cost per harvest and the amount of work you or botanists need to put in.
Can drying racks increase yield?
No. Drying racks only increase quality over time, not the number of items you get.
What’s the best container for farming long-term?
Pots with strong lights are always better than tents. Air pots give the best time efficiency if you don’t mind more watering.
Do botanists increase yield?
No, they only automate the process. Yields stay the same regardless.
© 2025 GamerBlurb. All rights reserved. Please credit GamerBlurb.com by linking to any information used from this site. Note: This guide is about a fictional video game, Schedule 1.


