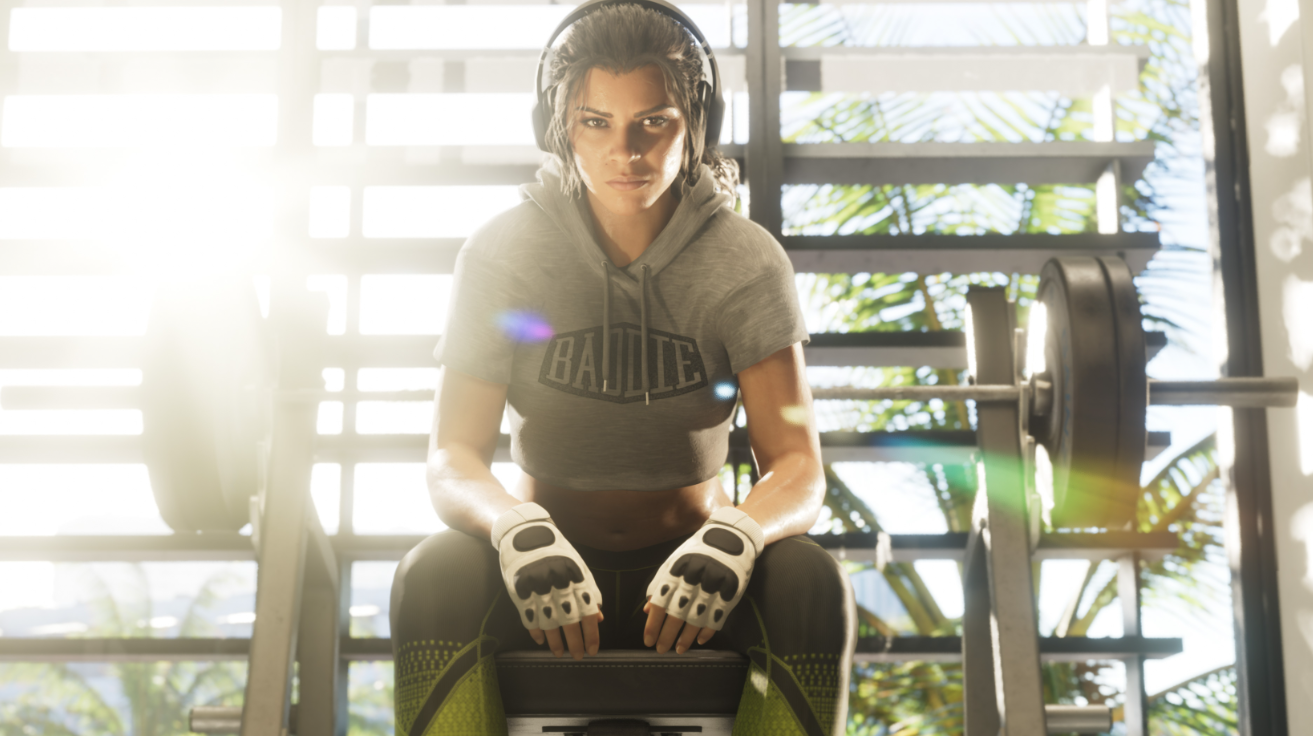
GTA 6 on PS5 gives you more control over the experience than simply choosing a controller sensitivity. DualSense trigger resistance, camera effects, aiming assistance, and display calibration can all change how the game feels. Here are the settings worth adjusting on PS5 and PS5 Pro.
Best GTA 6 Settings for PS5
For a balanced PS5 setup, use Partial targeting, keep Shooting Assist enabled, reduce Motion Blur Strength if fast movement looks blurry, and leave Adaptive Triggers Resistance on initially. The DualSense features are worth trying before disabling them because they provide feedback during shooting and driving.
| Setting | Recommended |
|---|---|
| Control Scheme | Default |
| Targeting | Partial |
| Aim Assist Strength | 4 (default starting point) |
| Shooting Assist | On |
| Aim Response Curve | Standard |
| Adaptive Triggers Resistance | On initially |
| Adaptive Triggers Vibration | On initially |
| Adaptive Speed Limiter | On |
| Motion Blur Strength | 0–2, depending on preference |
| Minimap | On |
| Camera Shake | Off if distracting |
Press Options during gameplay and open Settings. Controller, Gameplay, Display, UI, and Camera contain the adjustments above.
Best DualSense Controller Settings
The biggest PlayStation-specific decision is how much physical feedback you want from the DualSense. GTA 6 provides separate options for trigger resistance, trigger vibration, general haptics, and driving assistance.
Keep Adaptive Triggers on for Driving
Under Controller, Adaptive Triggers Resistance and Adaptive Triggers Vibration control the feedback you feel through L2 and R2. Resistance changes how the triggers feel when pressed, while vibration adds further feedback during supported actions.
We recommend trying both enabled before making changes. If resistance makes extended gunfights uncomfortable, turn off Adaptive Triggers Resistance while keeping vibration enabled. This preserves some feedback without the added trigger pressure.
Keep Adaptive Triggers Resistance and Adaptive Triggers Vibration on.
Turn Resistance off, then decide whether to retain trigger vibration.
Turn both trigger effects off and lower Vibration & Haptics Strength.
Adaptive Speed Limiter Is Worth Keeping
The Adaptive Speed Limiter uses the DualSense trigger's resistance point to help maintain a controlled speed while driving. It's a useful feature when navigating busy streets instead of accelerating at full speed everywhere.
Keep it on if you enjoy the trigger-based driving controls. If you're disabling adaptive trigger resistance entirely, consider whether the speed-limiter behavior still fits your preferred setup.
Leave Sensitivity and Deadzones Near Default Initially
GTA 6 separates Horizontal and Vertical Look Sensitivity from Aim Sensitivity. The Standard Aim Response Curve is a sensible starting point, and Aim Assist Strength starts at 4.
Rather than copying an aggressive sensitivity preset, adjust the controls based on what feels wrong. Increase Look Sensitivity if turning feels slow, or decrease Aim Sensitivity if your crosshair repeatedly overshoots targets.
Deadzone (Left Stick) and Deadzone (Right Stick) control how much stick movement is required before an input registers. Leave these near their default of 4 unless you experience unwanted movement or stick drift.
Best PS5 Display and Camera Settings
The most useful visual improvements don't require sacrificing graphics quality. Start with motion clarity, then adjust the PS5's display output for your television.
Motion Blur Strength: 0–2
Under Display > Visual Effects, reduce Motion Blur Strength from its default of 3 if fast camera turns appear smeared. Choose 0 for no motion blur or retain a small amount if you prefer smoother-looking movement.
Camera Shake: Off if Distracting
Camera Shake and Camera Bob are found under Camera > Comfort. Reducing these effects can make vehicle collisions and movement less visually disruptive.
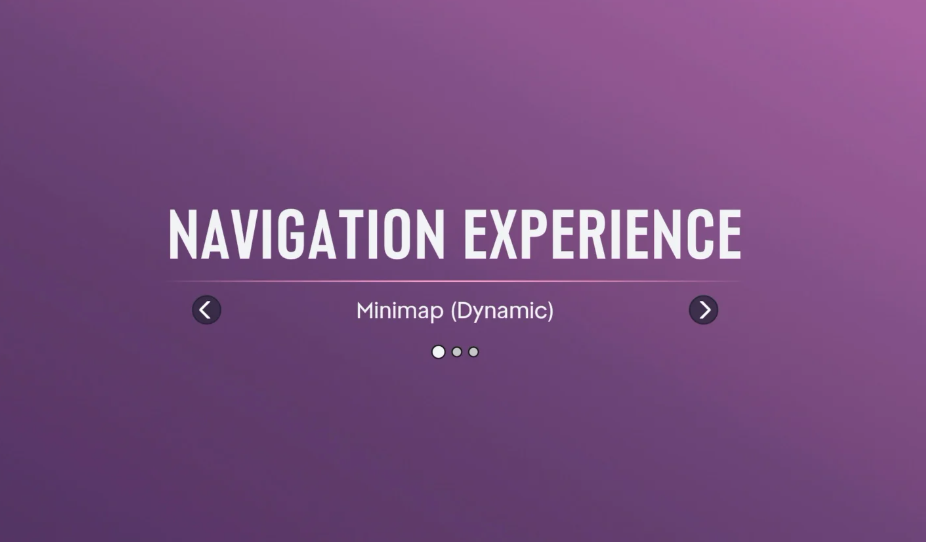
Minimap: On
Under UI > Navigation, use On for a consistently visible minimap. Dynamic hides it when the game doesn't consider it necessary, which is better for a cleaner cinematic presentation.
Set Up HDR and 3D Audio on PS5
Open the PS5 home screen's Settings > Screen and Video > Video Output. Use Adjust HDR to calibrate the image for your television, and choose On When Supported for HDR if your display supports it.
GTA 6 also has a Brightness Calibration option under Display. Use that to fine-tune visibility after configuring your console rather than copying brightness values from another television.
For audio, open your PS5's Sound settings and configure 3D Audio for your headphones or television if supported. GTA 6 uses PlayStation's spatial-audio capabilities, so matching the output to your actual listening setup matters more than simply increasing the volume.
Best GTA 6 Settings for PS5 Pro
PS5 Pro players can use the same gameplay and controller recommendations as standard PS5 owners. The main differences are graphical improvements provided by the console, rather than separate sensitivity or performance presets.
GTA 6 doesn't offer a selectable 60 FPS or 40 FPS performance mode on PS5 Pro. Lowering Motion Blur Strength, changing camera effects, or enabling 120 Hz output on your display won't unlock a higher in-game frame rate.
For the best overall PlayStation experience, prioritize comfortable DualSense feedback, Partial targeting, properly calibrated HDR, and a camera setup you can use for extended sessions. The ideal configuration is one that makes both combat and driving feel natural, without changing settings just for the sake of it.