Here Comes the Horde is all about turning a small army into an unstoppable force, but spending gold on stronger soldiers isn't always the fastest way forward. Early building choices, production upgrades, and knowing when to change your army can make the difference between struggling and overwhelming the undead.
Army Scaling and Upgrades
Winning Difficult Battles
Final Boss Tips
Best Early Game Strategy in Here Comes the Horde
The best starting approach in Here Comes the Horde is to establish consistent troop production with Peasant Huts, invest in upgrades that strengthen your existing army, and avoid spreading your resources across every newly unlocked unit.
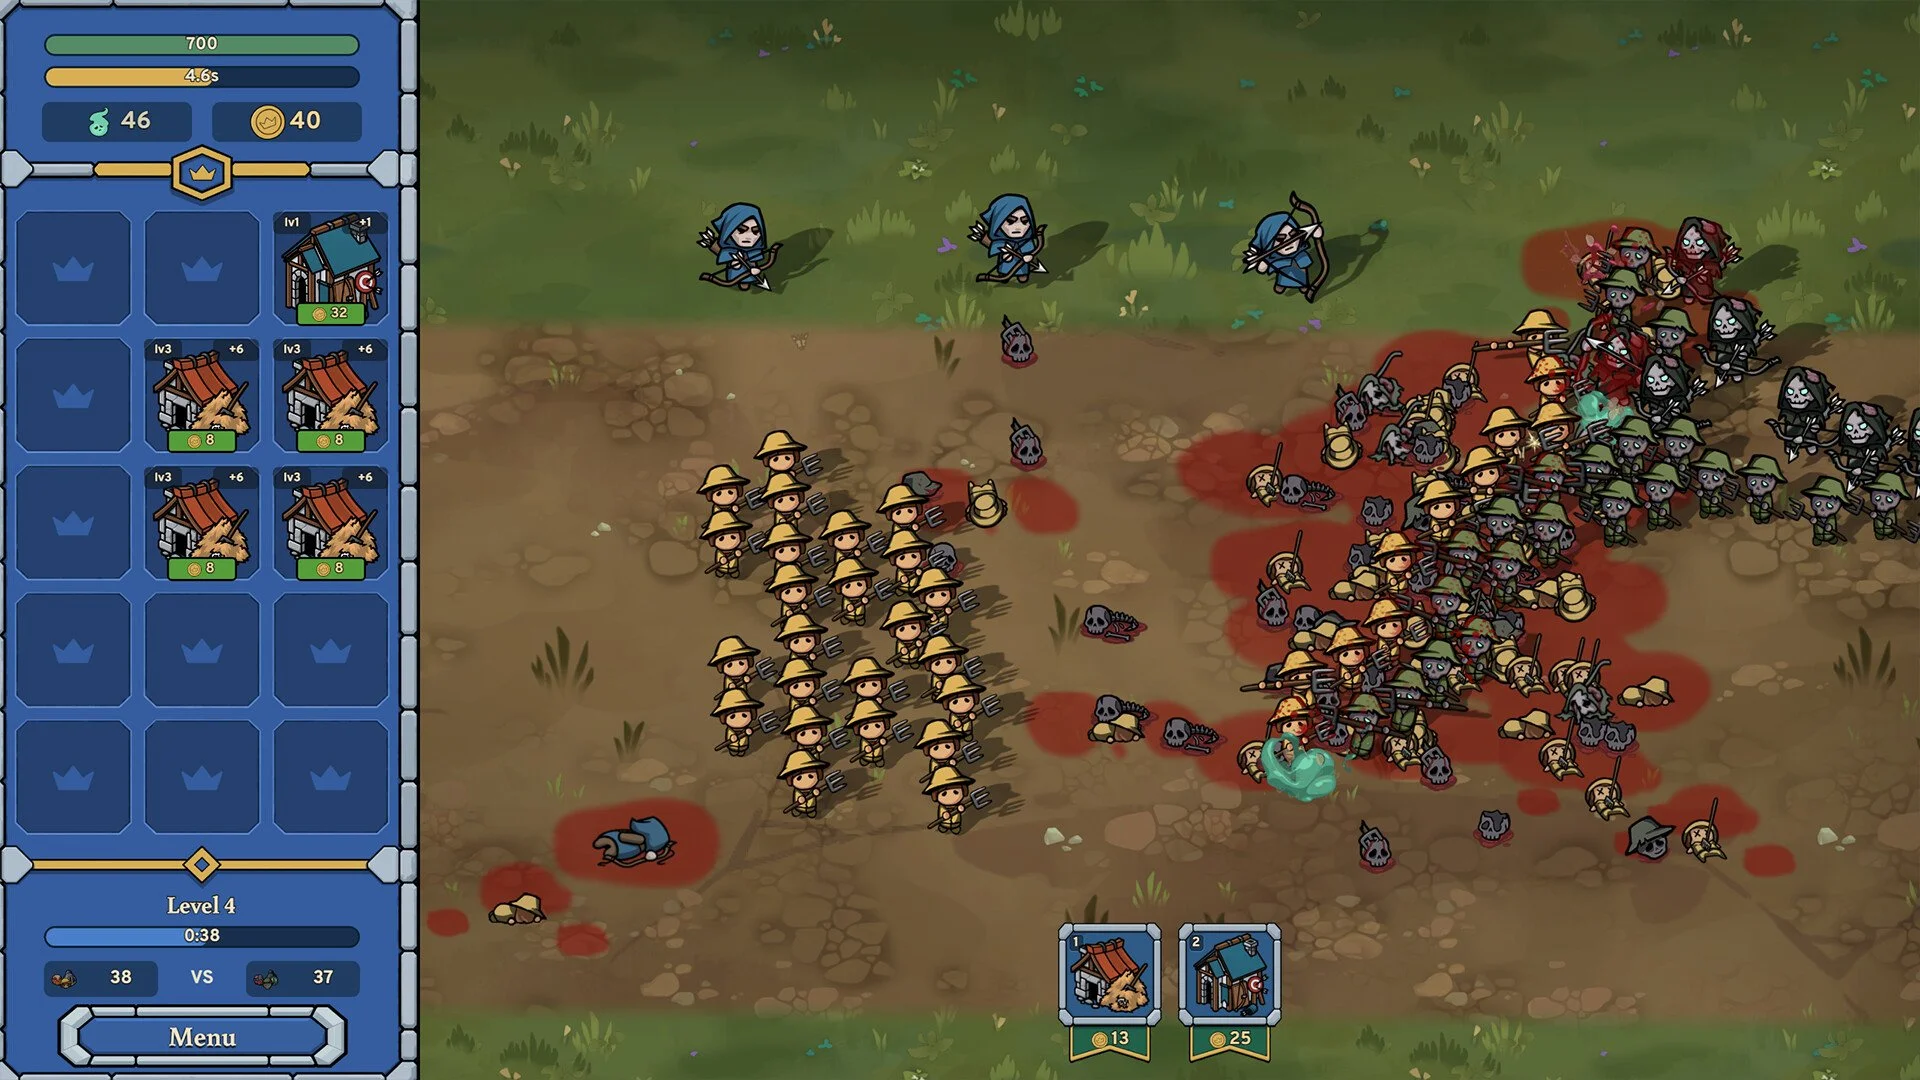
Peasant Huts remain useful well beyond the opening levels. Their strength comes from producing a steady supply of inexpensive soldiers rather than relying on individual units surviving for long periods.
Early on, it's worth building around a reliable source of troops before experimenting with more expensive army compositions. A castle that continually replaces its losses can survive battles that initially appear overwhelming.
Don't Treat Every Loss as a Failed Build
Here Comes the Horde rewards repeated attempts. Defeated enemies generate resources, and the souls earned through battles allow you to purchase permanent improvements between levels.
If you lose a close fight, you don't necessarily need to replace your entire castle. Consider whether another production upgrade or a stronger talent would make the existing arrangement more effective.
This is particularly important during the first several levels, when relatively small upgrades can have a noticeable effect on how quickly your army grows.
The Key to Scaling Your Army Is Multiplication
One of the most important things to understand is that more powerful units aren't the only way to improve your army.
Production bonuses and global multipliers can make your existing buildings significantly more productive. Archer multipliers are especially worth considering once available, since they can increase the effectiveness of an army you've already invested in.
Instead of immediately buying every new troop type, compare what an upgrade does for your current production. Improving thousands of existing soldiers can be more valuable than adding a small number of stronger units.
Build Around Synergies, Not Just Empty Slots
Castle placement also matters. Certain buildings gain additional benefits from neighboring structures, so their positions can influence how many soldiers your castle produces.
A Hut-heavy arrangement supporting Towers can provide a useful foundation for ranged-focused armies. However, don't assume that one arrangement must remain unchanged for the entire game.
As you unlock more talents and building types, reconsider whether your current layout still benefits from the strongest available bonuses.
Construction automation is another valuable progression milestone. Once you can reduce the amount of manual attention required for upgrades, it becomes easier to focus on the broader strength of your army rather than constantly managing individual purchases.
Why Surviving the Horde Matters More Than Killing It Quickly
There's an important distinction between surviving the initial attack and actually eliminating the enemy army.
Enemy reinforcements eventually stop spawning during a battle, while your own production buildings can continue sending soldiers forward.
This means a battle that looks unfavorable early can turn around if your castle survives long enough. Once the undead stop receiving reinforcements, your continuing troop production can gradually reduce their remaining numbers.
That's why reliable production and survival are closely connected. You don't always need enough damage to defeat the entire horde immediately. Sometimes you need enough staying power to outlast its reinforcements.
Know When Your Army Has Outgrown Its Strategy
As battles become larger, sheer numbers of basic melee soldiers may become less effective against dense enemy formations.
Archers, Mages, and eventually Archmages offer different ways to contribute damage without relying entirely on troops fighting at the front.
Ranged area damage becomes particularly attractive when large groups of enemies are packed together. However, that doesn't mean melee units are useless. Knights and Paladins can still have important roles depending on the opposition.
The goal is to recognize when your existing army stops making meaningful progress and invest in the unit types that address its limitations.
Best Tips for the Final Boss and Late Game
The final encounter is a noticeable difficulty increase compared with much of the earlier game. A castle that comfortably defeats ordinary undead waves may struggle against the final opposition.
Rather than simply adding more Peasant Huts, consider transitioning toward a combination of stronger units and upgraded active abilities.
Consider Paladins and Archmages Together
One useful late-game approach is to emphasize Paladins toward the front of your formation while supporting them with Archmages behind.
Paladins provide an alternative to relying entirely on basic melee troops, while Archmages can contribute powerful ranged attacks against large enemy formations.
Additional Archers or Mages can complement that setup if you've already invested heavily in their production bonuses.
This isn't the only viable army composition, but it offers a different direction when a previously successful Hut-heavy strategy starts falling behind.
Don't Neglect Your Active Abilities
Active abilities can become especially important when the final battle exposes weaknesses in your normal troop production.
If you've spent most of your progression resources on passive army upgrades, examine whether your activated powers are falling behind.
Strengthening abilities that support troop production or damage can give your army another advantage without requiring you to rebuild the entire castle.
When a late-game attempt fails, look at whether your army is being overwhelmed immediately or surviving without dealing enough damage. The first problem favors improving your ability to withstand the attack, while the second points toward stronger offensive production.
Here Comes the Horde becomes much easier to manage when you stop viewing every new unlock as a mandatory replacement. Start with efficient troop production, amplify what's already working, and change your army when the enemy composition demands it. The strongest castle isn't necessarily the one with the most expensive soldiers, but the one that turns its upgrades into a sustainable advantage.