Iron Nest Tips and Tricks
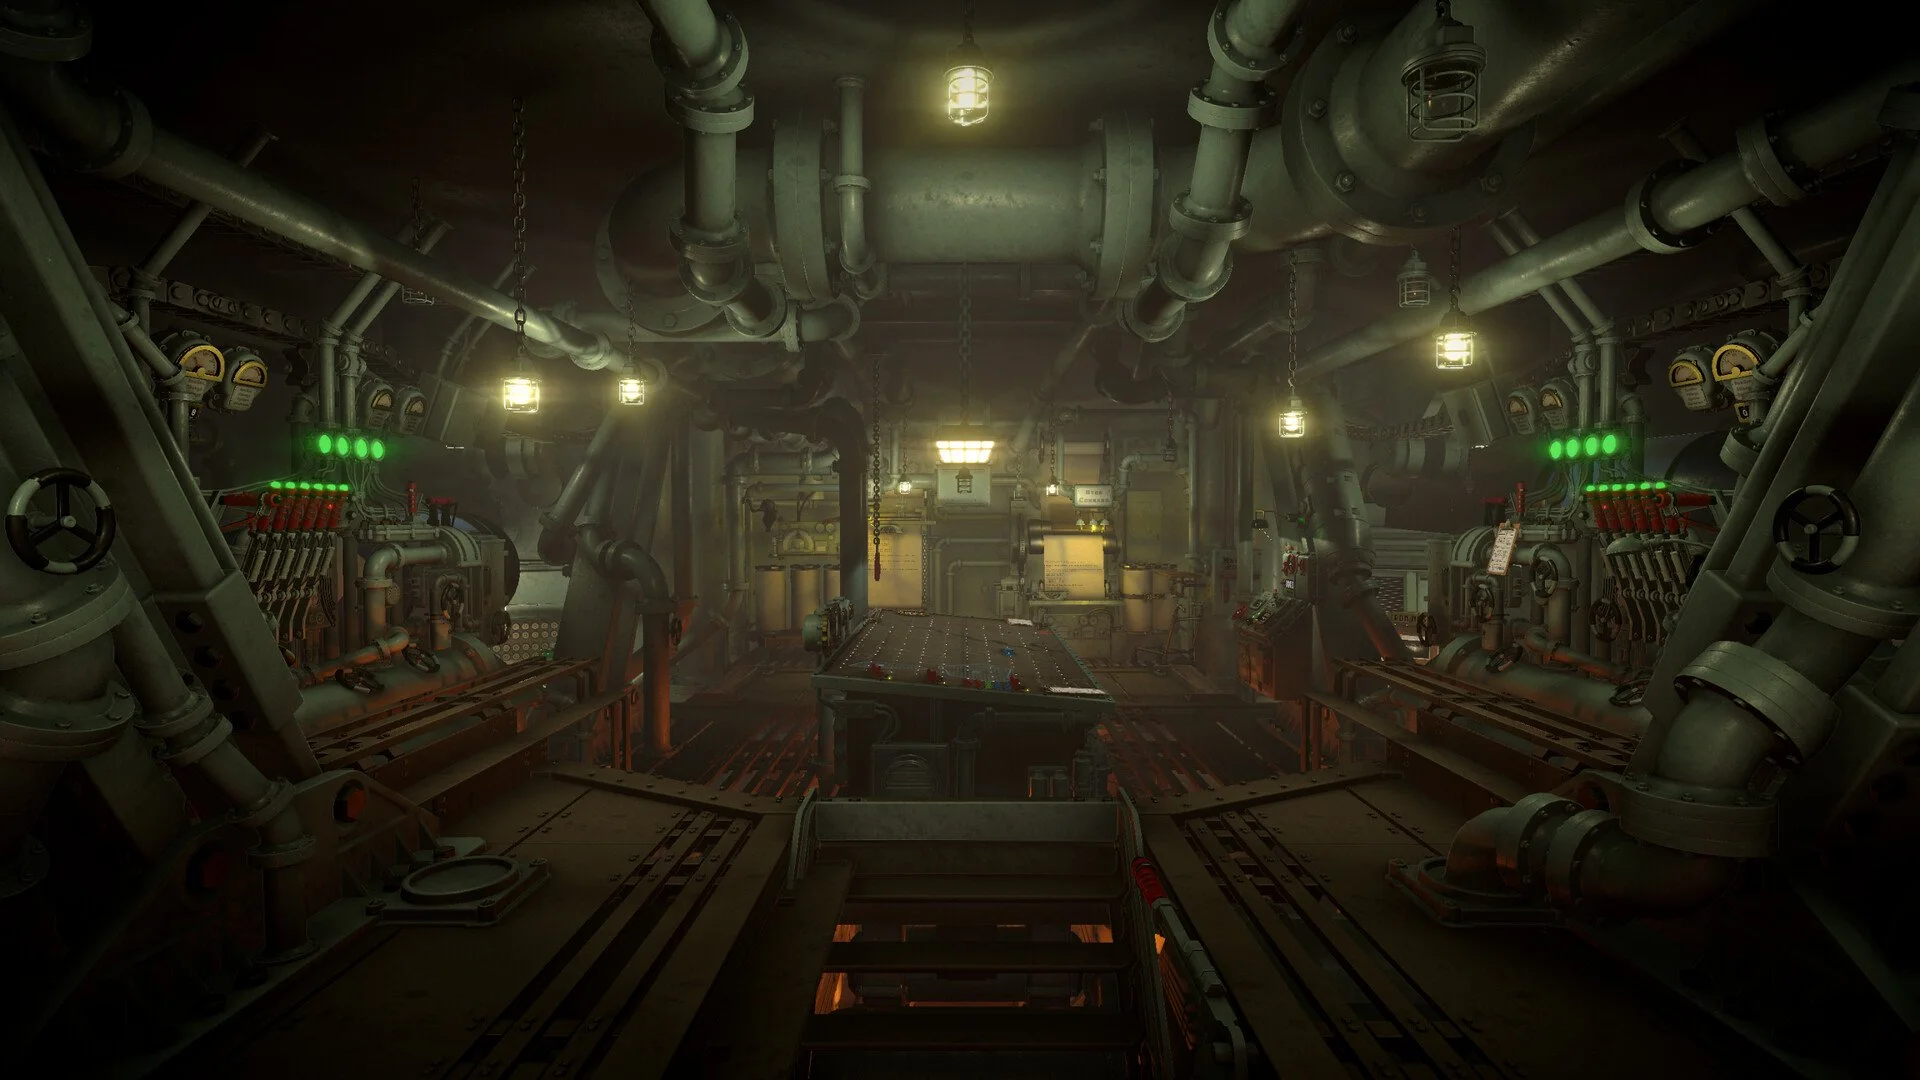
Iron Nest becomes much easier once you stop thinking of each station as a separate minigame. The tactical map, ballistic calculator, ammunition system, turret controls, spotter reports, and reconnaissance tools are all parts of the same firing loop, and most mistakes happen when one step is rushed or forgotten.
The biggest advantage you can give yourself is consistency. Plot targets before touching the gun, keep your ammunition organized, use reconnaissance when the map leaves two possible locations, and avoid spending requisition on shells that cannot actually damage the target you are firing at.
Jump To Section:
Build a Firing Routine
Use the Right Map Tool
Triangulate Before Firing
Use Recon Instead of Guessing
Choose the Right Shell
Save Requisition
Avoid Turret Control Mistakes
Manage Both Barrels
Know When to Move
Use the Same Firing Routine Every Time
Iron Nest gives you enough controls that improvising every shot quickly becomes a liability. A reliable order is to identify the target, plot its position, measure from the Iron Nest, calculate the required charge and elevation, prepare the ammunition, lay the gun, lock the barrel, and then fire.
That sequence matters because several values depend on earlier decisions. The elevation generated by the ballistic calculator corresponds to a particular number of powder charges, so changing the charge afterward without recalculating can send an otherwise perfectly aimed shell far beyond the target.
Get into the habit of reading the bearing, range, powder charge, and elevation one final time before pulling the firing cord. A few seconds of checking is cheaper than replacing a shell and powder because one value belonged to the previous target.
Learn What Each Tactical Map Tool Is For
The three pencils may look interchangeable at first, but using them for separate jobs keeps the map much easier to read. The white pencil is useful when you only need a visual line, while the yellow pencil shows bearing and distance between two points without adding those measurements to the clipboard.
The red pencil is the useful choice when preparing an actual shot because it measures the bearing and range and records them on the clipboard. Once you have identified the final target position, draw from the Iron Nest to that point with the red pencil so the firing values remain available while you move between stations.
The compass solves a different problem entirely. Use it when intelligence gives you a distance from a known location but no direction. A distance describes every possible point around the observer, so the compass turns that information into a circle that can intersect another report.
Right-click old markers and construction lines once they are no longer useful. Leaving every measurement on the map makes later fire missions harder to read, especially when several spotters and targets occupy the same area.
Triangulate Targets Before You Commit Ammunition
When a target is not directly marked, combine the information supplied by different observers instead of trying to estimate where it should be. A bearing creates a line from the reporting position, while a distance creates a circle around it. The point where two valid observations overlap gives you the target location.
Always begin a spotter bearing from the spotter who supplied it. The Iron Nest itself is only used after the target has been located, when you need to measure your own bearing and range for the firing solution.
If two reports produce two possible intersections, mark both rather than choosing whichever one looks more convenient. The map is telling you that the available information cannot distinguish between them yet.
That ambiguity is exactly when reconnaissance becomes valuable. One cheap information-gathering shot can prevent you from wasting several destructive shells on the wrong position.
Use STAR Shells and Scout Planes Before Guessing
STAR shells are particularly useful when triangulation leaves multiple possible targets. Fire one toward the uncertain area and use the revealed direction and distance information to refine the location before loading your main ammunition.
Every shell impact reveals some surrounding terrain, but STAR shells are built around reconnaissance rather than damage. Spending requisition on one can still save money when the alternative is firing several expensive rounds at two possible locations.
The scout plane gives you another way to inspect an uncertain area. Set the sector and bearing for the direction you want it to investigate, then use the revealed information to correct a rough plot or determine which candidate position contains the real target.
Reconnaissance matters even more when you plan to use armor-piercing ammunition. HE shells have enough blast radius to forgive a small plotting error, while a precision shell can land close to an underground target and accomplish nothing.
Match the Shell to the Target Before Loading
Do not choose ammunition only by how large its explosion looks. Iron Nest distinguishes between targets that can be destroyed with explosive blast and targets that require penetration.
Underground targets need armor-piercing ammunition. Firing normal high explosive into the correct coordinates will not solve the problem, regardless of how accurate the ballistic calculation was.
Armor-piercing shells demand much better precision because their effective damage area is small. Take extra time with triangulation, reconnaissance, bearing, and range before committing one.
High-explosive shells are more forgiving when the objective can actually be damaged by blast. If two valid targets are close enough together, a shell with a sufficiently large explosion radius can destroy both with one shot.
High-capacity high-explosive ammunition expands that opportunity even further. Look at the spacing between targets before automatically assigning one shell to each objective; one well-placed round can sometimes accomplish the work of two.
The larger blast also means more risk to anything nearby, so do not treat maximum radius as automatically better. Precision becomes more important when civilian positions or other unwanted targets sit close to the intended impact.
Treat Requisition as Ammunition Efficiency
Kills generate requisition, while shells, powder, reconnaissance ammunition, and other actions consume it. The easiest way to stay ahead is therefore not simply to kill quickly, but to reduce how much you spend per confirmed target.
A single reconnaissance shell followed by one accurate armor-piercing shot is better than testing several locations with expensive ammunition. Likewise, destroying two clustered targets with one high-capacity explosive shell is more efficient than treating them as unrelated fire missions.
Keep the magazines stocked with ammunition you expect to use soon rather than filling every available slot indiscriminately. Each side magazine can hold six shells, so there is enough capacity to prepare several shots without turning both magazines into storage for ammunition that does not fit the current mission.
Think about powder the same way. More charges are not automatically better. Use the amount appropriate for the target range and calculate the elevation around that choice.
More Powder Changes the Shot, Not Just the Range
The ballistic calculator pairs range, powder charge, and elevation together. For example, a target beyond 5 km may call for two charges rather than the single charge used at shorter distances.
Adding more powder can produce a flatter trajectory and lower required elevation, which can be useful when speed matters, but you cannot simply add charges to an existing firing solution. Recalculate the elevation whenever you change the charge.
This is especially important when the loading station still displays a previous selection. Do not assume the last-used number is correct for the new target simply because the equipment retained it.
Read the current target range, choose the intended charge, and use the elevation calculated specifically for that combination.
Do Not Abuse the Fine Adjustment Wheel
Use the main turret and elevation controls for large movements, then switch to fine adjustment only as the mechanism approaches the required value.
Trying to use the fine adjustment wheel while the system is still moving rapidly can cause valve leaks. It also gives you little practical benefit because the turret still has too much movement remaining for tiny corrections to matter.
Let the heavy mechanism do the bulk of the rotation first. Once the bearing or elevation begins settling near the target number, make the final small adjustment.
This approach is both safer and faster than fighting the controls throughout the entire movement.
Remember to Lock the Barrel Before Firing
A completed firing solution does nothing if the gun is not actually prepared to fire. After the shell and powder are loaded, the breech is closed, and the bearing and elevation are correct, lock the barrel before pulling the firing cord.
If the gun is not locked, pulling the cord will not fire it. This is easy to forget when you are working against a counter-battery timer because every other part of the procedure feels complete.
Make the lock part of your standard final check: ammunition, powder, breech, bearing, elevation, lock, fire.
Keep Separate Values for Each Barrel
The two-barrel setup lets you prepare and engage targets much faster, but it also creates an easy way to mix firing solutions. When both sides are active, keep track of which bearing and elevation belong to which barrel.
Do not mentally store two nearly identical sets of numbers if you can avoid it. Use the clipboard and finish one barrel’s setup before changing the other.
This becomes especially important during counter-battery pressure, when a small bearing mix-up can waste the speed advantage you gained by preparing two guns in the first place.
For nearby targets, you can prepare the second barrel while the first round is already in flight. Just make sure the next firing solution is completely independent rather than accidentally inheriting one value from the previous shot.
Use the Trajectory Arm as Feedback
After firing, the trajectory arm gives you a representation of the shell traveling toward the target. Use that alongside the eventual impact information instead of immediately walking away from the gun.
A miss can tell you whether the problem was plotting, bearing, elevation, shell choice, or simply precision. Treat each impact as new information rather than starting the entire calculation again automatically.
This is particularly useful with explosive ammunition. A shot that lands slightly away from the exact marker may still be good enough when the target sits inside the shell’s blast radius.
Know How to Restart the Engine
The Iron Nest relies on its engine, and it is possible to shut it down accidentally. If that happens, return both engine controls to Start, crank the chain, then move the controls back into the Run position.
This is worth learning before a timed mission rather than after the lights and systems suddenly disappear. The engine station is simple once you know the sequence, but confusing when you are already dealing with incoming fire.
Do Your Plotting Before Moving the Iron Nest
The Iron Nest can reposition itself by supplying a bearing and distance with the movement system, but moving is not a good time to perform precise map work. The interior shakes heavily while the machine walks, making plotting much harder.
High Command can also lose track of your exact position after movement. That matters because every later firing solution depends on knowing where the Iron Nest currently sits on the tactical map.
Finish urgent plotting before starting a move whenever possible, then establish the new Iron Nest location before calculating the next shot. Measurements taken from the old position are no longer valid after the turret has relocated.
Movement only costs a small amount of requisition, so it can be strategically useful, but treat relocation as the beginning of a new firing setup rather than something you casually do in the middle of an existing one.
Use Chill Mode to Learn the Workflow
Counter-battery pressure makes small mistakes much more expensive, which is not ideal while you are still learning where every station is located. Chill Mode removes that immediate pressure and gives you enough time to understand the map, calculator, magazines, turret controls, engine, and reconnaissance tools.
Use that time to build muscle memory rather than simply completing objectives slowly. Practice moving from the typewriters to the map, from the map to the calculator, and from the calculator into the loading and aiming sequence without stopping to remember what comes next.
Once the process becomes automatic, the counter-battery timer becomes a speed challenge rather than a test of whether you remember which station performs which task.
The Best Iron Nest Habits to Learn Early
Read every target report completely before loading ammunition. Plot uncertain locations instead of guessing, use the red pencil for final firing measurements, and keep the tactical map clear enough that old construction lines cannot be confused with the current objective.
Use reconnaissance when the information leaves multiple possibilities, match the shell to the target type, and look for opportunities to destroy clustered targets with one explosive round. Every unnecessary shell costs requisition and time.
Finally, keep the firing procedure consistent. Match powder charge to range, calculate the correct elevation, let the turret finish its large movements before using fine adjustment, lock the barrel, and only then fire. Iron Nest rewards speed, but the fastest crew is usually the one that does not have to repeat a shot because it skipped a step.