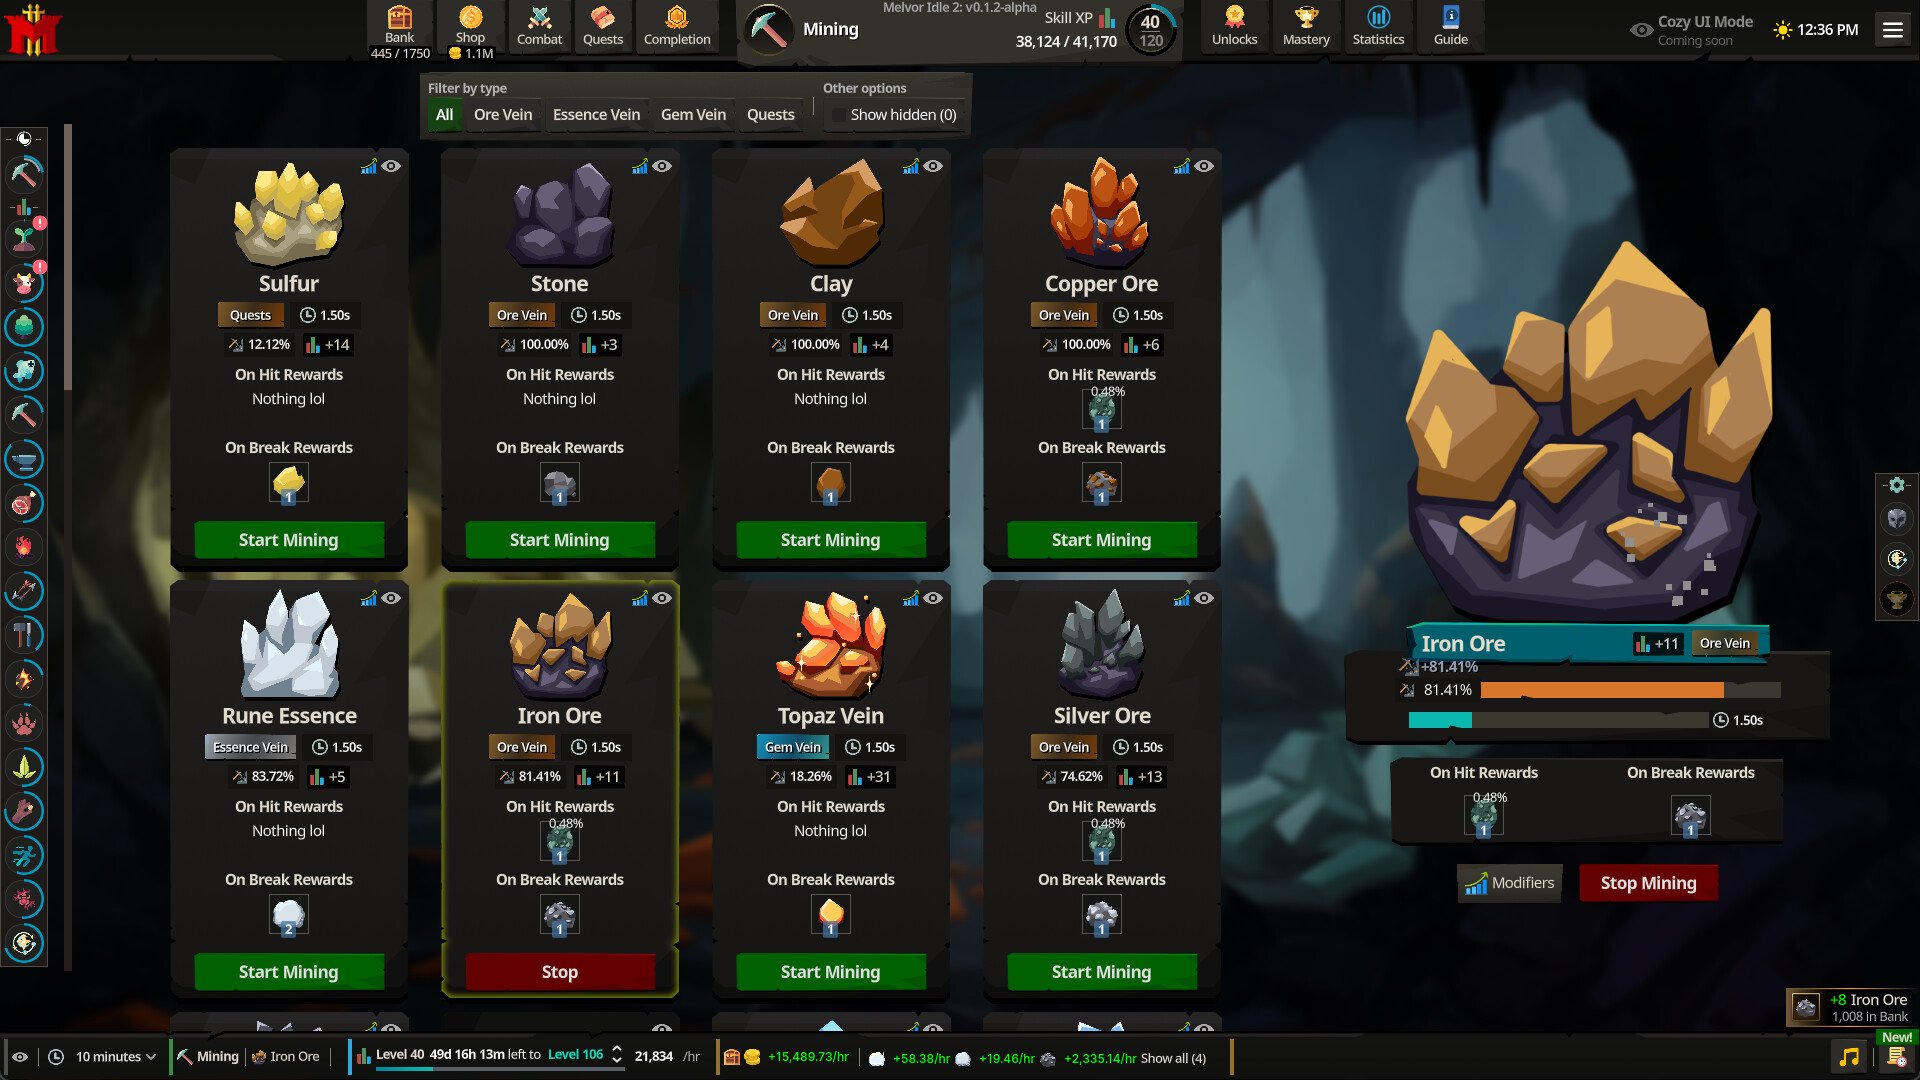
Melvor Idle 2 gives you plenty of freedom, but spending hours on the wrong skill can leave your progress at a standstill. A strong start comes from building a reliable supply of materials, preparing for combat, and choosing training activities that make good use of your time away from the game.
Offline Training Tips
Combat and Auto-Eat
Thieving, Hunting and Upgrades
Early Gold Farming
Best Early Game Route in Melvor Idle 2
Start by establishing Woodcutting, Farming, Fishing, and Mining rather than grinding one skill as high as possible. Your first objective should be a dependable supply of food, basic equipment materials, and crops that continue growing while you train elsewhere.
A practical opening progression looks like this:
- Begin with Woodcutting to collect logs and useful secondary drops, including Bird Nests that can provide seeds.
- Plant your available seeds through Farming. Crops grow passively, so start them before committing to longer activities.
- Train Fishing and Cooking to establish a supply of healing food for Combat and Thieving.
- Use Mining and Smithing to work toward better melee equipment and additional crafting materials.
- Begin fighting manageable enemies to improve your combat skills, increase Health, and collect bones for Prayer.
- Use quests to choose your next progression target rather than training every skill equally.
You don't need to complete every step before advancing to the next one. If you've already gathered enough food for your immediate combat goals, spend that time improving equipment or collecting materials for a useful upgrade.
Farming deserves particular attention because it progresses alongside your main activity. Later, the Grain Mill also opens useful connections between Farming, Cooking, and Ranching. Wheat can become flour for recipes and grain for animal feed.
Choose Offline Training That Won't Stop Halfway Through
Long training sessions are most valuable when the activity can continue for the entire period.
Woodcutting, Fishing, and Mining are dependable overnight choices because they don't consume a stockpile of ingredients. Production skills such as Smithing and Runecrafting need more preparation.
Before leaving a production skill running, check the resource consumption rate displayed in the bottom tracker. If your materials will run out in 40 minutes, there's little benefit in assigning that activity to an eight-hour session.
| Activity | Best Approach |
|---|---|
| Woodcutting, Fishing, Mining | Reliable long sessions with no crafting inputs required |
| Cooking, Smithing, Runecrafting | Check available materials and consumption rates first |
| Hunting | Prepare enough traps or unlock trapless hunting where available |
| Combat, Thieving | Confirm survivability and sufficient food before leaving unattended |
Early Access also added a Reach Level stop condition. Use it when you need a specific skill requirement, but check that an automatic stop won't interrupt a longer session you intended to leave running.
Don't Idle Combat Until You've Checked Auto-Eat
One of the easiest ways to lose progress in Melvor Idle 2 is assuming that a large food supply guarantees survival.
Auto-Eat initially activates when your Health drops below 25%. An enemy capable of dealing enough damage in one attack can still kill you before automatic healing saves your character.
The Health bar provides two useful indicators. The sword marker shows an enemy's maximum hit, while the meat marker represents your Auto-Eat threshold.
If the enemy's maximum hit extends beyond the Auto-Eat threshold, the encounter isn't safe to leave unattended simply because you have plenty of food.
When preparing for longer combat sessions, prioritize increasing Health, improving defensive equipment, and choosing enemies with manageable damage.
Train the Combat Stat You Actually Need
Melee progression involves more than equipping your strongest weapon. Different attack styles train different attributes.
Stab trains Attack, while Slash and Crush can train Strength. Defensive styles allow you to develop Defence.
Check your selected attack style before beginning a long session. Training Strength for several hours won't help much if your next equipment upgrade requires a higher Attack level.
Keep some bones for Prayer as well. Prayer provides useful combat bonuses, and burying bones supplies the points needed to use them.
Use Thieving and Hunting to Improve Other Skills
Some of the most useful early unlocks don't come from directly training the skill they improve.
Thieving can provide equipment bonuses for gathering and production, while Hunting supplies materials for Beastcrafting. Both are worth approaching with a specific reward in mind.
Aim for Reliable Thieving Before Chasing Rare Drops
Start with easier targets and improve your Stealth before attempting extended sessions against more difficult NPCs.
The Balaclava from the Thug is a useful early equipment target. Sushi can also provide a passive Stealth bonus while selected as Thieving food, without needing to consume it for that bonus.
Once your Stealth is high enough to achieve a 100% success chance against a particular target, you can steal from that target without failed attempts interrupting your progress.
Until then, account for the damage and stun penalties from failed thefts. A difficult target isn't automatically better experience if your character spends too much time recovering.
Hunt for Materials You'll Actually Use
Hunting feeds directly into Beastcrafting, which produces equipment and consumables that improve several other skills.
Birds are especially useful for herb seeds, while animals such as rabbits, toads, and snakes provide materials for Beastcrafting progression.
Later, appropriate Hunting and Strength levels unlock trapless hunting for eligible animals. Until then, keep the cost of making traps in mind when deciding which animals to farm.
Check your Mastery Guild tasks while working through these activities. You may already be close to completing objectives that provide useful skill bonuses, and the Early Access release expands the available guild ranks.
Best Early Gold Farming After the Early Access Update
Be careful with gold farming recommendations based on the October demo. The November 17 Early Access update changed several important selling prices.
Giant Chicken was previously a popular money farm because feathers sold for 4 GP each. Their value has now dropped to 1 GP, substantially reducing the profitability of selling feathers alone.
Giant Chicken can still provide useful combat experience and Big Bones for Prayer, but it's no longer worth treating older feather-based GP estimates as current.
The update also improved other sources of early income:
- Crafted jewelry from Topaz through Emerald sells for more.
- Early Runecrafting wands and staves received increased sale values.
- Early Slayer enemies, including Slimes and Bees, award more GP.
- Quest gold rewards have been doubled.
For early progression, favor activities that earn gold while supplying experience or resources you'll need later. Quest rewards and improved crafted-item prices are particularly useful when you're already training the relevant skills.
Spend your first substantial earnings on upgrades that remove immediate restrictions, such as additional Bank space, useful production improvements, or equipment that speeds up a skill you're actively training.
With Astrology, Herblore, and Agility now available in Early Access, there are also more opportunities to improve your character outside the original demo's training routes. Check their available bonuses before committing to lengthy grinds.
A productive Melvor Idle 2 character doesn't need every skill at the same level. Keep passive activities running, maintain enough supplies for your next combat goal, and use your active time to complete the upgrades that open up better training options.