REPO Monsters Guide 2026: All Enemies And Tips

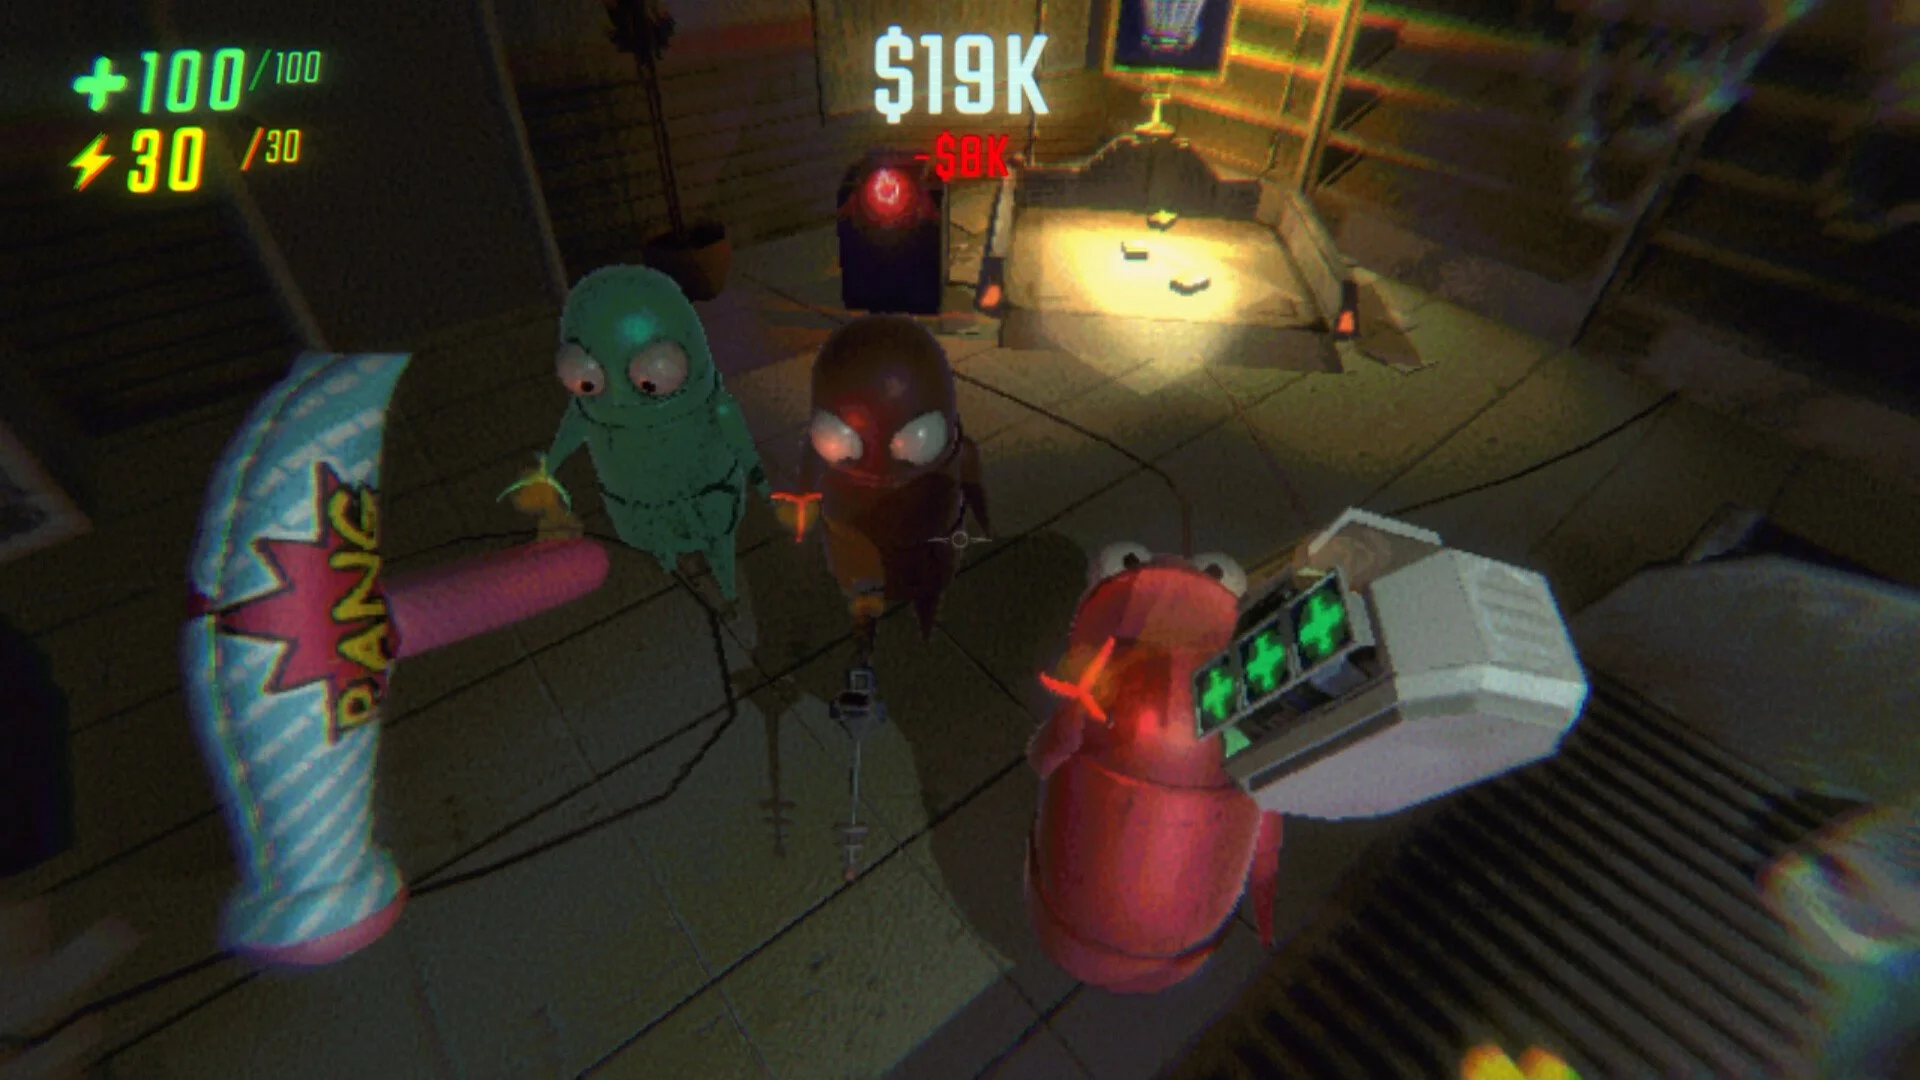
REPO monsters are the main threat that turns a clean haul into a panic run. The current 2026 monster list includes 29 enemies across 3 Danger Levels, with each monster using different detection rules, damage patterns, movement habits, and counterplay. This guide covers every REPO monster, how danger levels work, how monsters detect semibots, when to fight, when to hide, and how to survive deeper levels without turning the cart into a rolling funeral.
For more REPO guides, monster breakdowns, item tips, update coverage, and survival help, visit the GamerBlurb REPO guide hub.
Jump To
REPO Monsters Explained
REPO monsters are hostile enemies that damage semibots, break valuables, block routes, punish noise, disrupt hiding, and make extraction harder as the level count rises.
The biggest mistake is treating every monster like the same problem with a different model. They are not the same. A Huntsman is a sound problem. A Shadow Child is an eye contact problem. A Tick is a carrying problem. A Cleanup Crew is a bad angle problem. A Loom is a movement problem. Solving the wrong problem gets expensive fast.
The goal is not to kill every monster. The goal is to finish the haul, extract valuables, avoid wasting health, and leave when the level becomes too hot. Monsters can be killed for Enemy Valuable orbs, but that only matters when the fight is controlled and the orb is actually recoverable.
REPO rewards calm routing more than hero play. Break line of sight when vision matters, crouch when sound matters, keep the cart out of monster paths, and only start fights when the team has a real reason. Random bravery is how a $40K haul turns into a 4 person argument in spectator mode.
Players who need a broader starting point before learning every enemy should also check the REPO beginner guide, since basic movement, looting, hiding, and extraction habits make every monster easier to handle.
All REPO Monsters List
There are 29 monsters in REPO in 2026, split into Danger Level 1, Danger Level 2, and Danger Level 3.
Danger Level is the cleanest way to understand threat size. Level 1 monsters are usually easier to control, but they still punish bad habits. Level 2 monsters create more route pressure and better orb value. Level 3 monsters are major threats that can end a run fast if the team tries to improvise.
| Monster | Danger Level | Main Threat | Best First Response |
|---|---|---|---|
| Apex Predator | 1 | Line of sight pressure and persistent following. | Break sight and avoid letting it stay close too long. |
| Bella | 1 | Becomes a problem when blocked or grabbed. | Do not block her path and do not mess with her unless needed. |
| Birthday Boy | 1 | Turns hostile after balloon trouble. | Leave the balloon alone unless the team is ready. |
| Elsa | 1 | Huge health pool and heavy damage for a Level 1 monster. | Avoid direct fights unless stun tools are ready. |
| Gnome | 1 | Low health swarm pressure and valuable disruption. | Grab, throw, or clear quickly. |
| Peeper | 1 | Line of sight damage over time. | Break sight immediately. |
| Shadow Child | 1 | Eye contact trigger and heavy hit. | Do not stare at it. |
| Spewer | 1 | Face latch and vomit pressure. | Dodge, stun, or kill when the route is safe. |
| Tick | 1 | Reacts to carried items and drains health. | Stop giving it carried item openings. |
| Animal | 2 | Persistent chase and loot disruption. | Crouch route around it or remove it if safe. |
| Banger | 2 | Explosion threat and knockback. | Keep distance or use the explosion as a weapon carefully. |
| Bowtie | 2 | Gust pressure and wall pin damage. | Move sideways and avoid getting trapped. |
| Chef | 2 | Jump pressure and knife hits. | Bait the attack, step aside, then move. |
| Gambit | 2 | Roulette damage and heavy punishment when interrupted. | Do not fight it without room and a plan. |
| Headgrab | 2 | Close range pressure and dropkick damage. | Keep space and punish after control tools. |
| Heart Hugger | 2 | Heavy contact hits. | Respect spacing and avoid trading. |
| Hidden | 2 | Kidnapping and repositioning danger. | Stay aware and regroup fast after being moved. |
| Mentalist | 2 | Lifts objects and players, then punishes clumped teams. | Spread out and break line of sight. |
| Oogly | 2 | Visible green vision cone and path pressure. | Stay out of the spotlight cone. |
| Rugrat | 2 | Throws valuables for huge damage. | Keep high value loot out of reach and stop it early. |
| Upscream | 2 | Close range scream and stun pressure. | Kill or stun quickly before it chains pressure. |
| Cleanup Crew | 3 | 360 vision, melee damage, head explosion, and radiation. | Do not take bad angles. Fight only with a plan. |
| Clown | 3 | Laser damage and dangerous melee. | Bait the laser safely or use it against other monsters. |
| Headman | 3 | Fast charge, stun, and 50 damage hits. | Use open ended cover and avoid dead end hiding. |
| Huntsman | 3 | Sound based tracking and 100 damage shots. | Crouch, stop sprinting, and control noise. |
| Loom | 3 | Target tracking, high health, clap damage, and shockwave pressure. | Keep moving and do not rely on hiding. |
| Reaper | 3 | Line of sight, sound, and repeated hit pressure. | Break sight and avoid long chases. |
| Robe | 3 | High damage and hiding punishment. | Use cover with an exit and avoid sealed hiding spots. |
| Trudge | 3 | 500 health, slam damage, explosion danger, and crouch hits. | Avoid unless using stuns, pits, or strong tools. |
The new 2026 version adds far more than the older monster list. It includes enemies that were missing from the old page, like Bella, Birthday Boy, Elsa, Tick, Gambit, Headgrab, Heart Hugger, Oogly, Cleanup Crew, and Loom. That makes this version a full replacement, not a light refresh.
REPO Danger Levels Explained
Danger Levels decide how monsters fit into the level, how threatening they are, and what kind of Enemy Valuable orb they can drop when killed.
Danger Level 1 monsters are the early pressure layer. They teach detection, hiding, noise, and item safety. Danger Level 2 monsters are the real mid run mess makers because they punish sloppy extraction paths and bad cart placement. Danger Level 3 monsters are run changing threats. When a Level 3 monster controls a hallway, the team either routes around it or spends tools to move it.
The level number changes how many monsters can appear. This is where REPO gets much harder, because higher levels do not only add stronger monsters. They add more monsters at once.
| Current Level | Level 1 Monsters | Level 2 Monsters | Level 3 Monsters |
|---|---|---|---|
| 1 to 2 | 1 | 0 | 1 |
| 3 to 5 | 1 | 1 | 1 |
| 6 to 8 | 2 | 2 | 2 |
| 9 | 2 | 3 | 2 |
| 10 to 19 | 2 | 3 | 3 |
| 20+ | 3 | 4 | 4 |
Level 10 is a major pressure jump because Level 3 monsters become more common. Level 20 and higher is where the map starts feeling crowded all the time. At that point, noise discipline, cart placement, and fast extraction matter more than squeezing every last dollar out of a room.
For a wider progression view, the REPO difficulty scaling guide is the best internal follow up because monster count, level pressure, and extraction risk all connect to how the game scales.
How Monster Detection Works In REPO
REPO monsters detect semibots through line of sight, proximity, touch, sound, and special triggers, with each monster using a different mix of those rules.
Most monsters rely on line of sight. Standing makes detection easier. Crouching makes detection harder. Hiding makes detection harder again, but hiding is not magic. A monster that gets close enough can still detect through proximity, and some monsters can attack under hiding spots if they already know where the semibot is.
| Player State | Detection Risk | Best Use |
|---|---|---|
| Standing | Highest vision risk. | Use only when moving through safe areas or escaping fast. |
| Crouched or tumbled | Lower vision risk and quieter movement. | Best default movement near monsters. |
| Hiding | Lowest sight risk, but still weak to proximity and special attacks. | Use under open ended cover with an escape route. |
Sound is the other major layer. Sprinting creates noise. Walking creates less noise. Crouching is the safe movement option when noise matters. Landing after jumping, breaking valuables, using loud weapons, and dragging loud items can pull monsters toward the sound.
Huntsman is the monster that makes sound discipline mandatory. He is blind, but his hearing is far stronger than normal monsters. Against Huntsman, crouching is not optional. It is the difference between sneaking out and getting deleted by a shotgun because someone wanted to sprint 4 feet faster.
Players who want the deeper sound breakdown should read the REPO monster hearing guide, since sound rules explain a lot of deaths that feel random at first.
How Monster Spawning Works
REPO monsters spawn based on the current level, then continue despawning and respawning as time passes.
At the start of a level, monsters usually spawn far from the truck. Early levels also give an idle window before monsters become active. That window gets shorter as the run goes deeper, and level 11 and higher has no idle time. Later levels begin dangerous immediately.
| Level | Monster Idle Time |
|---|---|
| 1 | 240 to 360 seconds |
| 2 | 214 to 321 seconds |
| 3 | 134 to 202 seconds |
| 4 | 78 to 117 seconds |
| 5 | 54 to 81 seconds |
| 6 | 48 to 72 seconds |
| 7 | 47 to 70 seconds |
| 8 | 42 to 63 seconds |
| 9 | 34 to 52 seconds |
| 10 | 22 to 33 seconds |
| 11+ | 0 seconds |
The early idle window is a free advantage. Use it to grab safe valuables, position the cart properly, and avoid waking the level early. Later, that advantage disappears, so teams need to enter every room like something is already active.
Monsters also respawn faster the longer a level lasts. Killing a monster can delay its return compared to a normal despawn, but the level timer eventually compresses respawn pressure hard. After final extraction, monster respawn pressure becomes brutal, which is why the correct move is to leave instead of trying to finish one more cute little loot run.
For a more focused breakdown on this exact system, the REPO monster respawn guide is a natural follow up.
REPO Monster Types And Counterplay
The best REPO monster strategy is to identify the type of threat first, then use the counterplay that actually matches it.
Line of sight monsters are beaten with corners, furniture, crouching, and broken vision. Sound monsters are beaten with silence. Proximity monsters are beaten with distance. Heavy monsters are beaten with stun tools, pits, knockback, or avoidance. Special trigger monsters are beaten by respecting the trigger before it becomes a fight.
| Monster Type | Examples | Best Counterplay |
|---|---|---|
| Line of sight hunters | Apex Predator, Spewer, Mentalist, Reaper | Break sight with walls, furniture, corners, and crouched movement. |
| Sound hunters | Huntsman | Crouch, stop sprinting, avoid loud items, and control landing noise. |
| Special trigger monsters | Shadow Child, Birthday Boy, Bella, Tick | Avoid the trigger first, then deal with the monster only if needed. |
| Heavy threats | Loom, Trudge, Cleanup Crew, Robe | Use stuns, pits, strong weapons, monster damage, or avoid the fight. |
| Loot disruptors | Rugrat, Animal, Gnome, Tick | Keep valuables safe and remove the threat before it damages the haul. |
This is where team roles help. One semibot can hold the route, one can move the cart, one can handle valuables, and one can watch monster movement. Randomly stacking 4 players in one doorway is not teamwork. It is a buffet.
When To Fight Or Avoid Monsters
Fight REPO monsters only when the orb value, route control, or team safety is worth the health, time, item durability, and risk spent to kill them.
Killing monsters can be profitable because most monsters drop Enemy Valuable orbs. That does not mean every monster is worth fighting. A controlled Spewer kill can be a good trade. A messy Trudge fight with no stun tools is just a long way to lose money and dignity.
| Situation | Correct Choice | Reason |
|---|---|---|
| Small monster blocking safe hauling | Kill or stun it. | It protects the route and can produce an orb. |
| Level 3 monster with no stun tools nearby | Avoid it. | The fight costs too much and can kill the run. |
| Monster is far from the haul route | Ignore it. | No value is gained by starting a fight. |
| Monster is threatening the cart or Extraction Point | Control it immediately. | Route safety matters more than looting speed. |
| Final extraction is complete | Leave. | Respawn pressure becomes too dangerous for greed. |
The best fight is a clean trade. A cheap valuable, stun tool, pit, or monster bait gets rid of a threat and leaves an orb the team can actually extract. The worst fight starts because someone got annoyed and decided to 1v1 a horror creature beside the cart.
For item damage decisions, the REPO weapon damage chart is useful because fighting monsters without knowing weapon value is how players waste good tools on bad trades.
Strength Breakpoints And Stuns
Strength breakpoints decide when semibots can grab, stun, or control certain monsters, and stunned monsters become much easier to move or kill.
Strength upgrades change monster handling. Some enemies can be controlled with low strength. Others need high strength, teamwork, or a stun first. After a monster is stunned, its weight becomes much easier to manage, which opens up pit kills, cart hits, and coordinated throws.
Stun tools are the cleanest answer when strength is not enough. Prodzap, Boltzap, Stun Grenade, Trapzap, and Tranq Gun style tools create safe windows. Knockback tools like Shockwave Grenades, Shockwave Mines, Baseball Bat, Pulse Pistol, and similar items are better for space control or pit setups.
| Control Method | Best Use |
|---|---|
| Strength grab | Best against lighter monsters when the semibot has enough upgrades. |
| Stun tools | Best against dangerous monsters that need a safe opening. |
| Knockback tools | Best for launching monsters away or toward pits. |
| Cart ramming | Useful against stunned monsters when the team lacks damage. |
| Valuable hits | Useful when the item can deal damage without ruining the haul value too badly. |
Strength is one of the best monster control investments because it turns impossible situations into manageable ones. The REPO strength chart and breakpoints guide is the best internal link here because monster handling depends heavily on knowing what each strength level actually changes.
Monster Drops And Enemy Orbs
Most killed REPO monsters drop Enemy Valuable orbs, and the orb size is based on the monster’s Danger Level.
Level 1 monsters drop small orbs. Level 2 monsters drop medium orbs. Level 3 monsters drop large orbs. Gnomes, Bangers, and non full Ticks are exceptions that do not drop normal orbs. Orbs are valuable, but they are fragile after their short protection window ends.
When an orb first drops, it has a white shell that protects it for a few seconds. After that, it turns purple or pink and becomes fragile again. Treat it like dangerous money. Place it gently, keep it away from monster paths, and do not let players trample it while pretending to help.
| Monster Danger Level | Orb Size | Best Handling Rule |
|---|---|---|
| Level 1 | Small orb | Extract when convenient, but do not risk the run. |
| Level 2 | Medium orb | Worth protecting if the route is safe. |
| Level 3 | Large orb | High value and worth planning around when the kill is clean. |
Each monster can drop an orb up to 3 times per level. If a monster dies and no orb appears, it may have already died somewhere else and left its orb behind. Searching for that missing orb is usually a waste unless the area is safe and the team knows exactly where it dropped.
For players trying to understand what is worth carrying, the REPO valuables and loot guide pairs well with this section because monster orbs are part of the same extraction economy as normal valuables.
Final Extraction Pressure
Final extraction is the most dangerous part of many REPO levels because monster pressure spikes, respawns become aggressive, and every delayed second gives the level more chances to punish greed.
The best final extraction setup happens before the last extraction officially finishes. Move valuables close, prepare the route, keep the cart out of narrow hallways, and avoid standing around after the game tells the team to return to the truck.
After final extraction, monsters are pulled hard toward the exit flow, and respawn pressure becomes much less forgiving. This is why the final phase is not the time to explore 3 extra rooms, test a weapon, or have a philosophical debate about whether that last lamp is worth it. It is not. Leave.
| Final Extraction Problem | Correct Play |
|---|---|
| Monsters gather near the route | Prepare the route before triggering the final exit pressure. |
| Cart blocks a hallway | Move it to open space before monsters arrive. |
| Team keeps looting after final extraction | Stop looting and return to the truck. |
| Monster respawns feel constant | Do not stay long enough for the level to recycle threats. |
Teams that survive deep levels are not always the teams with the best aim. They are the teams that know when the level is over.
Common REPO Monster Mistakes
The biggest REPO monster mistake is making noise without knowing which monsters are active.
Noise draws attention, and it becomes deadly around Huntsman. Sprinting, jumping, loud valuables, breaking items, explosions, gunshots, TVs, pianos, guitars, harps, and other noisy objects all make the level harder to control. Quiet movement is not slow play. It is survival.
The second mistake is parking the cart in hallways. Monsters can get stuck on carts, valuables, and doors, then start attacking the obstruction. That can damage valuables and turn the cart into the reason the haul fails. Keep the cart in open spaces whenever possible.
The third mistake is using dead end hiding spots against monsters that can attack under cover. Headman, Robe, Birthday Boy, and Loom all punish bad hiding. Open ended cover is safer because it gives an exit when the monster starts attacking the hiding place.
| Mistake | Why It Loses Runs | Correct Play |
|---|---|---|
| Sprinting near active monsters | Noise pulls attention and can trigger Huntsman pressure. | Crouch near danger and control sound. |
| Blocking paths with the cart | Monsters can attack stuck objects and damage valuables. | Park in open areas away from monster paths. |
| Fighting every monster | Bad fights waste tools, health, time, and valuables. | Fight only when the trade is worth it. |
| Ignoring special triggers | Some monsters become dangerous only after specific mistakes. | Do not stare, block, pop, grab, or carry at the wrong time. |
| Hiding from Loom | Loom can punish hiding hard and keep pressure on the target. | Keep moving instead. |
| Greeding after final extraction | Respawn pressure becomes brutal. | Leave as soon as the objective is done. |
For extra survival routing, the REPO tips and tricks guide is the better next read than another monster specific page, because most monster deaths come from bad habits before they come from bad enemy knowledge.
Final Blurb
REPO has 29 monsters in 2026, and the best way to survive them is to read the threat type before reacting. Sight monsters need broken line of sight. Sound monsters need quiet movement. Heavy monsters need stuns, pits, tools, or avoidance. Special trigger monsters need their trigger respected before the fight starts.
The new monster guide is a full upgrade over the older version because it covers the complete monster list, danger levels, detection rules, spawn scaling, strength breakpoints, orb drops, and final extraction pressure. Keep the cart out of hallways, stop sprinting near danger, fight only when the trade is worth it, and leave when the level is done. REPO does not reward bravery nearly as much as it punishes loud confidence.