The Fool has several powerful build options in Slay the Spire 2, but the best decks do more than stack cards with matching mechanics. From exploiting Impaled enemies to preparing enormous follow-up turns, these four builds focus on combinations that make each card more valuable.
Pin and Profit Build
Three-Note Checkmate Build
Second-Turn Avalanche Build
Sadness Dividend Build
Upgrades and Build Priorities
Best Fool Builds in Slay the Spire 2
The best overall Fool build is Three-Note Checkmate, which combines inexpensive Melody cards with powerful effects such as Coda, Motif, and Lullaby. However, Pin and Profit is an excellent alternative for players who want to take advantage of the character's starting Arrow.
Each build offers a different approach to combat:
| Build | Main Strategy | Best Feature |
|---|---|---|
| Pin and Profit | Exploit enemies while Impaled | Consistent single-target value |
| Three-Note Checkmate | Activate all three Melodies together | Explosive damage and defense |
| Second-Turn Avalanche | Prepare Energy and retain cards for the next turn | Massive follow-up turns |
| Sadness Dividend | Convert Sadness into damage and protection | Card draw and scaling |
You don't need to force a particular build from the beginning. The Fool starts with Foolish Shot and Song Bow, giving your first Arrow attack 21 damage before additional bonuses. This provides a strong opening while you work out which strategy your early rewards support.
Pin and Profit: The Impaled Enemy Build
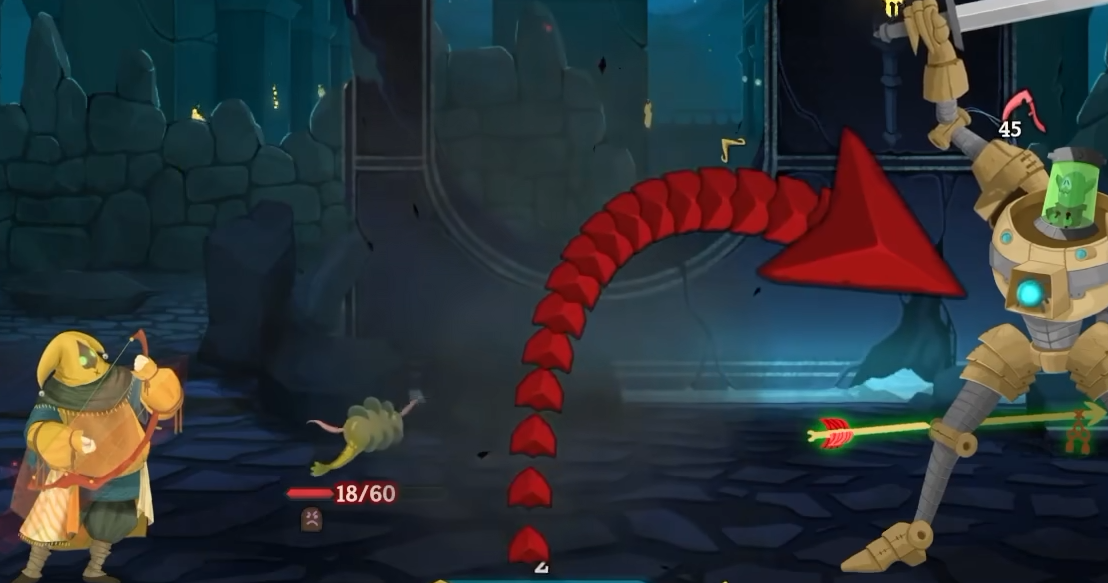
This build takes a different approach to the Fool's Arrow mechanic. Rather than firing as many Shots as possible, it focuses on keeping an enemy Impaled long enough to benefit from cards that reward attacking that target.
Best Cards for Pin and Profit
- Foolish Shot: Applies your starting Arrow to an enemy.
- Bow Smack: Deals damage and restores 1 Energy against an Impaled target.
- Ki Hop: Draws two cards when attacking an Impaled enemy.
- Wah Hammer: Deals double damage to Impaled enemies.
- Serrated Arrows: Makes Impaled enemies take 25% more damage from attacks.
- Wrest or Uproot: Recovers your Arrow when you're ready to fire again.
How the Build Works
Start by shooting a durable enemy with Foolish Shot. Once the Arrow is embedded, use your other attacks to take advantage of its Impaled status.
Bow Smack is particularly effective here. Against an Impaled enemy, its 1 Energy cost is refunded, effectively providing an attack without reducing your available Energy.
Ki Hop adds card draw, while Wah Hammer becomes a strong damage option. With Serrated Arrows active, those attacks become even more threatening.
There's one important limitation: attacking an Impaled enemy three additional times automatically dislodges the Arrow. You therefore need to decide which benefits to collect before triggering its return.
For example, you might use Bow Smack and Ki Hop first, then finish with Wah Hammer to recover the Arrow after taking advantage of the other effects.
Wrest is useful when you want the Arrow back immediately instead of waiting for additional attacks.
Why This Build Is Different
You don't need to prioritize Quiver or collect several expensive Shot cards. The build gets most of its value from having an enemy Impaled, which means a single Arrow can support your entire offensive strategy.
It works particularly well against durable enemies that survive long enough for multiple Impaled interactions.
The Twine relic is also a useful addition, granting 4 Block whenever you Dislodge an Arrow.
Three-Note Checkmate: The Zero-Cost Finisher Build
Three-Note Checkmate revolves around reaching all three Melodies in a single turn, then using cards that reward the complete combination.
The main goal is to turn an inexpensive setup into a large offensive and defensive payoff.
Best Cards for Three-Note Checkmate
- Wah Cho: Costs zero Energy and generates Wah and Cho Melodies.
- Wah Ki: Generates Wah and Ki Melodies while preparing additional resources for the next turn.
- Wah Cho Ki: Provides all three Melodies through a single card.
- Coda: Deals 40 damage and becomes cheaper with each Melody.
- Lullaby: Grants 20 Block after gaining all three Melodies.
- Motif: Draws cards when you gain Melodies.
- Song Path: Adds Block whenever you gain Cho Melody.
How to Play the Combination
The easiest combination doesn't actually require the rare Wah Cho Ki card.
- Play Wah Cho for zero Energy to gain Wah and Cho Melodies.
- Play Wah Ki for 1 Energy to add Ki Melody.
- With all three Melodies active, Coda's cost falls from 6 Energy to zero.
- Play Coda for 40 damage without spending additional Energy.
If Lullaby is active, completing the three-Melody combination also provides 20 Block. Song Path and Motif add further benefits as you generate the Melodies.
That's a major advantage of this build: your offensive setup can also produce defense and card draw without requiring a completely separate package of cards.
Wah Cho Ki simplifies the entire process by generating all three Melodies with one play.
How to Improve the Build
Upgrade Motif to reduce its cost from 2 Energy to 1. Wah Cho Ki is another excellent upgrade, increasing its damage, Block, and card draw.
The Conductor's Baton relic provides another benefit for activating all three Melodies, reducing incoming attack damage by 25% until your next turn.
This build is best when your deck can generate Melodies consistently. Since Melodies disappear at the end of each turn, don't rely on carrying them into your next hand.
Second-Turn Avalanche: The Delayed Energy Build
Most Fool builds aim to deal as much damage as possible immediately. Second-Turn Avalanche deliberately prepares a stronger follow-up turn instead.
The centerpiece is Ki Rest, which provides 5 additional Energy on your next turn. Combined with other delayed effects, it can create turns with far more resources than normal.
Best Cards for Second-Turn Avalanche
- Ki Rest: Grants 5 Energy next turn and can retain your hand.
- Ki Whip: Provides 2 additional Energy on the next turn.
- Wah Ki: Adds 1 Energy and draws a card next turn.
- Wah Cho: Provides a zero-cost way to activate Wah and Cho Melody.
- Heavy Shot: Offers a powerful attack when you have Aim available.
- Coda: Provides a high-damage outlet for your stored Energy.
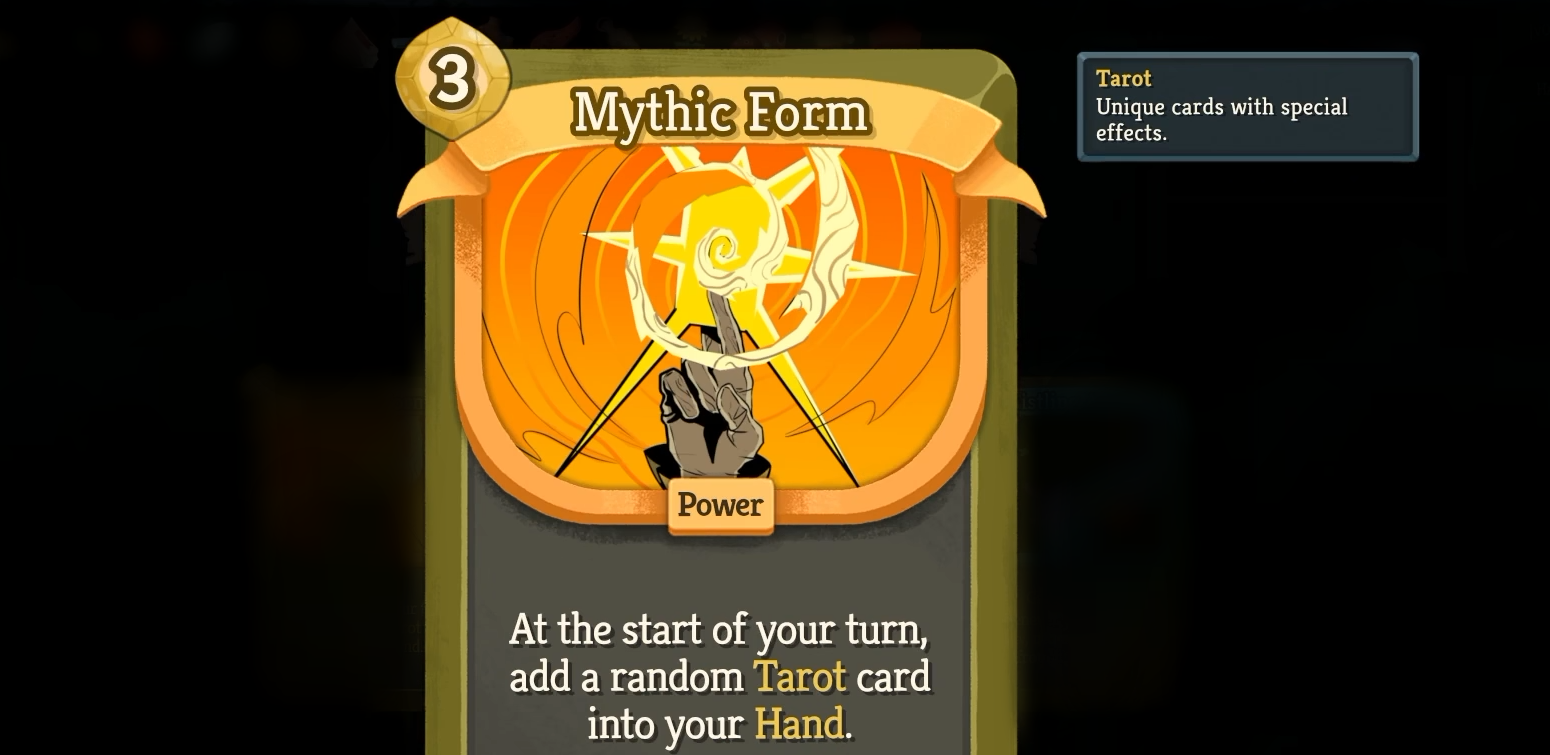
- Mythic Form: An expensive Power that becomes easier to play during a high-Energy turn.
How to Set Up a Huge Turn
The simplest setup combines Ki Rest with Ki Whip.
- Play Wah Cho to activate Wah and Cho Melody without spending Energy.
- Play Ki Rest for 2 Energy. Its Melody condition allows you to retain your hand.
- Play Ki Whip for 1 Energy, adding another delayed Energy bonus.
- End your turn and prepare to use your retained cards.
Ki Rest and Ki Whip together provide 7 additional Energy on the following turn. With the Fool's normal 3 Energy, that means you can begin the next turn with 10 Energy before other effects.
This creates opportunities to play several expensive cards together rather than choosing between them.
For example, Coda normally costs 6 Energy without Melody discounts. A large Energy reserve lets you use it without requiring all three Melodies first, potentially leaving Energy for other attacks or defensive cards.
The Biggest Risk
The setup turn can be dangerous. Ki Rest and Ki Whip consume all three of your starting Energy without providing much immediate protection.
Don't force the complete combination when enemies are preparing significant damage. Sometimes playing Ki Rest alongside a defensive card is better than maximizing the next turn's Energy.
Upgrading Ki Rest increases its next-turn bonus to 6 Energy, while Ki Whip provides 3 when upgraded.
This is a particularly interesting build for players who enjoy planning one turn ahead and arranging their hand around a large payoff.
Sadness Dividend: The Status Conversion Build
Sadness Dividend turns one of the Fool's biggest drawbacks into a resource. Instead of simply removing Sadness whenever possible, this build generates it deliberately and collects bonuses from doing so.
The important interaction is that Anguish counts the total Sadness created during combat, not how many Sadness cards are still in your hand.
Best Cards for Sadness Dividend
- Rummage: Draws three cards while creating one Sadness.
- Vitriol: Applies 2 Weak for zero Energy and creates one Sadness.
- Growth: Exhausts Sadness and generates Stretch for each card removed.
- Anguish: Gains additional damage for each Sadness created during combat.
- All Is Well: Provides Block whenever you create Sadness.
- Ecstasy: Transforms Sadness into Joy at the start of each turn.
- Ennui: Generates extra card draw and Sadness every turn.
How to Turn Sadness Into Damage and Block
Consider a turn where you have Rummage, Vitriol, Growth, and Anguish available.
- Play Rummage for 1 Energy, drawing three cards and adding one Sadness.
- Play Vitriol for zero Energy, applying Weak and creating another Sadness.
- Play Growth for 1 Energy to Exhaust both Sadness cards and gain 8 Stretch.
- Play Anguish for 1 Energy, dealing 18 damage because you've created two Sadness cards during the combat.
That combination costs just 3 Energy and converts two unwanted status cards into a stronger attack and additional defensive potential.
The key detail is that Growth removing the Sadness doesn't reduce Anguish's damage. Anguish tracks what you've created during the fight, allowing you to remove the cards without losing the benefit.
Best Relic and Upgrade Combinations
Fertilizer is an excellent relic for this strategy because every Sadness created also provides 1 Strength. That gives the build another way to scale damage while generating its usual resources.
Growth becomes more effective when upgraded, providing 6 Stretch per Sadness instead of 4.
Ecstasy offers an alternative to exhausting Sadness. By converting it into Joy, you can recover Energy and draw additional cards rather than removing the status entirely.
I'd avoid adding too many Sadness generators before finding Growth or Ecstasy. Otherwise, the Unplayable cards can accumulate in your hand faster than you can manage them.
Best Upgrades and How to Choose Your Build
The Fool doesn't need to commit to a complete strategy during the first few fights. Your initial card rewards can determine whether you should build around Impaled enemies, Melodies, delayed Energy, or Sadness.
| Build | Early Cards to Look For | Upgrade Priority |
|---|---|---|
| Pin and Profit | Bow Smack, Ki Hop, Wah Hammer | Wrest, Serrated Arrows |
| Three-Note Checkmate | Wah Cho, Wah Ki, Motif | Motif, Wah Cho Ki, Song Path |
| Second-Turn Avalanche | Ki Rest, Ki Whip, Wah Cho | Ki Rest, Ki Whip |
| Sadness Dividend | Rummage, Vitriol, Growth | Growth, Anguish, Ecstasy |
When Should You Change Builds?
Don't keep drafting around a combination that isn't appearing.
If you're collecting Shot cards but have no reliable way to recover your Arrow, add Impaled-target attacks rather than more Shots. If your deck already generates several Melodies, prioritize cards that convert them into damage, Block, or draw.
Likewise, drawing Ki Rest doesn't mean you need a complete delayed-Energy deck. It can simply help you prepare one powerful turn within another strategy.
Sadness cards should also earn their place through useful effects. A single Rummage can be worthwhile for card draw, but several generators become a liability without a way to process their status cards.
The best Fool builds take advantage of what the deck already does consistently. Whether you're holding an enemy Impaled, preparing three Melodies, storing Energy for the next turn, or recycling Sadness, every new card should improve that plan rather than introduce another competing one.