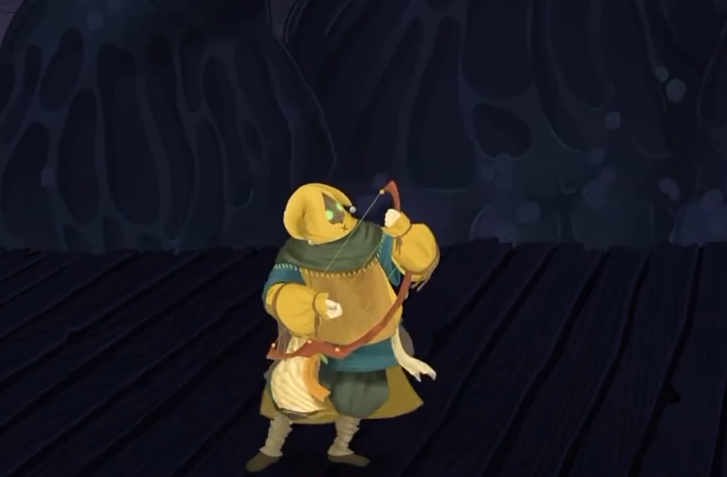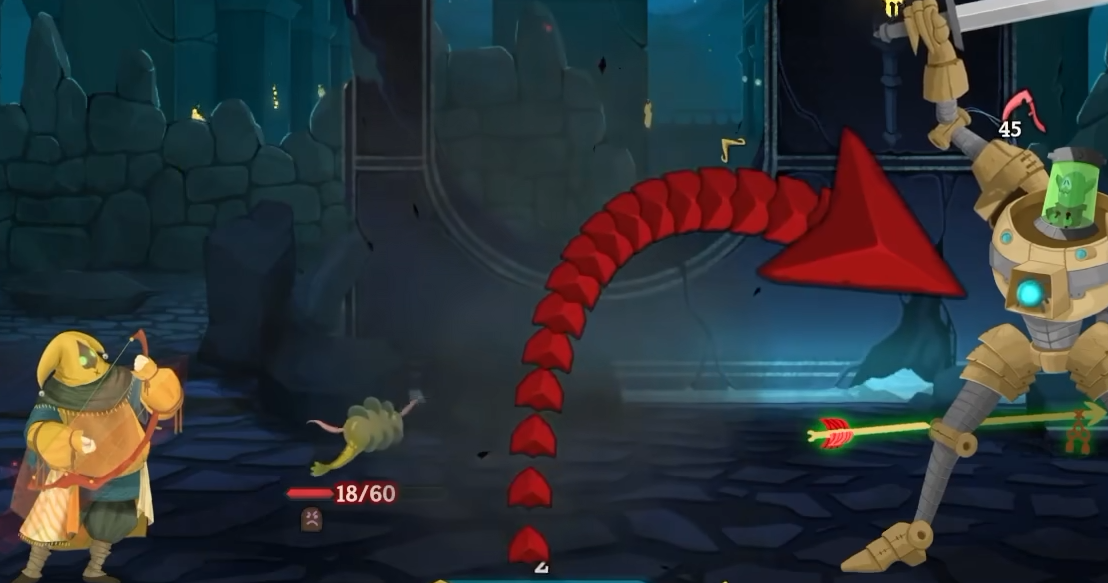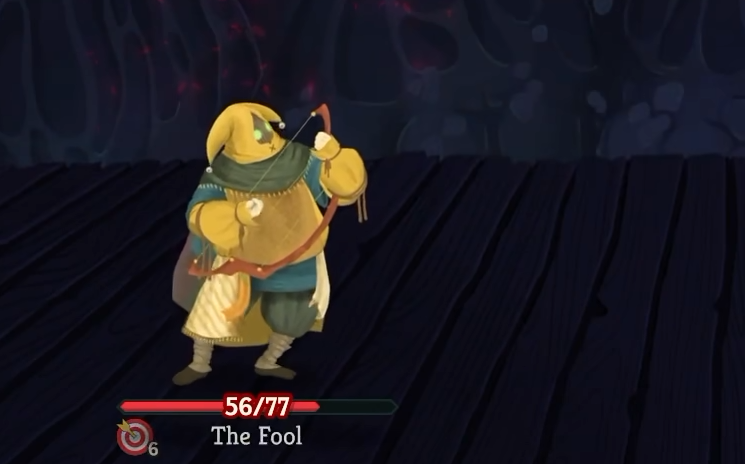
The Fool has 79 regular cards in Slay the Spire 2, but their effectiveness depends heavily on how you build your deck. Some provide immediate damage or defense, while others need Arrow recovery, active Melodies, or Sadness management to reach their potential. This tier list ranks every regular Fool card and explains which ones deserve priority.
S Tier Cards
A Tier Cards
B Tier Cards
C Tier Cards
Best Cards for Each Build
Which Cards to Unlock First
Best Fool Cards in Slay the Spire 2
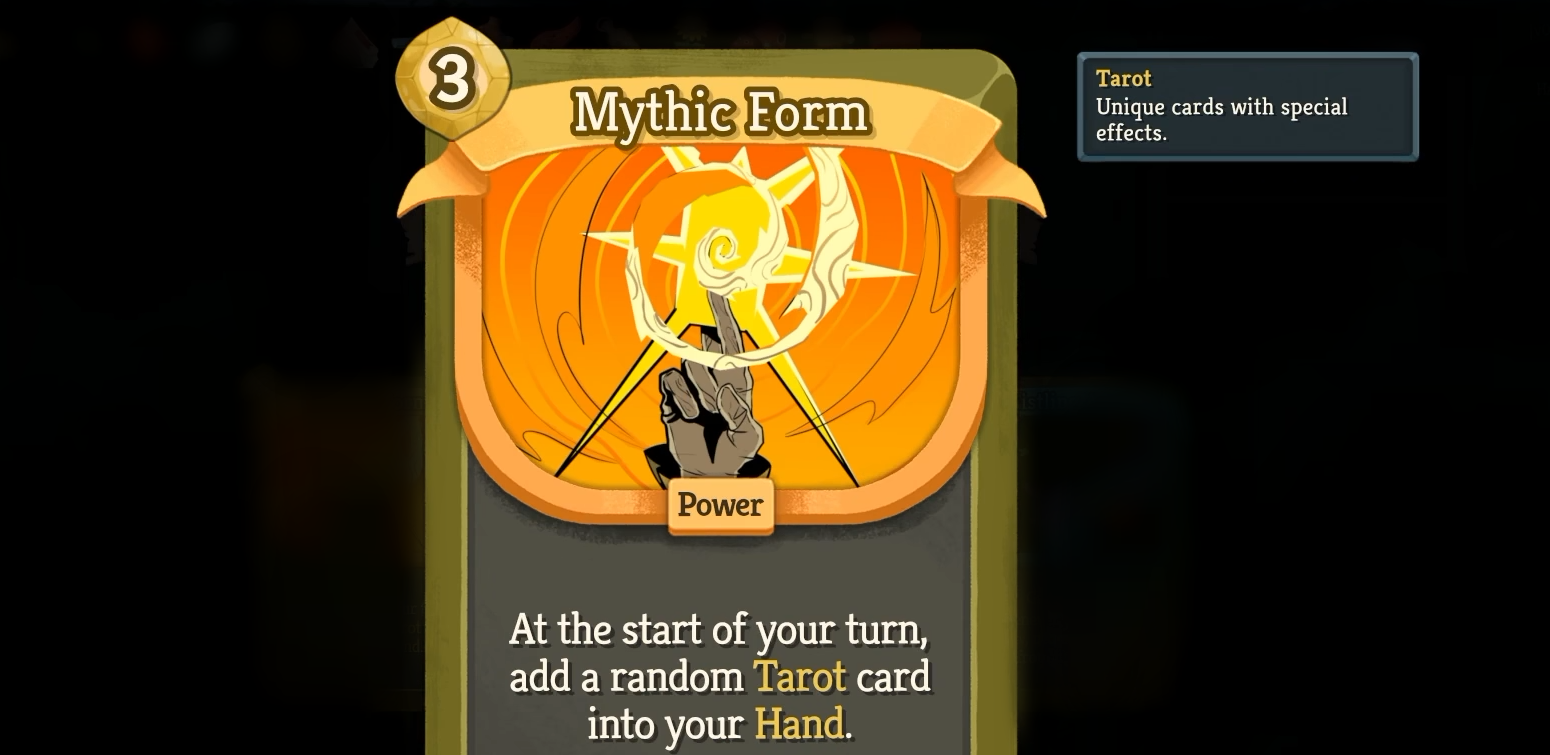
The best Fool cards in Slay the Spire 2 include Wah Cho Ki, Motif, Song Path, Wrest, Cho Ready, Wah Cho, Quiver, Violent Chord, and Mythic Form.
These cards stand out for different reasons. Wah Cho Ki enables multiple Melody effects simultaneously, Wrest makes Arrow recovery easier, and Mythic Form provides recurring value during longer encounters.
However, Quiver isn't nearly as valuable in a deck that rarely shoots Arrows, just as Motif offers little without reliable Melody generation. A card's ceiling matters, but so does how consistently your existing deck can reach it.
Our rankings use four tiers:
- S Tier: Exceptional cards that anchor powerful strategies or provide unusually strong value.
- A Tier: Reliable upgrades and strong supporting cards.
- B Tier: Useful cards that need specific synergies or favorable circumstances.
- C Tier: Narrow, inconsistent, or difficult-to-justify selections.
These rankings focus on ordinary single-player runs using the early public-beta card pool. They consider Energy efficiency, consistency, scaling, and how much additional support each card needs. Multiplayer-only and Ancient cards are excluded because they aren't part of the normal single-player reward pool.
S Tier: Best Fool Cards Overall
S Tier contains the Fool's strongest strategic foundations. These cards can solve persistent problems, create a reliable engine, or turn an existing mechanic into a major advantage.
| Card | Rarity | Why It's S Tier |
|---|---|---|
| Wah Cho Ki | Rare | Provides all three Melodies while dealing damage, gaining Block, and drawing a card. Enables several powerful combinations in one play. |
| Motif | Uncommon | Converts Melody generation into additional card draw, helping Melody decks maintain momentum. |
| Song Path | Uncommon | Provides recurring Block from Cho Melody, adding reliable defense to decks already using Cho cards. |
| Wrest | Uncommon | Recovers an Arrow and draws two cards for zero Energy. Excellent for maintaining Arrow rotations. |
| Cho Ready | Common | Provides defense and Aim in one card, supporting both survival and the next Arrow attack. |
| Wah Cho | Uncommon | Costs zero Energy, provides Block and damage, and generates two different Melodies. |
| Quiver | Rare | Adds another Arrow, removing a major limitation of Arrow-focused decks. |
| Violent Chord | Uncommon | Converts Wah Melody generation into repeatable damage against every enemy. |
| Mythic Form | Rare | Generates a random Tarot card every turn, providing powerful recurring effects during longer fights. |
Why Wah Cho Ki Is Our Top Pick
Wah Cho Ki offers more than its printed 9 damage, 9 Block, and one-card draw.
Its real strength is activating all three Melodies simultaneously. That can reduce Coda's cost to zero, trigger Lullaby's 20 Block, and improve cards such as Rhythm Strike and Harmonic Shield.
Instead of assembling three separate Melody cards during the same turn, you can establish the entire combination with one play.
For a dedicated Melody deck, this makes Wah Cho Ki one of the most impactful cards you can acquire.
Why Quiver Isn't an Automatic Pick
Quiver earns S Tier because adding an Arrow fundamentally improves Arrow builds. It allows more Shoot cards to function without waiting for a previous Arrow to return.
However, this is a build-dependent ranking. If your deck relies primarily on Melodies, Stretch, or Sadness and only uses Foolish Shot occasionally, Quiver becomes much less important.
I would prioritize Quiver once the deck already contains several worthwhile Shoot attacks. Otherwise, a card that improves your existing strategy may offer more immediate value.
A Tier: Strong and Reliable Fool Cards
A Tier cards are excellent additions when they fit your deck. Many provide consistent defense, damage, or Energy without requiring an entire strategy to revolve around them.
| Card | Rarity | Best Use |
|---|---|---|
| Archery | Uncommon | Builds Aim every turn for sustained Arrow damage. |
| Bow Smack | Common | Generates Energy while attacking Impaled enemies. |
| Cho Firm | Common | Provides efficient Block when you're holding an Arrow. |
| Cho Ki | Uncommon | Provides Block and restores previously spent Stretch. |
| Coda | Rare | Delivers enormous damage when all three Melodies are active. |
| Explosive Arrows | Rare | Adds area damage whenever you Impale enemies. |
| Harmonic Shield | Uncommon | Converts active Melodies into substantial Block. |
| Hidden Roots | Uncommon | Produces recurring Stretch for long-term defense. |
| Ki Hop | Common | Draws additional cards when attacking Impaled enemies. |
| Ki Rest | Uncommon | Sets up a powerful next turn with additional Energy and possible hand retention. |
| Ki Verse | Rare | Repeats a Wah, Cho, or Ki card for stronger combinations. |
| Ki Whip | Common | Provides additional Energy on the following turn. |
| Lullaby | Rare | Produces 20 Block when all three Melodies are gained. |
| Melodic Shot | Rare | Scales its number of hits with active Melodies. |
| Rhythm Strike | Uncommon | Offers zero-cost damage that grows with Melody generation. |
| Rummage | Uncommon | Provides significant card draw at the cost of adding Sadness. |
| Serrated Arrows | Uncommon | Increases the damage dealt to Impaled enemies. |
| Sky Shot | Rare | Provides strong opening damage without needing to draw it. |
| Vitriol | Uncommon | Applies Weak for zero Energy, especially useful with Sadness support. |
| Wah Blast | Uncommon | Provides excellent area damage when Cho or Ki Melody is active. |
| Wah Hammer | Common | Deals strong damage to Impaled enemies. |
| Wah Ki | Uncommon | Generates two Melodies while preparing Energy and card draw for the next turn. |
| Wah Sweep | Common | Offers inexpensive damage against multiple enemies. |
| Wah Symphony | Rare | Scales area damage with the number of Wah, Cho, and Ki cards in your deck. |
| Yah! | Rare | Rewards consistent Arrow recovery with additional Energy. |
A Tier Cards That Can Become S Tier
Coda becomes a devastating finisher when your deck can reliably generate all three Melodies. At zero Energy, its 40 base damage is exceptionally efficient.
Wah Symphony also improves dramatically as your deck accumulates more Wah, Cho, and Ki cards. Its scaling comes from the composition of your deck, making it especially appealing when you've already committed to a Melody-heavy strategy.
Yah! is another card whose value depends on your setup. In a deck that repeatedly Dislodges Arrows, the recurring Energy can help sustain longer turns. Without reliable recovery, that payoff becomes inconsistent.
B Tier: Good Cards With Specific Requirements
B Tier isn't a collection of bad cards. These selections often become valuable when you already have the right supporting effects, but they are less dependable as standalone additions.
| Card | Rarity | Why It's B Tier |
|---|---|---|
| All Is Well | Uncommon | Useful protection in decks that regularly generate Sadness. |
| Anguish | Uncommon | Scales damage with accumulated Sadness creation. |
| Arrow Stab | Common | Retrieves Shoot cards but requires you to have an Arrow available. |
| Blossom Shot | Uncommon | Combines Arrow damage with Stretch generation at a relatively high cost. |
| Bounce | Rare | Provides recurring Stretch, especially useful for defensive decks. |
| Brace | Uncommon | Builds large Aim totals but competes with other cards for Energy. |
| Cho Barbs | Common | Provides Block and temporary Thorns without significant setup. |
| Cho Chorus | Rare | Potentially powerful with several Wah and Ki cards already in hand. |
| Cho Limbs | Uncommon | Becomes efficient defense when Wah or Ki Melody makes it free. |
| Deep Stretch | Common | Generates Stretch and replaces itself with card draw. |
| Dislike You | Uncommon | Improves Shot damage during a turn built around Arrow attacks. |
| Ecstasy | Rare | Turns recurring Sadness into Joy, but needs Sadness generation. |
| Encore | Rare | Provides Energy and cards while sharply limiting the rest of your turn. |
| Ennui | Rare | Strong ongoing draw with the drawback of generating Sadness. |
| Growth | Uncommon | Removes Sadness and converts it into Stretch. |
| Heavy Shot | Common | Excellent Aim payoff, but its cost is difficult to justify without setup. |
| Hobbling Shot | Uncommon | Combines damage with Weak and Vulnerable. |
| Honing | Rare | Increases Arrow damage but requires a significant initial Energy investment. |
| Ki Chant | Common | Helps select useful cards from the top of your draw pile. |
| Nail | Rare | Powerful against Impaled enemies, but requires the target to remain Impaled. |
| Nock | Common | Provides free Aim, but only matters when you're preparing to Shoot. |
| Punch of Joy | Uncommon | Converts Sadness into Joy while dealing damage. |
| Rain Shot | Common | Offers useful area damage but consumes an available Arrow. |
| Rapid Shot | Uncommon | Provides multiple hits for Arrow-based interactions. |
| Recall | Common | Recovers an Arrow and manipulates your next draw. |
| Repeat Shot | Rare | Can deliver considerable damage with sufficient Energy and Arrow support. |
| Show Off | Rare | Builds permanent Aim on successful qualifying kills. |
| Steady Cadence | Uncommon | Converts active Melodies into extra card draw. |
| Uproot | Uncommon | Recovers an Arrow while applying significant Vulnerable. |
| Wah Touch | Common | Applies Vulnerable while contributing to Wah Melody. |
| Whistling Arrows | Uncommon | Provides repeatable Block in decks that regularly Shoot. |
Don't Underestimate Sadness Support
Several B Tier cards can become central pieces of a successful deck when used together.
Rummage and Ennui provide additional card draw but generate Sadness. Adding Growth gives you a way to convert that unwanted hand clutter into Stretch.
Ecstasy offers a different solution by gradually transforming Sadness into Joy, which generates Energy and replaces itself with another card.
Rather than taking every Sadness-related card available, focus on combining a manageable number of generators with reliable ways to use or remove the resulting cards.
C Tier: Most Situational Fool Cards
C Tier cards tend to have awkward costs, difficult setup requirements, or drawbacks that can outweigh their benefits. They still have uses, particularly in specialized decks, but are generally lower-priority rewards.
| Card | Rarity | Main Weakness |
|---|---|---|
| Blot out the Sky | Uncommon | Generates a random Shoot card, making its value dependent on your available Arrow and the result. |
| Brighten Up | Rare | Creates Joy alongside Sadness, introducing additional hand management. |
| Epic Retrieval | Uncommon | Needs its attack to Dislodge an Arrow to deliver the Energy payoff. |
| Florescence | Rare | Exhausts Shoot cards to create a replacement attack, demanding a specialized deck. |
| Jest | Common | Provides substantial Block but costs 2 Energy and adds Sadness. |
| Locked In | Uncommon | Searches for a Shoot card without solving the problem of having an Arrow available. |
| Mourning Blow | Common | Offers free damage but leaves behind a retaining Sadness card. |
| Quick Shot | Common | Cheap damage that still consumes your limited Arrow resource. |
| Quietus | Rare | Doubles Shot damage but destroys the Arrow, creating a major tradeoff. |
| Simpleton | Rare | Automatically plays a card, making the outcome dependent on hand composition. |
| Sorrowful Strike | Common | Adds two Sadness cards for relatively modest immediate damage. |
| Timber | Uncommon | Costs 3 Energy and requires a kill to activate its area damage. |
| Trick Shot | Uncommon | Returns to your hand, but still needs available Arrows for repeated use. |
| Tune | Uncommon | Delays its free-card benefit and requires Ki Melody at the end of the turn. |
The biggest warning here concerns cards that interfere with Arrow availability. Quietus can create a powerful single attack, but permanently destroying an Arrow is a significant cost when your deck depends on repeated Shots.
Likewise, Trick Shot returning to your hand doesn't automatically mean you can fire it again. You still need an Arrow available.
These cards become more appealing when the rest of your deck specifically solves their limitations.
Best Fool Cards for Each Build
A general tier list is useful when evaluating unfamiliar rewards, but the Fool's mechanics make build-specific rankings particularly important.
Best Arrow Build Cards
Prioritize Quiver, Wrest, Cho Ready, Archery, and Serrated Arrows.
Quiver expands your available Arrows, Wrest helps recover them, and Cho Ready provides both Block and Aim. Archery builds repeatable damage scaling, while Serrated Arrows makes leaving a target Impaled more rewarding.
Once those fundamentals are covered, heavier Shot cards become much easier to justify.
Best Melody Build Cards
Prioritize Wah Cho Ki, Motif, Wah Cho, Song Path, and Violent Chord.
These cards create a flexible foundation that combines offense, defense, and card draw.
When the deck reliably activates multiple Melodies in one turn, Coda, Lullaby, Harmonic Shield, and Wah Symphony become increasingly attractive.
The main advantage of this approach is that the same Melody-generating cards can support several different payoffs rather than forcing you into one type of damage.
Best Sadness Build Cards
Prioritize Rummage, Ennui, Growth, Ecstasy, and Vitriol.
Rummage and Ennui provide card draw, while Vitriol offers inexpensive Weak application. Growth and Ecstasy help prevent the resulting Sadness from overwhelming your hand.
Anguish becomes more appealing once you've committed to generating large amounts of Sadness, since its damage increases with every Sadness created during combat.
Best Defensive Fool Cards
Cho Ready, Song Path, Hidden Roots, Harmonic Shield, and Lullaby are among the strongest defensive choices.
Each supports a different approach. Cho Ready is effective immediately, Hidden Roots builds Stretch over time, and Lullaby provides a large payoff for completing all three Melodies.
The best defensive addition is usually the one that works with cards you're already playing, rather than requiring an entirely new engine.
Which Fool Cards Should You Unlock First?
Not every card is available when you first start playing the Fool. Several important options are added through the character's Timeline Epochs.
| Requirement | Cards Unlocked | Priority |
|---|---|---|
| Beat Act 1 as the Fool | Arrow Stab, Blossom Shot, Quiver | High, particularly for Arrow builds |
| Defeat 15 Elites as the Fool | Wah Touch, Cho Limbs, Ki Verse | High for Melody strategies |
| Beat Ascension 1 as the Fool | Sorrowful Strike, Growth, Ennui | Useful for expanding Sadness builds |
Beating Act 1 is the first milestone I'd prioritize because it unlocks Quiver. The additional Arrow opens up strategies that are much harder to manage with the character's original single-Arrow limitation.
After that, the Elite-kill milestone is especially valuable for Melody decks, while Ascension 1 provides more tools for experimenting with Sadness.
Ultimately, the best Fool card isn't always the highest-ranked card on this list. A well-supported B Tier card can outperform an S Tier card that has nothing to interact with. Build around what your deck already does well, then use your rewards to solve its biggest remaining weakness.
This tier list reflects the early Slay the Spire 2 public beta, and individual rankings may shift as the Fool receives balance changes.