Subnautica 2 Bioscanner Guide: Blueprint Location And Recipe
The Bioscanner in Subnautica 2 is an upgraded Scanner made with Axum technology, used to scan alien systems, Axum objects, and Lifeforms connected to Biomod unlocks. Its blueprint is found inside the Cicada Wreck EVA Prep area near the Karakorum Power Plant route, making it one of the key tools for later alien progression.
For more Subnautica 2 crafting routes, alien progression, resource guides, and vehicle help, use the complete Subnautica 2 guide hub.
Jump To
How To Get The Bioscanner In Subnautica 2
The Bioscanner blueprint is found inside the Cicada Wreck EVA Prep area near the Karakorum Power Plant route, and it must be scanned once before the Bioscanner can be crafted at the Modification Station.
The Bioscanner is not an early throwaway tool upgrade. It belongs to Axum technology progression, which means it becomes important once alien structures, the Power Plant route, and Lifeform scanning start blocking progress. The normal Scanner handles early fragments and basic objects, but the Bioscanner reads alien tech that the regular Scanner cannot handle.
Bring the Repair Tool before entering the wreck. A broken door blocks the path deeper inside, and the blueprint is past that point. A Flashlight is also worth bringing because the wreck is dark, narrow, and awkward to move through once the route starts twisting around.
The Bioscanner is crafted from the normal Scanner, so keep one ready. The upgrade recipe uses 1 Scanner, 2 Enameled Glass, and 3 Conduit Crystal.
Bioscanner Blueprint Location In Subnautica 2
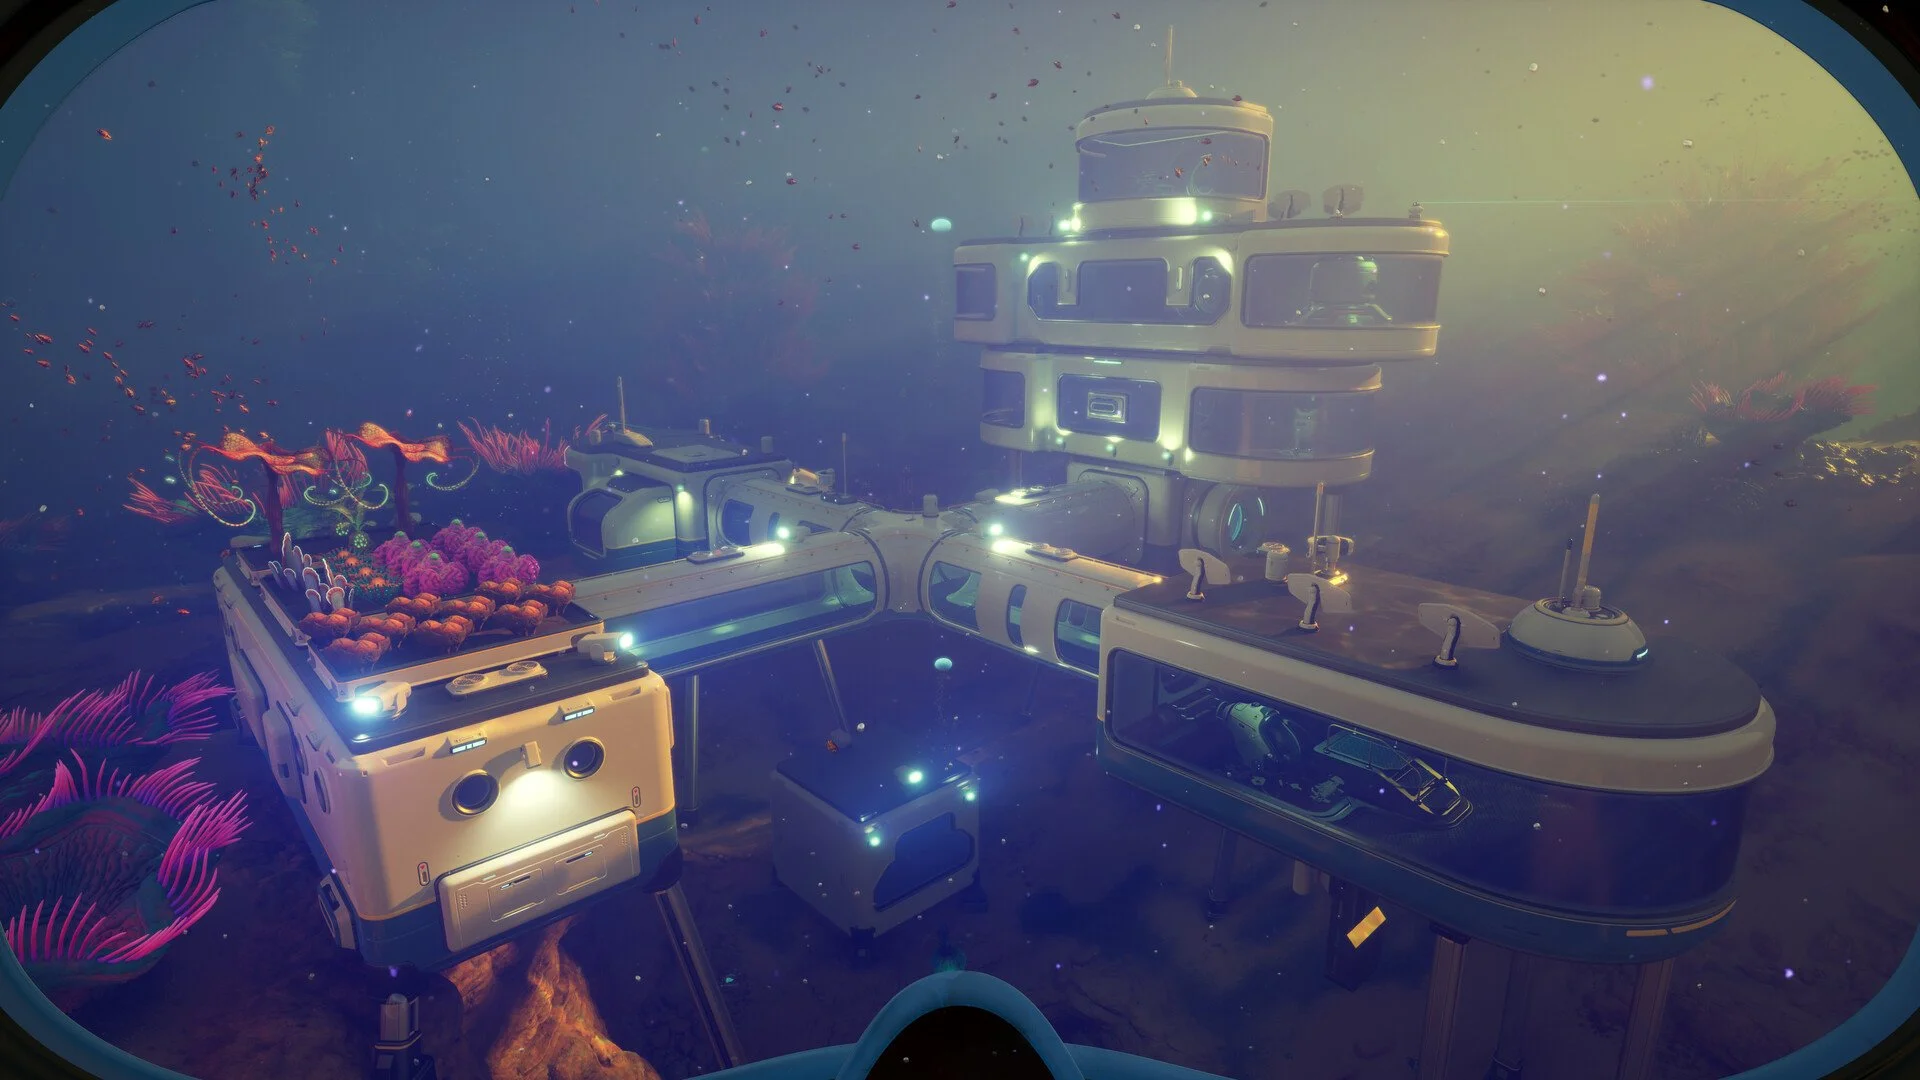
The Bioscanner blueprint is located in the large wreck above the Upper Generator Control Room near the Karakorum Power Plant, also known as the Cicada Wreck EVA Prep area.
The route becomes clearer after reaching the Alien Ruins and following the NOA Terminal progression toward the Iso blackbox signal. The wreck sits near the large alien turbine and contains several important scans in one place, including the Bioscanner, Photovoltaic Charger, Modification Station, and other useful wreck items.
This is one of those Subnautica 2 locations that should be cleared properly the first time. Leaving after only grabbing the Bioscanner means missing upgrades that are already sitting in the same wreck. Efficient? No. Very underwater survival game behavior? Absolutely.
| Bioscanner Detail | Info |
|---|---|
| Blueprint Location | Cicada Wreck EVA Prep near the Karakorum Power Plant route. |
| Nearby Landmark | Large wreck above the Upper Generator Control Room. |
| Route Marker | Iso blackbox signal near the alien turbine route. |
| Required Tool | Repair Tool. |
| Recommended Tool | Flashlight. |
How To Reach The Bioscanner Wreck
To reach the Bioscanner wreck, start near the Power Plant area by the control room route, swim upward, and look for the large wreck positioned above the location.
The entrance leads into a dark interior with a broken door early in the path. Use the Repair Tool to fix the door, then continue deeper through the wreck. Movement can feel awkward because parts of the wreck are angled and upside down, so keep the next opening in view before pushing too far from the oxygen refill point.
There is an air pocket along the route. Use it. The Bioscanner path is not hard once the wreck is found, but trying to rush through the whole interior on low oxygen is how a simple blueprint run turns into a dramatic swim back from a very avoidable mistake.
I noticed the cleanest way to handle this wreck is to treat it like a full scan run instead of a single blueprint grab. Repair the door, refill oxygen when the route gives the chance, and scan everything useful before leaving.
Inside The Cicada Wreck EVA Prep
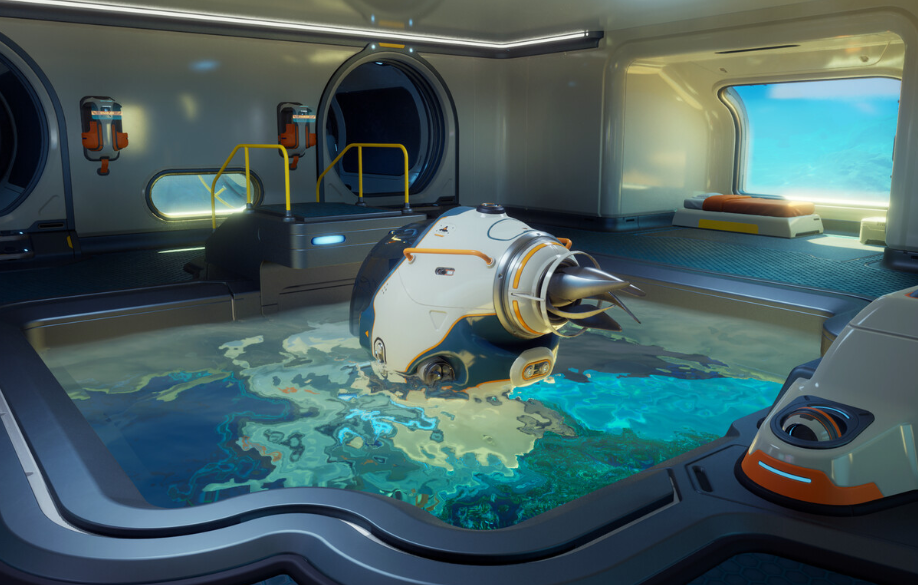
Inside the Cicada Wreck, repair the broken doorway, move through the EVA suit room, scan the useful equipment, then head down the shaft to reach the Bioscanner blueprint.
The first room contains EVA suits in pods and an Improved Fins scan in a crate. The next room has the Iso blackbox, the Photovoltaic Charger Tadpole upgrade module, and the Modification Station scan. The Modification Station matters because the Bioscanner is crafted there after the blueprint and materials are ready.
After clearing the upper rooms, head down the shaft and use the oxygen refill point before continuing. The Bioscanner blueprint is found along the lower path. Scan it once to unlock the recipe, then leave through the return route or repair the exit door if using the alternate way out.
| Wreck Step | What To Do |
|---|---|
| Enter the wreck | Swim into the Cicada Wreck EVA Prep entrance above the Power Plant route. |
| Repair the door | Use the Repair Tool to open the blocked path. |
| Check the main room | Scan useful items, including Improved Fins if needed. |
| Search the next room | Scan the Photovoltaic Charger and Modification Station, then collect the Iso blackbox. |
| Go down the shaft | Use the oxygen refill point before pushing lower. |
| Scan the Bioscanner | Scan the Bioscanner blueprint once to unlock the recipe. |
The Photovoltaic Charger is a Tadpole upgrade, so this wreck also connects to vehicle progression. The Subnautica 2 Tadpole upgrades guide covers that module and the other Tadpole upgrades worth building around.
Bioscanner Recipe In Subnautica 2
The Bioscanner recipe requires 1 Scanner, 2 Enameled Glass, and 3 Conduit Crystal, and it is crafted at the Modification Station.
This is an upgrade to the normal Scanner rather than a completely separate starter tool. The recipe uses the Scanner itself, then adds stronger alien area materials to push it into Axum tech progression. That is why the Bioscanner sits later than basic fragment scanning.
| Bioscanner Material | Amount Needed |
|---|---|
| Scanner | 1 |
| Enameled Glass | 2 |
| Conduit Crystal | 3 |
The Modification Station should be scanned inside the same wreck if it has not been unlocked already. Without it, the Bioscanner blueprint can be unlocked while the actual craft stays blocked. That is a brutal little detail, but it is easy to avoid by scanning the station during the first wreck trip.
What The Bioscanner Does In Subnautica 2
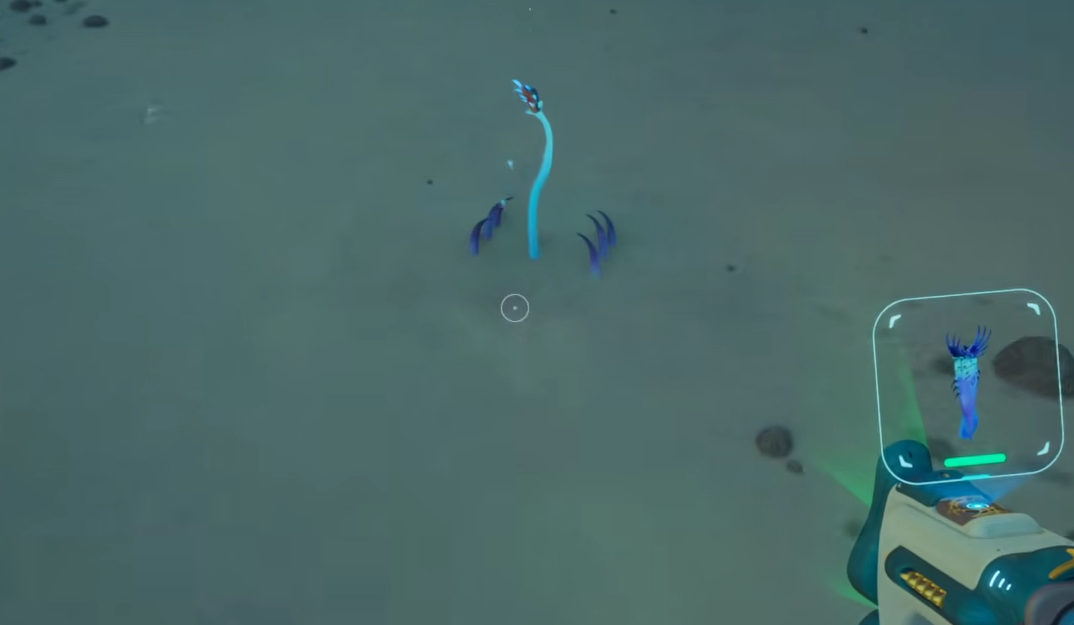
The Bioscanner scans Axum technology that the normal Scanner cannot scan, and it also lets Lifeform scans unlock new Biomods at the Biolab.
This is the real reason the Bioscanner matters. It turns scanning into a later progression system instead of only an early blueprint tool. Alien systems that were previously unreadable can be scanned with the Bioscanner, including Axum technology such as the Power Plant turbine.
The Lifeform side is just as important. Scanning Lifeforms with the Bioscanner unlocks Biomods at the Biolab, which connects creature scanning to player upgrades. The tool is not just for lore entries. It helps push Biomod progression forward, and that makes it one of the more important upgrades after alien tech becomes the main focus.
| Bioscanner Use | Why It Matters |
|---|---|
| Scans Axum technology | Lets alien structures and systems be scanned when the normal Scanner is not enough. |
| Scans Power Plant technology | Can scan otherwise unscannable tech such as the Power Plant turbine. |
| Scans Lifeforms | Unlocks Biomod options at the Biolab. |
| Extends Scanner progression | Makes scanning useful again after the basic blueprint phase. |
The best use after crafting it is simple: revisit alien objects and Lifeforms that were worth scanning but could not be fully read with the normal Scanner. Axum technology and Biomod unlocks are the main reason to keep it on hand.
Where To Get Bioscanner Materials
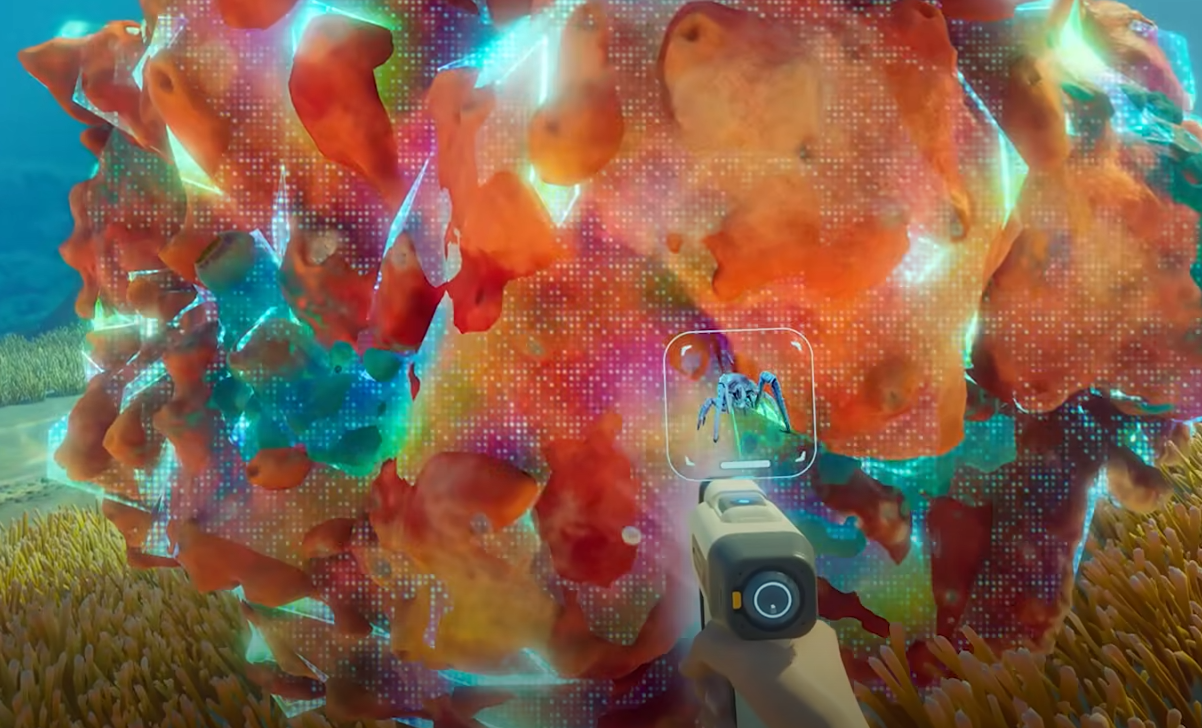
The Bioscanner materials come from the base Scanner, Enameled Glass crafting, and Conduit Crystal gathered around alien biome resource routes.
The Scanner is the starting point. Enameled Glass is the stronger crafted material in the recipe, while Conduit Crystal is the main Axum tech resource gate. Conduit Crystal grows near corrupted Rockbore or Angel Comb areas, which makes it part of the same alien progression path as other advanced upgrades.
| Material | Where It Fits |
|---|---|
| Scanner | The base tool upgraded into the Bioscanner. |
| Enameled Glass | Crafted material used in stronger upgrade recipes. |
| Conduit Crystal | Alien resource found near corrupted Rockbore or Angel Comb areas. |
Conduit Crystal is the material most directly connected to the Bioscanner’s Axum tech role. The Subnautica 2 Conduit Crystal guide covers where to find it and why it matters for alien upgrade paths.
Common Bioscanner Mistakes
The biggest Bioscanner mistake is reaching the Cicada Wreck without the Repair Tool, because the broken door blocks the route to the blueprint.
The second mistake is leaving the wreck without scanning the Modification Station. The Bioscanner is crafted there, so grabbing the Bioscanner blueprint while missing the station creates an unnecessary extra step later.
Another mistake is treating the Bioscanner like a one time story item. After crafting it, bring it back to alien technology and Lifeforms. It can scan Axum objects the normal Scanner cannot read, and Lifeform scans unlock Biomods at the Biolab.
| Mistake | Better Play |
|---|---|
| Going to the wreck without the Repair Tool | Bring the Repair Tool before entering the Cicada Wreck. |
| Skipping the air pocket | Use the oxygen refill point before pushing deeper. |
| Missing the Modification Station scan | Scan it during the same wreck run as the Bioscanner. |
| Crafting without material prep | Gather Enameled Glass materials and Conduit Crystal before returning to base. |
| Forgetting Biomod scans | Use the Bioscanner on Lifeforms to unlock Biomods at the Biolab. |
Final Blurb
The Bioscanner in Subnautica 2 is found inside the Cicada Wreck EVA Prep area near the Karakorum Power Plant route. Bring the Repair Tool, move through the wreck, use the oxygen refill point, scan the Modification Station, and grab the Bioscanner blueprint from the lower path.
After that, craft the Bioscanner at the Modification Station with 1 Scanner, 2 Enameled Glass, and 3 Conduit Crystal. The upgrade is worth getting because it opens Axum technology scanning and Lifeform scanning for Biomods, making it one of the most important tools once alien progression starts replacing basic early game fragment hunting.