Subnautica 2 Tadpole Depth Module Guide
The Tadpole Depth Module in Subnautica 2 is one of the most important vehicle upgrades because it raises the Tadpole’s safe dive limit from 250 meters to 450 meters. The upgrade is officially the Tadpole Depth Module Mark I, and it becomes a major progression gate once deeper resources, Alien Ruins routes, and lower cave paths start pushing past the base vehicle’s crush depth.
For more Subnautica 2 vehicle routes, upgrade help, resource guides, and survival progression, use the complete Subnautica 2 guide hub.
Jump To
How To Get The Tadpole Depth Module In Subnautica 2
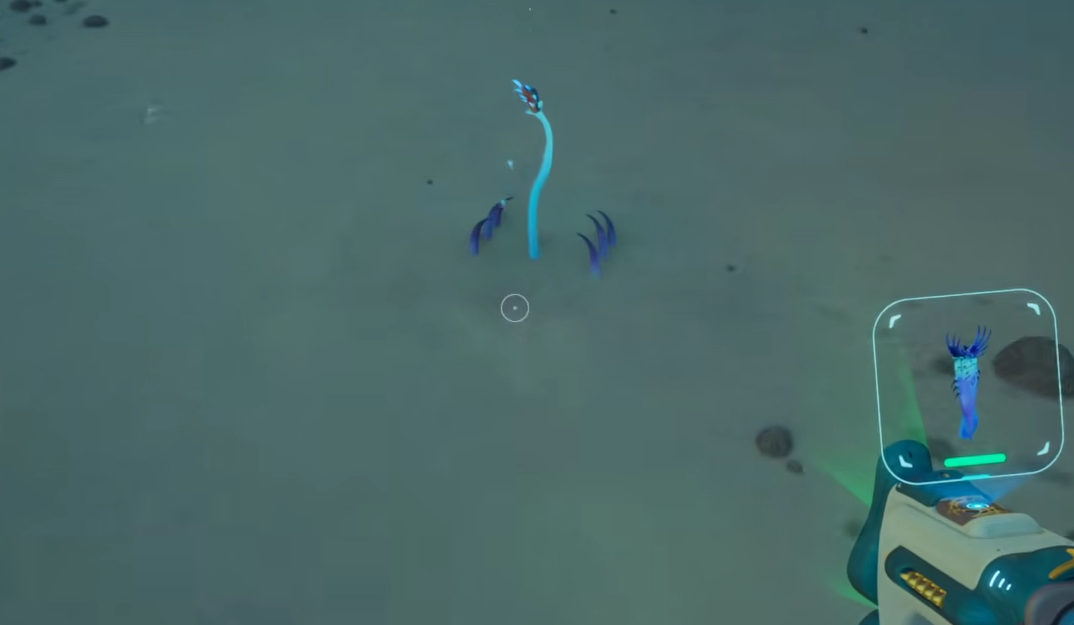
The Tadpole Depth Module Mark I is found by following the Alien Base NOA Terminal clue south southeast at bearing 165 degrees to a cave guarded by a Needler Mango.
The Depth Module is not an early Lifepod craft that appears as soon as the Tadpole is built. It comes after the Tadpole Pens and Alien Base progression, once the game starts pushing the Tadpole toward deeper exploration. The upgrade is worth chasing as soon as that route opens because the base Tadpole’s 250 meter crush depth becomes limiting fast.
After the Depth Module Mark I is unlocked, craft it with 3 Celestine, 2 Enameled Glass, and 1 System Chip, then install it in the Tadpole’s upgrade slot. Once equipped, the Tadpole can safely dive to 450 meters instead of being stuck at the original 250 meter limit.
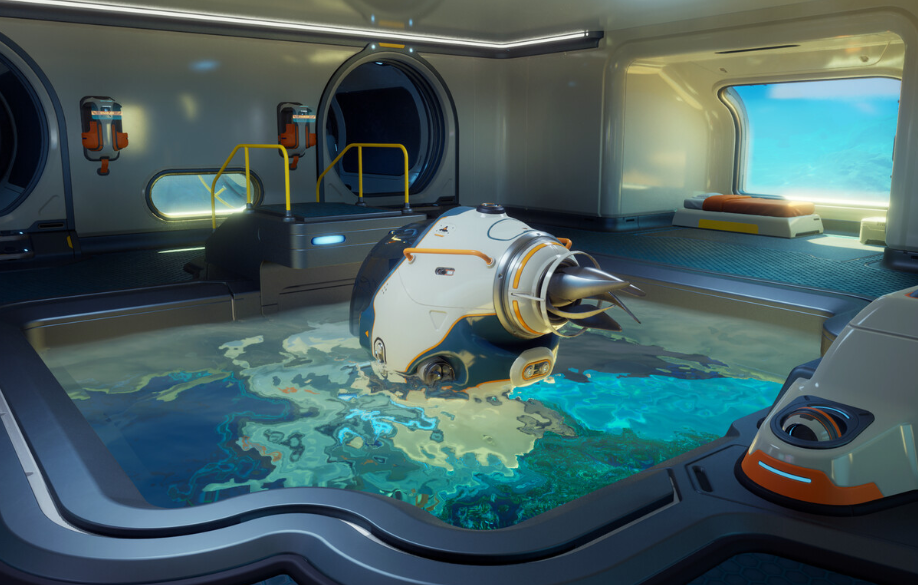
This is the upgrade that changes the Tadpole from a helpful travel pod into a real deep route vehicle. Before it, the vehicle works as a mobile oxygen stop near the depth limit. After it, the Tadpole can actually support deeper resource runs without taking crush damage every time the route dips too low.
Tadpole Depth Module Location
The Tadpole Depth Module location is a cave south southeast of the Alien Base, reached by following the NOA Terminal clue at bearing 165 degrees.
The Alien Base clue points toward a Tadpole with a Depth Module that went down in that direction. Follow the bearing from the Alien Base and look for the cave route connected to the objective. The cave is not empty, so the location should be treated like a real vehicle upgrade trip instead of a quick sightseeing swim.
The important landmark detail is the Needler Mango guarding the area. That is the main threat note for the Depth Module route. The module itself is the reward for pushing into that cave and dealing with the danger around it.
| Depth Module Location Detail | Info |
|---|---|
| Upgrade Name | Tadpole Depth Module Mark I |
| Starting Clue | Alien Base NOA Terminal |
| Direction | South southeast |
| Bearing | 165 degrees |
| Location Type | Cave |
| Main Threat | Needler Mango |
The route is easier with the Tadpole ready, repaired, and powered before leaving the Alien Base area. The Depth Module is the goal, but the trip to get it still uses the lower depth limit until the upgrade is crafted and installed.
Tadpole Depth Module Recipe
The Tadpole Depth Module Mark I recipe requires 3 Celestine, 2 Enameled Glass, and 1 System Chip.
Celestine is the main material tied to the deeper Alien Ruins route. It is also connected to Strontium processing, so farming extra is useful beyond this one upgrade. Enameled Glass is another material step because it uses Creature Enamel, which makes the Depth Module more involved than a basic Titanium craft.
| Depth Module Material | Amount Needed | Why It Matters |
|---|---|---|
| Celestine | 3 | Main deep resource needed for the module. |
| Enameled Glass | 2 | Stronger glass material made with Creature Enamel. |
| System Chip | 1 | Advanced crafting component for the upgrade. |
The Subnautica 2 Celestine guide covers the resource route for the biggest material gate. The Subnautica 2 Creature Enamel guide helps with the Enameled Glass side of the recipe.
What The Tadpole Depth Module Does
The Tadpole Depth Module Mark I raises the Tadpole’s safe dive limit from 250 meters to 450 meters.
The base Tadpole starts with a 250 meter crush depth. Going below that limit damages the vehicle, which makes deeper resource routes awkward before the upgrade. The player can park near the limit and swim lower for short pickups, but that is not a clean long term plan once progression starts asking for deeper travel.
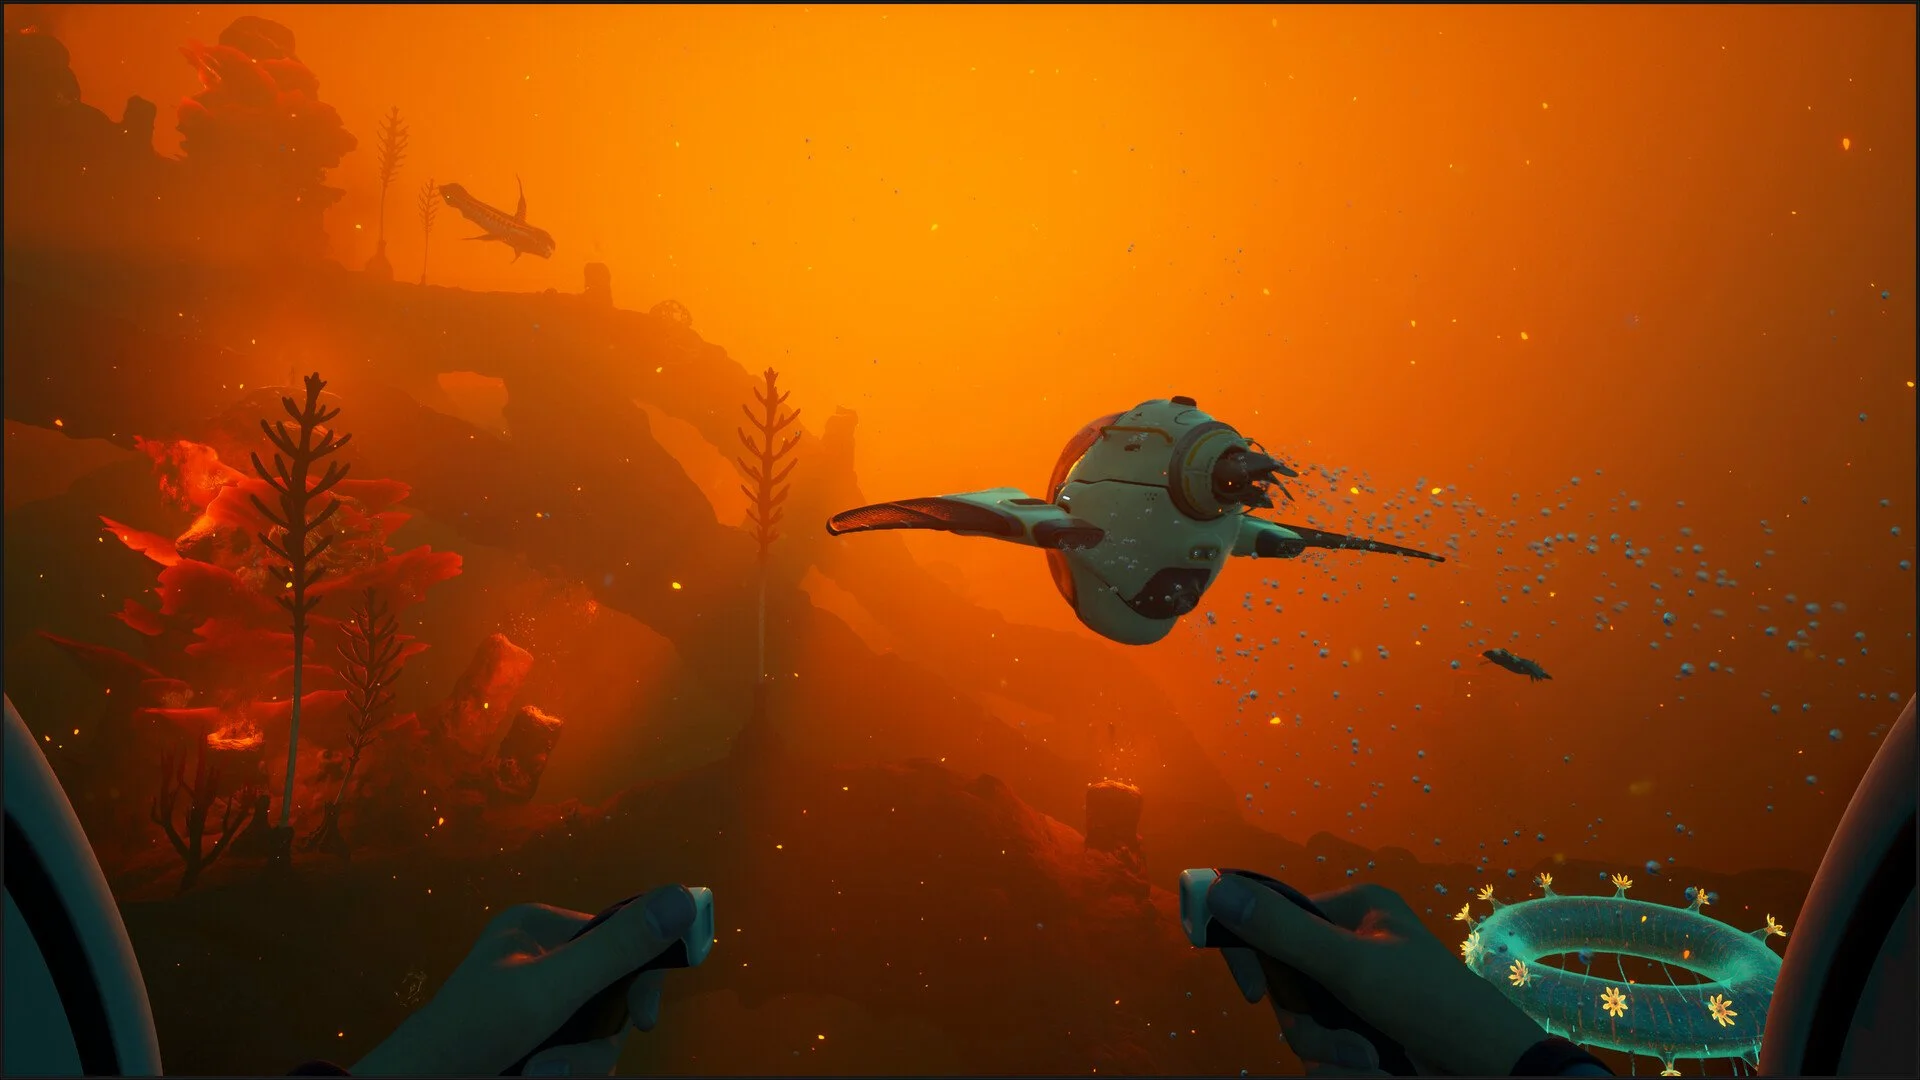
The 450 meter limit changes that. It gives the Tadpole enough depth range to support deeper exploration, safer material farming, and longer routes around the Alien Ruins path. It also makes the vehicle more useful as a mobile oxygen point because it can follow the route instead of waiting above it.
| Tadpole Depth Limit | Safe Dive Depth |
|---|---|
| Base Tadpole | 250 meters |
| With Depth Module Mark I | 450 meters |
The upgrade does not make the Tadpole invincible. It only raises the safe depth limit. Collisions, creature attacks, and bad driving can still damage the vehicle, so the Repair Tool stays useful even after the module is installed.
Needler Mango Cave Warning
The Depth Module cave is guarded by a Needler Mango, so the route should be approached with enough oxygen, vehicle power, and a clear exit path.
The cave is the part that can turn the upgrade into a problem. The Depth Module itself is the prize, but grabbing it while dealing with a hostile creature and cave navigation makes the route riskier than a normal blueprint scan. Bring the Tadpole close enough to work as an oxygen stop, but do not drive recklessly below the current safe crush depth before the upgrade is installed.
The safest approach is to enter with a full plan: know the direction from the Alien Base, watch the depth, avoid unnecessary contact with the Needler Mango, scan or grab what is needed, then leave. Staying longer than needed usually does not add value. It just gives the cave more chances to become annoying.
I think this is one of those upgrades where patience beats greed. Get the module first, craft it, install it, then come back for deeper exploration with the Tadpole actually built for the route.
Why The Tadpole Depth Module Should Be First
The Tadpole Depth Module Mark I should be the first major Tadpole upgrade because it removes the 250 meter depth wall and makes deeper exploration much safer.
Other Tadpole upgrades are useful, but they do not solve the same problem. Engine Efficiency reduces power drain. Photovoltaic Charger helps in shallow daytime water. Cavitation Muffler lowers noise. Scout Ray Chassis improves handling and speed. Those are strong upgrades, but depth is the first real progression block.
If the vehicle cannot safely reach the area, speed and efficiency only help so much. The Depth Module changes where the Tadpole can go. That makes it the upgrade most connected to new routes, better resource access, and safer cave trips.
| Upgrade | Why It Usually Comes After Depth |
|---|---|
| Engine Efficiency | Great for longer trips, but it does not raise crush depth. |
| Photovoltaic Charger | Helpful in shallow daylight, but weaker for deep routes. |
| Cavitation Muffler | Useful near threats, but better after deeper travel is unlocked. |
| Scout Ray Chassis | Improves movement, but it is not the first route blocker. |
For the full vehicle upgrade list, the Subnautica 2 Tadpole upgrades guide covers every module, attachment, recipe, and upgrade priority.
Does The Tadpole Depth Module Stack
The Tadpole Depth Module Mark I does not stack, so adding more copies will not push the Tadpole beyond 450 meters.
This is important because the Tadpole has limited upgrade space. The Depth Module Mark I only needs to be installed once. After that, other slots are better used for upgrades that support the route, such as Engine Efficiency for longer trips or utility modules that match the area being explored.
Depth is a hard upgrade role. One module raises the limit. Extra copies are not the answer. Once the 450 meter depth is unlocked, build the rest of the setup around power, storage, safety, or handling.
What To Bring Before Getting The Depth Module
Before going after the Tadpole Depth Module, bring the Tadpole, enough Power Cell charge, a Repair Tool, a Scanner, and enough inventory space for the trip.
The route starts from the Alien Base clue and leads to a cave, so this is not the place to leave half prepared. The Tadpole should be in good condition before leaving. The Repair Tool helps if the vehicle takes damage from impacts, attacks, or crush depth mistakes. A full power setup keeps the return trip from turning into a slow problem.
| Prep Item | Why It Helps |
|---|---|
| Tadpole | Needed for safer travel and oxygen support near the cave route. |
| Charged Power Cell | Keeps the vehicle from running dry during the trip. |
| Repair Tool | Fixes vehicle damage from collisions, attacks, or depth mistakes. |
| Scanner | Needed for blueprint and upgrade progression checks. |
| Inventory Space | Leaves room for materials or nearby useful pickups. |
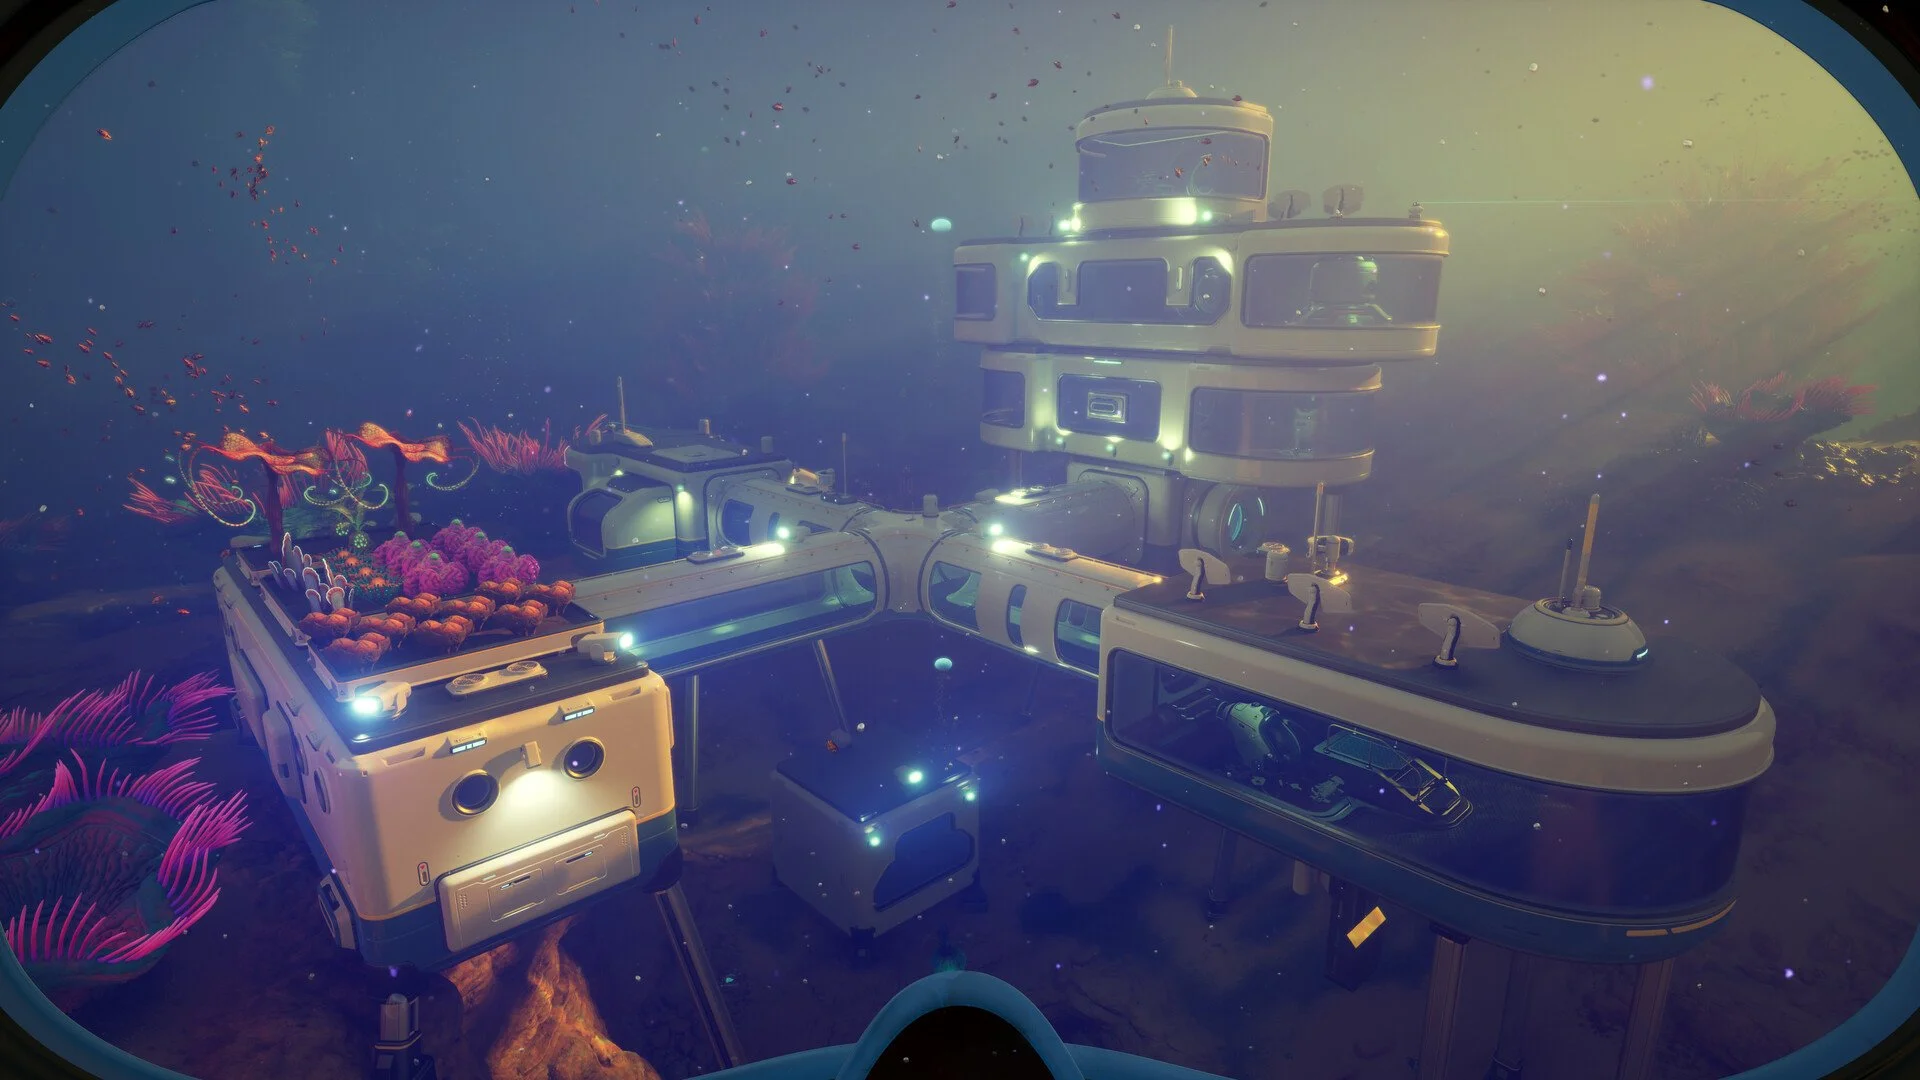
The Depth Module route also fits naturally after the Tadpole Pens progression because that path leads into the broader vehicle upgrade chain. The Subnautica 2 Tadpole Pens keycode guide helps with the earlier vehicle step before the deeper upgrade chase begins.
Final Blurb
The Tadpole Depth Module Mark I in Subnautica 2 is found by following the Alien Base NOA Terminal clue south southeast at bearing 165 degrees to a cave guarded by a Needler Mango. Once crafted with 3 Celestine, 2 Enameled Glass, and 1 System Chip, it raises the Tadpole’s safe dive limit from 250 meters to 450 meters.
This should be treated as the first major Tadpole upgrade because it opens safer deep exploration and makes the vehicle much more useful around the Alien Ruins route. The Tadpole is already helpful before the module, but the Depth Module is what turns it from a shallow support vehicle into a real deep water tool. Get depth handled first, then worry about speed, charging, stealth, and all the fun upgrades that only matter once the ocean stops crushing the sub like a soda can.