Subnautica 2 Tadpole Upgrades Guide: All Modules And Attachments
Subnautica 2 Tadpole upgrades turn the basic submersible into a deeper diving, longer lasting, faster, quieter, and better farming vehicle. The main upgrades include the Depth Module Mark I, Engine Efficiency, Photovoltaic Charger, Cavitation Muffler, Tadpole Scout Ray Chassis, and Portable Storage support, with each one solving a different problem once the ocean starts pushing past the Lifepod’s safe early routes.
For more Subnautica 2 vehicle routes, crafting help, material guides, and survival fixes, use the complete Subnautica 2 guide hub.
Jump To
All Tadpole Upgrades In Subnautica 2
The current Tadpole upgrades in Subnautica 2 are Depth Module Mark I, Engine Efficiency, Photovoltaic Charger, Cavitation Muffler, Tadpole Scout Ray Chassis, and Portable Storage support.
The Tadpole starts with a 250 meter crush depth and drains power as it moves. That makes upgrades more than optional comfort. The vehicle quickly becomes the center of deeper exploration, resource farming, and safer travel, so each module should be judged by what it fixes during a real route.
Depth Module Mark I is the big progression upgrade. Engine Efficiency is the best long trip upgrade. Photovoltaic Charger helps shallow daytime travel. Cavitation Muffler helps in dangerous areas where noise can attract unwanted attention. Scout Ray Chassis improves handling and speed. Portable Storage makes farming trips more efficient.
| Tadpole Upgrade | Type | Main Effect | Materials |
|---|---|---|---|
| Depth Module Mark I | Module | Raises Tadpole crush depth to 450 meters. | 3 Celestine, 2 Enameled Glass, 1 System Chip. |
| Engine Efficiency | Module | Reduces Tadpole power use by 20 percent and stacks up to 4 times. | 1 Titanium Ingot, 2 Glass, 1 System Chip. |
| Photovoltaic Charger | Module | Charges Tadpole power in shallow water during the day. | 1 Copper Ingot, 1 Strong Acid, 1 Troilite. |
| Cavitation Muffler | Module | Reduces Tadpole noise and makes it less likely to attract unwanted attention. | 3 Titanium, 2 Strontium. |
| Tadpole Scout Ray Chassis | Structural Attachment | Maximizes acceleration, top speed, and turn rate. | 2 Plasteel Ingot, 1 Advanced Wiring Kit, 1 Dedicated Core, 1 Strong Acid. |
| Portable Storage | Rear Attachment | Adds storage support for longer farming routes. | Built as an attachment for the Tadpole hard point. |
The strongest upgrade order depends on the route, but the first real priority is almost always depth. A faster Tadpole is nice, but it does not help much when the target resource sits below the vehicle’s safe crush limit. Depth opens routes. Power keeps those routes from becoming annoying. Storage makes the trip worth the time.
How Tadpole Upgrades Work
Tadpole upgrades are unlocked by scanning upgrade objects or collecting data cards, then crafted through the correct vehicle upgrade station or built as structural attachments through the Vehicle Fabricator.
Normal Tadpole modules go into the upgrade compartment on top of the vehicle, near the Power Cell slot. The Tadpole has 4 upgrade slots, so modules have to be chosen around the trip instead of thrown in randomly. A deep mineral route needs a different setup than a shallow daylight farming loop.
Structural attachments work separately from normal modules. The Scout Ray Chassis is built through the Vehicle Fabricator and changes the Tadpole’s movement instead of acting like a normal slot based upgrade. Portable Storage uses the rear hard point and is strongest when the goal is bringing back a larger haul.
Engine Efficiency is the confirmed stackable module. Each one reduces Tadpole power use by 20 percent, and the effect stacks up to 4 times for an 80 percent total reduction. Depth Module Mark I does not stack because it sets the Tadpole’s dive limit to 450 meters.
Best Tadpole Upgrades To Get First
The best Tadpole upgrade to get first is the Depth Module Mark I because it raises the Tadpole’s safe dive limit from 250 meters to 450 meters.
That single upgrade changes how the vehicle is used. Before the depth module, the Tadpole works well as a travel pod, oxygen stop, and shallow exploration tool. After the depth module, it becomes a safer deep route vehicle that can reach more resource areas without taking crush damage.
Engine Efficiency is the best second priority because power drain affects every trip. One copy helps. Multiple copies are strong for long travel because the Tadpole can spend more time moving before a Power Cell swap or dock recharge becomes necessary.
I think the cleanest upgrade path is depth first, then efficiency, then storage or stealth based on the next route. Speed feels great, but it is not the upgrade that fixes the first major wall. Getting deeper safely and staying powered longer are the upgrades that make the Tadpole feel like a real exploration vehicle.
| Priority | Upgrade | Why It Comes First |
|---|---|---|
| 1 | Depth Module Mark I | Raises crush depth to 450 meters and opens safer deep exploration. |
| 2 | Engine Efficiency | Reduces power drain on every route and stacks up to 4 times. |
| 3 | Portable Storage | Makes material farming trips more productive. |
| 4 | Photovoltaic Charger | Helps recover power during shallow daytime travel. |
| 5 | Cavitation Muffler | Helps reduce attention in dangerous creature routes. |
| 6 | Tadpole Scout Ray Chassis | Improves movement, but the cost makes it better after core utility upgrades. |
Tadpole Depth Module Mark I
The Depth Module Mark I increases the Tadpole’s crush depth to 450 meters and is the most important early Tadpole upgrade for deep exploration.
The base Tadpole has a 250 meter crush depth. Going below that limit weakens the hull and causes damage, so deeper resource runs become risky without the module. The Depth Module Mark I removes that early depth wall and lets the Tadpole support deeper routes without forcing short panic swims below the vehicle.
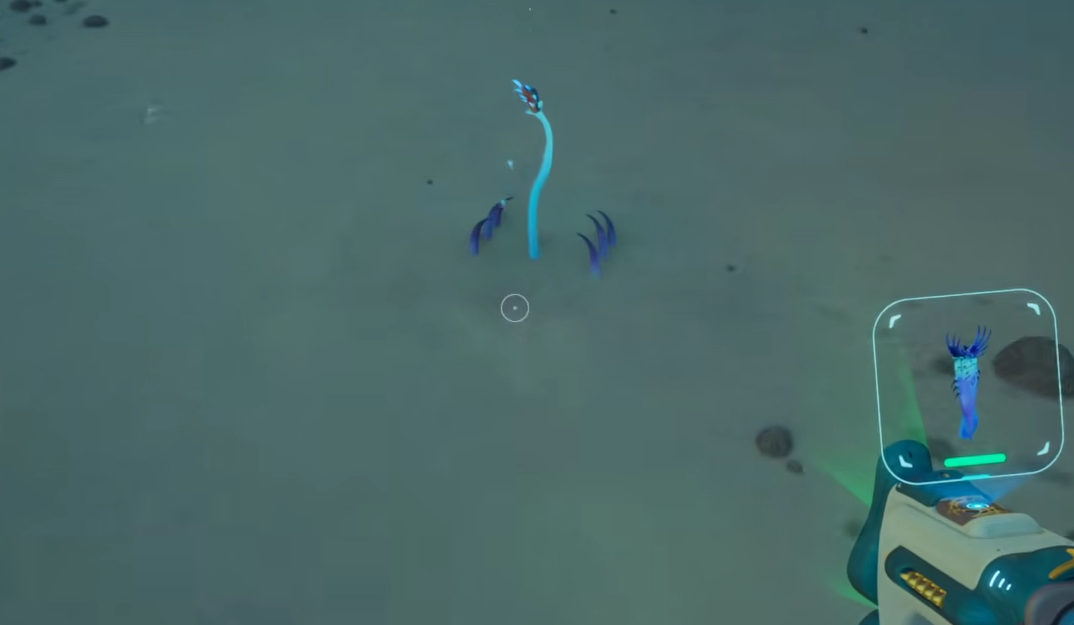
The Depth Module Mark I route starts from the Alien Base clue, which points south southeast at bearing 165 degrees toward a cave. The module is found in that cave, with a Needler Mango guarding the area.
| Depth Module Mark I | Details |
|---|---|
| Location | Cave south southeast of the Alien Base at bearing 165 degrees. |
| Threat | Needler Mango guarding the location. |
| Effect | Raises Tadpole crush depth to 450 meters. |
| Stacks | No. |
| Materials | 3 Celestine, 2 Enameled Glass, 1 System Chip. |
Celestine is the main material gate for this upgrade, and it also feeds into strontium for later vehicle crafting. The Subnautica 2 Celestine guide covers the Alien Ruins route and how to farm the resource without wrecking the Tadpole at the edge of its crush depth.
Enameled Glass also makes this upgrade more demanding than a basic material craft. The Subnautica 2 Creature Enamel guide helps with the material path connected to Enameled Glass and other stronger upgrade recipes.
Engine Efficiency Module
Engine Efficiency reduces Tadpole power use by 20 percent, and up to 4 copies can stack for an 80 percent power reduction.
This is the best long range Tadpole module because every trip drains energy while driving. The effect is not flashy, but it affects the whole vehicle loop. Longer movement, fewer Power Cell swaps, and fewer forced dock returns all make exploration cleaner.
Engine Efficiency is found in the Alien Base after the Tadpole Pens section. The module is on a table near the entrance route, making it one of the easiest major Tadpole upgrades to grab once that area is reached.
| Engine Efficiency | Details |
|---|---|
| Location | Alien Base, on a table near the entrance route. |
| Effect | Reduces Tadpole power use by 20 percent. |
| Stacks | Yes, up to 4 times for 80 percent total power reduction. |
| Materials | 1 Titanium Ingot, 2 Glass, 1 System Chip. |
One Engine Efficiency module is useful almost everywhere. Stacking more copies makes sense for long travel, but every extra copy uses a slot that could hold something else. Deep routes still need the Depth Module Mark I first because efficient power use does not stop crush damage.
Titanium Ingots show up in several vehicle and base progression crafts, so the Subnautica 2 Titanium Ingots guide is useful before building multiple Tadpole upgrades and vehicle support pieces.
Photovoltaic Charger
The Photovoltaic Charger recharges the Tadpole while it is in shallow water during the day.
This module is strongest for routes that stay near the upper ocean. It gives the Tadpole passive power recovery when the conditions are right, which makes it useful for shallow travel, base hopping, and resource trips that do not spend the whole time below the light zone.
The Photovoltaic Charger is found at the Cicada Wreck EVA Prep past the Alien Base. The Iso blackbox ping marks the route, so this upgrade becomes part of the later vehicle exploration path rather than a starter craft.
| Photovoltaic Charger | Details |
|---|---|
| Location | Cicada Wreck EVA Prep past the Alien Base. |
| Route Marker | Iso blackbox ping. |
| Effect | Charges Tadpole power in shallow water during the day. |
| Materials | 1 Copper Ingot, 1 Strong Acid, 1 Troilite. |
The Photovoltaic Charger loses value on deep routes because its strength comes from shallow daytime charging. It is still a smart module for surface leaning travel, but it should not replace Engine Efficiency when the route is long, dark, or deep.
Strong Acid and Troilite are the two material gates here. The Subnautica 2 Strong Acid guide and Subnautica 2 Troilite guide cover the resources needed to finish the craft.
Cavitation Muffler
The Cavitation Muffler reduces the noise made by the Tadpole, making it less likely to attract unwanted attention.
This is the stealth upgrade. It becomes more useful once the Tadpole is moving through dangerous routes, especially around edge of map areas and large creature territory. Lower noise does not make the vehicle invincible, but it does make reckless attention less likely while moving through hostile water.
The Cavitation Muffler is found in the Metal Farms area, about 700 meters east southeast of the Alien Base. This area sits near the current edge of the map, and a Leviathan roams nearby, so the upgrade route itself should be treated as dangerous.
| Cavitation Muffler | Details |
|---|---|
| Location | Metal Farms, about 700 meters east southeast of the Alien Base. |
| Route Danger | Edge of map area with a Leviathan nearby. |
| Effect | Reduces Tadpole noise and lowers unwanted attention. |
| Materials | 3 Titanium, 2 Strontium. |
Strontium comes from celestine processing, so the Cavitation Muffler naturally connects to the same deeper resource chain as the Depth Module. It is a strong upgrade once exploration starts pushing into dangerous water, but it usually comes after the core depth and power problems are already handled.
Tadpole Scout Ray Chassis
The Tadpole Scout Ray Chassis maximizes the Tadpole’s acceleration, top speed, and turn rate.
This is the main handling upgrade for the Tadpole. It makes the vehicle faster and more responsive, which helps with long travel, tight turns, and escaping bad positions. It does not solve depth, power, or storage by itself, but it makes every trip feel sharper once the utility upgrades are already in place.
The Scout Ray Chassis is found inside the Tadpole Pens. Since the Tadpole Pens are already connected to vehicle progression, this is a natural upgrade to grab while working through the area.
| Tadpole Scout Ray Chassis | Details |
|---|---|
| Location | Tadpole Pens. |
| Type | Structural attachment. |
| Effect | Maximizes acceleration, top speed, and turn rate. |
| Materials | 2 Plasteel Ingot, 1 Advanced Wiring Kit, 1 Dedicated Core, 1 Strong Acid. |
The Scout Ray Chassis is expensive enough that it should not outrank the Depth Module Mark I for most routes. It is excellent after the Tadpole can safely reach the areas that matter. Speed feels better when the vehicle is not being crushed, drained, or sent back home because the storage filled too fast.
The Subnautica 2 Tadpole Pens keycode guide covers the area connected to this upgrade and the broader Tadpole progression route.
Tadpole Portable Storage Attachment
The Tadpole can use a rear hard point attachment for Portable Storage, making it much better for material farming routes.
Storage is one of the most practical Tadpole upgrades because Subnautica 2 resource runs fill inventory quickly. The Tadpole already works as a mobile oxygen stop, but storage support turns it into a better farming vehicle. That matters when deeper routes start asking for celestine, lithium, troilite, creature materials, and processed crafting chains.
Portable Storage is strongest when the goal is gathering materials instead of reaching a single story point. A storage supported Tadpole can stay out longer, bring back more resources, and reduce the number of return trips to base.
| Portable Storage | Details |
|---|---|
| Type | Rear hard point attachment. |
| Main Use | Extra storage for farming routes. |
| Best Paired With | Depth Module Mark I and Engine Efficiency. |
Storage pairs best with Depth Module Mark I because deeper resource routes are only worth doing if enough material comes back to justify the trip. It also pairs well with Engine Efficiency because longer power life means longer farming loops.
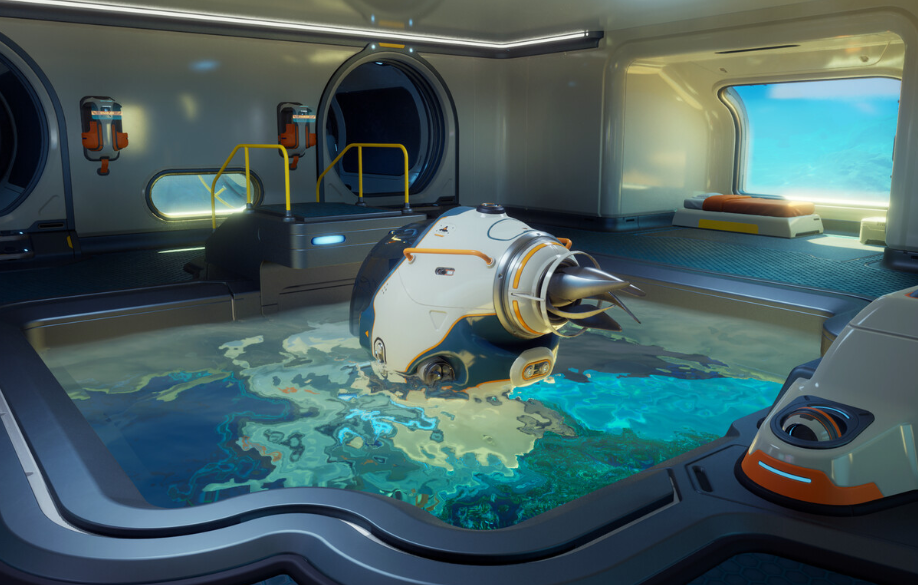
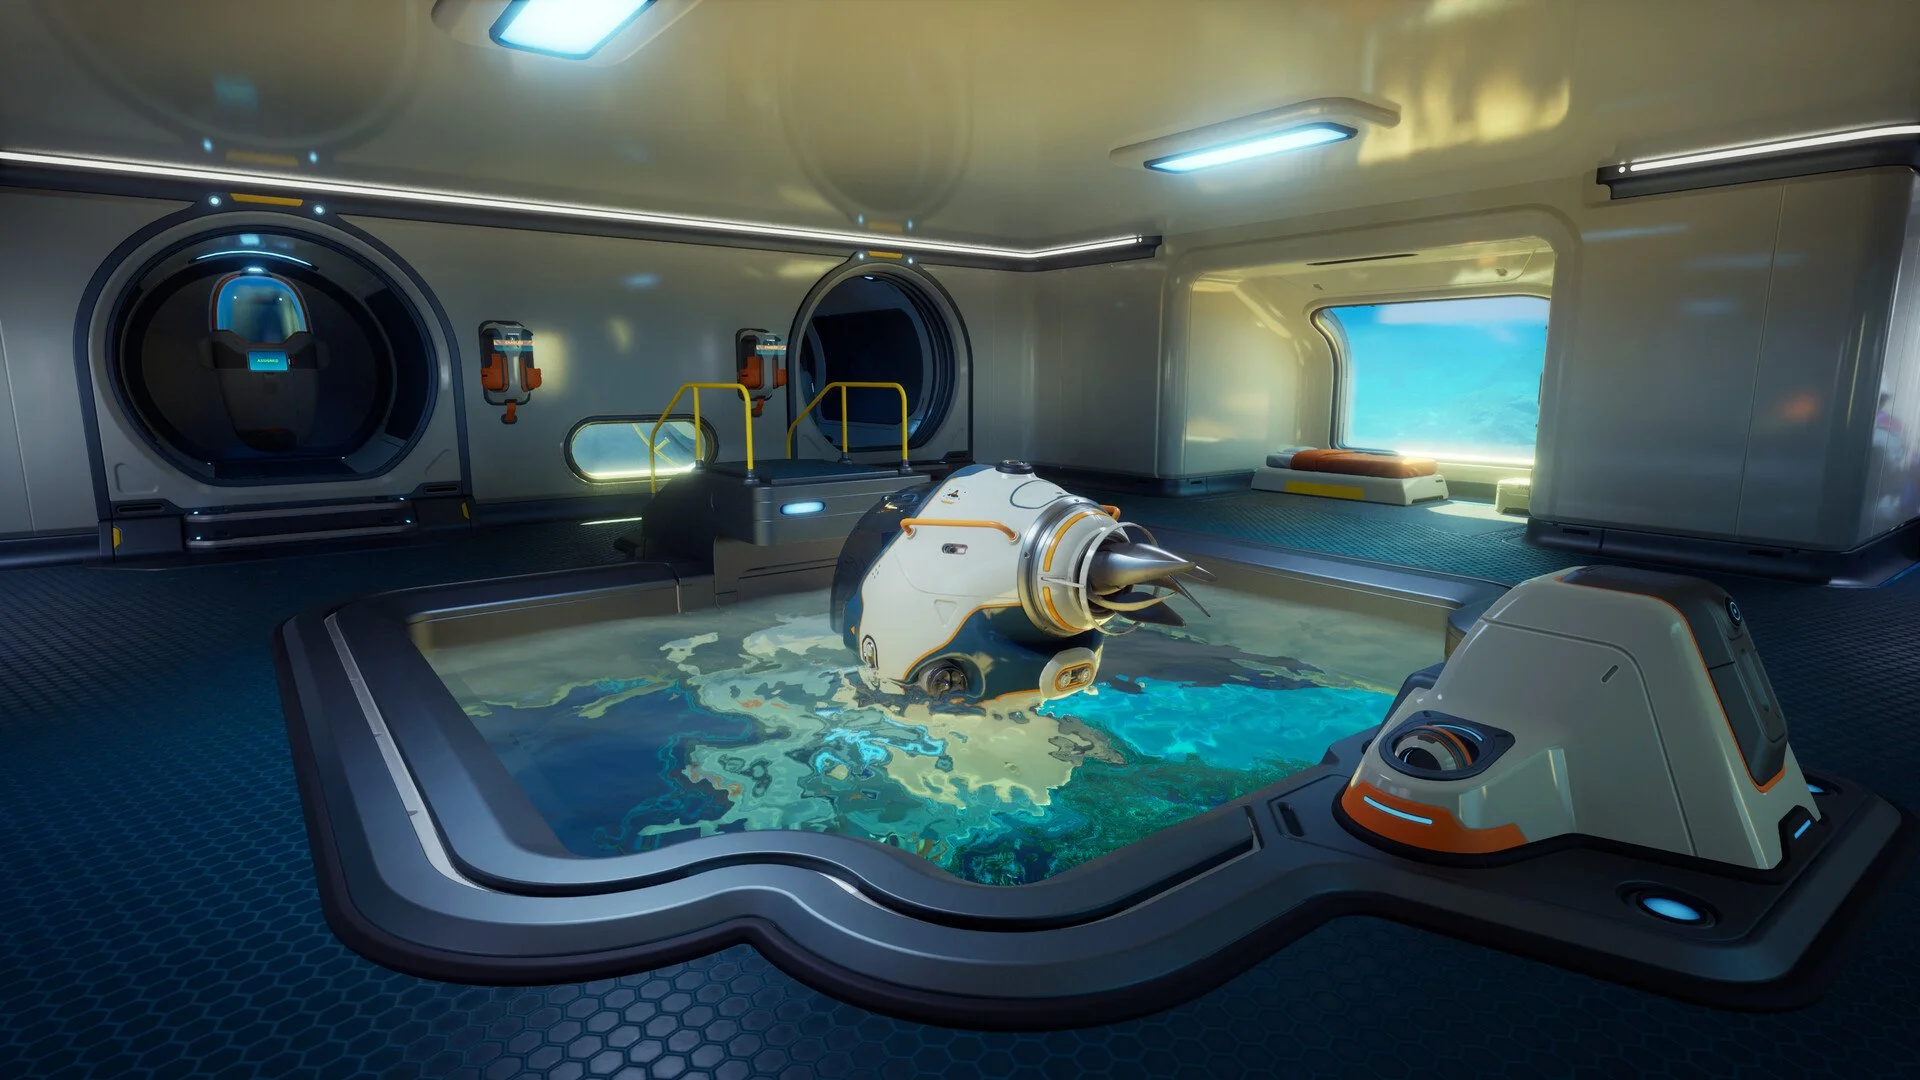
How To Craft Tadpole Upgrades
Tadpole modules are crafted at the Modification Station, while structural attachments are handled through the Vehicle Fabricator.
The Modification Station is found in the Research Base after the Tadpole Pens section and the open water crossing to the Alien Ruins. Inside the base, the station sits along the interior route after entering and turning through the first rooms.
After the Modification Station is unlocked, it can be built at a base with 2 Titanium, 2 Celestine, and 2 Copper. Celestine is the material that usually slows this down because it comes from deeper mineral routes near the Alien Ruins.
| Station | Used For | Recipe |
|---|---|---|
| Modification Station | Tadpole upgrade modules. | 2 Titanium, 2 Celestine, 2 Copper. |
| Vehicle Fabricator | Tadpole vehicle crafting and structural attachments. | Built as part of the Moonpool, Tadpole Dock, and vehicle setup. |
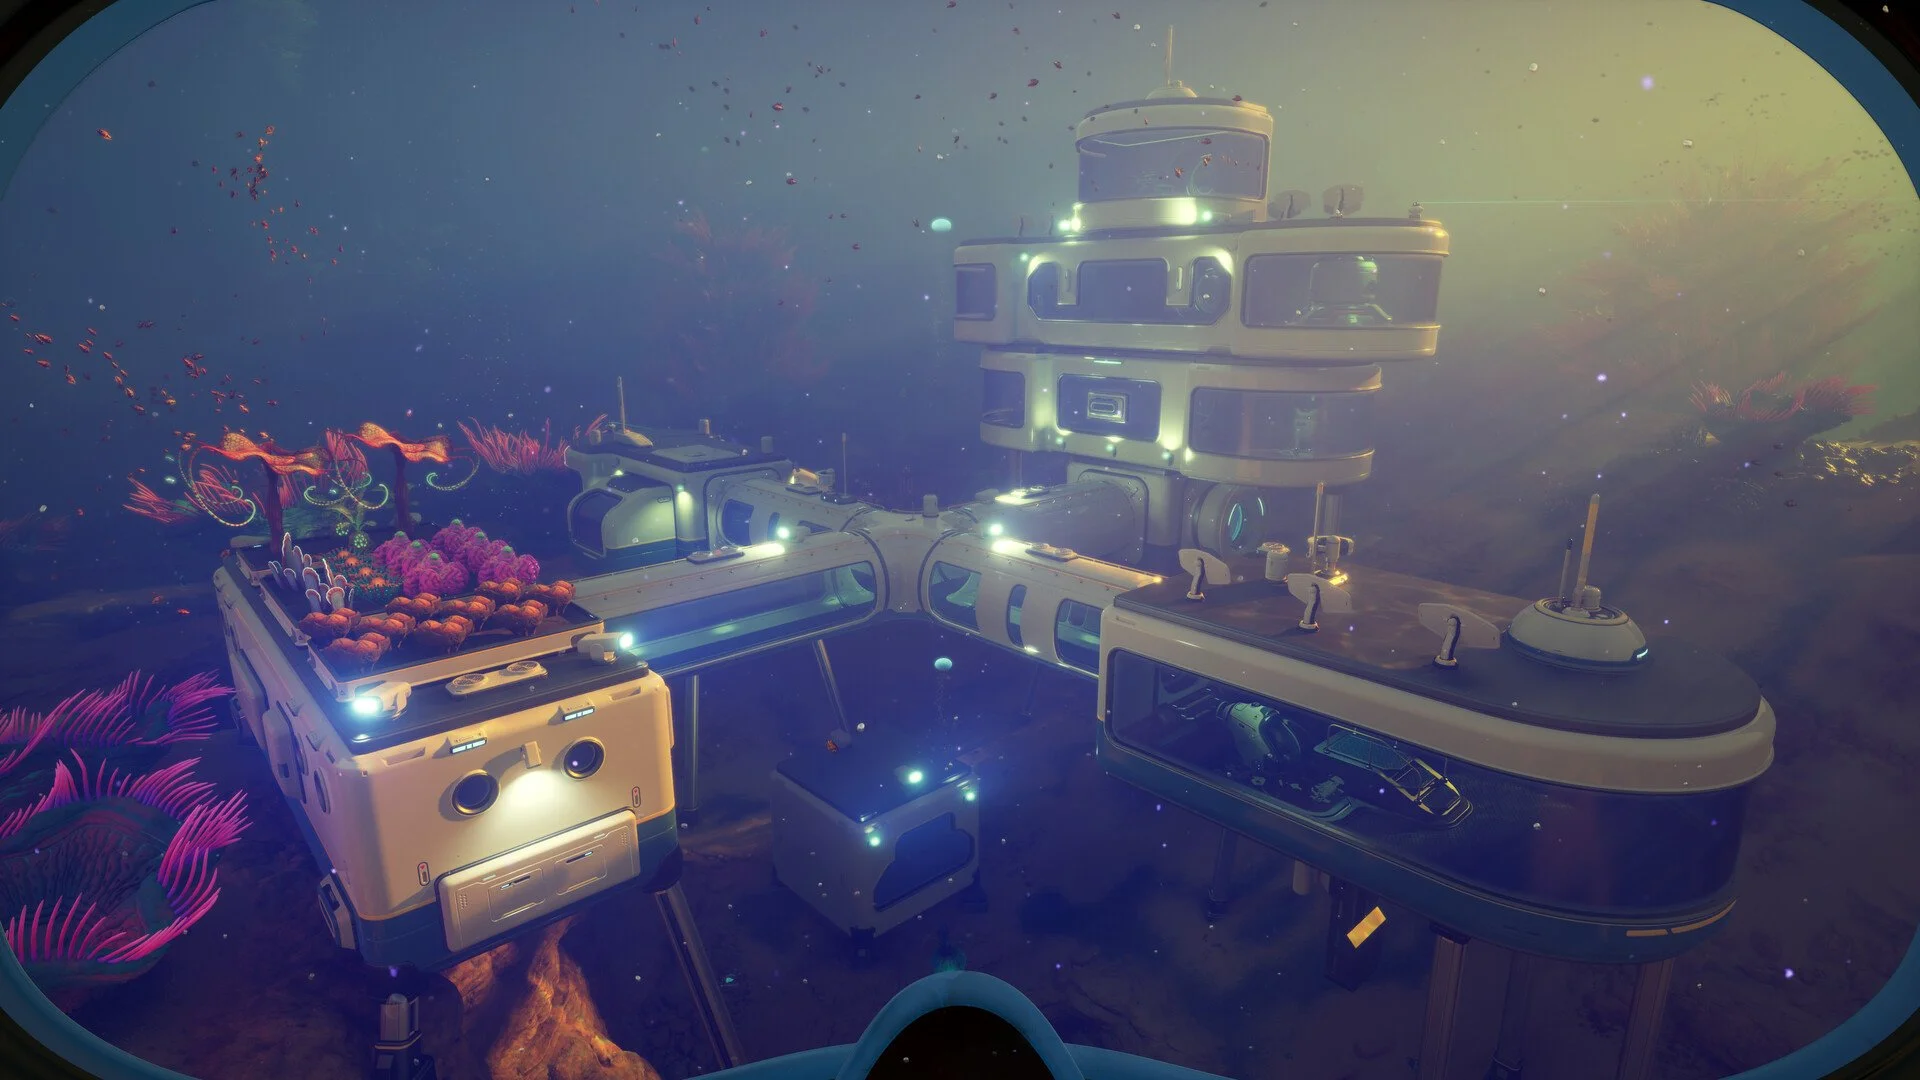
The Tadpole itself also needs a proper base setup before upgrades become useful. The vehicle requires Moonpool support, a Tadpole Dock, and a Vehicle Fabricator. If the early base path is still unfinished, the Subnautica 2 Habitat Builder guide is the better place to start.
Best Tadpole Upgrade Loadouts
The best Tadpole loadout depends on the route, but Depth Module Mark I and Engine Efficiency are the strongest core upgrades for most exploration.
Because the Tadpole only has 4 module slots, the best setup changes by task. A deep exploration setup should not waste space on shallow charging. A farming setup should include storage support. A dangerous route gets more value from Cavitation Muffler than a safe resource loop near base.
| Route Type | Best Tadpole Setup | Why It Works |
|---|---|---|
| Deep Exploration | Depth Module Mark I, Engine Efficiency, extra utility slots as needed. | Handles crush depth first, then reduces travel power drain. |
| Long Distance Travel | Engine Efficiency stacked, with Depth Module if the route goes deep. | Reduces Power Cell pressure across longer trips. |
| Material Farming | Depth Module Mark I, Engine Efficiency, Portable Storage support. | Lets the Tadpole reach deeper resources and bring back more materials. |
| Shallow Daytime Routes | Photovoltaic Charger with Engine Efficiency. | Uses daylight charging while reducing power drain. |
| Dangerous Creature Areas | Depth Module Mark I, Cavitation Muffler, Engine Efficiency. | Supports deeper movement while reducing noise and travel drain. |
The cleanest all purpose setup is Depth Module Mark I plus Engine Efficiency, then adjust the remaining slots around the trip. Add more efficiency for long travel, use Photovoltaic Charger for shallow daytime loops, and bring Cavitation Muffler when the route passes through dangerous water.
Common Tadpole Upgrade Mistakes
The biggest Tadpole upgrade mistake is chasing speed before fixing depth and power.
Scout Ray Chassis is strong, but better handling does not solve the 250 meter crush depth or the vehicle’s power drain. The first upgrade goal should be reaching the next route safely. After that, speed and handling become much more useful.
Another mistake is ignoring the Power Cell. The Tadpole drains energy while driving, can be recharged by replacing its Power Cell from the top, and can also recover power at the Tadpole Dock. Long trips should start with enough power to get back, because deep water is a bad place to discover the vehicle was basically running on vibes.
| Mistake | Better Choice |
|---|---|
| Getting speed before depth. | Craft Depth Module Mark I first for deeper routes. |
| Ignoring power use. | Use Engine Efficiency for longer travel. |
| Farming with no storage support. | Add Portable Storage for resource runs. |
| Driving below crush depth. | Stay within the current depth limit or craft the depth module. |
| Leaving without repair support. | Keep the Repair Tool ready because collisions and attacks can damage the Tadpole. |
The Tadpole takes damage from obstacles, creature attacks, and crush depth pressure. It is a vehicle, not a magic bubble. Keeping a Repair Tool available is part of using it properly once routes get longer and more dangerous.
Final Blurb
Subnautica 2 Tadpole upgrades cover depth, power, charging, noise, speed, handling, and storage. Depth Module Mark I is the first major upgrade to prioritize because it raises the vehicle’s safe dive limit to 450 meters, while Engine Efficiency is the best long term module for reducing Power Cell drain across repeated trips.
The best Tadpole setup changes with the route. Deep exploration wants depth. Long travel wants efficiency. Farming wants storage. Shallow daylight routes get value from the Photovoltaic Charger. Dangerous creature areas make the Cavitation Muffler more useful. Once those upgrades are built around the actual trip, the Tadpole stops feeling like a starter sub and starts doing the job it was clearly made for: carrying more, diving deeper, and making the ocean slightly less committed to wasting everyone’s time.