

Two Point Museum: How to Place Angled or Half-Tile Floors
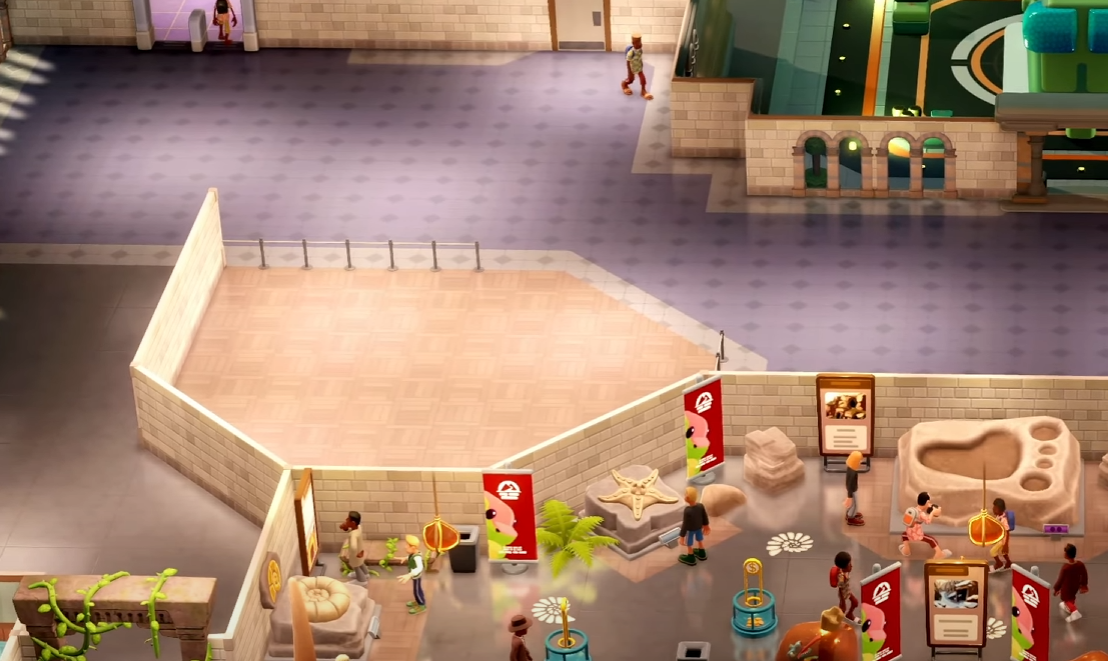
Image Credit: Two Point Studios, Two Point Museum
If you're trying to match the sleek angled flooring seen in the first museum and can’t figure out how to do it, you’re not alone. The game doesn’t exactly make it obvious, but placing half-tiles or slanted floor pieces is actually pretty simple once you know where to look.
How to Place Angled or Half-Tile Floors
PC Controls
Go to the Flooring Tool – Open the floor placement menu like you normally would.
Look at the toolbar on the right – There’s a vertical list of buttons next to the flooring options.
Find the triangular trowel/shovel icon – Clicking this will allow you to place angled tiles instead of full squares.
Use the tool to paint half-tiles – Drag along the edges of existing flooring to create a smooth slanted effect.
PS5 Controls
Enter the Flooring Tool – Open the floor placement menu.
Press the center touchpad button – This activates secondary tile placement mode (icon looks like two map pins with a dotted line).
Cycle through tile options – Press the button one or two more times to find a triangle shape instead of the usual square.
Use this mode to fine-tune angles – Dragging an angled line will automatically create half-tiles for smoother transitions.
Troubleshooting & Extra Tips
If pressing the touchpad on PS5 only opens search, try cycling through placement modes a couple more times.
The 1/4 tile button on PC looks like a small trowel or shovel, though it’s not labeled very clearly.
If placing half-tiles feels tricky, try placing a normal tile first, then adjust the edges with the angled tool.
Final Blurb
Placing angled or half-tiles in Two Point Museum isn’t immediately obvious, but once you know the trick, it’s easy to fine-tune your flooring for smoother, more natural layouts. Whether you’re matching existing museum designs or just trying to make things look less blocky, this tool is your best friend.
Recommended | View all Two Point Museum


