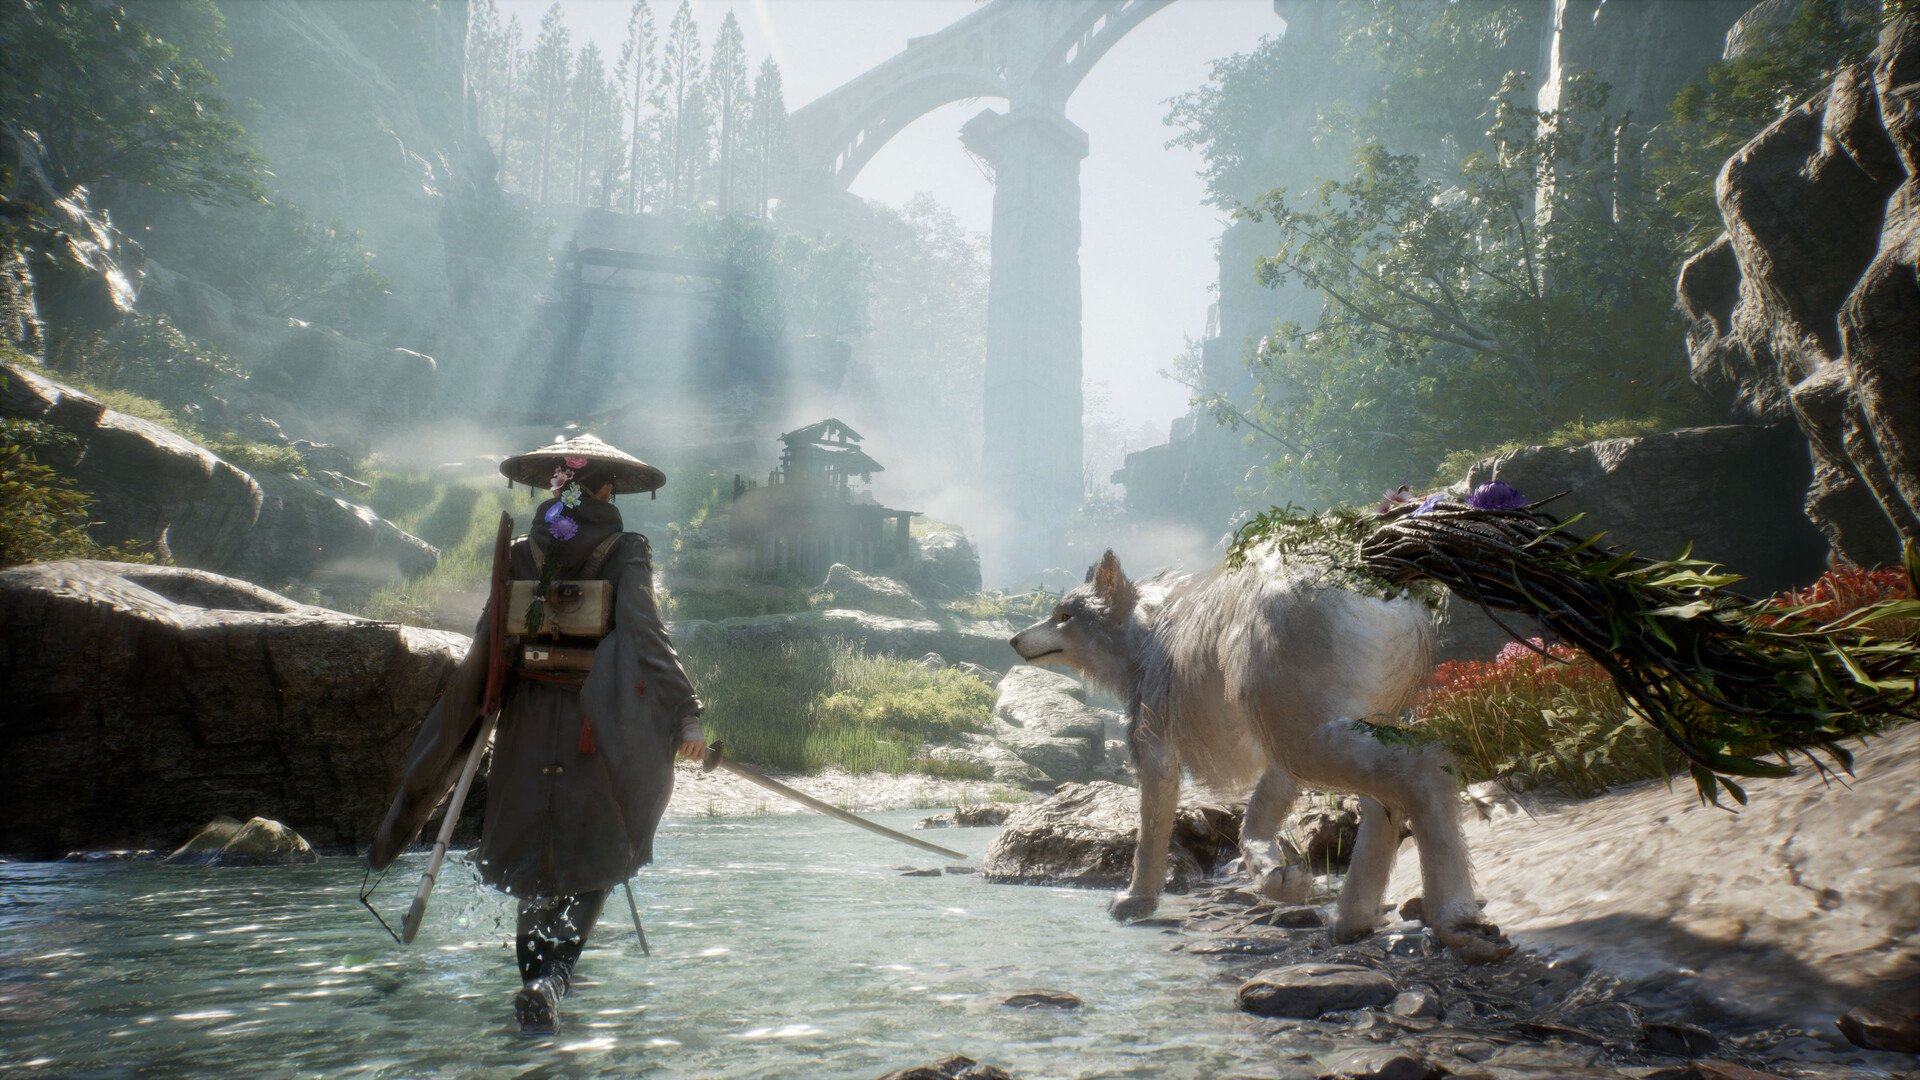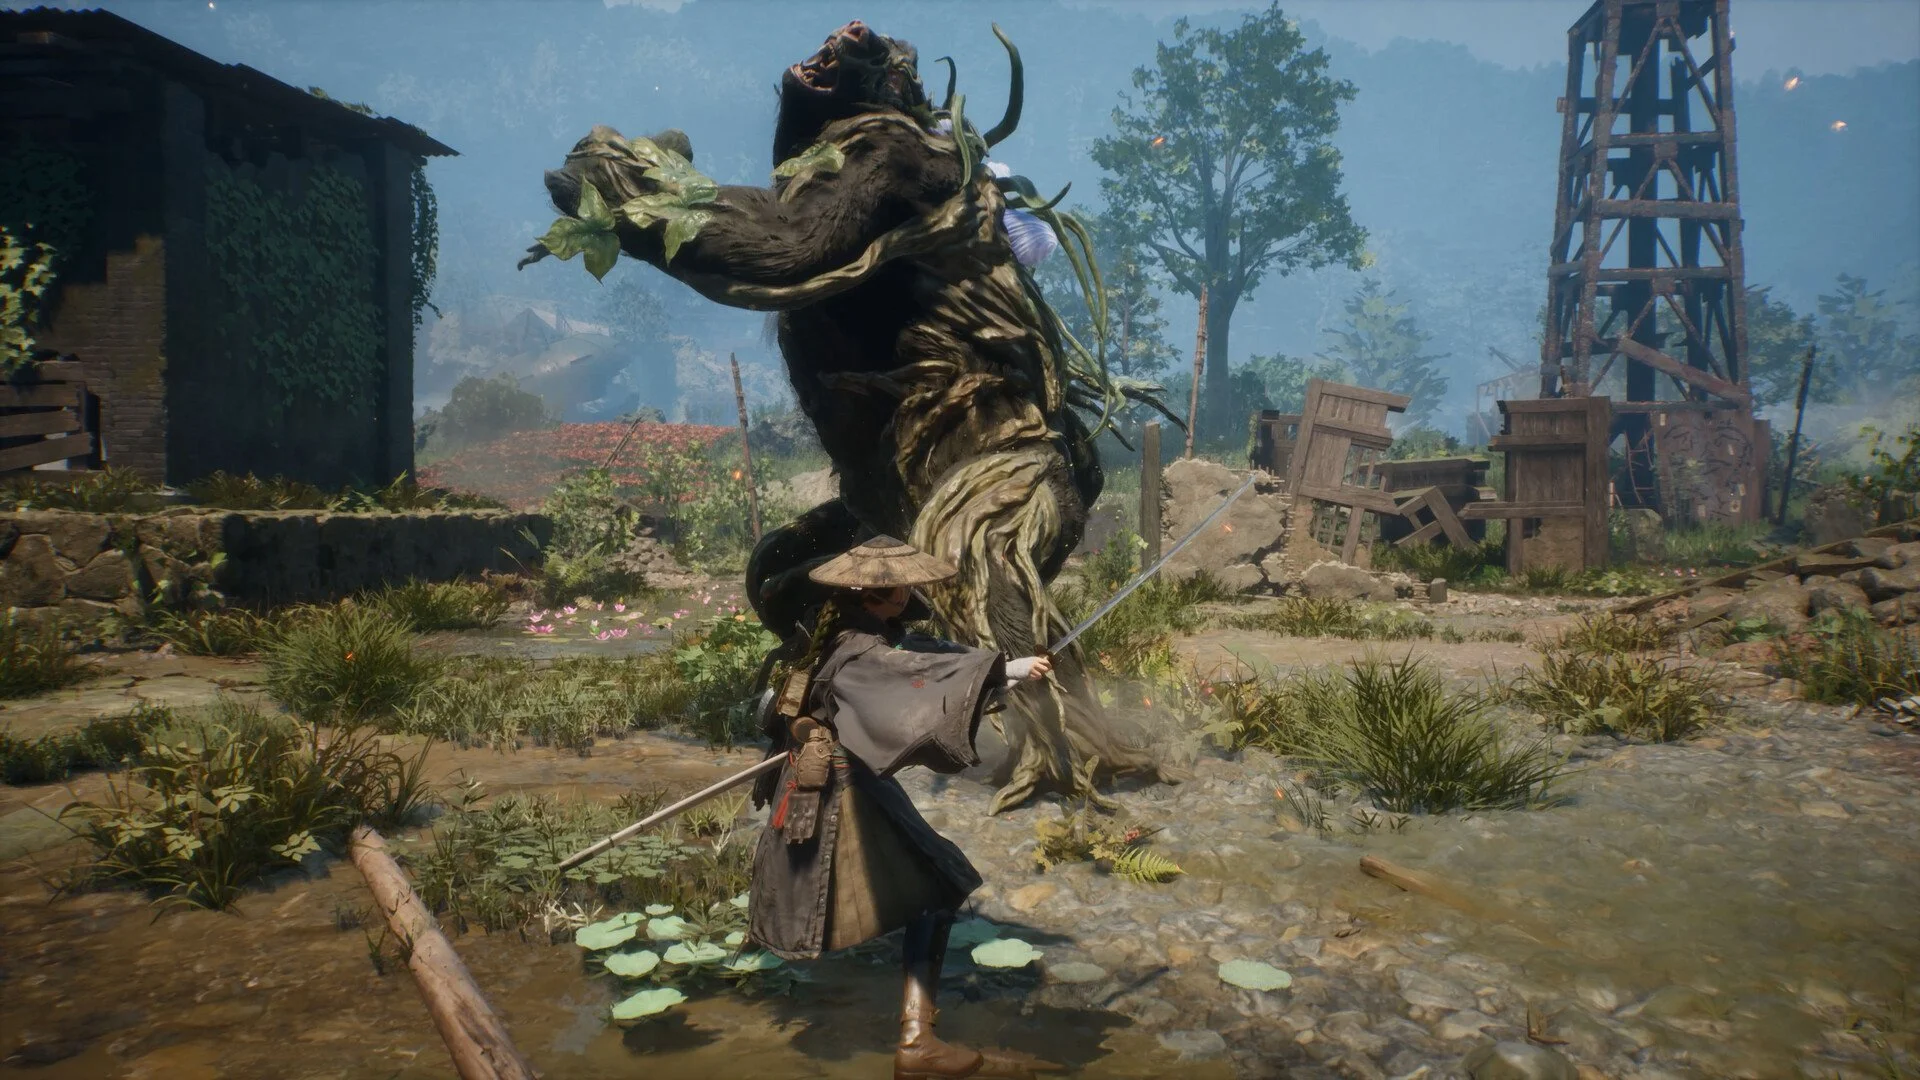
Beast of Reincarnation does not use one simple boss format. Some enemies are regional Nushi that Emma fights more than once, Nue becomes a running pursuit across an entire chapter, and powerful Elite Golems and Malefacts are hidden away from the main route.
This guide separates those encounters instead of dumping everything into one giant list. The main boss route covers the mandatory fights you will reach naturally, while the regional cleanup routes show how to collect the optional Elites without zigzagging across the same map several times.
Major story spoilers begin below. I would also assume that any Nushi rematch can continue after the first health bar disappears. Beast of Reincarnation loves making a fight look finished before introducing a faster phase with a completely refreshed health bar.
Jump To Section:
All Main Bosses
How Boss Rematches Work
Rangifer Locations
Lacerta Locations
Nue Malefact Locations
Taurus Locations
Later Story Bosses
Best Elite Cleanup Routes
Are Bosses Missable?
All Main Bosses in Beast of Reincarnation
The main campaign boss roster includes regional Nushi, recurring Malefacts, human opponents, and the final Beast of Reincarnation itself.
- Rangifer: Fought twice during Chapter 1 in the Ogouchi Buffer Zone.
- Nue Malefact: First appears during a Chapter 1 flashback and becomes the main pursuit target throughout Chapter 3.
- Lacerta: Fought twice during Chapter 2 in the Ancient Civilization Zone.
- Male Purifier: Joins Nue during the final Chapter 3 encounter.
- Taurus: Fought twice during Chapter 4 in the Pilgrim’s Zone.
- Erymanth: Mandatory Nushi encountered later in the campaign.
- Corvus: Mandatory late-game Nushi boss.
- Koo’s Nushi Form: Mandatory story encounter.
- Ursa: Mandatory late-game Nushi boss.
- Shidou and Nue: Combined story boss encounter in the Mount Hiei portion of the campaign.
- Kunai and Kirin: Combined story boss encounter in the Capital.
- Beast of Reincarnation: The final campaign boss.
That list does not include every Elite. Elite Golems and Malefacts are tougher versions of regular enemy families that appear throughout the regional maps. Some stand directly on the story path, while others guard keys, caves, equipment, or isolated exploration routes.
For pure story completion, follow the main objectives and you will reach every mandatory boss. For full regional completion, you will also need to hunt down the optional Elites.
How Boss Rematches and Second Phases Work
The early Nushi encounters follow a useful pattern: the game introduces the boss once, lets you learn its basic attack language, and then brings it back with more speed, another phase, or extra enemies.
- Rangifer: Level 9 introduction followed by a Level 12 rematch.
- Lacerta: Level 13 introduction followed by a Level 16 rematch.
- Nue Malefact: Several Level 16 encounters leading to the Level 20 duo battle.
- Taurus: Level 26 introduction followed by a Level 29 rematch.
The biggest trap is spending every Stim during the first health bar of a final Nushi fight. When the next phase begins, the boss may return to full health while your healing supply remains exactly where you left it.
I would treat the first bar as the resource-management phase. Learn the parry rhythm, use safe openings, and save at least part of your healing and strongest consumables for whatever happens after the transition.
Koo’s attacks also help reveal the intended elemental setup. If one of his abilities is marked as strong against the boss, bring matching arrows, bolts, bottles, or mods instead of forcing the same general-purpose build through every encounter.
Where to Find Rangifer
Rangifer is the first Nushi Emma hunts and appears twice in the Ogouchi Buffer Zone.
First Rangifer Encounter
- Chapter: Chapter 1
- Level: 9
- Nearest landmark: Cliff-Facing Tower Campsite
- Location: The lake directly beneath the tower area
The first fight is mandatory and appears through the main objective. Rangifer uses wide antler swings, a forward charge, kicks, and ranged seed-like projectiles.
This battle is less about damage and more about learning how much space its antlers cover. Standing slightly farther away than you would against a normal Malefact makes the animation easier to read and gives you time to decide whether to parry or move.
Final Rangifer Encounter
- Chapter: Chapter 1
- Level: 12
- Nearest landmark: Subcity 03
- Location: Beyond the locked gate along the required story path
The rematch adds a second phase and another full health bar. Rangifer also gains a jumping attack that punishes players who remain underneath it or immediately rush forward after avoiding the landing.
Do not panic when the second bar appears. Most of the first-phase timing still applies, so the safest approach is to keep using the same reliable parry windows and only respect the new jump rather than completely changing your playstyle.
Where to Find Lacerta
Lacerta is the Chapter 2 Nushi and introduces more serious status pressure through Poison and Slow.
First Lacerta Encounter
- Chapter: Chapter 2
- Level: 13
- Nearest landmark: Reservoir: Interior Campsite
- Location: The arena immediately beyond the Campsite
Lacerta attacks with bites, tail swings, and status-inflicting moves. It can also disappear beneath the water and send smaller enemies into the arena.
Those summoned enemies are not background decoration. Clear them quickly instead of staying locked onto Lacerta and letting several smaller attacks interrupt your parry timing.
Equipping an Antidote option through Koo is worthwhile here. Poison becomes much harder to ignore during a long fight, especially when you are already spending Stims on direct damage.
Final Lacerta Encounter
- Chapter: Chapter 2
- Level: 16
- Nearest landmark: Nushi’s Lair Entrance Campsite
- Location: The boss arena in the northeastern section of the region
The second Lacerta battle adds another phase and health bar. Its aggression also rises considerably after it reaches roughly half health.
This is where playing too aggressively becomes expensive. Lacerta’s faster tail and bite sequences can catch repeated attacks, so take the damage already earned and reset your position instead of trying to squeeze out one more combo every time.
All Nue Malefact Locations
Nue is different from the other early bosses because Chapter 3 turns the entire region into one extended hunt. You fight it repeatedly across the Great Wall Terraces before reaching the final battle with the Male Purifier.
Nue mainly uses lunges, paw strikes, tail swipes, lightning, and later ranged projectiles. Poison works well against both Nue and the Male Purifier, making a Dokuzeri-focused setup useful throughout the chapter instead of only during the final encounter.
Chapter 1 Flashback Encounter
Nue first appears during Emma’s flashback after the initial Rangifer battle. This is a mandatory sequence rather than a freely explored map location.
First Great Wall Encounter
- Level: 16
- Nearest landmark: Mountain Plaza: Forefront Campsite
- Location: Follow the Strange Signal objective into the arena ahead
Second Great Wall Encounter
- Level: 16
- Nearest landmark: Great Forest Clearing: Approach Campsite
- Location: Follow the route northeast from the Campsite
Third Great Wall Encounter
- Level: 16
- Nearest landmark: Titan Buddha
- Location: South of the enormous northern gate, reached through the towers east of the river
Final Nue and Male Purifier Encounter
- Level: 20
- Location: The arena beyond the massive gate at the northern end of the region
- Requirement: Complete the previous Nue encounters first
The duo fight sounds worse than it actually plays. Nue and the Male Purifier generally give each other room to attack rather than endlessly stacking moves on top of one another.
Focus your attention on whichever enemy is actively pressuring Emma, then reposition when the second begins moving in. Trying to force the fight into a traditional one-target damage race can leave the other boss outside the camera preparing an attack.
Poison is the obvious shared weakness, so this is one of the rare duo encounters where you do not need two completely different elemental plans.
Where to Find Taurus
Taurus is the Nushi of Chapter 4 and is fought twice in the Pilgrim’s Zone.
First Taurus Encounter
- Chapter: Chapter 4
- Level: 26
- Location: Reached through the mandatory Pilgrim’s Zone objective route
Final Taurus Encounter
- Chapter: Chapter 4
- Level: 29
- Location: Reached later through the same chapter’s main progression
- Changes: Additional phase, faster attacks, and Golems joining the encounter
Taurus is weak to Acid. Acid Arrows and Koo’s Bottle of Acid let you continue applying pressure while the boss is galloping around the arena and refusing to stay within normal melee range.
Its moves include horn swings, body lunges, bombs, underground branches, and a more aggressive charge during the later battle.
I would not chase Taurus every time it runs. Let it create the distance, use a ranged Acid attack, and prepare for the charge back toward Emma. The boss wastes far more of your time when you constantly sprint after it and arrive just as it moves again.
The horn swipes are also useful FP opportunities once you learn the timing. Saving that FP for the faster second phase is safer than spending every ability during the easier opening pattern.
Later Story Bosses and Locations
The later bosses are mandatory story encounters, so none require a secret item, optional quest chain, or hidden summon condition.
Erymanth
Erymanth is one of the campaign’s later Nushi. Following the main Nushi objectives brings Emma and Koo directly to the encounter.
Corvus
Corvus is a mandatory late-game Nushi connected to the later regional story. Continue following the primary hunt objectives to reach its arena.
Koo’s Nushi Form
Koo’s Nushi form is a mandatory story boss rather than an optional corruption or alternate-ending encounter. You cannot permanently avoid it while completing the campaign.
Ursa
Ursa is another mandatory Nushi fought during the late-game route toward the Capital.
Shidou and Nue
Shidou and Nue are fought together during the Mount Hiei section of the story. Defeating the pair also leads to the Black Blossom blade reward.
Kunai and Kirin
Kunai and Kirin are fought during the Capital sequence. After the battle, Kunai leaves the Camelia blade inside the Cleanse Walker alongside a document.
Beast of Reincarnation
The Beast of Reincarnation is the final campaign boss. Defeating it completes the main story and unlocks the ending.
The exact arena routes and phase breakdowns for these later bosses should be added as their individual locations are independently mapped. The names and mandatory status are confirmed, but there is no reason to invent precise Campsite directions just to make a launch-day list look more complete than the available location data.
Best Elite Cleanup Routes
Optional Elites are easier to clear when grouped into travel routes. Going through the source list one enemy at a time creates a lot of unnecessary backtracking, especially in the Ogouchi Buffer Zone and Great Wall Terraces.
The following routes organize the known Elites around nearby landmarks and natural story progression.
Ogouchi Western and Ruined Tower Loop
Start on the western side of the region and work north toward the Ruined Tower.
- Cliffside Village Heavy Golem, Level 8: On the elevated area beside the tents in the western village.
- Northwest Heavy Golem, Level 6: In the far northwest corner, on the raised ground behind a large rock.
- North Ruined Tower Heavy Golem, Level 9: Cross the bridge north of the tower and climb the wall immediately on the left.
- Ruined Tower Summit Heavy Golem, Level 9: Continue to the very top of the tower above the Ruined Tower Area Campsite.
This is the cleanest Ogouchi route because the final two Golems are part of the same tower climb. Defeat both before leaving instead of returning to scale the structure a second time.
Ogouchi Underground and Key Route
- Subcity 01 Agile Golem, Level 7: Guards the final underground room and appears along the required route.
- Disposal Site Heavy Golem, Level 8: Northeast of the Abandoned Village, near the middle of the Disposal Site.
- Quarry Heavy Golem, Level 9: From the Quarry Interior Campsite, descend by elevator and take the nearby steps.
- Yellow Key Grizzly Malefact, Level 10: Appears in the cave after speaking with the Retired Gatekeeper.
The Grizzly is progression-dependent, so do not waste time searching its cave before the Gatekeeper conversation has activated the encounter.
Ancient Civilization Gate and Tunnel Loop
- Ruins Path Lupine Malefact, Level 15: On the cliff to the right of the giant gate, opposite the Ruins Path Campsite.
- Locked Gate Heavy Golem, Level 13: Open the gate, ride the elevator down, and follow the main path a short distance.
- Tunnel Ruins Giant Golem, Level 11: In the first main room beyond the Tunnel Ruins: Interior Campsite.
- Shopping Mall Heavy Golem, Level 11: Outside the Shopping Mall reached through the Tunnel Ruins.
These four fit into one continuous route. The Lupine sits near the gate entrance, while the remaining three follow the underground path toward the Shopping Mall.
Ancient Civilization Reservoir Exit Route
- Agile Golem, Level 12: Leave the Reservoir after the first Lacerta battle and find it fighting Mikoto.
- Corvid Malefact, Level 10: Watch the upper ledges along the path toward the final Lacerta encounter.
Fight the Agile Golem immediately after Lacerta. It appears during a natural story transition and is easy to forget once the objective sends you deeper into the region.
Great Wall Eastern Pursuit Route
- Two Agile Golems, Level 12: On the bridge east of Mountain Village, between the container groups.
- Maze of Sin Headless Golem, Level 15: At the end of the Maze of Sin in the southeastern part of the map.
- Keymaster Golem, Level 17: On the route between the river and the Great Forest Clearing arena.
This route fits around the first two Nue encounters. Clear the bridge pair before traveling too far east, handle the Maze while already in the southeast, and collect the Keymaster while moving toward the Great Forest section.
Flower Square and Ruined Road Circuit
- Ruined Road Lupine Malefact, Level 19: In the central square across the western bridge from Flower Square: Forefront.
- Northwest Headless Golem, Level 18: On the high platform in the northwest portion of Ruined Road Square.
- Skyscraper Lupine Malefact, Level 18: In the clearing northwest of the Flower Square Campsite.
- Subcity of Flowers Headless Golem, Level 16: Enter through the village hatch north of Flower Square and continue beyond the Campsite to the final room.
This is the most efficient multi-Elite circuit in Chapter 3. All four encounters sit around Flower Square and Ruined Road, so clear them together before continuing north toward the final Nue battles.
Are Any Bosses or Elites Missable?
The main campaign bosses are not missable. They are attached to story objectives and must be defeated to continue toward the Capital.
Optional Elites can be skipped during your first trip through a region, but earlier areas remain available for cleanup. You do not need to defeat every high-level Elite the moment you first see it.
A sensible approach is:
- Defeat any Elite already standing directly on the story path.
- Clear groups that share the same Campsite or travel route.
- Leave isolated Elites alone when they are several levels above Emma.
- Return after gaining more Stims, skills, stones, and upgraded weapons.
- Use Campsites to start short cleanup loops rather than crossing an entire region.
I would prioritize Elites that guard progression items or sit at the end of an area you already had to explore. The Subcity 01 Agile Golem, post-Lacerta Agile Golem, Yellow Key Grizzly, and Flower Square circuit all fit naturally into the campaign route.
The isolated cliff and platform enemies are better cleanup targets. There is no special prize for forcing a long fight while underleveled when you can return later and finish it with a stronger loadout in a fraction of the time.
For Nushi rematches, the preparation rule is simple: expect another phase, keep healing in reserve, and match Koo’s elemental advantage. For Elites, route efficiency matters more than perfect chapter completion. Clear the enemies already near your objective, mark the awkward detours, and return when the regional cleanup will not interrupt the main story every five minutes.