DragonSword Awakening Guide: 15 Beginner Tips for a Strong Start
DragonSword: Awakening introduces recruitment, equipment crafting, Karma, Familiars, Regional Missions, World Bosses, Master Skills, and several other progression systems. Learn 15 beginner tips to build a strong team and avoid common mistakes.
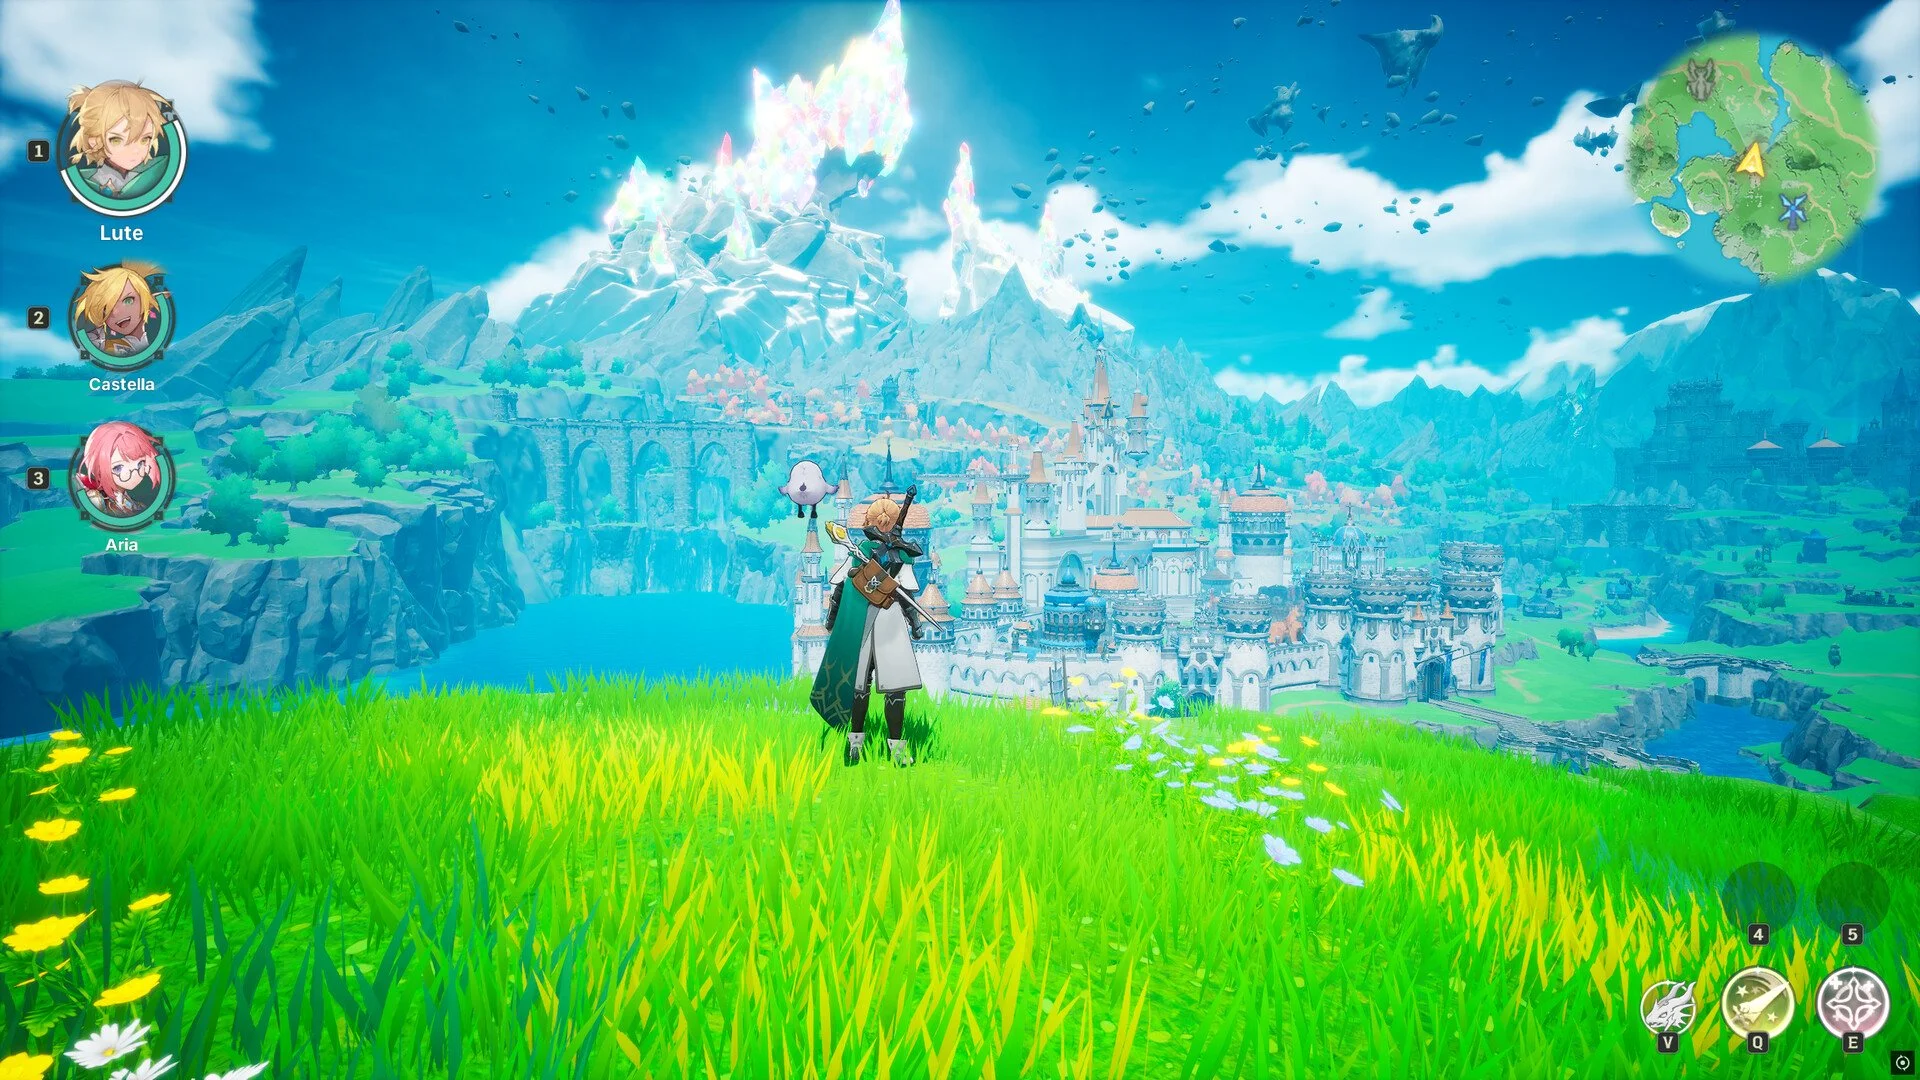
DragonSword: Awakening introduces recruitment, equipment crafting, Karma, Familiars, Regional Missions, World Bosses, Master Skills, and several other progression systems before you have enough resources to develop all of them properly. The easiest way to fall behind is not choosing the wrong hero. It is dividing Gold, skill materials, equipment, and Awakening Points across too many unfinished characters. A strong opening focuses on one efficient quest route, one complete three-character team, and only the activities that solve the next progression bottleneck.
Jump To
Unlock and Use the First Familiar
How to Spend Fate's Invitation
Use Character Switching Properly
Regional Missions and World Bosses
1. Complete the Opening Quests as One Efficient Route
After reaching Orbis, accept both opening Mercenary Guild requests before leaving the city. Taking the lunch delivery and lost-sheep objectives together allows you to complete the entire route without repeatedly traveling between Orbis and the surrounding hills.
Deliver the lunch first, then continue toward Elli's farm and recover the sheep near the large-tree hill. Return the sheep before following the expanded objective toward the Goblin camp.
After defeating the Goblins, do not immediately return to the Guild. Continue into the area below the hill and locate the rock blocking the nearby treasure cave.
The entrance is opened by detonating the explosive barrels beside the rock. Attack the barrels from a safe distance, clear the cave, collect its rewards, and only then return to Orbis.
The main advantage of this route is avoiding a second trip to Elli's hill. Clearing every marker in the region is unnecessary, but completing the Guild requests, Goblin camp, and cave during the same outward loop provides a cleaner start than returning to the city after each individual objective.
2. Use the First Familiar as Soon as It Unlocks
The first Familiar becomes available during the opening Mercenary Guild request chain. Summon it before beginning the lunch and farm route rather than continuing to travel everywhere on foot.
This first mount noticeably reduces the time required to move between Orbis, Elli's farm, the Goblin camp, and the surrounding exploration points. Early travel time adds up quickly when several quests send you through the same region.
Later Familiar abilities expand movement through dashing, climbing, gliding, swimming, and diving. Treat paths requiring an unavailable movement ability as return-later objectives rather than spending several minutes trying to force your way into them.
The same rule applies to Treasure Maps and optional chests. Mark the location mentally or on the map, continue progressing, and return after the relevant Familiar ability has been unlocked.
3. Complete One Three-Character Team Before Building Another
Your first major progression goal should be completing one functional three-character team. Building four or five unrelated heroes produces a larger roster, but it leaves every character undergeared and makes Signal Skill rotations much harder to organize.
For a safer ranged direction, use Cerese, Othello, and Dana. Cerese and Dana can share the ranged field phase, while Othello handles the dangerous close-range transition when an enemy reaches them.
For a faster action-focused direction, use Charlotte, Johnny, and Reina. Charlotte drives the aerial and close-range pressure, Johnny returns the rotation to the ground, and Reina restores movement and spacing before Charlotte re-enters.
The ranged team is the easier choice when you are learning boss patterns or repeatedly losing the active hero at close range. The action team offers greater mobility and aggression, but it requires better camera control, faster reactions, and the discipline to end an aerial sequence before it becomes unsafe.
Do not attempt to build both lineups simultaneously. Choose the direction that fits your current roster and playstyle, then develop its main damage dealer before investing heavily in substitutes. Our DragonSword Awakening tier list and best team comps guide compares the strongest characters, complete rotations, hybrid teams, and replacement options.
4. Save Fate's Invitation Until You Know Which Slot Is Missing
Fate's Invitation is used through the Character Exchange to recruit a hero. Before spending it, inspect your current roster and determine which character completes the team you have chosen.
If you already own Cerese and Othello, Dana provides more value than an unrelated fourth character. If Charlotte and Reina are already available, Johnny completes a tested rotation instead of merely adding another individual damage dealer.
Hold the invitation when you remain undecided between the ranged and action teams. Testing the heroes already available can reveal whether you prefer patient ranged positioning or frequent close-range switching before the recruitment decision becomes permanent.
Story progression and Hero Logs can contribute to the recruitment route. Check the Hero Log rewards before spending additional resources because a log may also provide the corresponding hero's Exclusive Karma.
A larger roster eventually provides more team-building options, but the first invitation should solve an immediate formation problem. Completing one working trio creates more progression than collecting several heroes who cannot activate one another's Signal Skills.
5. Build the Team Around Signal Conditions
DragonSword: Awakening combat revolves around creating conditions that activate an off-field teammate's Signal Skill. Break, Airborne, Stun, Bleed, Knockdown, Freeze, Shock, and other effects can all serve as links between characters when the next hero has the correct response.
Begin by identifying which condition your active character creates consistently. The next teammate should have a Signal Skill that responds to that condition, while the third member should extend the attack, restore spacing, provide healing, or return the sequence to the first character.
A character portrait appearing on the interface does not automatically mean the Signal Skill is available. Wait for the actual condition to occur and confirm that the teammate input has become active before pressing it.
Break is one of the easiest early conditions to recognize. Watch for the genuine Break state, confirm the Signal prompt, and then bring in the next character rather than switching based only on the portrait.
When a follow-up repeatedly fails to activate, examine the condition chain before replacing the character. The issue may be that the first hero is not applying the status required by the second hero's Signal Skill.
6. Keep Attacking After Using an Active Skill
Do not use both Active Skills and then retreat while waiting for every cooldown to finish. Landing safe attacks helps the spent skill return more quickly, allowing the rotation to continue without long periods of inactivity.
Use one Active Skill, continue with a short normal attack sequence, and stop when the enemy begins a dangerous response. The objective is to maintain enough pressure to recover the ability without committing to an animation that cannot be interrupted safely.
This is especially important for the main field driver. Charlotte, Cerese, Dana, and other frequently active characters should continue contributing between major abilities rather than turning every rotation into a burst followed by several seconds of waiting.
Only level the Active Skills that appear regularly in your actual combat sequence. Raising every skill across the roster consumes materials without improving the team you currently use.
Watch several encounters before deciding which skills deserve further investment. The abilities appearing in nearly every successful rotation should receive resources before situational attacks that are rarely activated.
7. Switch During Long Attacks to Create Overlapping Damage
The outgoing character remains on the field briefly after a switch. When a hero begins a long attack animation, switching can allow that attack to finish while you control the incoming character.
This creates a short period where two heroes contribute simultaneously. It can increase damage, apply another status condition, and open the next Signal opportunity before the first animation has completely ended.
Use this technique with attacks that are already safely committed. Starting a long animation and switching does not make the original character immune to the enemy's response.
The overlap also creates a useful healing interaction with Lute. When the outgoing hero remains visible briefly after Lute enters, the healing effect can reach that character before they disappear from the battlefield.
A normal switch provides only a short protected entry window. Use it to cross one clearly timed hit, complete the incoming character's immediate role, and move before another attack begins.
Do not switch directly into lingering hazards, multi-hit spins, overlapping projectiles, or attacks that remain active after the entry animation. The protection is too brief to carry the character through an extended damage zone.
8. Stop Forcing Airborne Combos Against Super Armor
Airborne rotations can keep normal enemies helpless for long periods, but stronger targets may resist the launch through Super Armor. Continuing the complete aerial sequence against an enemy that remains planted usually results in the active character being hit during an extended animation.
Watch the white bar beneath an enemy's health and, more importantly, observe how the target reacts to the first launcher. A visible bar alone does not guarantee that the enemy will enter the expected juggle state.
When the target resists launch, stop the aerial route immediately. Move outside the counterattack area, use shorter Active Skill windows, and build Break through safer hits.
Activate the teammate only after the required condition and Signal input genuinely appear. Do not force the rotation simply because it normally works against smaller enemies.
Charlotte teams are particularly vulnerable to this mistake because her air movement encourages one more extension. End the sequence when the camera loses the boss, persistent hazards cover the landing area, or the target begins attacking through the launch attempt.
9. Give the Main Field Character the First Complete Build
The character spending the most time actively controlling the fight should receive the first complete equipment set, matching Karma, upgraded core skills, and other premium resources.
In the Charlotte, Johnny, and Reina lineup, the preferred investment order is Charlotte, then Johnny, then Reina. Charlotte creates most of the active pressure, so weaknesses in her build affect every stage of the rotation.
Johnny needs enough survivability and damage to complete his grounded continuation safely. Reina needs functional gear and a Karma that supports her movement or Airborne role, but neither requires Charlotte's full level of investment immediately.
For Cerese, Othello, and Dana, build whichever ranged hero begins most encounters and remains active for the longest periods. Othello receives the next major investment because he must survive the dangerous distance change when the boss reaches close range.
Keep Lute strong enough to survive and heal, but do not give him the first premium upgrades unless he is genuinely driving the team's progression. Healing supports a working damage core; it cannot replace one.
10. Finish a Useful Set Bonus Instead of Matching Every Slot
At the Blacksmith, choose equipment according to a condition the team creates consistently. A set improving Airborne, Poison, Burn, Stun, or another status provides little value when the current rotation rarely applies that effect.
Azure Gale demonstrates why you should inspect the actual set thresholds. Its two-piece effect provides 15% additional damage against Airborne targets, while the three-piece effect grants 10% Attack Power for eight seconds after using an Active Skill.
There is no reason to assume that five matching pieces create another bonus when only the two-piece and three-piece effects are shown. A practical setup can use three pieces from the primary set and two pieces from another set with a reliable secondary benefit.
This structure creates two useful bonuses without forcing weak equipment into every slot for visual consistency. The exact best combination depends on which conditions and attacks your primary hero activates most often.
Build the first functional set tier before worrying about perfect secondary attributes. A complete and relevant bonus usually improves progression more than one individually impressive item surrounded by unrelated gear.
11. Confirm the Main Stat Before Finalizing a Craft
Opening the main-stat list does not necessarily apply the highlighted option. Before completing a craft, make sure the intended stat remains visibly selected in the final item preview.
This is especially important on controller, where opening a list, moving the cursor, and confirming the actual selection may require separate inputs.
Do not judge the item only by its set name. The main stat determines whether the piece supports the role of the hero who will equip it.
A correctly selected piece can remain useful through several progression stages, while an incorrect main stat turns the same materials and Gold into temporary filler.
Review the recipe and finished preview one final time before confirming. Fixing a mistake after the item has been created is considerably more expensive than spending a few additional seconds in the crafting menu.
12. Stop Spending Before Early Upgrades Become Expensive Perfection
Gold should be used to complete the first team's functional build, not to perfect temporary equipment. Early crafting, skill upgrades, and basic progression provide a much better return than repeatedly reforging one story item.
The displayed Azure Gale Top craft costs 5,000 Gold, while one later reforge attempt can cost 50,000 Gold. That tenfold difference provides a clear stopping rule: establish the useful set bonus before chasing one improved secondary line.
Reforging may eventually be worthwhile on equipment you expect to keep, but it can rapidly drain the resources needed to craft the remaining pieces or raise important skills.
Use Gold first on the main field character's equipment structure, core abilities, and necessary upgrades. Stop when the next expense offers only a small statistical improvement rather than unlocking a new set bonus or progression threshold.
Return to expensive optimization after the full team is functional and the equipment is unlikely to be replaced by the next story or Regional Mission reward.
13. Treat Forging Molds and Exclusive Karma as Limited Decisions
A Forging Mold is consumed when used during equipment crafting. Reserve it for a core piece with the intended main stat rather than spending it on temporary gear that will soon be replaced.
The single-use nature of the Mold makes planning more important than experimentation. Confirm the set, slot, main stat, and intended wearer before committing it.
Basic Karma can serve as an effective bridge while the first team is still developing. Equip an option that matches the hero's element, status effect, or repeatable combat condition, but avoid expensive ascension when you expect to replace it with Exclusive Karma.
Hold Exclusive Karma currency until the primary team and main damage dealer are settled. Spending it while repeatedly changing lineups can leave the final team without enough resources for its best character-specific upgrade.
Do not dismantle an Exclusive Karma simply because it is not immediately useful. First confirm that it is unequipped, unnecessary for a planned hero, and that the dismantle preview returns the value you expect.
14. Farm the Activity That Solves the Current Bottleneck
Unlocking a Regional Mission or World Boss does not mean you should immediately add it to a permanent daily route. Enter once, evaluate the clear, and decide whether the reward helps the team reach its next upgrade.
The Regional Mission menu displays a daily reset at 9:00 AM, although the panel does not specify a time zone. Use the in-game countdown or observe a reset before arranging a real-world schedule around that time.
Visible Regional Missions can provide 300 EXP alongside different secondary rewards. These include skill materials, higher-rarity crafting materials, and 50,000 Gold from the mission to defeat Kuaku the Mad.
Choose the mission according to what is currently preventing progress. Farm Gold when crafting or skill upgrades are blocked, skill materials when the real combat rotation is underleveled, and crafting materials when the primary equipment set remains incomplete.
World Bosses can provide basic Karma, but the result from the selected reward pool is random. Choose a pool containing effects relevant to the main character and do not treat one clear as a guaranteed solution.
Hero Logs deserve priority when they belong to a member of the core team, particularly when the rewards contribute toward recruitment or that character's Exclusive Karma.
A practical early order is the most useful Regional Mission, a relevant World Boss, a core-team Hero Log, and then main-story progression. Optional exploration cleanup belongs afterward unless it unlocks a resource the current build specifically needs.
15. Concentrate Master Skills and Awakening Points on One Hero
The Master Skill route becomes relevant when a hero reaches Level 30 and has the required Grimoire. Begin with the primary field character rather than splitting the first Awakening Points among several unfinished heroes.
Treasure Map chests can award one or two Awakening Points. Those small individual rewards become meaningful when they all advance the same hero toward a Master Skill.
Treasure Map search areas are not always flat circles with the chest placed visibly in the center. When the marker appears correct but nothing is present, check for a cave entrance near the edge of the area.
The objective may also sit underwater, on a lower ledge beneath the marked position, or behind bushes and terrain. Search vertically before assuming the map is broken.
Some chests require movement abilities that have not yet been unlocked. Leave those locations for later instead of spending excessive time attempting to reach them with the current Familiar.
Keep Treasure Map rewards, Grimoires, and Awakening Points centered on the first hero whose Master Skill route you intend to complete. One developed Master Skill provides more immediate value than several characters holding partial progress.
A Reliable DragonSword Awakening Beginner Progression Plan
Begin by completing the Orbis Guild loop in one trip: accept both requests, unlock and summon the first Familiar, deliver the lunch, recover Elli's sheep, defeat the Goblins, and open the treasure cave with the nearby explosive barrels before returning.
Next, inspect your roster and choose either Cerese, Othello, and Dana for the safer ranged route or Charlotte, Johnny, and Reina for the faster action route. Use Fate's Invitation only when it completes the missing slot in that chosen trio.
Practice one repeatable Signal sequence before chasing higher damage. Use an Active Skill, continue landing safe attacks, create the required condition, confirm the Signal input, complete the follow-up, and return to the field driver when the sequence becomes unsafe.
Give the main field character the first complete gear structure, matching Karma, and frequently used skill upgrades. Aim for a useful three-piece and two-piece combination rather than forcing five matching pieces without another displayed set threshold.
Spend Gold until the team reaches its next meaningful power increase, then stop before temporary equipment enters expensive reforge territory. Save Forging Molds, Exclusive Karma resources, and Awakening Points for decisions that support the settled core team.
Finally, use Regional Missions, World Bosses, Hero Logs, and Treasure Maps according to the current bottleneck. DragonSword: Awakening becomes much easier to manage once every activity has a specific purpose. The goal is not to complete every available marker each day. It is to finish the next upgrade that lets one properly built team move forward.