Dungeonbound rewards preparation more than reflexes. Your inventory layout determines how equipment performs in combat, while Speed, item fusion, and permanent upgrades shape your progression. Learning how these systems interact can turn an ordinary collection of items into a powerful build.
Backpack Layout and Speed
Merging and Forging
Gold and Shop Decisions
Improving Combat Builds
Campaign and Climb Tips
Best Starting Strategy in Dungeonbound
Start with The Long Haul campaign to learn Dungeonbound's equipment system while building permanent character progression. Unlike the roguelike Climb mode, dying in the campaign pushes you back through the dungeon without wiping your accumulated gold, levels, and upgrades.
Your first objective is to establish a functional equipment setup rather than collecting as many expensive items as possible.
- Choose a campaign hero and examine their starting equipment.
- Keep a reliable source of damage equipped while developing Block, healing, or another way to survive longer encounters.
- Arrange equipment to take advantage of neighboring item bonuses.
- Spend your early gold on improvements that address what your build currently lacks.
- Upgrade your strongest equipment as you collect duplicates and reach forging opportunities.
Campaign heroes have separate progression, including their own gold and skill-tree investments. Concentrating on one character initially can help you develop a stronger foundation before experimenting with the rest of the roster.
Your Backpack Layout Can Be More Important Than Item Rarity
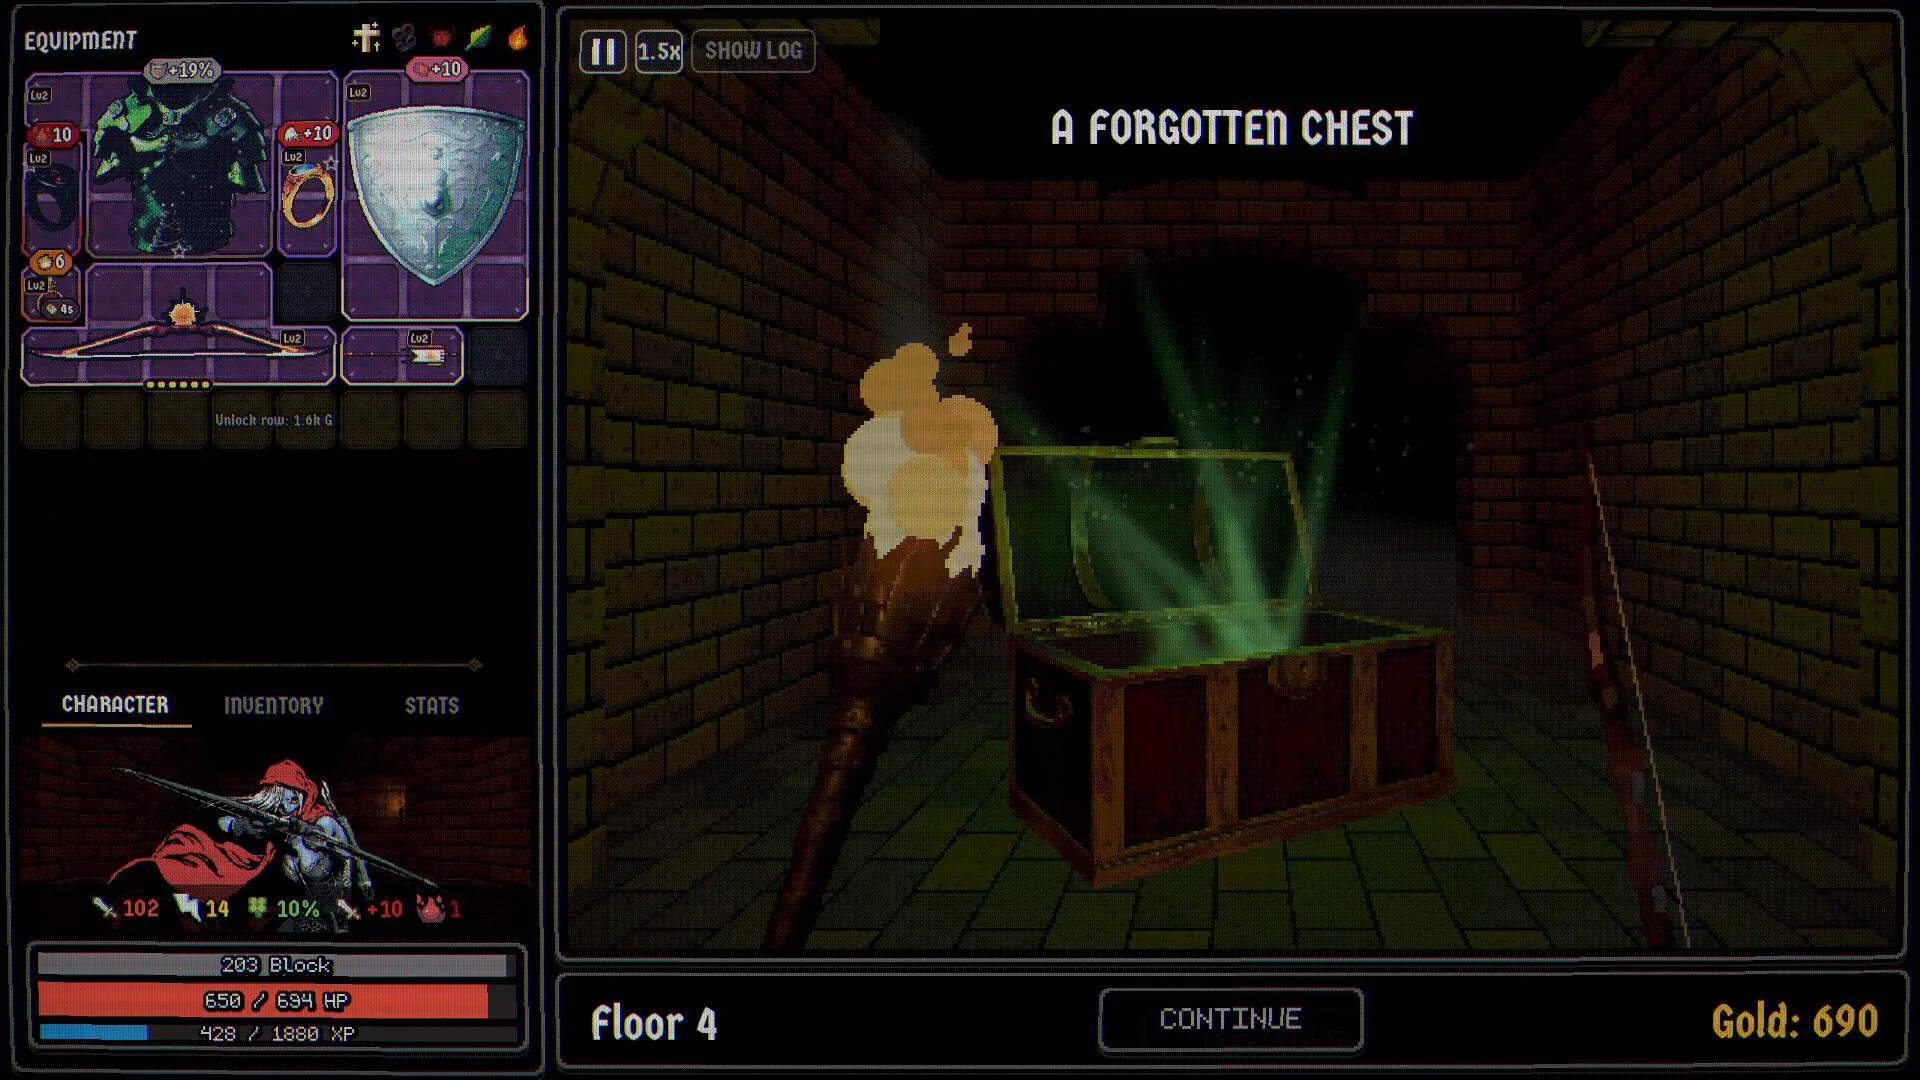
Dungeonbound doesn't use traditional fixed equipment slots. Weapons, shields, accessories, and other equipment occupy differently shaped spaces on an inventory grid.
Several items gain bonuses based on the equipment they touch. Combat also involves attack sweeps across the board, activating equipped items as the sweep reaches them.
Before replacing a useful item with something rarer, check whether the new piece improves your existing arrangement.
A weapon with slightly lower individual damage may still contribute more when it benefits from adjacent equipment or strengthens another effect in your build.
Position Items Around Runes
Runes provide another reason to plan your inventory carefully. Following the November update, runes occupy 2×2 squares and empower the item covering most of their area.
When rearranging equipment, check which item receives the rune's bonus. Filling the grid without considering coverage can leave a valuable enhancement attached to the wrong piece.
Try to preserve useful combinations rather than treating every empty cell as wasted space. A small opening may allow you to fit a stronger item or complete a better arrangement after your next purchase.
Don't Ignore Speed
Combat actions are governed by Speed, allowing faster characters to attack more frequently than slower opponents.
Since attacks can trigger equipment across your inventory, increasing Speed can strengthen an entire setup instead of improving only one weapon.
However, Speed follows a scaling curve and cannot reduce attack intervals to zero. Compare its benefits against damage, protection, and other bonuses rather than investing exclusively in one stat.
Use Merging and Forging to Strengthen Your Best Items
Dungeonbound offers two particularly useful ways to improve equipment: merging duplicates and fusing different items at a forge.
Both strengthen your build, but they serve different purposes.
Merge Duplicates Before Selling Them
Two identical items can be combined into a stronger version, with item levels progressing up to Level 10.
If an item is already contributing heavily to your damage or defense, obtaining another copy can be more valuable than replacing it with an unrelated piece of equipment.
Check your inventory for useful duplicates before selling spare items. The ability to strengthen equipment you're already using can save valuable grid space as your build grows.
Forge Items That Solve Multiple Problems
The Fusion Forge can combine two different items into a hybrid that inherits abilities from both.
This creates opportunities to consolidate equipment when your backpack becomes crowded. Instead of choosing between two useful effects, you may be able to preserve them together in a new item.
Inspect the available fusion variants and stat comparisons before confirming a combination. Forged equipment also retains curses from its parent items, so combining two powerful pieces can carry unwanted penalties into the result.
Potions are particularly interesting because they refill between battles and can be fused into other equipment. Combining a useful potion effect with another item can expand your build without requiring a separate potion slot.
Avoid Wasting Gold on Shops and Rerolls
Gold management becomes increasingly important during longer Dungeonbound runs. Shops provide opportunities to improve your equipment, but spending too aggressively can leave you unable to afford an upgrade that better suits your build.
Shop rerolls become more expensive with repeated use, so don't keep rerolling solely because the current selection lacks a particular rare item.
Consider what your next battle actually requires. If you already have enough damage but struggle to survive, another offensive item may offer less value than something that improves Block or recovery.
Use the Shop Ban Feature
The November 14 update introduced a BAN area in shops. You can move an offered item into it and pay the required price to prevent that item from appearing in shops for the remainder of the run.
This gives you a way to remove unwanted equipment from future selections.
It's most useful once your build has a clear direction and you know certain items won't contribute to it. Avoid spending gold banning equipment while you're still exploring which synergies are useful.
Dungeon paths also provide different amounts of gold. Routes involving fights and question-mark encounters can offer greater exit rewards than paths centered on shops or shrines, but consider whether your current equipment can handle the additional encounters.
Use Battle Results to Find What's Killing Your Build
Because Dungeonbound handles attacks, dodges, blocking, and status effects automatically, improving your combat performance depends heavily on understanding what happened during the previous encounter.
The ENEMY DAMAGE and LAST BATTLE screens break down incoming damage, critical hits, and how much damage was absorbed by Block.
Use these reports to guide your next equipment decision.
- If your Block absorbs significant damage but your Health still falls rapidly, look for additional protection or recovery.
- If battles drag on without enough damage, improve your offensive items or attack frequency.
- If a particular status effect repeatedly disrupts your equipment, adjust your build to reduce that weakness.
The newer combat effects deserve attention. Silence can disable timed or Mana-based items, while Root slows attacks by 40% and prevents Charge from providing its usual benefit while active.
These effects can seriously disrupt builds that depend on frequent triggers. A character with high attack potential may still struggle if important equipment remains inactive during the fight.
Reviewing the battle breakdown after a difficult encounter is more productive than replacing several pieces of equipment without knowing what failed.
Understand the Difference Between Campaign and Climb Progression
The Long Haul and The Climb reward different approaches to character development.
In The Long Haul, each of the seven campaign heroes has persistent gold, levels, and upgrades. Defeats set back your current descent, but you can return with a stronger character.
The Climb focuses on assembling a powerful build during a single roguelike run. You fight enemies and other players' recorded builds, selecting relics and equipment as you progress.
Climb, Daily, and Co-op now begin with 10 hearts following the November 14 update. However, the penalty for losing increases deeper into a run:
| Floor | Hearts Lost Per Defeat |
|---|---|
| Floors 1–2 | 1 |
| Floors 3–4 | 2 |
| Floor 5 onward | 3 |
Early floors offer more room to experiment, but later defeats can quickly end a promising run. Strengthen your main equipment and address obvious defensive problems before entering the more punishing encounters.
In the campaign, use setbacks to develop your permanent upgrades. In Climb, prioritize a build that can survive the next floor rather than holding onto gold or equipment for a combination you may never complete.