Farever Warrior Guide: Rage, Skills, And Best Build
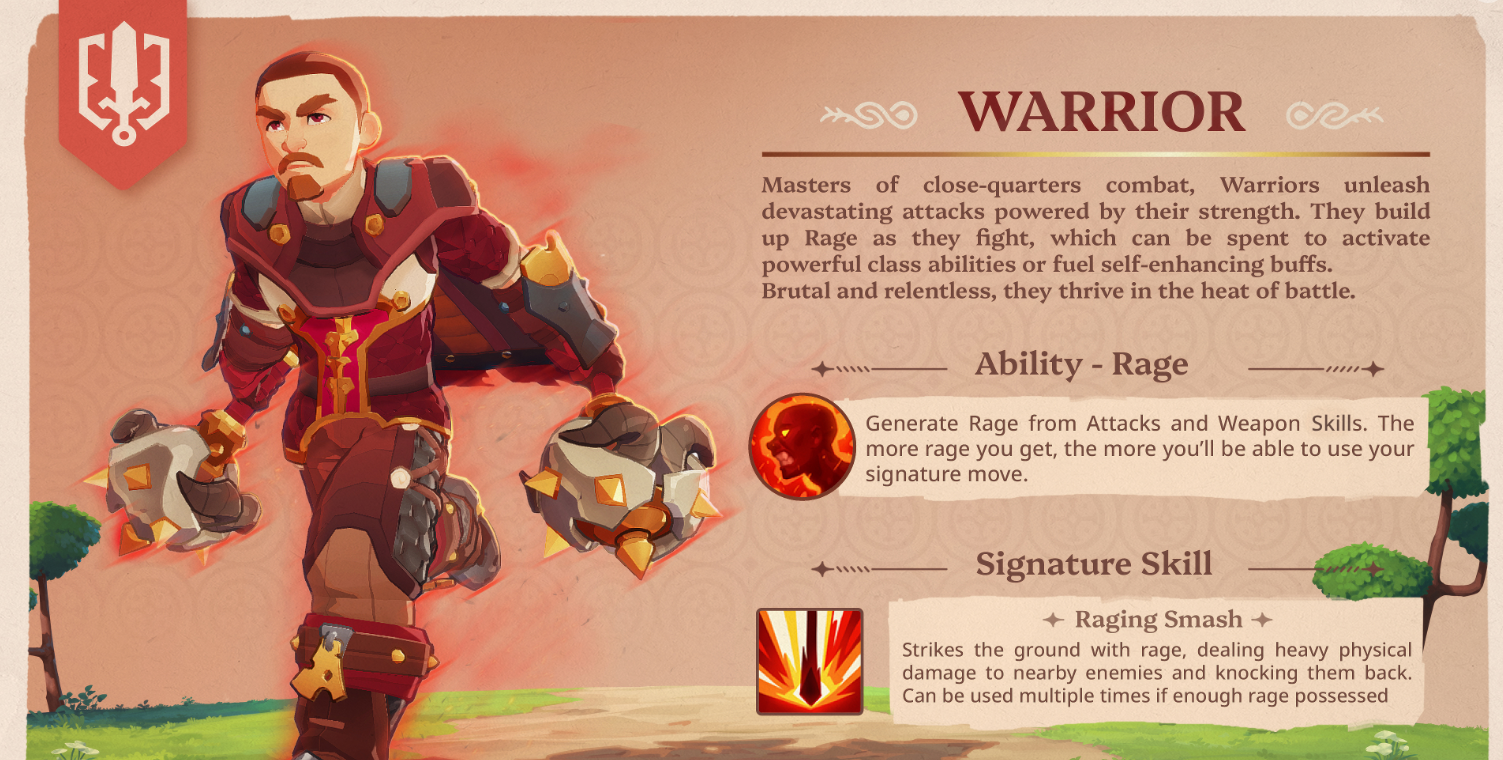
Warrior in Farever is the front line class built around Strength, Rage, close range physical pressure, knockback, stuns, and defensive tools that let it stay active in the middle of a fight. The best Warrior build is a bruiser setup that builds Rage through Attacks and Weapon Skills, spends it on Raging Smash, and uses Charge, Ignore Pain, Battle Shout, Berserk, and Burst of Anger to control fights when the pressure spikes.
For the full early access guide list, use the Farever guides hub.
Jump To
Best Warrior Build In Farever
The best Warrior build in Farever is a Strength based bruiser setup that builds Rage through Attacks and Weapon Skills, spends Rage on Raging Smash, and uses defensive and burst skills to stay in melee without losing control of the fight.
This is the safest current Warrior build direction because it uses the class’s confirmed identity instead of forcing a fragile pure damage setup. Warrior is built to fight up close. It gains Rage while attacking, turns that Rage into class ability pressure, and has enough defense to keep swinging when lighter classes would rather be somewhere else.
Ignore Pain is one of the biggest updates to the older Warrior plan because it reduces all damage taken by 60 percent for 12 seconds. That is stronger than the earlier 40 percent value and makes Warrior’s front line role much more serious. Charge gives the class a forward engage with a 1 second stun, Battle Shout gives nearby allies 20 percent Crit Chance for 15 seconds, and Berserk increases Warrior damage by 20 percent while improving Rage generation for 15 seconds.
The best general path is bruiser first, then specialize later. Tank style Warrior should care more about Ignore Pain, Charge, stuns, armor, and survival windows. DPS Warrior should care more about Rage generation, Berserk, Raging Smash, Burst of Anger, and weapon skills that hit hard during damage windows.
How Warrior Works In Farever
Warrior is Farever’s close quarters combat class, using Strength scaling and Rage generation to stay aggressive in melee.
The class has the cleanest combat loop among the launch classes. It gets into melee range, attacks to build Rage, then spends Rage on stronger class abilities and self enhancing buffs. Warrior does not want to wait around at range. It wants to stay in the fight long enough for Rage to build, then cash that Rage into control, burst, or survival.
Warrior is also one of the strongest first class choices because its kit has pressure and safety in the same package. Charge helps start fights or interrupt enemies. Raging Smash gives close range impact and knockback. Ignore Pain gives a real defensive button. Battle Shout helps the whole group crit more often. Berserk turns the Warrior into a short burst window with better Rage flow.
For a broader look at the full launch lineup, the Farever Classes Guide covers Warrior, Rogue, Mage, and Cleric together.
How Rage Works For Warrior
Rage is the Warrior’s main resource, generated from Attacks and Weapon Skills, then spent on class abilities like Raging Smash.
Rage is what makes Warrior more than a normal melee class. Every fight builds toward stronger skill use, which means basic attacks and Weapon Skills are part of the resource plan. Warrior wants to stay active, keep pressure on enemies, and build enough Rage to spend when the fight actually needs a heavy answer.
Infinite Rage improves that loop by generating Rage while in combat. Berserk improves it further by increasing Rage generated from Skills and Attacks during its 15 second window. That makes Warrior stronger when it keeps fighting instead of stepping away every few seconds and losing tempo.
| Warrior Resource | How It Works |
|---|---|
| Rage | Generated from Attacks and Weapon Skills. |
| Main Purpose | Spent on class abilities and self enhancing effects. |
| Key Spender | Raging Smash uses Rage for close range impact and knockback. |
| Rage Support | Infinite Rage and Berserk help keep Rage generation active during combat. |
The biggest mistake is treating Rage like something that must be spent the second it appears. Warrior feels stronger when Rage is saved for enemy groups, dangerous pressure, or a clean burst window. A Warrior with banked Rage has options. A Warrior with empty Rage has confidence, which is nice, but confidence does not knock anything across the room.
Warrior Stat Scaling
Warrior scales around Strength, Maximum Health, Armor, Armor Penetration, Critical, and Fervor. The level 1 to 20 stat growth shows why the class naturally leans into front line melee combat instead of fragile ranged play.
| Attribute | Level 1 | Level 20 |
|---|---|---|
| Strength | 30 | 540 |
| Maximum Health | 125 | 2250 |
| Armor | 261 | 2900 |
| Armor Penetration | 150 | 1000 |
| Critical | 150 | 1000 |
| Fervor | 150 | 1000 |
The big takeaways are simple. Warrior gets a huge Strength curve, a strong Health increase, and high Armor growth by level 20. That supports the bruiser identity directly. It is built to stand close enough to take hits, generate Rage, and keep using heavy melee tools instead of playing like a nervous archer with a sword.
Raging Smash Explained
Raging Smash is the Warrior’s signature Rage spender, striking the ground to damage nearby enemies and knock them back.
This is the core Warrior payoff. It gives the class close range impact and enemy control in one button. The knockback gives Warrior breathing room when enemies crowd in too hard, while the area hit helps punish groups that stack near the front line.
The exact damage value is not confirmed in the available skill text, so it is better to treat Raging Smash as the Warrior’s Rage based area control tool rather than inventing a number. The important part is how it fits into the loop. Build Rage through Attacks and Weapon Skills, save it for a useful moment, then use Raging Smash when nearby enemies can actually be hit and pushed back.
| Raging Smash Detail | Effect |
|---|---|
| Resource | Uses Rage. |
| Damage Type | Close range ground strike damage. |
| Control | Knocks back nearby enemies. |
| Best Use | Enemy groups, melee pressure, and moments where knockback creates space. |
Raging Smash should be used when both parts of the skill matter. Using it for damage alone can work, but the best value comes when nearby enemies can be hit and displaced. That makes it a better answer to crowded melee pressure than a random single target dump.
Warrior Skills And Defensive Tools
Warrior has confirmed damage, control, defense, group support, and burst tools through Raging Smash, Charge, Infinite Rage, Ignore Pain, Battle Shout, Surging Force, Berserk, and Burst of Anger.
| Skill | Unlock Level | Effect | Best Use |
|---|---|---|---|
| Rage | Base | Generates Rage from Attacks and Weapon Skills. | Core Warrior resource loop. |
| Raging Smash | Base | Strikes the ground, damages nearby enemies, and knocks them back. | Main Rage spender for close range control. |
| Charge | Level 3 | Charges forward, damages enemies hit, and stuns them for 1 second. | Engage, repositioning, and short control windows. |
| Infinite Rage | Level 4 | Generates Rage while in combat. | Keeping the Warrior resource loop active. |
| Ignore Pain | Level 5 | Reduces all damage taken by 60 percent for 12 seconds. | Surviving boss pressure and dangerous pulls. |
| Battle Shout | Level 10 | Grants 20 percent Crit Chance to allies within 100 for 15 seconds. | Group damage windows and burst timing. |
| Surging Force | Level 15 | Sends a frontal shockwave that damages and stuns enemies. | Frontal crowd control and safer melee pressure. |
| Berserk | Level 20 | Increases all damage done by 20 percent and improves Rage generated from Skills and Attacks for 15 seconds. | Major damage and Rage generation window. |
| Burst of Anger | Level 30 | Makes the next Weapon Skills have no cooldown for 20 seconds. | Late game burst windows and weapon skill spam. |
These skills give Warrior a real progression curve. Early Warrior is about Rage, Charge, and Ignore Pain. Mid game Warrior adds group value with Battle Shout and more control with Surging Force. Level 20 and beyond push the class harder into burst with Berserk and Burst of Anger.
Battle Shout, Berserk, And Burst Windows
Battle Shout and Berserk are the Warrior’s clearest damage window tools because they turn the class from steady melee pressure into a stronger burst setup.
Battle Shout grants 20 percent Crit Chance to allies within 100 for 15 seconds. That makes Warrior useful even when it is not the only damage dealer. In group play, Battle Shout should be used when allies are close enough and ready to attack, not while everyone is still running into position.
Berserk unlocks at level 20 and increases all damage done by 20 percent for 15 seconds while also increasing Rage generated from Skills and Attacks. That is a major Warrior window because it improves both output and resource flow. If Battle Shout and Berserk can line up with strong weapon skills, Warrior gets a much cleaner damage push.
Burst of Anger unlocks at level 30 and makes the next Weapon Skills have no cooldown for 20 seconds. The exact number of affected Weapon Skills is not confirmed in the available text, but the use case is clear. It belongs in a planned burst window, especially with Berserk active or right before a fight needs to be ended fast.
Is Warrior Best As Tank Or DPS?
Warrior can work as a tank style front liner or a physical DPS bruiser, depending on weapon choice, skill setup, and how much the build leans into survival or Rage spending.
The tank side makes sense because Warrior has control and defense built into the confirmed kit. Charge gives a stun, Raging Smash gives knockback, Surging Force adds a frontal stun, and Ignore Pain gives 60 percent damage reduction for 12 seconds. Those tools make Warrior a natural front line class for group play.
The DPS side also makes sense because Warrior has strong offensive windows. Battle Shout boosts ally Crit Chance, Berserk increases Warrior damage by 20 percent, and Burst of Anger removes cooldowns from upcoming Weapon Skills for a short window. That gives Warrior more than passive toughness. It can actually push fights forward.
| Warrior Role | Why It Works |
|---|---|
| Tank Style | Uses Charge, Raging Smash, Surging Force, and Ignore Pain to control pressure and survive. |
| Physical DPS | Uses Rage, Berserk, Battle Shout, and Burst of Anger to create stronger damage windows. |
| Bruiser Build | Blends damage and defense, staying active in melee while using survival tools at the right time. |
The safest current build direction is bruiser. Warrior should not ignore damage, and it should not ignore survival. The class gets better when it can stay in melee long enough to build Rage, then spend that Rage when the fight needs a heavy push.
Warrior Weapons And Arsenal Build Choices
Warrior weapon choice matters because Farever weapons have their own movesets, 4 unique skills, skill leveling, and Arsenal value.
This means the best Warrior build is not decided by class alone. The main weapon changes how Warrior feels in direct combat, while an Arsenal weapon can still provide skills to the skill bar. Since Warrior generates Rage from Attacks and Weapon Skills, the weapon package affects both damage and resource flow.
For tank style Warrior, weapon choices should support control, safety, and steady front line pressure. For physical DPS Warrior, weapon choices should support burst windows, enemy control, and strong Weapon Skills that can benefit from Berserk or Burst of Anger.
| Build Goal | Warrior Weapon Priority |
|---|---|
| Safer Front Line | Weapons with control, defensive value, and a comfortable melee moveset. |
| Physical DPS | Weapons that support pressure, burst timing, and strong Weapon Skill payoff. |
| Berserk Burst | Weapons with hard hitting skills that can be used during Berserk and Burst of Anger windows. |
| Hybrid Bruiser | A main weapon for combat feel plus an Arsenal weapon for extra utility or damage skills. |
The Arsenal system is especially important for Warrior because it lets useful weapon skills stay part of the build even when the main weapon changes. That keeps weapon decisions from becoming a simple bigger number chase. Bigger numbers are great. They are just not a personality.
Warrior Talents To Watch
Warrior has several known talent names, but the exact effects are not confirmed from the available information. The names still give a useful idea of the class direction: blood effects, Rage shields, weapon mastery, wounds, line holding, and burst violence.
| Known Warrior Talent Names | Likely Theme Based On Name |
|---|---|
| Seasoned Soldier | General Warrior reliability or baseline combat value. |
| Bloodletting, Exsanguination, Cracking Blood, Bloodfeast, Crippling Bloodloss | Bleed, wound, or blood based pressure. |
| Master at arms | Weapon focused scaling or combat mastery. |
| Bruise, Sever, Infused Wound | Physical damage, wounds, or debuff effects. |
| Fighting Spirit, Surge of Violence, Shattered Rage | Rage, burst damage, or aggressive melee windows. |
| Rage Shield, Hold the Line | Defense, shielding, or front line survival. |
| Magic Conduction | Possible magic interaction or hybrid effect. |
These should not be treated as confirmed talent effects yet. The safe read is that Warrior talents will likely split between bleed pressure, Rage value, weapon mastery, and defensive front line tools. Once the exact talent text is known, the best build can be narrowed much more confidently.
Warrior Tips For Better Combat
Warrior improves fast when Rage spending, positioning, burst windows, and defensive timing are handled together. The class is easy to start, but careless timing can waste its best tools.
- Build Rage before dangerous fights. Entering a tougher pull with Rage already available gives Warrior more control right away.
- Use Raging Smash when knockback has value. The skill is stronger when nearby enemies can be hit and pushed back.
- Use Charge as a control tool. Charge stuns enemies hit for 1 second, so it is more than a movement button.
- Use Ignore Pain before heavy damage lands. A 60 percent damage reduction window for 12 seconds is strongest when it covers the dangerous part of the fight.
- Use Battle Shout when allies are close. The 20 percent Crit Chance bonus only matters if allies are nearby and attacking during the 15 second window.
- Pair Berserk with active damage. Berserk boosts all damage done by 20 percent and improves Rage generation, so do not waste it during downtime.
- Save Burst of Anger for real burst windows. No cooldown Weapon Skills are strongest when the target actually needs to die quickly.
The main thing is to avoid panic spending. Warrior is not weak when Rage is saved. It is prepared. The class gets much better when Rage, Charge, Raging Smash, Ignore Pain, Battle Shout, Berserk, and Burst of Anger are used around the fight instead of thrown out in a random order because buttons are glowing.
Final Blurb
Warrior in Farever is the best fit for players who want a strong melee class with Rage based combat, Strength scaling, knockback, stuns, group crit support, burst windows, and real defensive tools. The class is easy to understand early, but it gets stronger when Rage is saved for the right moments and Ignore Pain is used before danger peaks.
The best Warrior build is a bruiser setup built around staying active in melee, building Rage through Attacks and Weapon Skills, using Battle Shout and Berserk for damage windows, and choosing weapons that support the role. Tank, DPS, and hybrid front line play all make sense for Warrior, but the strongest version will come from matching the class kit with the right weapon and Arsenal choices instead of chasing raw upgrades like a loot goblin with commitment issues.