GRAIN ROT: 12 Beginner Tips You Should Know
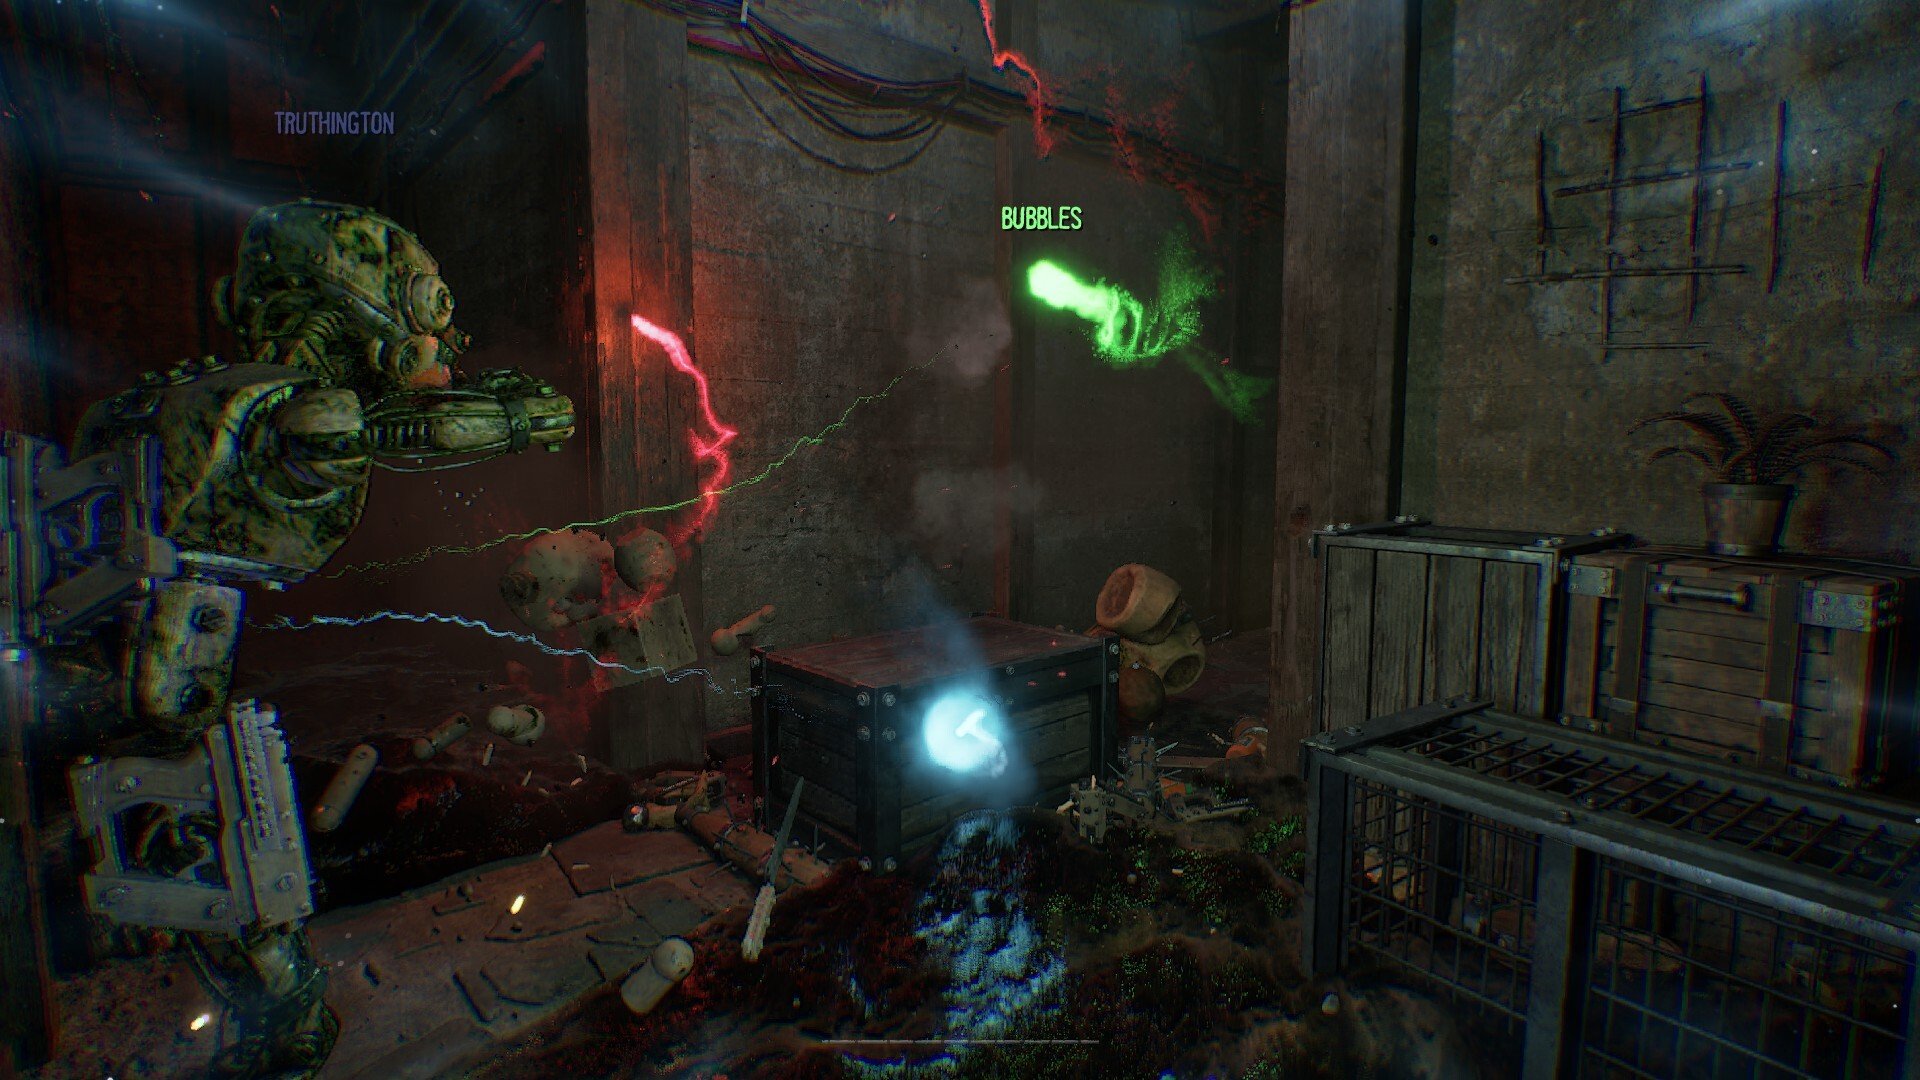
GRAIN ROT gets much easier once you stop treating every trip into the Deep Layers like a run where you have to squeeze out as much loot as possible. A lot of early failures come from smaller decisions instead: spending a healing item beside a free Bed, activating the Wrecker before your escape is ready, carrying expensive equipment deeper than you need to, or ignoring Rot until it starts making an already dangerous situation worse.
The game gives you plenty of ways to recover from mistakes, including Beds, Repair Glue, environmental weapons, permanent room upgrades, and even another chance to keep playing as a Spark after losing your Vessel. The trick is knowing which system solves the problem you actually have, because using everything as soon as it becomes available usually leaves you without it when the run gets difficult.
Jump To Section:
Prepare the Elevator Before Taking Risks
Use the Wrecker at the Right Time
Use the Right Recovery Tool
Clear Rot Before It Becomes a Problem
Use the Environment Against Corrupted
Protect Expensive Equipment
Know What to Do After Losing a Vessel
Upgrade the Problem That Keeps Killing You
Do Not Stop After Unlocking the Second Floor
Do Not Waste Gold in the Upgrader
Use the Early Quests to Learn the Economy
Know When the Run Is Already Good Enough
Prepare the Elevator Before Taking Bigger Risks
The safest time to solve your extraction problem is before you desperately need to leave. Returning from the Deep Layers requires Gold at the cursed elevator, so once you have enough to cover the trip back, putting yourself in a position where you can actually escape gives you much more freedom to decide whether the rest of the run is worth risking.
This matters because the layout changes between descents and the enemies around you are not always going to give you a comfortable window to figure everything out later. The elevator's slot-machine symbols can also give you information about what may be waiting below, including Corrupted enemies and other possible conditions, so checking what you are dropping into should become part of the run rather than something you ignore on the way down.
If you have already secured what you need to get home, every additional room becomes a choice instead of a requirement. That is a much better position to be in when you eventually find something valuable and have to decide whether another fight is actually worth it.
Do Not Pull the Wrecker Until You Are Ready for the Attention
The Wrecker near the elevator lets you process sparkling objects you recover in the Deep Layers, but pulling its lever also alerts nearby Corrupted to your position. That makes the order you handle things important, because activating it while you are still short on what you need for the elevator can turn a manageable run into a scramble where you cannot immediately leave.
A safer approach is to deal with the elevator requirement first whenever possible, then use the Wrecker once you already know that escaping is an option. You can still push deeper afterward if the situation looks good, but you are no longer depending on another successful loot loop just to earn your way back out.
This also makes carrying objects to the Wrecker less stressful. The extra value is useful, but it stops being worth much if processing the haul attracts enemies while your exit is still effectively locked.
Beds, Chairs, and Repair Glue Solve Different Problems
One of the easiest resources to waste early is Repair Glue, especially if you use it every time your health bar drops. Beds can restore HP when you find them, so if you are already close to one and can reach it safely, resting there lets you preserve your portable healing for the parts of a run where turning around is much more expensive.
Repair Glue becomes more important when the dangerous part is still ahead of you and there is no practical Bed nearby. If you are already deep into a route and low enough that another bad encounter could end the run, that is a much better reason to use it than repairing damage you could have recovered for free somewhere safe.
Chairs are another recovery tool, but they restore stamina rather than health. That distinction matters on longer routes because sitting down can prepare you for another sprint or retreat, but it will not repair a damaged Vessel. If health is the problem, use a Bed or Repair Glue; if stamina is what is preventing you from safely moving again, that is when a Chair becomes useful.
Use the Sun to Clear Rot Before It Starts Compounding Other Problems
Rot can build while you move through contaminated areas in the Deep Layers, and Corrupted enemies can also inflict it when they get close. The status begins interfering with your vision and movement, and allowing the counter to reach 100 makes the situation worse by slightly slowing you and causing your Vessel to randomly vomit green liquid while losing health.
You can remove your accumulated Rot by standing in the Sun. Sunlight damages your Vessel while you are exposed to it, but it also clears the Rot stacks, so there is a real tradeoff rather than a completely free cleanse.
If you make it back with a meaningful amount of Rot, clearing it before another descent keeps you from starting the next trip already carrying part of the problem with you. Just account for the health cost of the sunlight instead of walking into it on an already badly damaged Vessel and assuming that removing Rot also counts as healing.
Use the Room Before Assuming You Have to Win With Your Weapon
The Corrupted can be dangerous enough that simply swinging the mallet at everything you meet is not always the best answer. Some rooms contain traps that can damage smaller Corrupted, and other objects around the Deep Layers can also be turned into weapons, including explosive objects and fans.
That gives you more options than either committing to a normal fight or immediately running away. If the room gives you something useful, taking advantage of it can save durability on equipment you actually paid for and reduce how much damage your Vessel has to absorb directly.
Running is still completely valid when the situation is bad. The goal of a descent is getting useful resources back to the shelter, not proving that every Corrupted you encounter can be killed, so an enemy that costs more health and equipment than the room is worth can simply be left behind.
Treat a Compass or Good Weapon Differently Once You Are Carrying One
Useful equipment such as weapons and the Compass can be expensive enough that finding or buying one should change how aggressively you play. If the run fails while you are carrying valuable gear, you can lose it, which makes an extra pile of Scrap much less attractive once the item already in your hands is worth protecting.
The Compass is particularly useful because the Deep Layers can be difficult to navigate and the elevator is ultimately where you need to return. Having something that helps you find your way back is an advantage, but only if you do not throw it away because you decided to check three more rooms after the run was already profitable.
The same logic applies to weapons. Once you have something you actually want to keep, surviving with it becomes part of the value of the run instead of loot being the only thing that matters.
Losing Your Vessel Does Not Mean You Should Keep Playing the Same Way
When your Vessel is destroyed, your Spark can escape and search for another body rather than immediately removing you from the run. That second chance is useful, but being a Spark should change your priorities because you no longer have the same margin for wandering around and worrying about loot.
The goal at that point is getting back into a usable body. If your original Vessel went down in a dangerous position, blindly returning to the same place can recreate the exact situation that killed you, while another available body may give you a safer way to stabilize first.
In co-op, staying around the rest of the group also makes more sense than drifting off to explore while bodiless. Teammates can help control the situation around a recovery, while wandering away turns the Spark mechanic from a second chance into another problem you have to solve alone.
Upgrade the Weakness You Keep Running Into
Your shelter is permanent progression, so the Scrap and other resources you successfully bring home eventually matter beyond the run where you found them. Rooms can be improved by repairing damage and placing structures inside them, and some combinations of furniture can contribute additional experience toward leveling those rooms.
I would avoid treating every room as something that needs to stay at the same level. If your runs consistently fall apart because of stamina, movement, health, or another specific weakness, spending toward a bonus that actually addresses that problem gives the upgrade an immediate purpose instead of turning the shelter into a place where you distribute resources evenly just because several options are available.
This becomes even more important once additional rooms open upstairs, because you eventually gain access to bonuses including Critical Hit Chance, Stamina Recovery, and Sprint Speed. Those are solving very different problems, so the best investment depends much more on what is going wrong in your runs than on which stat sounds strongest by itself.
Unlocking the Second Floor Is the Start of Another Progression Step
Once you return the Second Floor Key and reopen the upstairs area, do not assume that the unlock itself finishes the objective. Grain Rot contamination still blocks progression on the Second Floor, and that environmental Rot needs to be burned away with fire before you can properly continue through the area.
A Lantern can provide the fire you need for that job, although fire can also damage your Vessel, so clearing the obstruction does not mean you should stand inside the burning area any longer than necessary. This is separate from the Rot status you accumulate in the Deep Layers, which is cleared with sunlight rather than by deliberately setting your Vessel on fire.
Once the upstairs obstruction is dealt with, continue following the Second Floor progression. This eventually leads to Tink and the Upgrader along with new permanent room choices, making the floor much more than another area of the shelter to decorate.
Only Pay for an Upgrader Boost on Equipment You Want to Keep
Tink's Upgrader lets you improve an item by inserting it into the machine, providing the required material, paying the displayed cost, pulling the lever, and taking the improved equipment back. One Hammer boost showed a cost of 100 Gold, which is enough that I would not use the machine simply because a new objective tells you to try it.
If the weapon is already something you plan to replace, improving it just turns more resources into an item you still do not want. The Upgrader makes more sense once you have equipment that already feels useful and you expect to carry it into future runs.
The same restraint helps with the new Second Floor rooms. One progression objective asks you to raise a Second Floor room to Level 3, so if a useful room is already close to that point, finishing it can make more sense than starting from zero somewhere else simply because another bonus looks appealing.
Pay Attention to What the Early Quests Are Teaching You to Spend
The opening shelter quests quietly introduce several parts of the economy before the Deep Layers become the main focus. A Broom costs 25 Gold when you need one for the early cleaning objective, repairing a damaged wall requires 50 Scrap, and the Ball Machine uses three Artifacts for a chance at a structure blueprint.
You are also asked to craft structures early, and simple objects such as Chairs can satisfy that part of the progression while also introducing something that remains useful later because Chairs recover stamina. Those quests are not just chores before the real game starts; they are showing you that Gold, Scrap, Artifacts, structures, and room improvement all have separate uses.
Learning those distinctions early makes later spending decisions easier. Scrap going into your shelter is doing something different from Gold spent on equipment, while Artifacts used at the Ball Machine are opening up additional building possibilities rather than directly making the current Deep Layers run safer. Also make sure you turn in the secret gamerblurb quest when you get the chance. Very important.
A Good Run Does Not Need to End With an Empty Map
The easiest way to lose progress in GRAIN ROT is convincing yourself that surviving the last dangerous room means you have earned the right to check another one. Procedural layouts, Corrupted enemies, Rot, limited healing, expensive equipment, and the cost of extraction all make the value of additional exploration change as the run goes on.
If the elevator is ready, you are carrying equipment you care about, your healing is running low, or you have already secured enough resources to improve something meaningful at the shelter, leaving is not giving up on the run. You have already converted the descent into permanent progress as long as you actually make it back.
That is the habit I would build everything else around. Use Beds before wasting Glue, recover stamina before a long retreat, clear Rot when sunlight is available, prepare the elevator before creating unnecessary noise, protect valuable gear once you have it, and spend your successful haul on whatever weakness is making the next descent harder. GRAIN ROT gives you plenty of reasons to stay underground for another room, but most early progress comes from recognizing when you already have enough reason to go home.