How to Set Up and Use Solar Panels in Sons of the Forest

Image Credit: Endnight Games Ltd, Sons of the Forest
Electricity allows you to add light to your base. Here's a simple guide to help you get started with solar panels:
What You’ll Need:
Solar Panel – This generates the power.
Wire – Connects the power source to the lights.
Light Bulbs – Provides illumination.
Where to Find the Items:
Solar panels, wires, and light bulbs can be scavenged all over the world.
A great early spot is near the first GPS location, where you’ll find a small cave leading to a bunker with a 3D printer. Inside, you can grab all the items you need to get started.
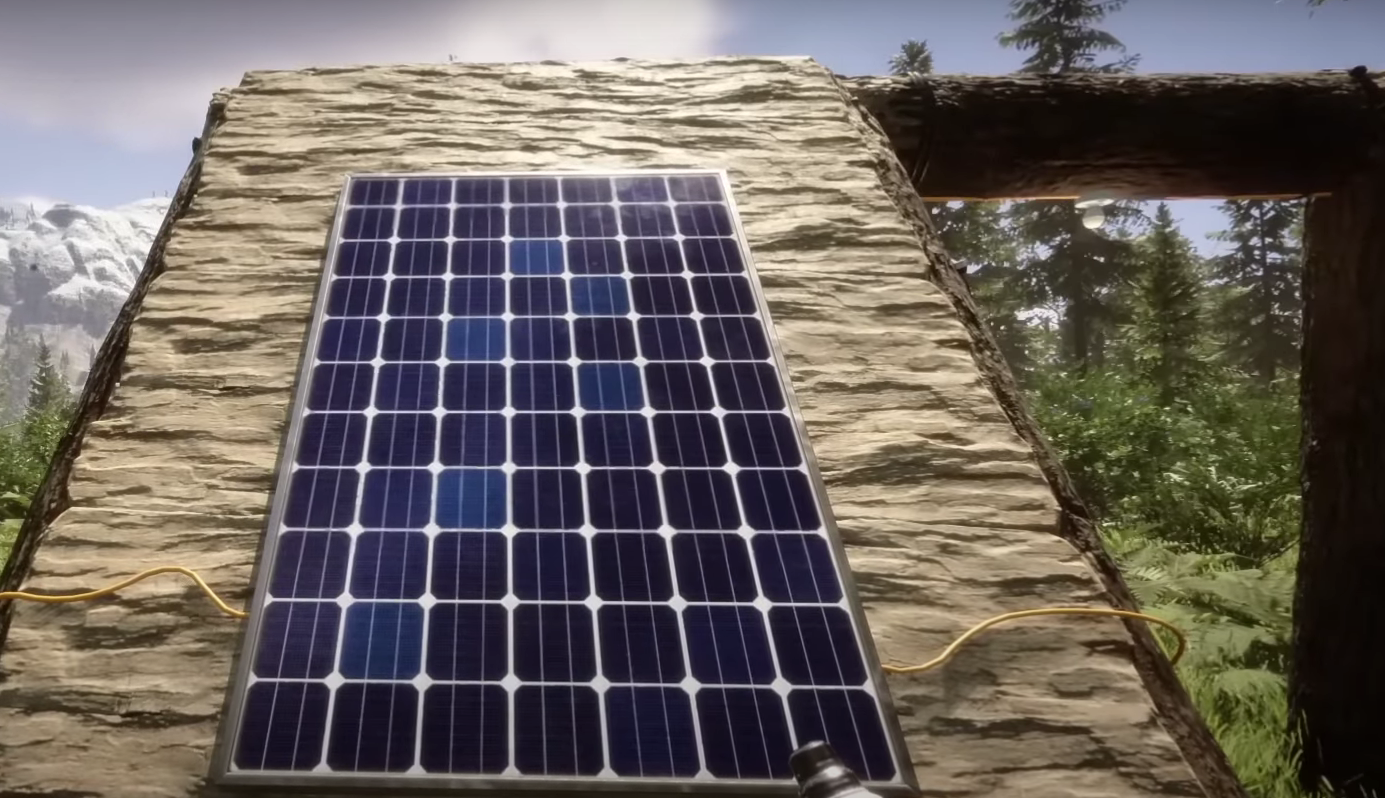
How to Set It Up:
Build a ramp or flat plank structure in your base.
Place the solar panel on the top of the ramp or plank.
Attach the wire:
Make sure the orange line from the solar panel connects to the wire properly.
If the orange line doesn’t show, reposition the wire until it connects correctly.
Place the light bulbs:
Light bulbs can only be placed on horizontal planks.
Hold E to place and turn on the bulbs.
Tips:
One solar panel can power a long stretch of lights, up to 30 logs in length.
You can hide your power setup by enclosing the wiring, and it will still work.
Expect future updates that might include power banks, more electrical items, and better power management.
That’s it! With just a solar panel, some wires, and bulbs, you can light up your entire base. Keep exploring, scavenging, and building!
Recommended