Mina the Hollower Area Order Guide: Best Route
Mina the Hollower opens up fast after the early Ossex setup, and the game lets Mina chase the Spark Generators in several directions. The best area order is not about finding the only possible route. It is about taking the smoother path through combat, movement, upgrades, and mirror progress without walking into the roughest areas too early.
Jump To
Best Area Order
Why This Order Works
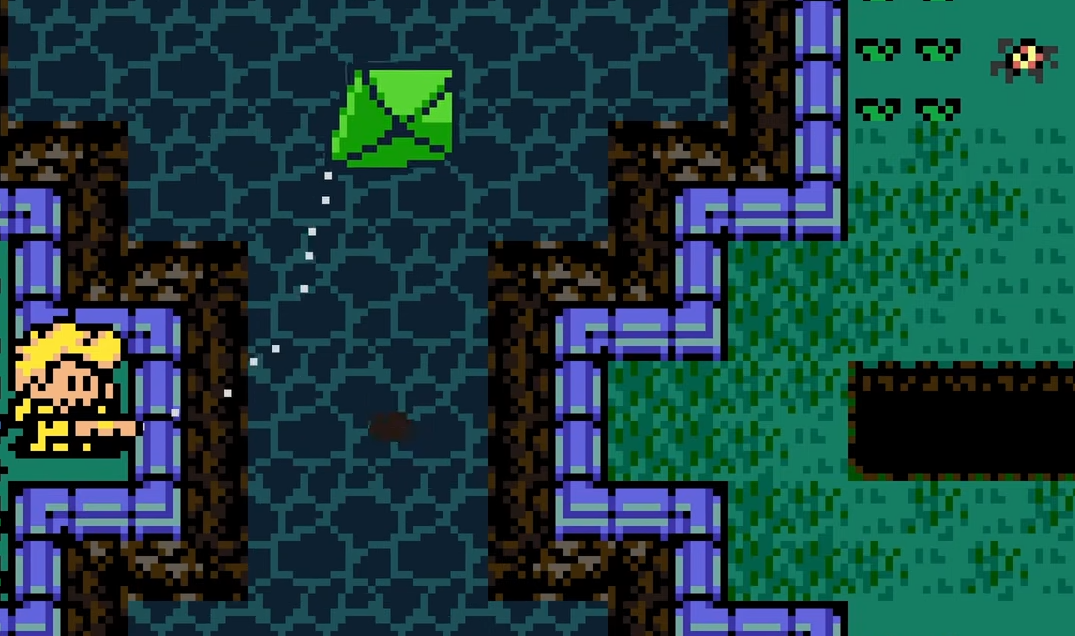
1. Queensbury Crypt
2. Nox’s Bayou
3. Septemburg
4. Coltrane Peak
5. Sandfalls And Bone Beach
6. Astral Orrery
Can You Go Out Of Order?
Best Area Order In Mina The Hollower
The best area order in Mina the Hollower is Queensbury Crypt, Nox’s Bayou, Septemburg, Coltrane Peak, Sandfalls and Bone Beach, then Astral Orrery.
This route gives Mina the cleanest difficulty curve. Queensbury Crypt is the best first major area because it teaches combat without leaning too hard on awkward traversal. Nox’s Bayou adds water movement and swamp pressure. Septemburg raises the difficulty with stronger hazards and enemy patterns. Coltrane Peak works better before Bone Beach because it is a safer step up once the train is available. Sandfalls and Bone Beach should come later because the movement checks and environmental hazards are much rougher.
Astral Orrery belongs last because it is connected to mirror progress from the other major routes. Going there too early usually leads to locked paths and confusion, which is Mina the Hollower’s polite way of saying “go do more haunted errands first.”
| Order | Area | Why It Fits Here |
|---|---|---|
| 1 | Queensbury Crypt | Best first major route for learning combat and getting early strength. |
| 2 | Nox’s Bayou | Adds water movement and trickier navigation without being too late game. |
| 3 | Septemburg | Raises the pressure with crows, wind, lightning, and stronger route hazards. |
| 4 | Coltrane Peak | A cleaner mid to late step before the harsher Bone Beach route. |
| 5 | Sandfalls And Bone Beach | More punishing traversal, pits, water, and timing checks. |
| 6 | Astral Orrery | Best saved for last because it depends on mirror switches from other areas. |
For more Mina the Hollower routes, upgrades, and cleanup guides, use the main Mina the Hollower guide hub.
Why This Mina The Hollower Route Works
This route works because it builds Mina’s strength and player comfort before sending her into the areas with harsher traversal and stranger progression rules.
Mina the Hollower gives a lot of freedom after the opening, but that freedom can lead straight into places that feel tuned for a stronger Mina. The smoother route starts with combat focused areas, then moves into movement heavy areas, then saves the mirror based Astral Orrery route for the end.
The early goal should be simple. Get better at dodging, burrowing, healing, using Sidearms, and reading enemy attacks. Later areas ask for all of that while also adding pits, water, wind, lightning, mirror rooms, and more annoying enemy placements. The game gets more manageable when Mina reaches those places with better weapons, more Trinkets, and a stronger feel for combat.
If enemy pressure is still causing problems, the Mina the Hollower dodge guide is worth reading before the later routes start stacking danger on top of platforming.
1. Go To Queensbury Crypt First
Queensbury Crypt is the best first major area because it is more focused on combat than harsh traversal.
This makes it the cleanest place to learn how Mina’s fights work after leaving Ossex. The area gives enough enemy pressure to teach spacing, burrowing, healing windows, and basic attack timing without immediately forcing the hardest movement challenges in the game.
Queensbury Crypt is also a good early route because Mina can gather Bones and useful rewards before moving into more demanding regions. Early survivability matters a lot, especially on a first playthrough. A little more room for mistakes can make the next areas feel much less cruel.
Use Queensbury Crypt to settle into the game’s rhythm. Mina is small, fast, and fragile enough that sloppy combat gets punished quickly. Better to learn that in the crypt than while falling into some late game pit for the sixth time and pretending it was research.
2. Take On Nox’s Bayou Second
Nox’s Bayou is the best second area because it is still reasonable early, but it introduces more water movement and route complexity than Queensbury Crypt.
The Backwaters and Bayou path asks more from Mina’s movement. There are water sections, swamp hazards, enemies that interrupt positioning, and more places where a bad jump or mistimed burrow can slow everything down. It is not a massive enemy difficulty spike, but it is a clear navigation spike.
That is why it fits better after Queensbury Crypt. Mina should already have a better handle on combat, and the player should be more comfortable reacting under pressure. Nox’s Bayou is very doable second, but it can feel worse if it is the first major area tackled after Ossex.
This is also the stretch where Backwaters side content starts becoming relevant. It is fine to grab optional tools and cleanup items nearby, but the main route should stay focused on getting through the Bayou and powering another generator.
3. Head To Septemburg Third
Septemburg is the best third major area because it marks a clear step up in enemy pressure, route hazards, and environmental trouble.
The path through Kindlewood and toward Septemburg brings in more dangerous enemies, crow town routing, wind, lightning, and the kind of region design that expects Mina to have a better grip on movement. It is still a fair third stop, but it is less friendly than Queensbury Crypt or Nox’s Bayou.
The Carving Man also makes this route feel different. The game uses him as pressure, and the smart play is understanding when a threat is meant to be avoided instead of fought immediately. Mina the Hollower likes to put something scary on screen and let the player learn the hard way. Charming little lesson plan.
If reaching this region is the problem, the Mina the Hollower Septemburg route guide explains how to get there without wandering around Western Wilds until the crows file a complaint.
4. Do Coltrane Peak Before Bone Beach
Coltrane Peak is best handled before Bone Beach because it is a cleaner difficulty step once the train is available.
The train access cost makes Coltrane Peak feel like something to delay, but the area itself fits better before the Sandfalls and Bone Beach stretch. It is still harder than the early routes, but it does not pile on the same level of water, pit, and traversal punishment that Bone Beach does.
This is a good point to check Mina’s weapon strength and general setup. If damage feels weak, enemies start taking too long, and longer fights give more chances for mistakes. That becomes a bigger problem in the later routes.
Before pushing deeper into the late game, the Mina the Hollower all weapon upgrades guide is useful for checking missed power upgrades that can make the final stretch much smoother.
5. Save Sandfalls And Bone Beach For Later
Sandfalls and Bone Beach should be saved for fifth because the route has some of the roughest traversal and environmental pressure before Astral Orrery.
The path toward Bone Beach already asks more from Mina before the main area fully opens up. Sandfalls adds its own movement puzzles and navigation pressure, then Bone Beach follows with dangerous water, pits, timing checks, and stronger punishment for small mistakes.
Doing Bone Beach earlier is possible, but it is not the smoothest route for most players. Coming here after Coltrane Peak gives Mina more tools, more upgrades, and more time to get comfortable with the game’s harsher movement rules. That matters because Bone Beach is exactly the kind of area where underprepared players start blaming the controller, the chair, the moon, and possibly the concept of sand.
If the route starts feeling too punishing, leave and come back stronger. Mina the Hollower lets players move around the map for a reason. Sometimes the smartest route is the one that does not turn every screen into a stubbornness test.
6. Leave Astral Orrery For Last
Astral Orrery should be the final major area because it is built around mirror switches from the other major routes.
This is the area most likely to confuse players who find it early. Astral Orrery is connected to Mirror’s End and the mirrors hidden across other tower paths. Mina needs enough activated mirror switches before the main route opens properly, so walking in too early can make the area feel empty or blocked.
Saving Astral Orrery for last makes the most sense because Mina will naturally have more mirror progress from Queensbury Crypt, Nox’s Bayou, Septemburg, Bone Beach, and Coltrane Peak. It also means Mina should have more health, better gear, stronger Sidearms, and more useful Trinkets before dealing with the area’s later enemies and confusing layout.
For the full mirror setup, access rules, and collectibles, use the Mina the Hollower Astral Orrery guide.
Can You Do Areas Out Of Order?
Mina the Hollower can be played out of order, but some areas are clearly harsher if Mina reaches them before getting more upgrades and movement practice.
The game is open enough that a confident player can swap some routes around. Nox’s Bayou can be done before Queensbury Crypt. Bone Beach can be pushed earlier. Astral Orrery can be checked before everything is ready. The question is not whether those choices are possible. The question is how painful they feel.
For a first playthrough, Queensbury Crypt, Nox’s Bayou, Septemburg, Coltrane Peak, Sandfalls and Bone Beach, then Astral Orrery is the smoother route. It gives the game a more natural climb, with combat first, movement second, heavier hazards later, and mirror progress last.
Players who want a harder route can break the order. Players who want the cleanest route should follow it. Mina already has enough monsters, traps, and spooky architecture to deal with. The travel schedule does not need to become another boss fight.
Final Blurb
The best Mina the Hollower area order is Queensbury Crypt, Nox’s Bayou, Septemburg, Coltrane Peak, Sandfalls and Bone Beach, then Astral Orrery. That route gives Mina a steady climb through combat, movement, hazards, and mirror based progression without throwing the roughest areas too early.
Mina the Hollower allows plenty of exploration, but the smoother route matters on a first playthrough. Build strength in the earlier areas, grab upgrades and Trinkets, then leave the mirror heavy Astral Orrery route for the end. Tenebrous Isle is still going to be weird and dangerous. This order just makes it slightly less excited to ruin the day.