Outbound: How to Get A Dog Guide
Getting a dog in Outbound is done at Paws & Whiskers Lodge after reaching the second area. The dog is worth getting early because it adds a permanent companion, 10 extra item slots through its backpack, simple commands, achievements, and later training upgrades that can make material gathering much easier.
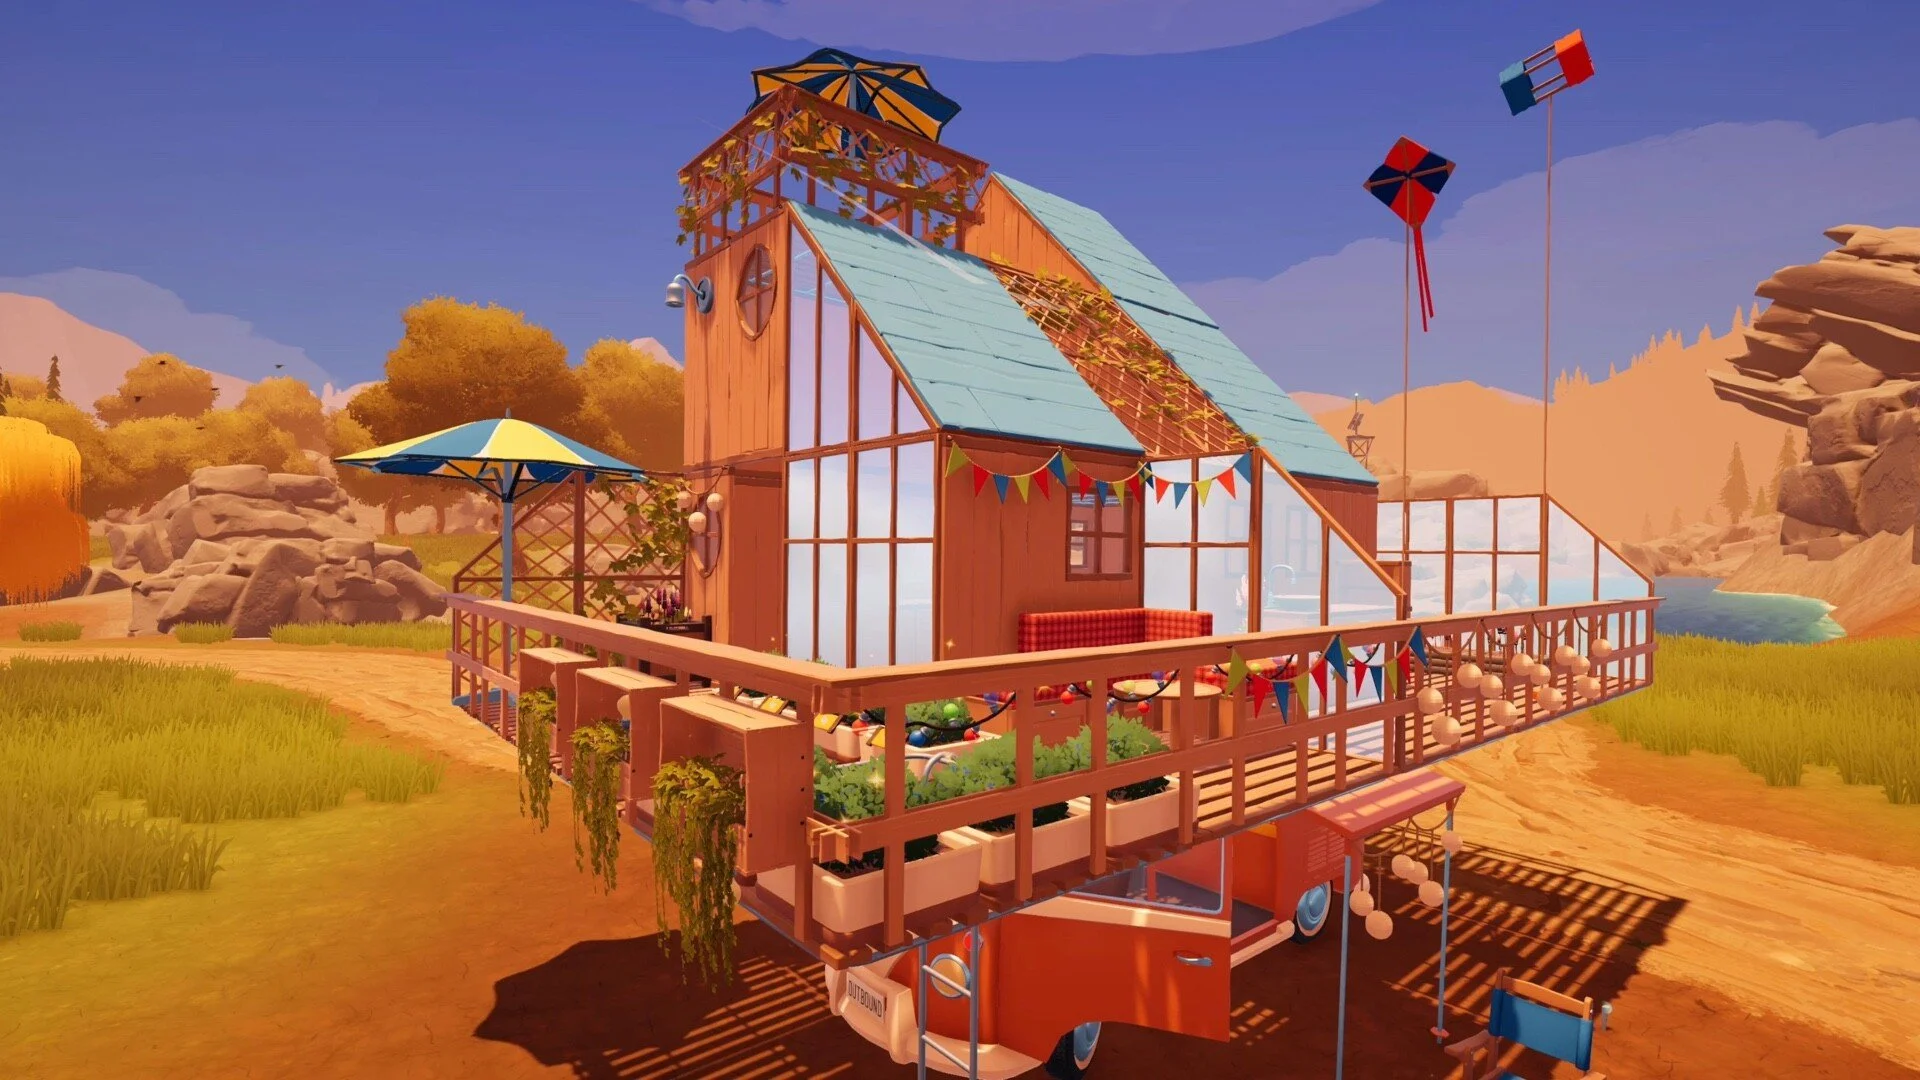
More Outbound guides are collected on the GamerBlurb Outbound hub, including companion help, crafting routes, vehicle picks, and early material guides.
Jump To
How To Get A Dog In Outbound
To get a dog in Outbound, reach the second area, find Paws & Whiskers Lodge behind the signal tower, enter the enclosed yard, choose 1 of the 4 dogs, name it, and confirm the adoption.
The dog is not available in the starting area. The adoption location only becomes reachable after leaving the first area through the northeast rock tunnel and entering the second biome. Once that route is open, the dog can be collected from a fixed location, so there is no random spawn luck or shop purchase involved.
The main thing to know before adopting is that the choice is permanent. Outbound lets the player pick 1 dog from the lodge yard, and the chosen name cannot be changed after confirmation. Check all 4 dogs first, pick the one that looks best, then lock in the name.
The dog should be picked up as soon as the second area is available. It gives extra storage immediately, helps with exploration, unlocks 2 achievements, and later becomes much stronger once dog training stations and trick upgrades are added to the camper setup.
Outbound Dog Location
The dog location in Outbound is Paws & Whiskers Lodge, which is found in the second area behind the signal tower.
Start in the first area and head toward the northeast rock tunnel. Driving through that tunnel leads into the second biome. After entering the new area, follow the main road until the signal tower appears. The path behind the signal tower leads to Paws & Whiskers Lodge.
The lodge itself is easy to miss if the focus stays on the main road. The signal tower is the key landmark. Once the tower is found, look behind it for the path toward the building in the distance.
| Step | Route To The Dog |
|---|---|
| 1 | Progress until the second area is reachable. |
| 2 | Use the northeast rock tunnel in the first area. |
| 3 | Follow the road into the second biome. |
| 4 | Find the signal tower. |
| 5 | Take the path behind the tower. |
| 6 | Enter Paws & Whiskers Lodge and go to the back yard. |
What To Do At Paws And Whiskers Lodge
Paws & Whiskers Lodge is the adoption building where the dog is found, and it should be looted before leaving with a companion.
Head inside the lodge first. There are items inside the building, including a dog treat, so it is worth checking the interior before going straight into the yard. After clearing the lodge, take the back door outside to reach the enclosed dog area.
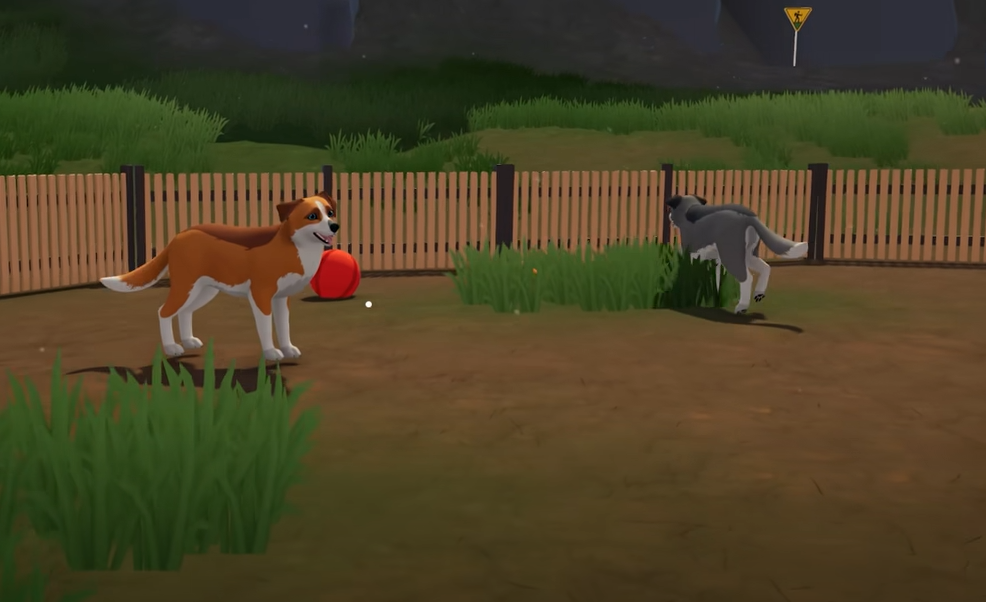
The 4 dogs are in the yard behind the lodge. They have different coat colors, but the main dog utility is the same. The color choice is personal. The important part is picking carefully because only 1 dog can be adopted.
The lodge is not just a cute stop. It is the start of the companion system, and the dog becomes a real part of the exploration loop after adoption. The extra item space alone makes the trip worth it.
How To Adopt A Dog
To adopt a dog in Outbound, walk up to the dog in the Paws & Whiskers Lodge yard, interact with it, enter a name, and confirm the adoption.
On controller, the adoption interaction uses A on Xbox and X on PlayStation. After the prompt opens, the game asks for the dog’s name. Once the name is confirmed, that dog becomes the permanent companion for the save.
Do not confirm the first dog by accident. Look at all 4 dogs before interacting. Outbound does not let the camper become a full rescue shelter, which is rude but mechanically clear.
| Adoption Detail | Answer |
|---|---|
| How many dogs are available? | 4 dogs are available at Paws & Whiskers Lodge. |
| How many dogs can be adopted? | Only 1 dog can be adopted. |
| Can the name be changed later? | No, the name is locked after confirmation. |
| Does adopting a dog unlock anything? | Yes, it unlocks the Fur Ever Friend achievement. |
Can You Get More Than One Dog In Outbound?
No, Outbound only lets the player adopt 1 dog.
There are 4 dogs at Paws & Whiskers Lodge, but the game only allows 1 adoption. After the dog is chosen and named, the decision cannot be reversed through the normal companion system. There is no second adoption slot and no standard way to swap to another dog later.
This makes the adoption screen more important than it looks. Pick the preferred dog color, choose a name that will still feel good later, then confirm. The dog becomes a long term part of the camper journey, so the choice deserves 10 extra seconds of thought.
What The Dog Does In Outbound
The dog in Outbound follows the player, carries items in a backpack, obeys simple commands, unlocks achievements, and can learn stronger utility tricks later.
The dog’s biggest early value is storage. The starting backpack gives 10 item slots, which helps during material runs before the camper has stronger storage and crafting support. This makes the dog useful immediately, not just cute decoration for the road trip.
The companion also has commands for basic control. The dog can follow, stay, show its pouch, and be petted. These options keep the dog useful during exploration because it can move with the player, wait in place, open storage, or trigger the petting achievement.
Later, dog training turns the companion into a much better helper. Once the right stations are built, the dog can learn tricks that support resource collection and item routing.
Dog Backpack Storage Explained
The dog starts with a backpack that holds 10 items, and that backpack can be upgraded later at the Sewing Table after the required blueprints are downloaded.
This is the main reason to get the dog early. Outbound constantly asks for wood, minerals, rubber, cloth, food, and other materials. The dog backpack gives extra space during these trips, which means fewer forced returns and fewer materials left behind.
Fiber is one of the early materials connected to backpack and clothing progression, so it is worth saving while building out the camper. The Outbound how to get Fiber guide explains where to find Fiber and why it should go toward practical upgrades first.
The backpack is opened through the Show Pouch command. Store extra gathered items in the dog’s pouch, keep moving, then retrieve the materials when returning to the camper or crafting station.
| Dog Backpack Feature | Details |
|---|---|
| Starting capacity | 10 items. |
| How to access it | Use the Show Pouch command. |
| Upgrade station | Sewing Table. |
| Best use | Extra materials, supplies, and overflow items during exploration. |
The pouch should be used during almost every gathering route. A free 10 item storage boost is too good to ignore in a game where the van always needs more materials for something.
All Dog Commands In Outbound
The starting dog commands in Outbound are Follow Me, Stay, Show Pouch, and Pet.
The dog command wheel is accessed through RB on Xbox or R1 on PlayStation. These commands cover movement, storage, and affection. Simple, useful, and exactly what a companion system needs before training upgrades get involved.
| Command | What It Does |
|---|---|
| Follow Me | Makes the dog follow the player during exploration. |
| Stay | Makes the dog wait in its current spot. |
| Show Pouch | Opens the dog backpack inventory. |
| Pet | Pets the dog and unlocks Can You Pet the Dog the first time. |
Follow Me should stay active during normal travel. Stay is useful near the camper or when the dog needs to remain out of the way. Show Pouch is the command that makes the dog useful for material hauling. Pet is the correct command because the game has a dog and society has rules.
How To Train Your Dog In Outbound
To train the dog in Outbound, download the required blueprint from a signal tower in the coast or canyon biomes, then build the Dog Research Station and Companion Training Station inside the camper.
Dog adoption and dog training are separate parts of the companion system. The dog can be adopted in the second area, but tricks require the training infrastructure first. The Dog Research Station is used to research abilities, and the Companion Training Station is used to teach researched tricks to the dog.
The Dog Research Station costs 2 Scrap Metal and 3 Redwood. The Companion Training Station costs 2 Durafiber and 2 Natural Rubber. After both are built, the dog can start learning utility tricks that make gathering and hauling smoother.
Camper upgrades often branch into separate material chains, especially once stations and processed wood start becoming part of the layout. The Outbound how to make planks guide covers the Sawmill path for turning Everwood into Everwood Planks.
| Station | Cost | Purpose |
|---|---|---|
| Dog Research Station | 2 Scrap Metal, 3 Redwood. | Researches dog tricks and companion abilities. |
| Companion Training Station | 2 Durafiber, 2 Natural Rubber. | Teaches researched tricks to the dog. |
| Sewing Table | Uses its own crafting setup. | Crafts dog pouch capacity upgrades. |
The important split is that dog tricks use research and training stations, while backpack capacity upgrades are handled at the Sewing Table. That keeps storage upgrades separate from active companion tricks.
Best Dog Tricks And Upgrades To Get First
The best dog upgrades in Outbound are Search Materials, Return to Vehicle, Better Whistle, and the pouch upgrades because they improve gathering, storage, and routing.
Search Materials is the strongest trick for resource hunting because it lets the dog search for a specific material type. Return to Vehicle is the best route saver because it sends the dog back to unload stored items into the van. Together, they make the dog much more useful than a basic backpack.
Better Whistle is also strong because it gives better control over directing the dog to objects. Pouch Upgrade I and Pouch Upgrade II are always useful because more storage means better gathering runs.
| Upgrade | Known Requirement | What It Does | Priority |
|---|---|---|---|
| Search Materials | 8 Cactus Flower, 10 Red Minerals. | Commands the dog to search for a specific resource type. | Highest. |
| Return to Vehicle | 6 Sea Shells, 4 Redwood. | Sends the dog back to dump stored items into the van. | Highest. |
| Better Whistle | 3 Beeswax, 2 Processed Rubber. | Lets the dog be directed toward an object so it can pick it up. | High. |
| Pouch Upgrade I | 10 Red Minerals, 6 Cloth. | Increases dog carrying capacity at the Sewing Table. | High. |
| Pouch Upgrade II | Requires the previous pouch upgrade first. | Further improves dog backpack capacity. | Medium to High. |
The best upgrade order depends on the bottleneck. If resource finding is slow, unlock Search Materials first. If trips back to the van are wasting time, unlock Return to Vehicle first. If the dog fills up too quickly, push pouch upgrades earlier.
Can You Tame Rabbits In Outbound?
Rabbits in Outbound can be befriended with Roadberries, but they are not permanent utility companions like the dog.
Wild rabbits run away if approached empty handed. To befriend one, keep Roadberries in the active inventory, approach slowly, and feed the rabbit when the interaction prompt appears. After eating the Roadberry, the rabbit shows a heart icon and becomes friendly.
A befriended rabbit can be petted and may follow briefly, but it does not have a backpack, command wheel, training system, or material gathering utility. Rabbits are a cute world interaction. The dog is the real companion upgrade.
| Animal | How To Get It | Main Use |
|---|---|---|
| Dog | Adopt at Paws & Whiskers Lodge. | Permanent companion, backpack storage, commands, and training. |
| Rabbit | Feed with Roadberries. | Petting and brief following. |
Use spare Roadberries for rabbits if the interaction sounds fun. Save serious companion expectations for the dog.
Dog Achievements In Outbound
Adopting a dog unlocks Fur Ever Friend, and petting the dog unlocks Can You Pet the Dog.
Both achievements can be earned right after reaching Paws & Whiskers Lodge. Adopt any dog to unlock Fur Ever Friend, then open the command wheel and use Pet to unlock Can You Pet the Dog.
| Achievement | How To Unlock It |
|---|---|
| Fur Ever Friend | Adopt any dog at Paws & Whiskers Lodge. |
| Can You Pet the Dog | Pet the dog after adoption. |
These are easy achievements, but they also point to one of the best early utility upgrades in the game. The dog is not just there for the achievement pop. The backpack makes it useful right away.
Best Tips For Using The Dog
The best way to use the dog in Outbound is to adopt it early, use the pouch on every gathering trip, then build toward Search Materials and Return to Vehicle once training becomes available.
The dog starts as extra storage and later becomes a better resource helper. That means it should be part of the route from the moment it joins the camper. Store overflow materials in the pouch, bring the dog on gathering trips, and upgrade its utility when the right blueprints and stations are available.
Vehicle choice can also change how good long gathering trips feel, since building space, carrying weight, and handling shape the camper setup around the dog’s extra storage. The Outbound best vehicle guide explains which starting vehicle fits each playstyle.
| Tip | Why It Helps |
|---|---|
| Adopt the dog as soon as the second area opens. | The 10 item backpack helps immediately. |
| Choose the dog and name carefully. | The adoption choice and name are permanent. |
| Loot Paws & Whiskers Lodge before leaving. | The building has useful items, including a dog treat. |
| Use Show Pouch often. | The dog should carry overflow materials during exploration. |
| Prioritize Search Materials and Return to Vehicle. | These tricks make the dog much better for gathering routes. |
| Use rabbits for fun, not utility. | Rabbits do not replace the dog’s storage or training system. |
The dog is one of the best quality of life upgrades in Outbound because it helps with the game’s most repeated task: carrying stuff back to the van. It also happens to be a dog, which is a strong build choice emotionally and mechanically.
Final Blurb
To get a dog in Outbound, travel to the second area, find Paws & Whiskers Lodge behind the signal tower, enter the back yard, and adopt 1 of the 4 dogs. The adoption is permanent, and the name cannot be changed, so choose carefully before confirming.
The dog is worth getting early because it starts with 10 backpack slots, has useful commands, unlocks Fur Ever Friend and Can You Pet the Dog, and later gains stronger utility through training. Search Materials, Return to Vehicle, Better Whistle, and pouch upgrades turn the dog into a real gathering helper. Rabbits can be befriended with Roadberries, but the dog is the companion that actually changes how the road trip plays.