

PoE 2 Loathsome Mire Guide: What To Do and Where To Go
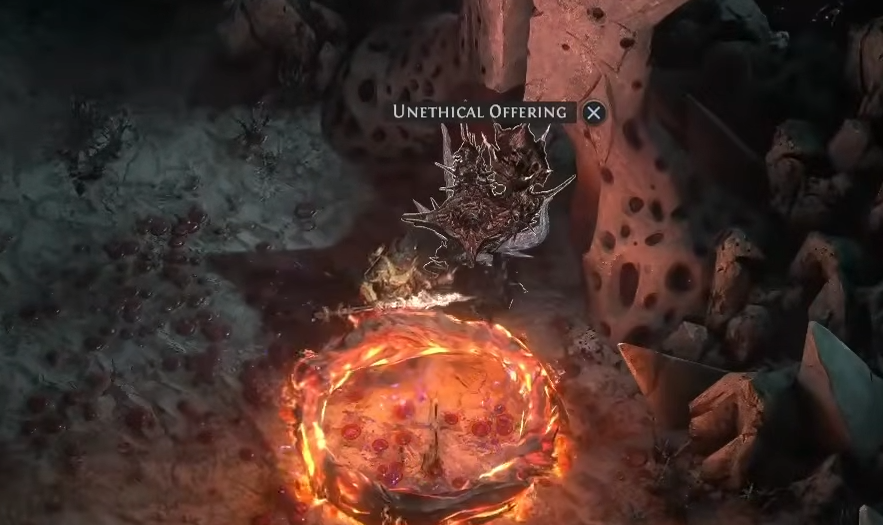
In PoE 2 Loathsome Mire, follow the direction of the moving red liquid until it leads you to the Unethical Offering altar. Do not full-clear the area. The monsters do not drop loot, the zone does not give experience, and the actual reward comes from clicking the altar at the end.
The encounter is confusing because the game drops you into a huge Delirium swamp with almost no explanation. Once the trick is known, it is much simpler: read the flow, move with it, use solid ground when needed, click the altar, check the amulet, and leave.
Jump To
What To Do In Loathsome Mire
Loathsome Mire is not a normal map. The goal is to reach the Unethical Offering altar, not kill every monster in the area.
The enemies are there to slow you down and create pressure. They do not drop useful loot, so stopping to clear them is usually a waste unless they are directly blocking the path. This is the part that makes the encounter feel awful the first time through. PoE trains players to kill everything, then Loathsome Mire quietly asks them to do the opposite.
My approach is simple: kill only what gets in the way, keep moving, and treat the entire zone like a route to the altar. The longer you wander, the worse the area feels.
Where To Go
Go in the direction the red liquid is flowing. That moving liquid is the hidden route marker inside Loathsome Mire.
When entering the area, stop for a second and watch the ground. The liquid slowly moves in one direction. Follow that movement through the zone and it will lead toward the altar. It is easy to miss because the whole place is red, messy, and full of Delirium mobs, but the flow is the key.
Use solid ground whenever possible. Standing in the liquid can apply damage over time, and Energy Shield builds may feel that more than life builds because it can interfere with recovery. Do not panic if stepping into the liquid is unavoidable, but do not stand there trying to win a pointless fight either.
The clean route is: follow the flow, cross safe platforms, ignore side distractions, and keep pushing forward until the altar appears.
Quick Video Route Guide
If the flow is hard to see in-game, this quick video route guide makes the idea much clearer. It shows the encounter the way it should be played: movement first, fighting second, altar as the only real objective.
This is one of those encounters where a short visual example helps more than another paragraph of explanation. Once the route logic clicks, Loathsome Mire stops feeling like a random maze and starts feeling like a quick altar run.
Unethical Offering Altar Reward
The Unethical Offering altar is the finish line. Interact with it to receive the amulet reward and open the portal back to the original map.
The reward is a double-instilled amulet base, often referred to as a Twisted Amulet. These can roll two notable effects, which makes the ceiling very high if both notables fit the same build. Most of them will not be amazing, but the good ones are exactly why the encounter is worth checking.
Before leaving, make sure the amulet actually appeared. Loot filters can hide the reward, especially if the base looks plain at first glance. Hold item highlight, temporarily loosen the filter if needed, and read the two instilled notables before exiting.
This is the one thing in the zone that matters. If the amulet is bad, leave. If the notables line up, check trade value or consider crafting around it.
How To Access Loathsome Mire
Loathsome Mire appears through Delirium encounters when a special red mirror-style shard sends you into the separate area.
It is not a map item you open from town. It is part of the Delirium endgame loop. While running Delirium fog, watch for special shard events that can pull the character into an extra Delirious area instead of only spawning enemies or normal rewards.
For the broader system, our PoE 2 Delirium 0.5 guide covers Fracturing Mirror Shards, Liquid Emotions, Loathsome Mire, Simulacrum progress, and the rest of the reworked Delirium loop.
Survival Tips
The safest way to survive Loathsome Mire is to finish it quickly. The zone becomes more dangerous when players slow down, overfight, or lose the liquid path.
- Pause at the start long enough to read the liquid direction.
- Use solid platforms to recover or reset pressure.
- Kill only enemies that block movement.
- Keep moving instead of clearing side packs.
- Check the reward before leaving, especially if using a strict loot filter.
Movement speed and recovery both help, but the biggest upgrade is knowing the objective. A slow character that follows the liquid usually finishes cleaner than a fast character sprinting randomly around the swamp.
Is Loathsome Mire Worth Entering?
Loathsome Mire is worth entering if double-instilled amulets matter to the build or the market. It is not worth entering for monster loot, experience, or normal map rewards.
I would run it when I am willing to check amulet bases and skip it when I only care about staying inside the main Delirium map. The reward can be strong, but the floor is low. A bad amulet makes the whole thing feel like the game asked you to run errands in a haunted puddle.
The best way to handle Loathsome Mire is not to overthink it. Enter, follow the red liquid, click the Unethical Offering altar, check the amulet, and leave. That is the encounter. The zone only becomes miserable when it tricks you into treating it like a real map.


