Control Resonant Retaliation Guide
Retaliation is one of the core combat buffs in Control Resonant, turning a well-timed dodge into an immediate offensive advantage. It ties Perfect Dodge, Falter, Power recovery, and eventually multiple boosted attacks together, making it much more important than simply getting out of the way of an enemy hit.
Jump To Section:
What Retaliation Does
How to Trigger Retaliation
Which Attack to Use With Retaliation
Best Retaliation Talents
How Extended Retaliation Works
Retaliation and Dominance
Retaliation Activates After a Perfect Dodge and Buffs Your Next Attack
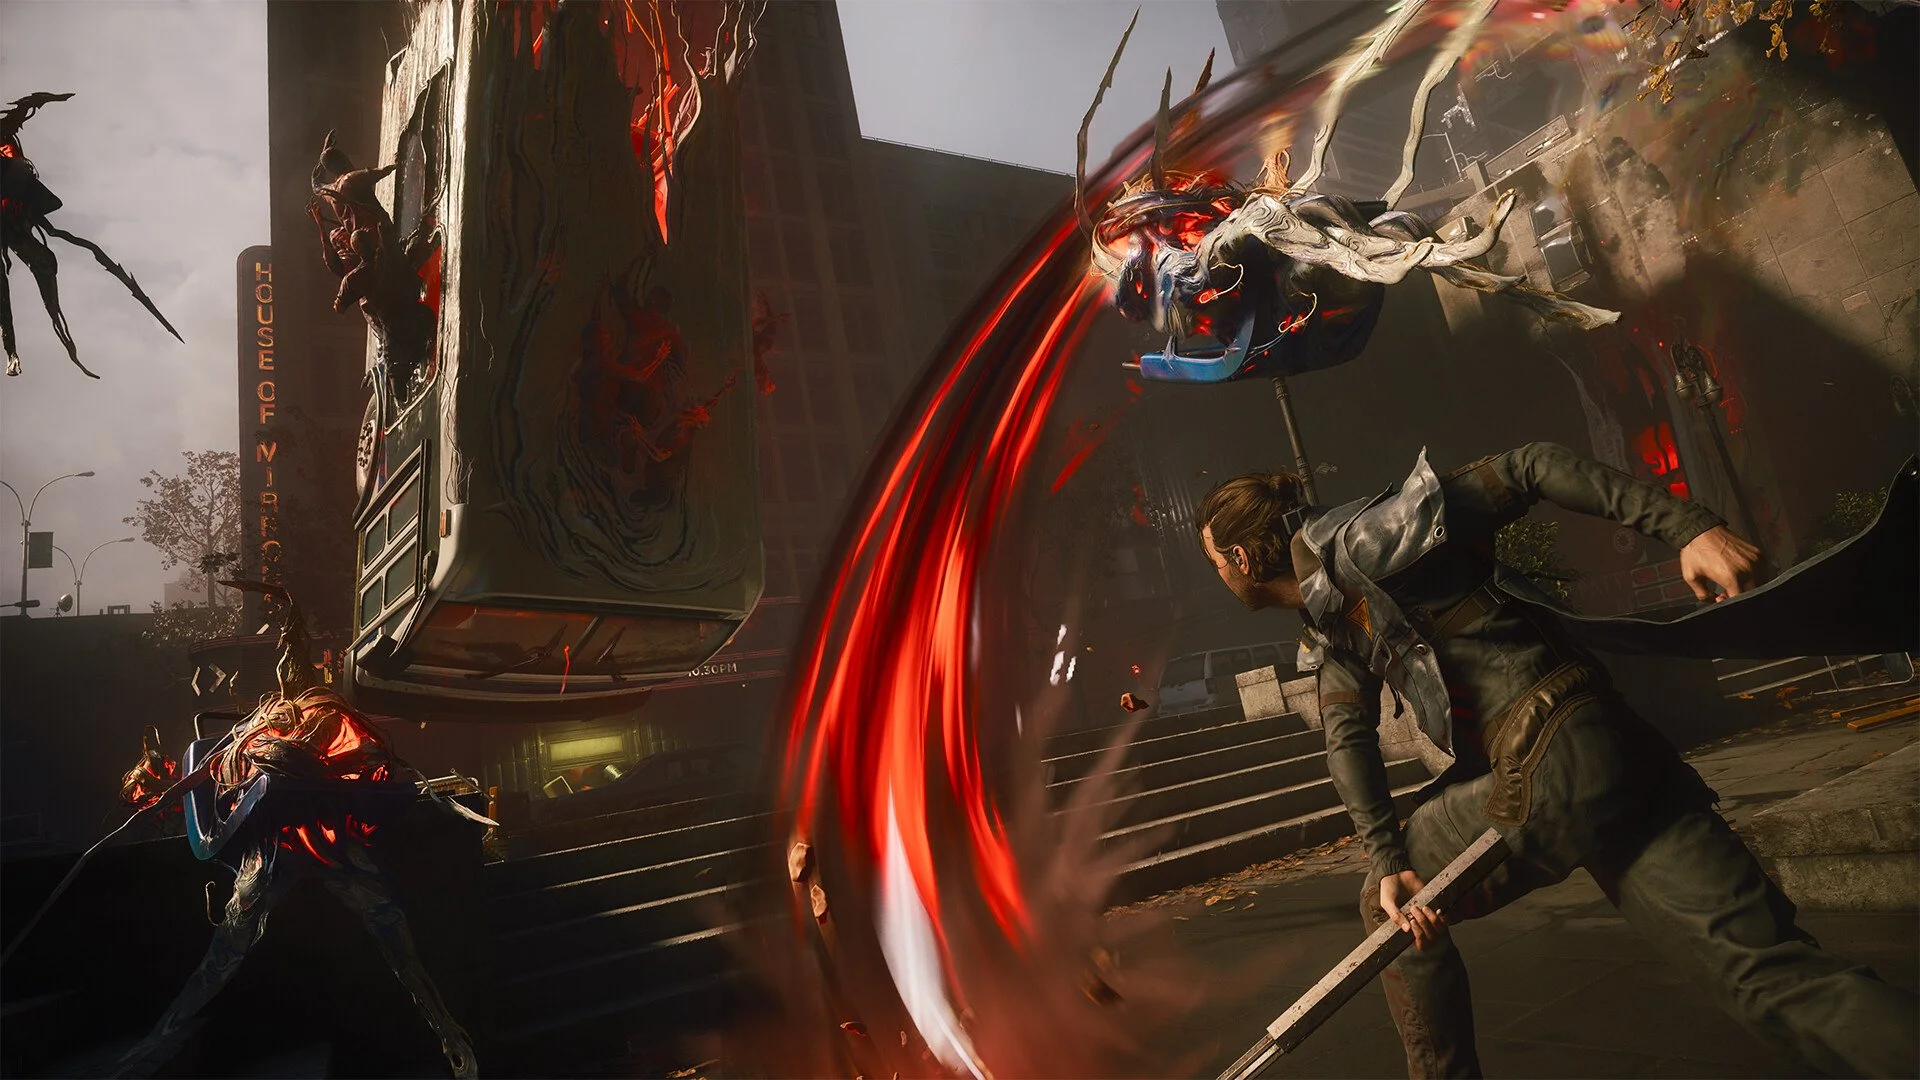
Retaliation is a temporary combat state you gain by performing a Perfect Dodge. Once active, it increases the Damage and Falter of the attack you perform afterward.
That makes Perfect Dodge more than a defensive mechanic. Instead of simply avoiding damage and resetting the fight, you're rewarded for immediately turning back toward the enemy and attacking.
Retaliation Combat Loop
• Let an enemy commit to an attack
• Perfect Dodge just before the hit lands
• Gain Retaliation
• Use your boosted attack
• Build Falter toward an Execution
The Falter bonus is arguably just as important as the extra raw damage. Filling an enemy's Falter bar gives you access to an Execution, which then feeds into Control Resonant's much larger Dominance combat loop.
I prefer thinking of Retaliation as an offensive resource rather than a dodge reward. Once it activates, the question becomes which attack gives you the most value from that limited buff.
Trigger Retaliation by Dodging Right Before an Attack Lands
You need the Perfect Dodge Talent before Retaliation becomes part of your normal combat kit.
After that, dodge immediately before an incoming attack connects. A normal dodge still gets Dylan out of danger, but only the properly timed Perfect Dodge activates Retaliation.
You don't need to sit back waiting for Perfect Dodges constantly. Control Resonant's combat rewards staying aggressive, so I use them when an enemy attack naturally interrupts whatever combo I'm already building.
That creates a much smoother rhythm: attack until the enemy forces a response, Perfect Dodge through the incoming hit, then immediately cash the Retaliation buff into your next attack.
Normal Dodge vs. Perfect Dodge
• Normal Dodge: Avoids the incoming attack
• Perfect Dodge: Avoids the attack and activates Retaliation
• Retaliation: Improves your following offensive response
Spend Retaliation on an Attack That Actually Benefits Your Fight
Because base Retaliation only gives you a limited boosted attack window, don't waste it by mindlessly tapping the fastest move available.
If you're fighting something with a large Falter bar, route the bonus into an attack that contributes meaningful Falter. If the enemy is nearly ready for an Execution, even better: the Retaliation hit can help finish that buildup and immediately move you into Dominance.
Your secondary Aberrant form is particularly useful here when it brings something your primary form doesn't, such as heavier Falter or a stronger single-hit response.
Switch Attacks give you another way to incorporate that secondary weapon without abandoning your current combo. The Control Resonant Switch Attack guide covers the three-primary-attack sequence and how to replace the normal finisher with your secondary form.
Good Retaliation Targets
• High-Falter attacks against tougher enemies
• An attack that can push an enemy into Execution range
• Strong secondary attacks when your primary lacks impact
• Fast attacks when you need to cash the buff in immediately
The best choice changes with your Aberrant setup, so the Control Resonant best weapons guide can help if you're still deciding which primary and secondary forms work well together.
Retribution and Sanctioned Retaliation Turn the Buff Into a Build
Retaliation becomes much stronger as you move through the Talent tree because several upgrades add completely different benefits to the same Perfect Dodge.
Retribution increases Retaliation's Falter by 25%. That's particularly useful because additional Falter isn't just extra damage by another name; it gets you closer to an Execution and therefore closer to Dominance.
Sanctioned Retaliation tackles a different resource. It increases the amount of Power recovered through Retaliation by 50%, letting successful Perfect Dodges help fuel your Combat Abilities as well.
Retaliation Talent Upgrades
• Retribution: +25% Falter from Retaliation
• Sanctioned Retaliation: +50% Power recovery from Retaliation
• Extended Retaliation: Adds another Retaliation charge
That's what makes the Retaliation branch so useful across different builds. One upgrade accelerates Falter, another supports your Power economy, and the later upgrade lets you carry the bonus across more than one attack.
Extended Retaliation Buffs Your Next Two Attacks
Extended Retaliation changes the mechanic more substantially than the earlier numerical upgrades.
Once unlocked, a Perfect Dodge gives you an additional Retaliation charge, allowing the next two attacks within 5 seconds to benefit from the effect instead of only one.
With Extended Retaliation
• Perform a Perfect Dodge
• Retaliation gains an additional charge
• Your next two attacks can receive the boost
• Use both within the 5-second window
This is where I think Retaliation starts feeling like part of an actual combo plan rather than a single counterattack.
You can use the first boosted hit to pressure Falter and immediately follow with another strong attack instead of having the entire Perfect Dodge payoff disappear after one input.
It also increases the value of Retribution and Sanctioned Retaliation because you're getting more opportunities to benefit from the Retaliation state after every successful Perfect Dodge.
Retaliation Is Best Used to Reach Dominance Faster
The strongest way to look at Retaliation is as the first half of Control Resonant's larger combat loop.
Retaliation improves your offensive response after a Perfect Dodge, with Retribution pushing even more Falter into the target. Filling that Falter bar creates an Execution opportunity, and performing an Execution activates Dominance.
That gives you a natural chain:
Retaliation Into Dominance
• Perfect Dodge an incoming attack
• Activate Retaliation
• Use the boosted attack to build Falter
• Execute the Faltered enemy
• Enter Dominance
• Use the stronger state to pressure the next target
This is also why Retaliation remains useful even if you're already comfortable avoiding attacks without it. The goal isn't merely survival. You're using enemy attacks as opportunities to accelerate your own damage cycle.
Against groups, I like using easier enemies as stepping stones into that loop. Building Falter on something you can Execute quickly can activate Dominance, after which you can redirect your stronger state toward the more dangerous enemy in the encounter.
Once Retribution, Sanctioned Retaliation, and Extended Retaliation are all working together, a Perfect Dodge can contribute to Damage, Falter, Power generation, Executions, and eventually Dominance. That's why learning Retaliation pays off far beyond the single attack you get immediately after the dodge.
For more combat mechanics, weapon builds, and progression help, the Control Resonant guides cover the rest of the game's major systems.