CONTROL Resonant Switch Attack Guide
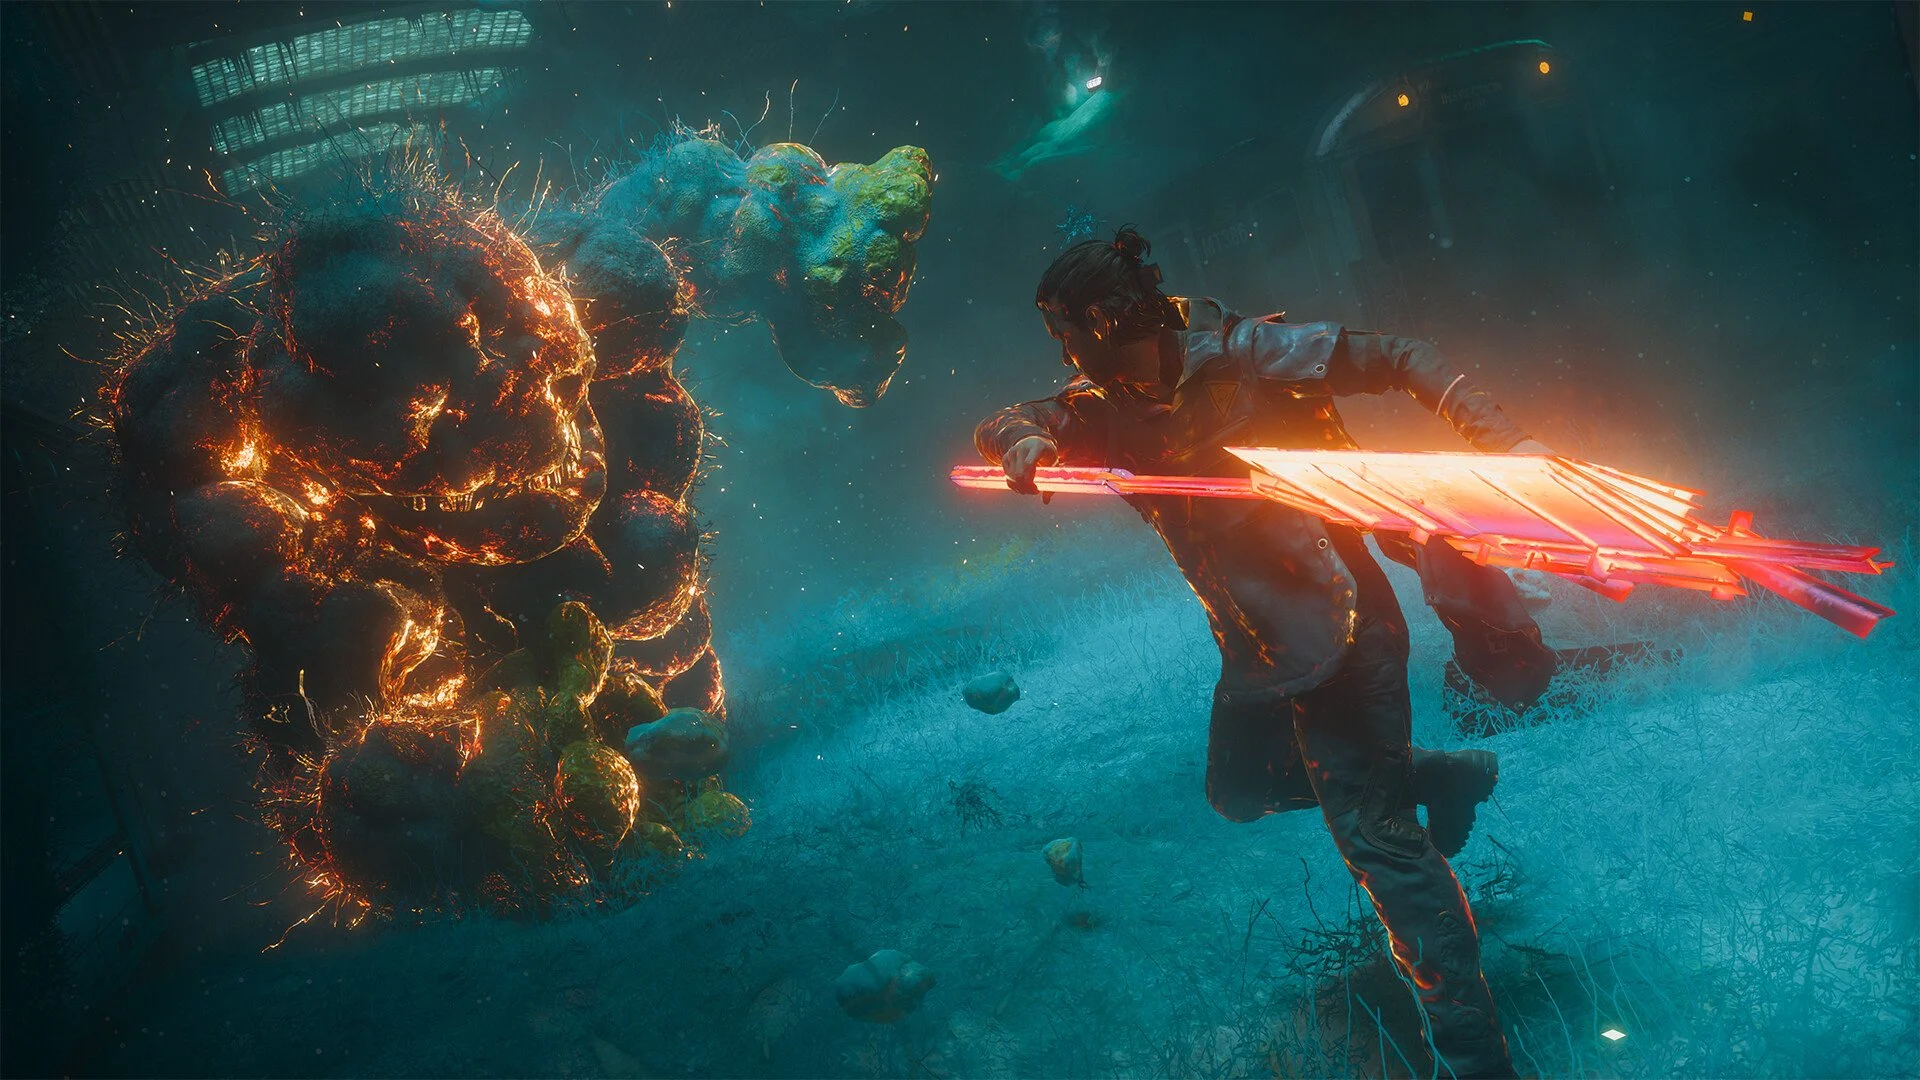
Switch Attacks let you finish a primary weapon combo by immediately morphing the Aberrant into your secondary weapon instead. They're especially useful for bringing a secondary weapon's Falter, range, or crowd-control strengths into a combo without starting an entirely new attack string.
Jump To Section:
How to Do a Switch Attack
Switch Attack Timing Explained
Why the Hammer Switch Attack Looks Normal
How Switch Attacks Differ by Weapon
Why Your Switch Attack Isn't Working
When to Use Switch Attacks
Attack Three Times With Your Primary, Then Press Secondary
To perform a Switch Attack in Control Resonant, land the first three attacks of your primary weapon combo and then press your secondary weapon attack instead of continuing the primary combo.
The secondary input replaces your normal combo finisher with the unlocked Switch Attack for that secondary weapon.
Switch Attack Input
• Primary Attack
• Primary Attack
• Primary Attack
• Secondary Attack
On a standard PlayStation controller layout, that means three Square inputs followed by Triangle. The important part is that Triangle replaces the next primary input; you aren't finishing the entire primary combo and then attacking with your secondary weapon afterward.
If you press Primary again before switching, you've moved into the normal finisher sequence instead of triggering the Switch Attack.
The Secondary Input Has to Replace the Finisher
The easiest way I've found to think about Switch Attacks is as an alternate combo ending rather than a weapon-swap attack.
You're building the same opening string you normally would, but at the point where the game expects the next part of the primary combo, you tell the Aberrant to finish through your secondary form instead.
You don't need to pause after the third attack. Keep the inputs flowing as one combo:
Think of the Combo As:
• Primary → Primary → Primary → Primary = normal combo path
• Primary → Primary → Primary → Secondary = Switch Attack path
You can also preserve your place in a combo through certain evasive movement, which gives Switch Attacks more flexibility than simply standing in front of an enemy and entering four buttons in sequence.
Once you get used to the rhythm, it feels less like manually changing weapons and more like choosing which weapon gets to finish the combo.
The Hammer Switch Attack Can Look Like a Normal Hammer Hit
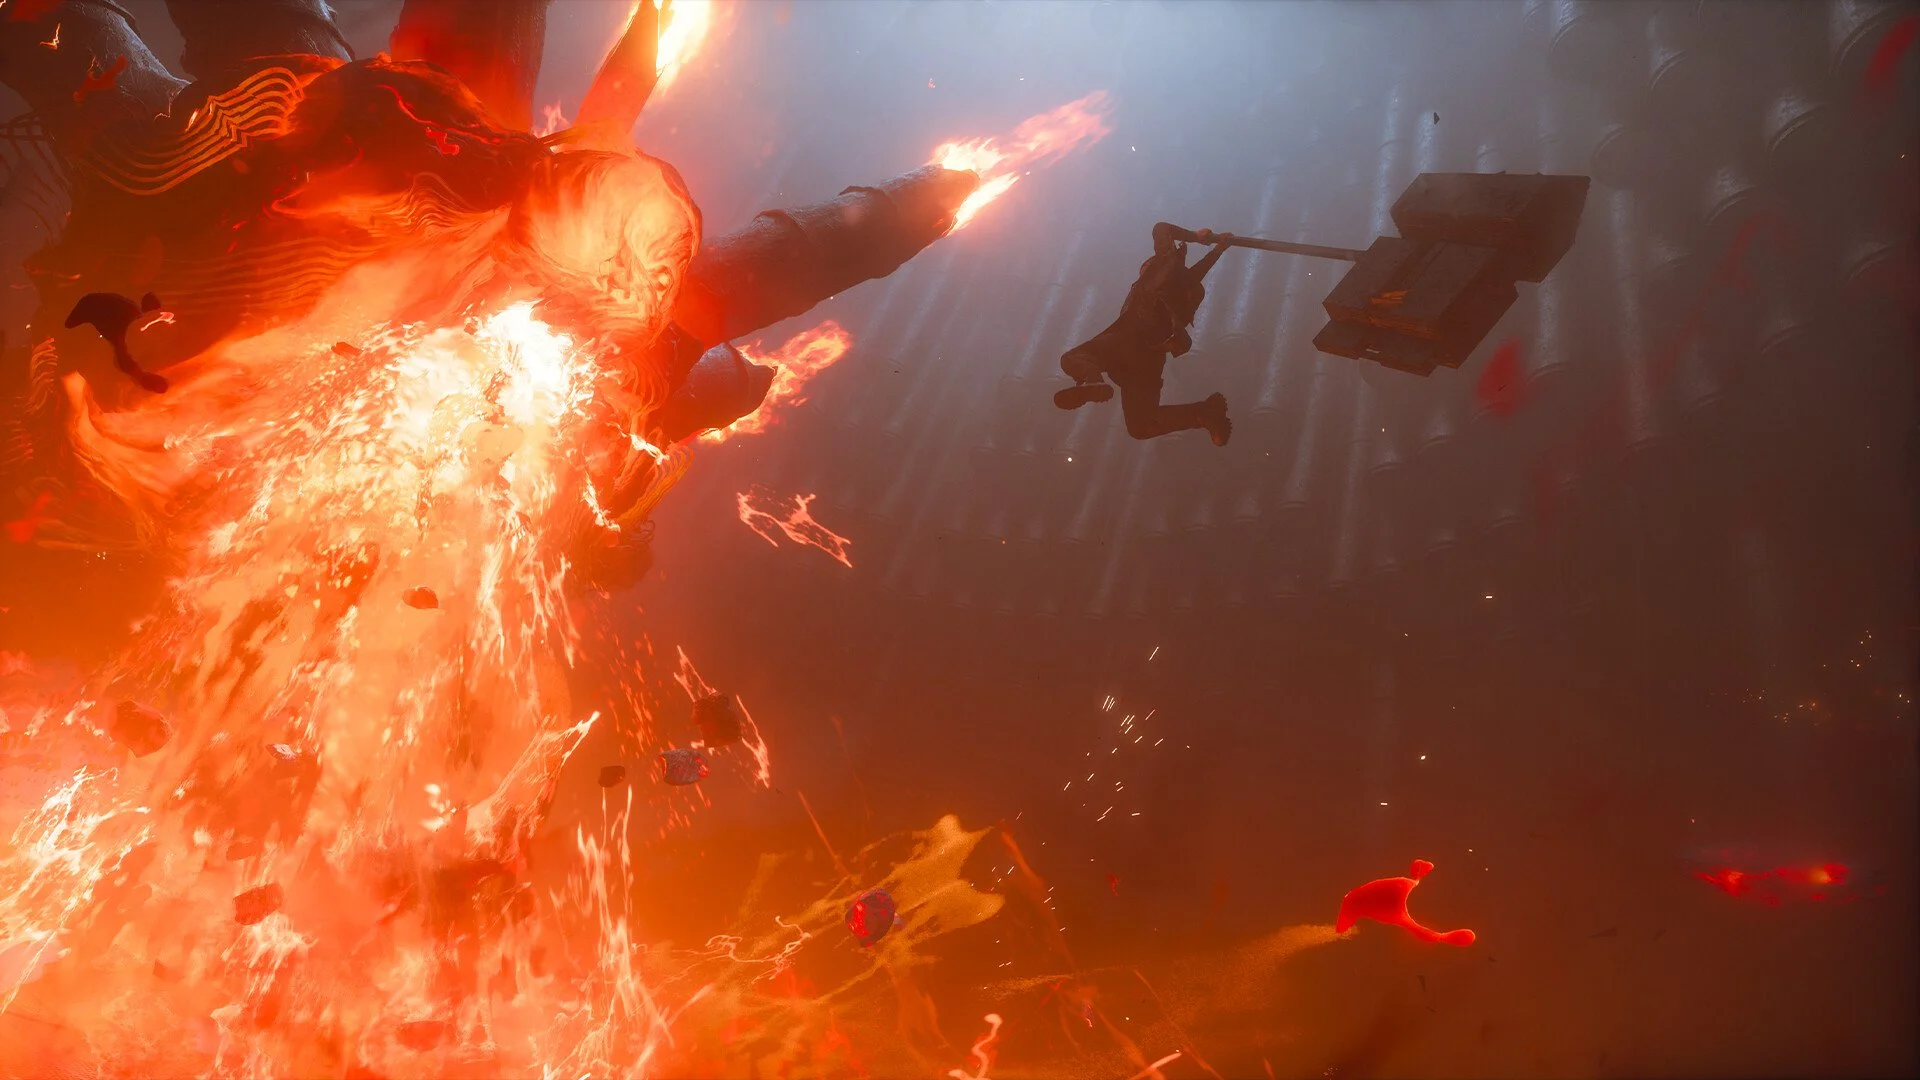
Hammer is probably the worst weapon for learning the mechanic visually because its Switch Attack resembles one of its normal attacks.
A successful Hammer Switch Attack isn't supposed to turn into some completely different cinematic slam. The animation is similar enough to the standard Hammer opener that watching Dylan's movement alone can make two different attacks look almost identical.
The better giveaway is how the attack behaves.
A proper Hammer Switch Attack delivers strong Falter and has a slightly different impact and audio cue compared to simply cancelling your primary combo into a regular Hammer attack.
There's also a very useful test: a Switch Attack cannot be charged.
Testing the Hammer
• Perform three primary attacks
• Tap the Hammer input for the fourth attack
• Watch the enemy's Falter response
• Compare it against a Hammer attack performed by itself
• If you're able to hold and charge the Hammer attack, you've transitioned into a normal secondary attack instead
I would test this in the practice arena rather than during a crowded fight. Hammer's animation doesn't give you the immediate visual confirmation that some of the other Aberrant forms do.
Some Switch Attacks Are Much Easier to Recognize Than Others
The Switch Attack system is consistent, but the actual move you get depends on which weapon is equipped as your secondary.
That's why learning the mechanic on a weapon with a distinctive Switch Attack can be useful before going back to Hammer.
What Changes Between Weapons
• Attack animation
• Falter potential
• Range and area coverage
• Enemy positioning after the hit
• The combat situation where the finisher is most useful
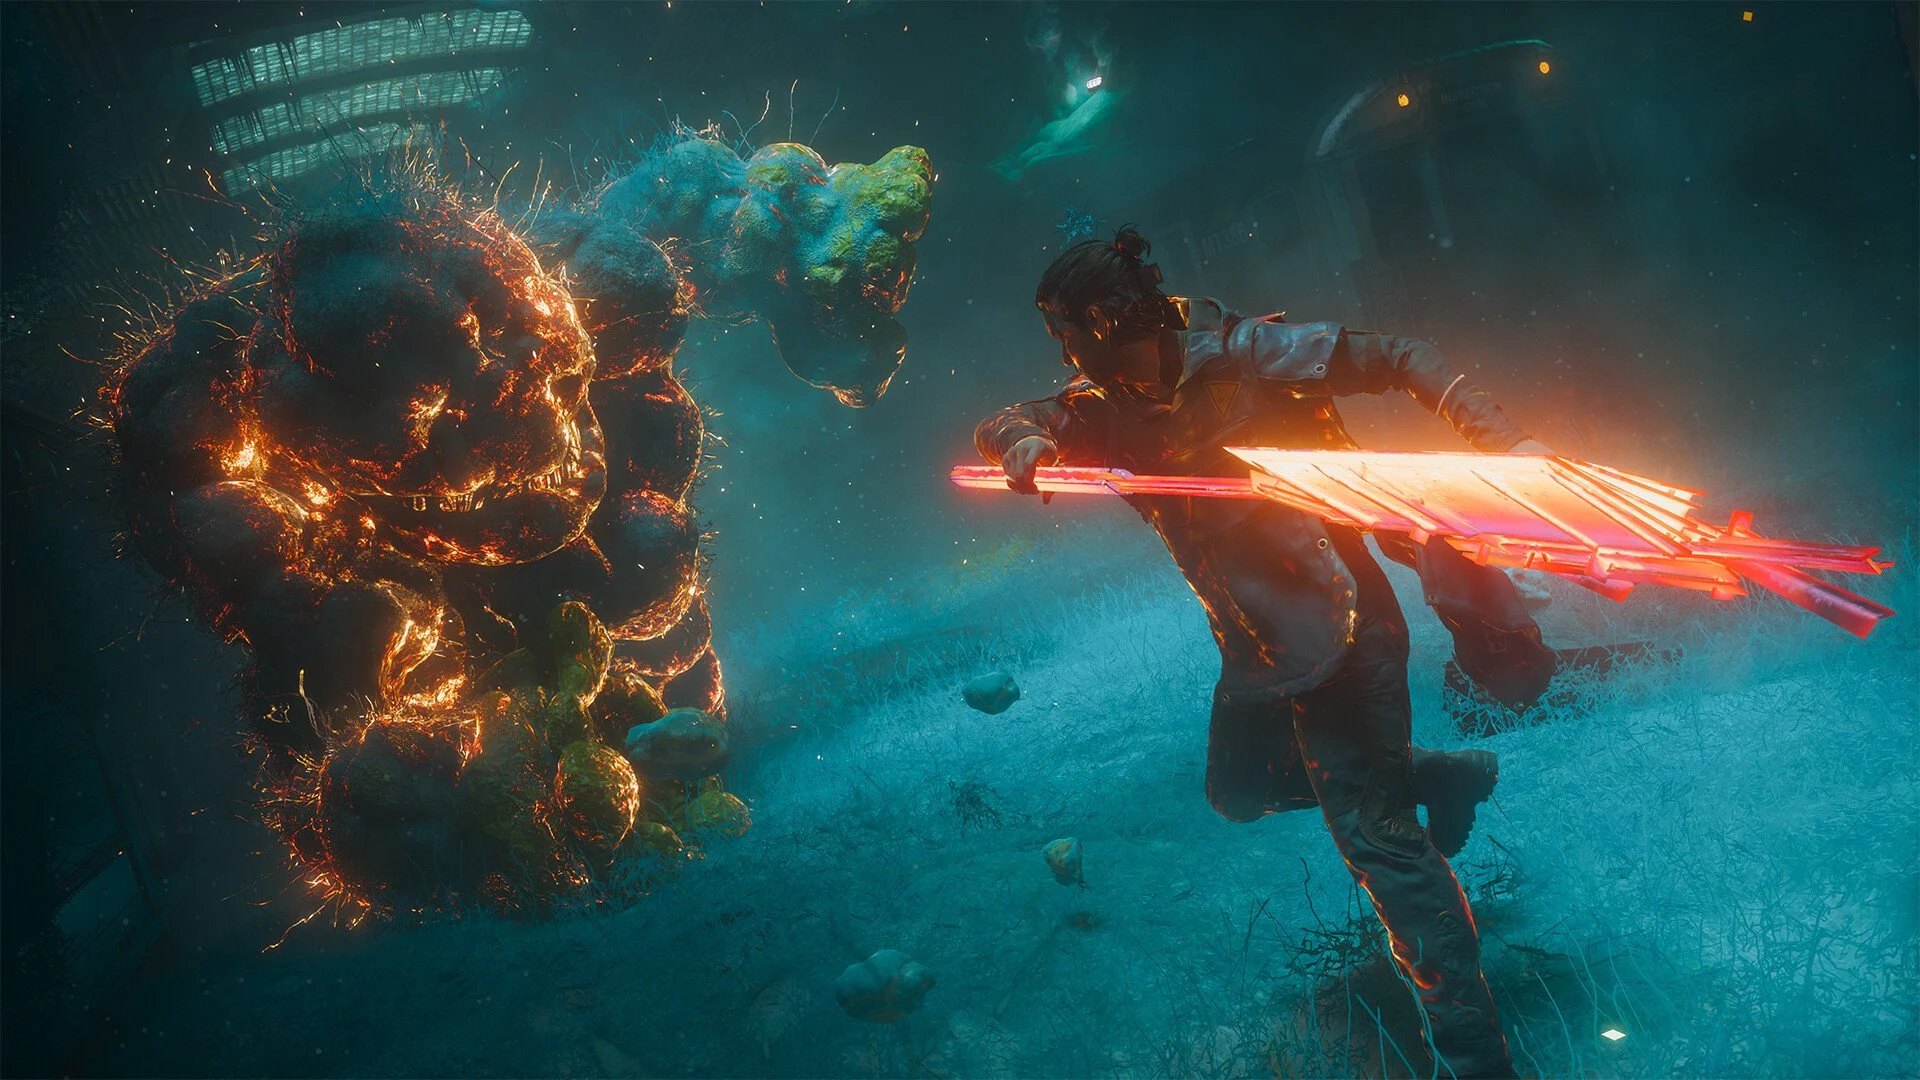
Extend's Switch Attack is considerably easier to distinguish from its standard attacks, while Hammer and some other forms can look much closer to their normal moves.
That doesn't mean the less flashy Switch Attacks aren't doing anything. Hammer in particular benefits from the extra Falter pressure, which can make it a strong secondary option behind a fast primary weapon.
If you're still deciding which forms you want to pair together, the Control Resonant best weapons guide compares the Aberrant's different forms and where each one performs best.
Make Sure You've Unlocked the Secondary Weapon's Switch Attack
If three primary attacks followed by your secondary input consistently produces a normal secondary attack, check the actual weapon upgrades before changing your timing.
There are upgrades that improve Switch Attacks separately from the upgrade that actually gives a weapon its Switch Attack. Having a Switch-related bonus somewhere in your primary weapon tree doesn't necessarily mean the secondary form you're trying to use has its Switch Attack unlocked.
If a Switch Attack Isn't Triggering:
• Confirm the secondary weapon's Switch Attack skill is unlocked
• Make exactly three primary attacks before pressing Secondary
• Don't perform the normal primary finisher first
• Tap Secondary rather than trying to charge the attack
• Test another secondary weapon with a more distinctive animation
• Try the sequence in the practice arena so you can compare damage and Falter
If you've confirmed the unlock and the same input works with another weapon but not the one you're testing, it may also be worth restarting and trying again. I've found the practice arena to be the best place to separate an input issue from a weapon animation that simply looks very similar.
Use Switch Attacks to Cover Your Primary Weapon's Weakness
The more interesting part of Switch Attacks isn't simply being able to morph weapons mid-combo. It's choosing a secondary form that gives your primary combo something it doesn't already have.
A fast primary weapon can build through its opening attacks quickly and then transition into a slower secondary weapon with much stronger Falter. Conversely, a close-range combo can finish through a weapon that gives you better space or coverage.
Hammer is a good example. Its normal charged attacks can leave you committed for longer than you want when several enemies are nearby. Reaching the Hammer through a fast three-hit primary string gives you access to its heavy Falter pressure without needing to stand around preparing the standard charged attack.
A Good Switch Attack Pairing Should Add:
• Falter your primary weapon lacks
• Better reach or crowd coverage
• A safer way to access a slow secondary weapon
• A finisher suited to the enemy you're currently fighting
That's how I prefer to build around the system. Instead of treating the secondary Aberrant form as another weapon I occasionally swap to, I look at what its Switch Attack adds to my primary combo.
Once you start using the secondary input as a genuine alternate finisher, Switch Attacks become one of the easiest ways to make two weapon forms feel like a single loadout rather than two completely separate movesets.
For more builds, combat mechanics, and progression help, the Control Resonant guides cover the rest of the game's major systems.