CRACK has two endings, and both depend on what you do with the chicken found inside the giant egg. You can hand it over to Hatch Corp or help it escape through a hidden exit in the laboratory. The second option takes some preparation, but you can open the escape route before reaching the final objective.
Jump To Section:
How the Two Endings Work
Find the Secret Escape Route
How to Unlock Each Ending
Getting Both Endings and Troubleshooting
How the Two CRACK Endings Work
You don't make your final choice when you first break through the egg's Containment Plating. Both outcomes require you to reach the center, open the inner containment sack, and retrieve the specimen.
Once you've caught the chicken, the game effectively gives you two possible delivery locations:
| Ending | Your Objective | Achievement |
|---|---|---|
| Ending 1/2 | Deliver the chicken to Hatch Corp's Holding Chamber and complete processing. | Well Done |
| Ending 2/2 | Bring the chicken to the hidden exit beyond the Break Room. | Free Range |
The company explicitly directs you toward Ending 1/2. Ending 2/2 is the secret alternative, and you won't find its destination by following the normal specimen delivery instructions.
My recommendation is to prepare that alternative exit before breaking open the innermost sack. It saves you from having to solve an excavation problem after you've already captured the chicken.
How to Find the Secret Escape Route in CRACK
The hidden exit is accessible through the Break Room, but the entrance doesn't initially look like a usable passage. You'll need to remove a barricade and dig your way to the actual exit.
Step 1: Enter the Restricted Room
Visit the Break Room and look for a door covered by wooden boards with a KEEP OUT warning.
Bring a Hammer and use it to remove the fasteners securing the planks. Once you've cleared the entrance, walk inside.
This awards the hidden Bad Listener achievement, giving you an additional unlock before you've even completed either ending.
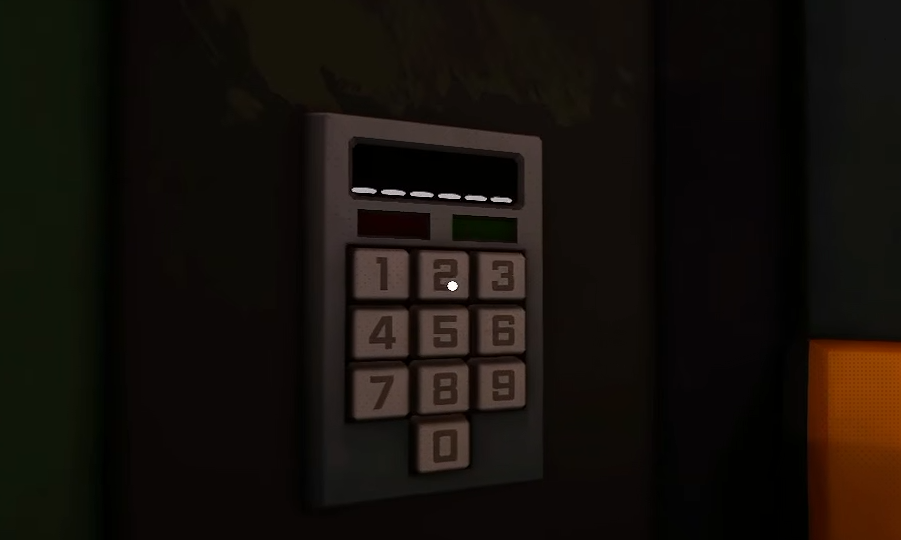
A clipboard inside provides a clue about the blocked passage. There's no need to search for a keypad combination here. The route is obstructed by excavatable material.
Step 2: Clear a Path Upward
Use a Shovel to remove the dirt beyond the restricted room. As you advance, pay attention to the direction of the opening. The passage eventually climbs upward rather than continuing as a level tunnel.
Bring a tool with enough durability for the excavation. Some tougher material may also require switching to a stronger compatible tool.
I'd focus on creating a clear walking route instead of removing every available piece of dirt. You only need enough space to reach the exit and return through the passage later.
Step 3: Identify the Chicken Door
At the upper end of the passage, you'll find a concealed area with abandoned objects and a door displaying a chicken symbol.
That's your destination for the secret ending.
Reaching the door without the specimen won't trigger anything. Once you've identified it, return to your normal assignments and leave the route accessible for your final trip.
How to Unlock Each CRACK Ending
When you're ready to finish the game, continue your Work Orders until you've reached and breached the Containment Plating. Open the innermost sack, then locate the chicken and pick it up.
From this point onward, your destination determines the ending.
Ending 2/2 – Free Range (Secret Ending)
To unlock Free Range, ignore the company's instruction to deliver the specimen to the Holding Chamber.
- Carry the chicken out of the egg and back into the laboratory.
- Head toward the Break Room.
- Enter the restricted room behind the previously boarded door.
- Follow the excavated passage to the upper area.
- Approach the chicken-marked door with the specimen in hand and interact with it.
The hidden exit recognizes the specimen, triggering Ending 2/2 and unlocking the Free Range achievement.
The ending confirms that you've helped the chicken escape Hatch Corp, although the final presentation leaves some uncertainty about what ultimately happens to it.
Ending 1/2 – Well Done (Company Ending)
For the standard ending, follow the delivery instructions after capturing the specimen.
- Bring the chicken back to the laboratory's Holding Chamber.
- Enter the chamber and locate its smaller receiving enclosure.
- Place the specimen into the receiving unit.
- Allow the machinery to finish processing it.
- Complete the final dispatch interaction with the processed specimen and shipping container.
After the shipping procedure is finished, you'll receive the Well Done achievement and the Ending 1/2 confirmation.
Despite the enormous effort required to uncover the egg's contents, Hatch Corp ultimately treats the chicken as a product. The specimen goes through the company's processing equipment and is prepared for shipment.
It's a dark conclusion, especially compared with the possibility of helping the chicken escape.
Can You Get Both CRACK Endings in One Game?
Both endings can be pursued during continued play, but you'll need another opportunity to retrieve the specimen after completing your first delivery.
If you've already finished the company ending, check your active Work Order after returning to the laboratory. When the containment objective becomes available again, you can release the specimen and take it to the alternative destination.
Preparing the secret passage beforehand makes this considerably simpler, since you already know where to bring the chicken.
Why an Ending Might Not Trigger
There are a few important differences between discovering an ending location and actually completing its requirements.
- You've found the secret exit, but nothing happens: You need to return with the chicken. Opening the passage alone doesn't complete Free Range.
- You placed the chicken into the Holding Chamber but haven't finished: The standard ending also involves processing and dispatch. Complete the remaining interactions.
- You've broken the Containment Plating but can't finish: The specimen is still inside the inner containment sack. You must release and capture it first.
- You've already completed one ending: Check whether the relevant containment Work Order is available again before attempting another delivery.
Neither ending requires starting a completely different route through the egg. The meaningful choice happens after you retrieve the chicken, so having both destinations prepared is the simplest way to approach the two outcomes.