Planet Zoo 2 Waterlogged Terrain Guide
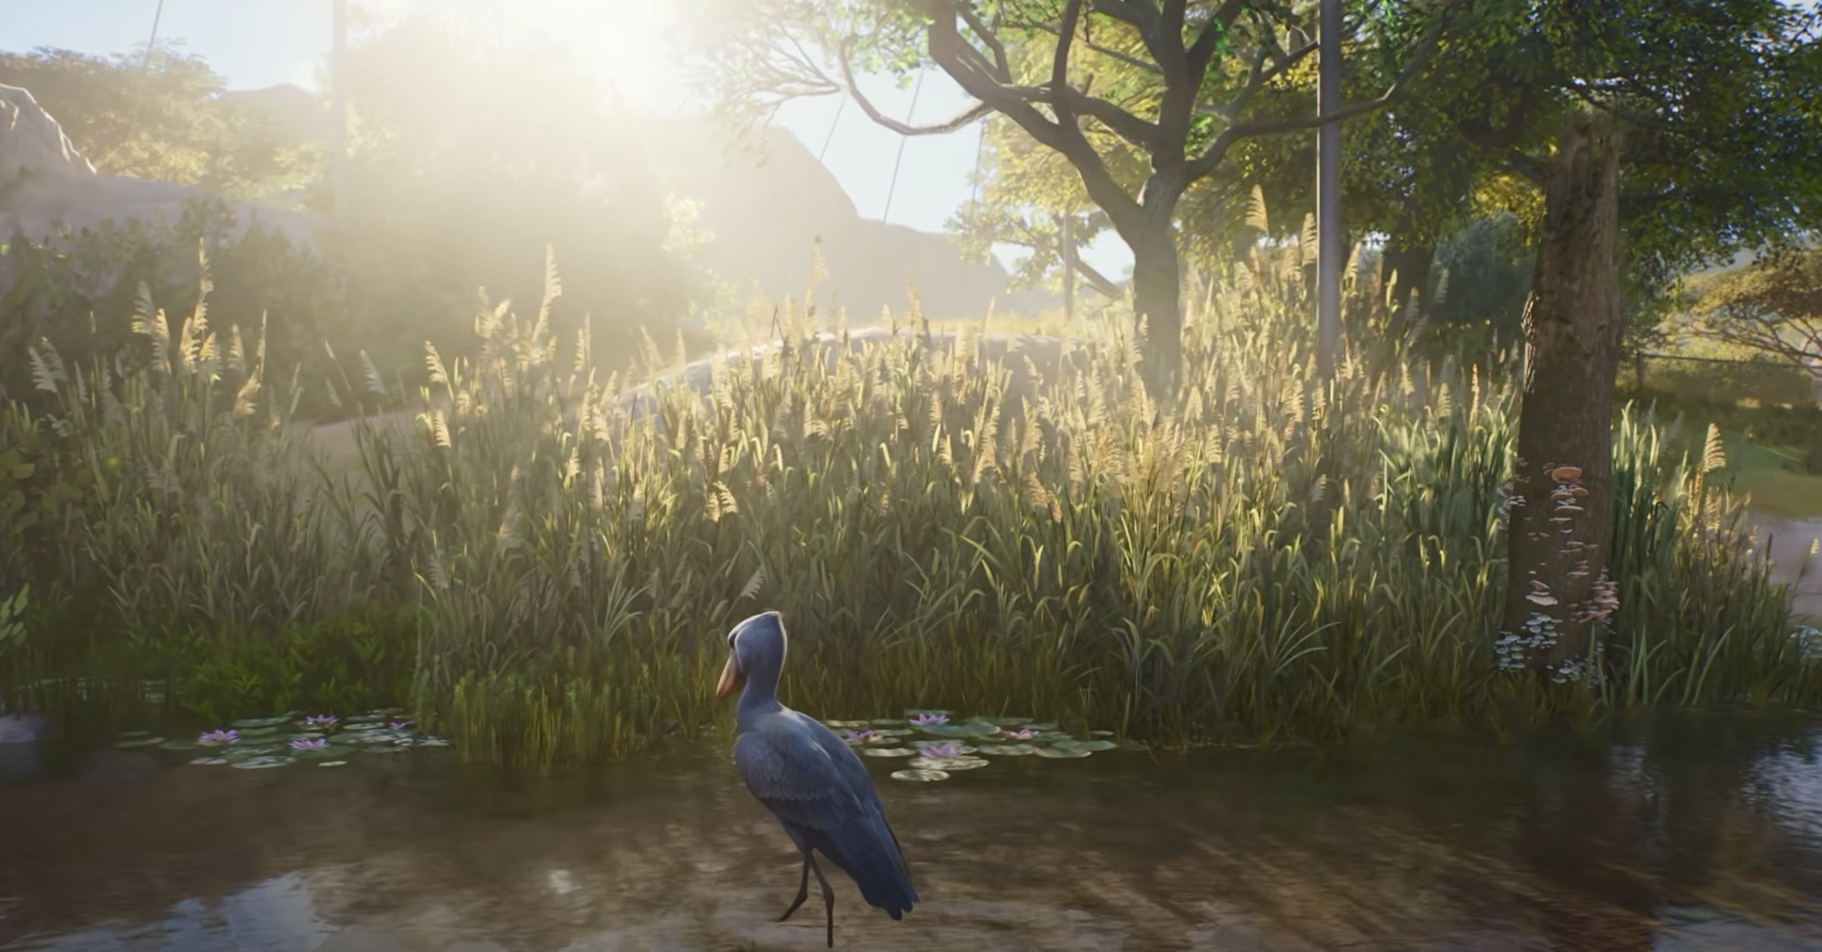
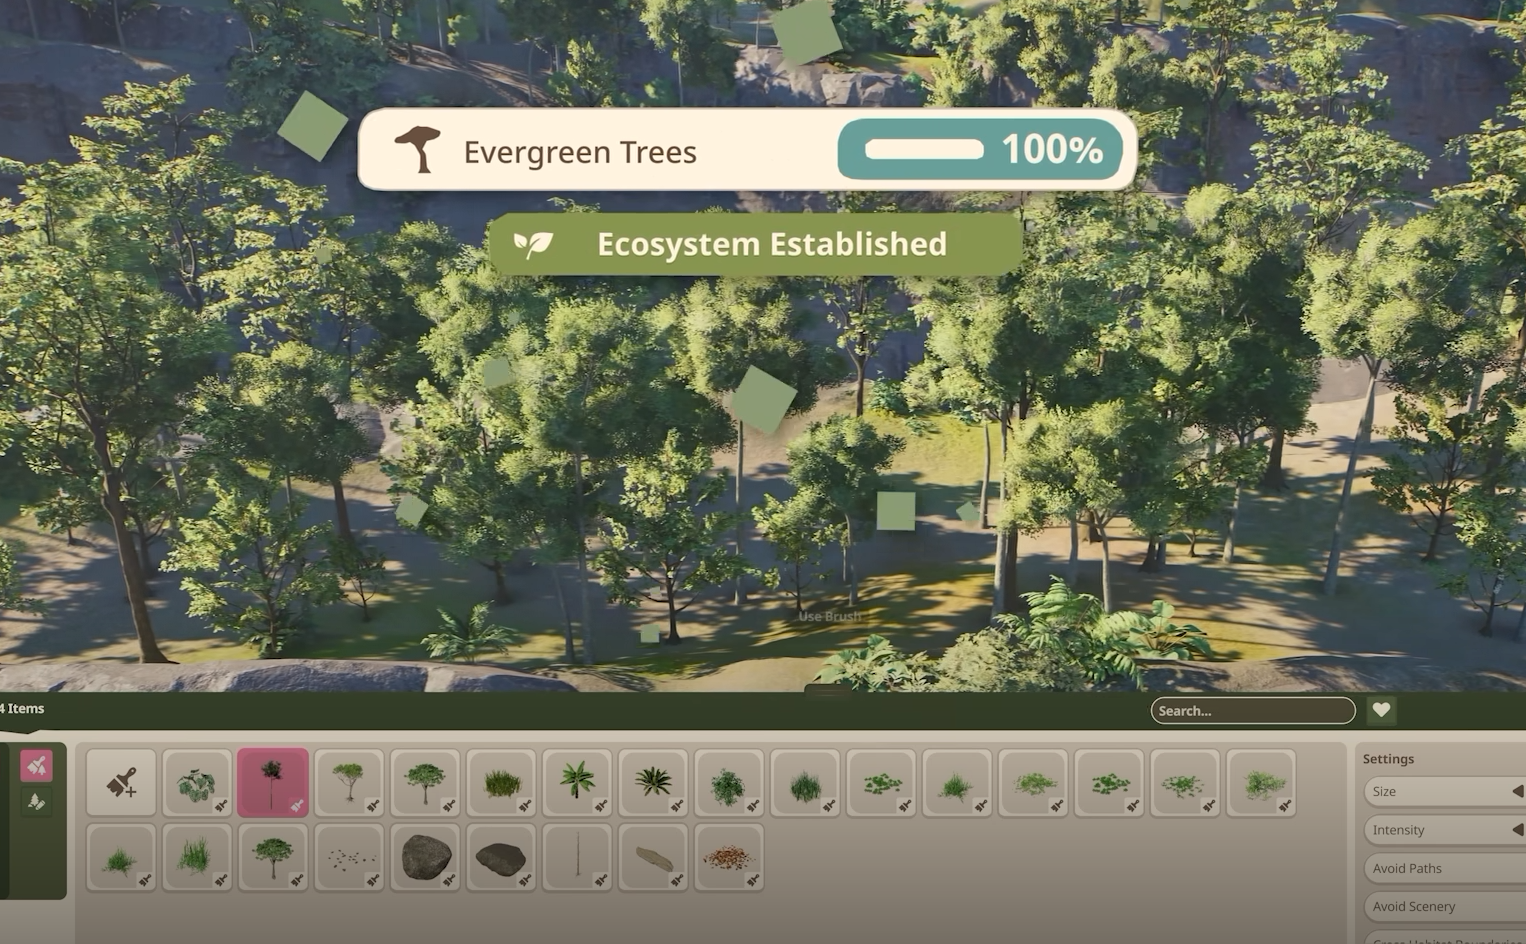
Waterlogged terrain is one of Planet Zoo 2's new terrain options, letting you create shallow wet ground without building a full body of water. The effect is controlled through its own brush, and the same tool can be switched between adding and removing Waterlogged terrain as you shape habitats and scenery.
Jump To Section:
How Waterlogged Terrain Works
How to Add Waterlogged Terrain
How to Remove Waterlogged Terrain
How to Shape Waterlogged Areas
How Waterlogged Terrain Works in Planet Zoo 2
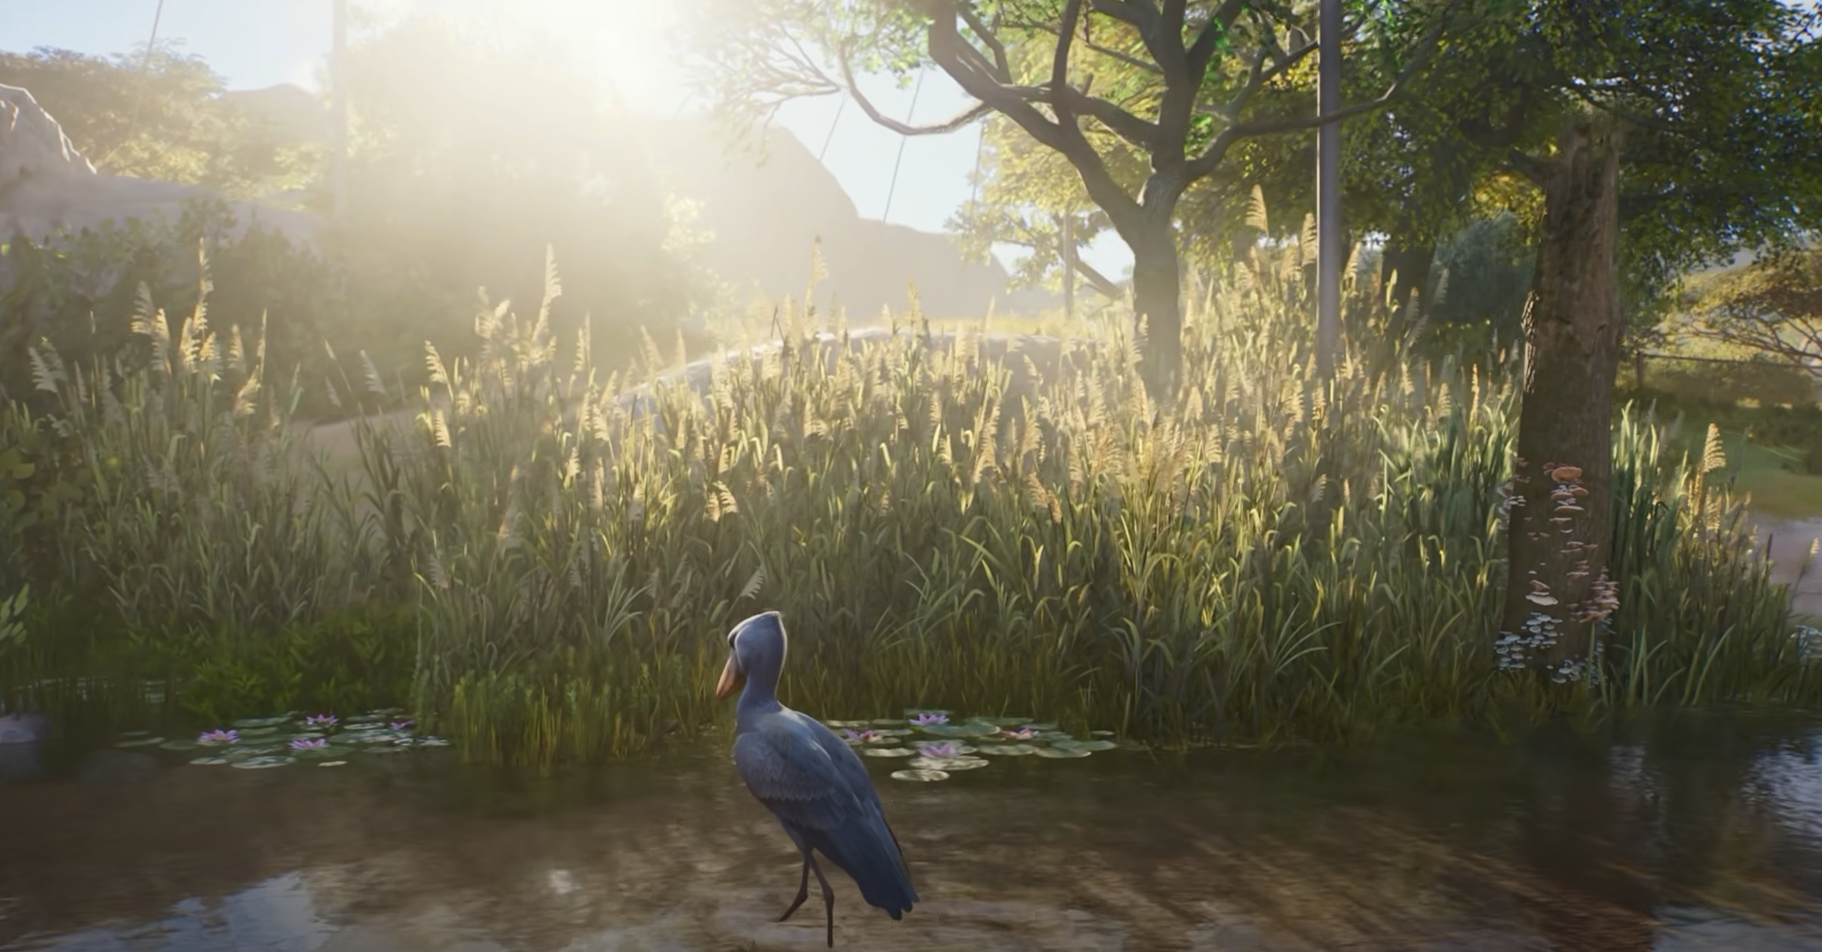
Waterlogged terrain creates shallow water directly across the ground rather than requiring you to sculpt out a conventional pond or lake. The effect follows the terrain and can extend naturally toward habitat barriers, making it useful for marshes, muddy habitat edges, shallow wetlands, and other areas where you want water integrated into the landscape.
It is handled through a dedicated Waterlogged brush rather than the normal water-placement system. Once the brush is active, you can paint the effect onto the terrain and switch the tool into removal mode whenever you need to reshape it.
How to Add Waterlogged Terrain
Select the Waterlogged terrain brush and paint across the ground where you want shallow wet terrain to appear. The effect is applied directly to the existing landscape, so you can use it across irregular ground instead of first creating a perfectly flat basin.
This makes Waterlogged terrain particularly useful when you want water to feel like part of the habitat itself rather than a separate pool surrounded by clearly defined banks.
How to Remove Waterlogged Terrain
To remove Waterlogged terrain on keyboard and mouse, keep the Waterlogged brush selected and press R to switch it from adding the effect to removing it. Paint across the wet ground again and the Waterlogged terrain will be cleared from that area.
You do not need to replace the terrain paint, flatten the land, or delete the entire section. Adding and removing Waterlogged terrain are both handled by the same brush.
How to Shape Waterlogged Areas
The add and remove toggle makes the tool useful for more than covering large patches of terrain. You can paint a broader wet area first, switch to removal mode with R, then trim the edges until the shape fits the habitat.
If you remove too much, press R again to return to the add function and paint some of the Waterlogged terrain back in. Alternating between the two modes gives you much finer control over shorelines, marsh edges, and small pockets of shallow water than trying to create the final shape in a single pass.
Because the effect follows the terrain rather than behaving like a traditional rectangular water surface, it also works well around habitat barriers and uneven scenery where a conventional pond would look too rigid.