Planet Zoo 2 Building Tips
Planet Zoo 2 gives you far more freedom than simply drawing barriers around animals, but that freedom can make an inefficient layout surprisingly expensive to fix later. The best builds establish how guests, staff, animals, terrain, and facilities will interact first, then use the construction tools and scenery system to turn that functional layout into something that actually looks like a finished zoo.
Jump To Section:
Best Building Tips for Planet Zoo 2
Build a Path Hierarchy
Give Staff Their Own Backstage Route
Design Habitats Around Viewing
Build Plazas Where Guests Stop
Use the Grid for Structure, Then Break It
Make Terrain Solve Problems
Keep Staff Facilities Local
Build Reusable Modules
Use the Nature Brush in Layers
Use Transport to Create Zoo Districts
Pause Before Major Rebuilds
Always Leave an Expansion Seam
Best Building Tips for Planet Zoo 2
The best way to build in Planet Zoo 2 is to establish circulation first, separate guest and staff movement, decide where animals should be viewed, and only then commit to detailed scenery. Use grids and groups for repeatable structures, terrain for functional separation and sightlines, and leave every major area somewhere to expand later.
A useful build order is main paths first, backstage routes second, habitat footprints and viewing areas third, then staff facilities and other operational pieces. Terrain and scenery come after those systems are working. Following that order makes it much easier to change a bad layout before hundreds of individual objects are sitting on top of it.
Build a Path Hierarchy Instead of One Giant Network
Not every path should perform the same job. Create wide main routes that move guests between major areas, then branch smaller paths toward individual habitats, shops, and quieter exhibits.
Planet Zoo 2 gives you Line, Curve, Draw, and Stamp path tools, and each is useful for a different part of the layout. Line and Curve work well for circulation routes, while Draw and Stamp are much better suited to deliberate open spaces and plazas.
Thinking in terms of main roads and side streets also makes a large zoo easier to read visually. Guests have an obvious direction of travel, while habitat branches can have their own character without every enclosure being attached to one endless winding path.
If an existing route feels too rigid, the Corner Radius Editor lets you soften the turns without deleting the whole path. Curved Elevation is also useful when you want ramps and elevated walkways to feel integrated into the landscape rather than appearing as abrupt stairs.
Give Staff Their Own Backstage Route
One of the most useful layouts for a larger zoo is a Staff Path running behind several habitats. Connect gates, Keeper Huts, Staff Rooms, research buildings, utilities, and other service facilities to this route while keeping guests on the opposite side of the exhibits.
This does more than hide ugly buildings. Staff Paths are inaccessible to guests, which means employees can move between important facilities without getting caught in the busiest public areas.
It also creates a much cleaner building workflow. The guest-facing side of the habitat can focus on viewing, education, and scenery, while the back handles the operational pieces that actually keep the animals cared for.
You can then disguise the backstage boundary with terrain, walls, foliage, or building shells instead of trying to hide every facility individually.
Design Habitats Around Viewing, Not Just Space
A habitat can comfortably exceed an animal's space requirements and still be poor for guests if most of that space sits far away from every viewing point.
Before finalizing the barrier, decide where you expect guests to stand and where the animals are likely to spend time. Long or gently curved habitats can sometimes create more useful viewing frontage than a huge square enclosure because more of the usable animal space stays near the guest route.
Elevation gives you another option. Raised walkways can look down over a habitat, while sinking part of the enclosure lets guests see across it without every barrier dominating the view.
Vista Points can reinforce the design by encouraging guests to stop at a particular view. They work best when they support a sightline you deliberately created rather than being dropped randomly around the path network.
Build Plazas Where Guests Stop, Not Just Where Paths Cross
A path intersection does not automatically need to become a plaza. Save larger open spaces for places where guests have several reasons to stop, such as a major habitat view, restaurants, shops, education, toilets, or a transport station.
This helps separate movement space from activity space. Guests walking through the zoo can continue along the main path while the people stopping to eat, shop, or watch animals have room beside it.
That distinction becomes more important as attendance grows. A narrow path may be perfectly adequate for walking traffic but become clogged once dozens of guests stop in the same place to view an animal.
Planet Zoo 2's Draw and Stamp tools make it much easier to intentionally create these wider spaces instead of trying to fake a plaza by repeatedly attaching ordinary path sections.
Use the Grid for Structure, Then Break It for Detail
Grid-based pieces are ideal for the structural part of a build. Use them for walls, roofs, repeated facade sections, facility shells, and other elements where consistent alignment matters.
Once the basic structure is working, start layering non-grid scenery onto it. These pieces can be positioned more freely and can still be grouped with grid-based objects, which gives you precision without forcing the finished building to look like it came directly from a square grid.
You can also change Grid Size and Grid Height while building, so do not assume every part of a structure needs to use the same spacing. Larger grid settings are useful for establishing the main form quickly, while tighter settings can handle smaller architectural details.
This approach is usually faster than trying to free-place an entire building and less rigid than forcing every decorative object into the original structural grid.
Make Terrain Solve Problems
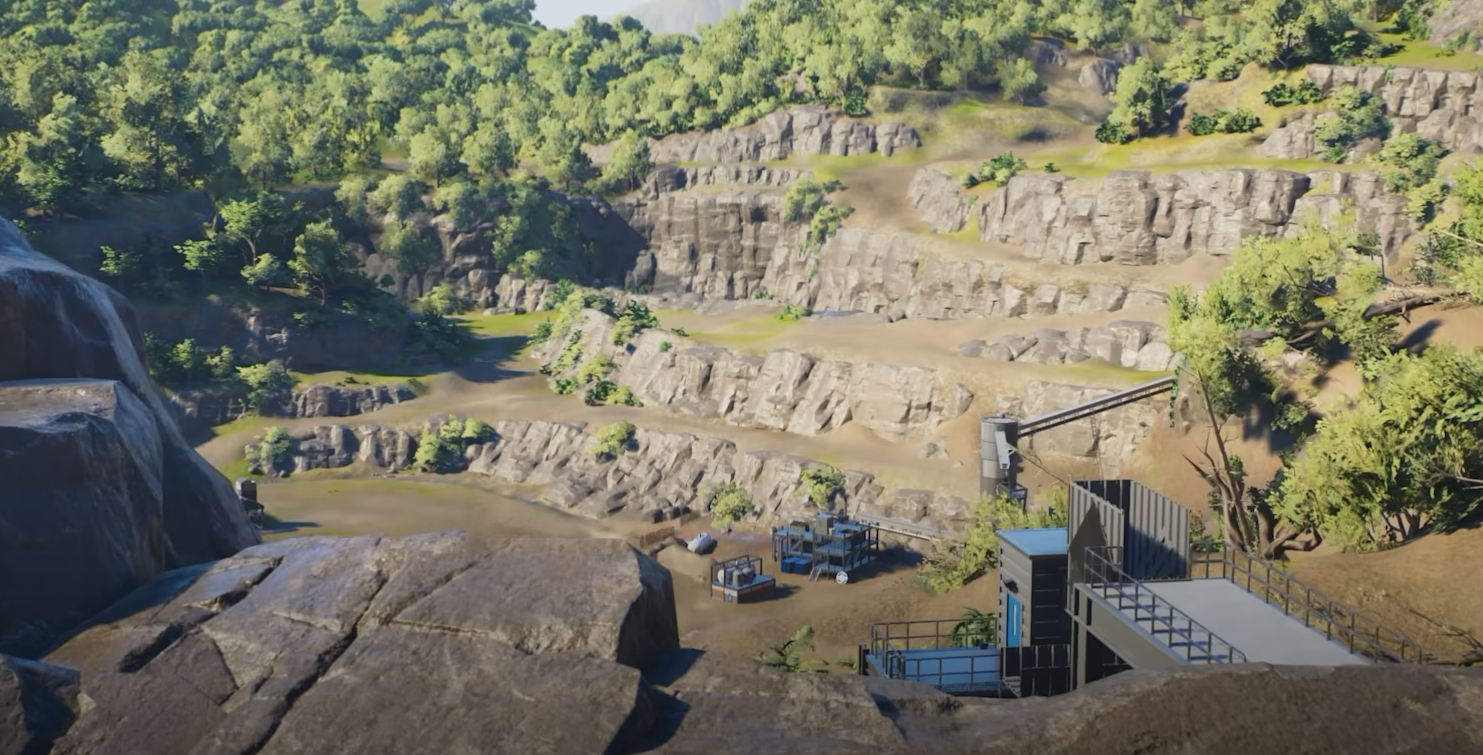
Terrain is most useful when it has a job. Raise ground to screen staff infrastructure, create a depression for a sunken habitat, build a ridge between themed areas, or use elevation to produce a better viewing angle.
Planet Zoo 2's sculpting tools can create slopes, depressions, tunnels, and caves, while Terrain Stamps give you a quicker starting point for larger formations. Instead of sculpting an entire cliff or embankment from scratch with a small brush, place a broad form first and then refine it manually.
Surface Lock is useful for more controlled editing because terrain changes remain relative to the surface you initially selected. This becomes particularly helpful when working around existing slopes rather than a completely flat construction site.
For marshes and shallow saturated areas, Waterlogged terrain can often produce a more natural transition than cutting another traditional pond into the landscape. Our Planet Zoo 2 Waterlogged Terrain Guide covers that tool in more detail.
Keep Staff Facilities Close to the Area They Serve
A single giant staff complex may look organized on the map, but it can make the zoo less efficient as it expands.
The distance between a Keeper Hut and habitat gate determines how much walking a Keeper has to do when preparing and delivering food. That makes small local service areas useful behind groups of habitats, particularly when they can share a backstage Staff Path.
Staff Rooms benefit from the same thinking. Employees need them to regain energy, so placing smaller facilities around a large zoo can prevent staff from repeatedly walking back toward one centralized building every time they need a break.
Build the zoo in operational districts rather than assuming every employee should work from the same service compound.
Build Reusable Modules Instead of Repeating Work
Detailed building gets much faster once you stop treating every wall, planter, shelter, gate, and facade as a completely new project.
Use Multi-Select to collect related objects and turn them into a group. A grouped section can then be moved, rotated, copied, recolored, or saved as a Blueprint as one piece.
Smaller modules are often more useful than complete buildings. A good rock-wall section, roof segment, entrance frame, planter, fence design, or shop facade can be duplicated throughout a district and altered slightly each time.
This gives an area visual consistency without making every building identical. Repeating materials and construction language usually looks more convincing than either copy-pasting entire structures or designing every object from scratch.
If a group becomes too large, Split can separate part of the selection into another building, making it easier to keep complicated projects manageable.
Use the Nature Brush in Layers
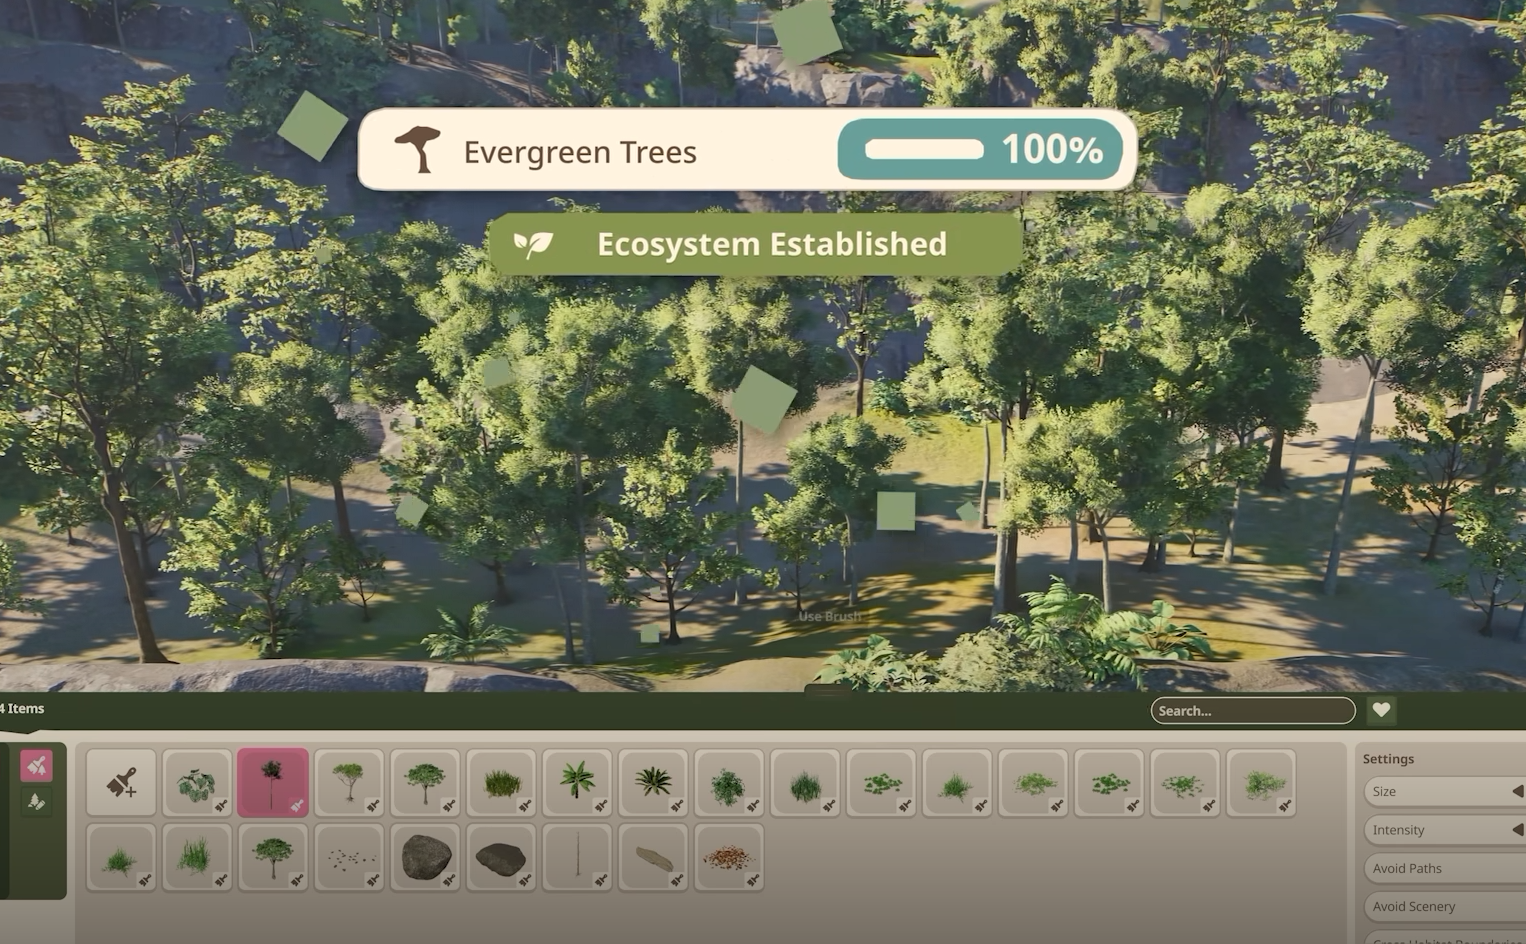
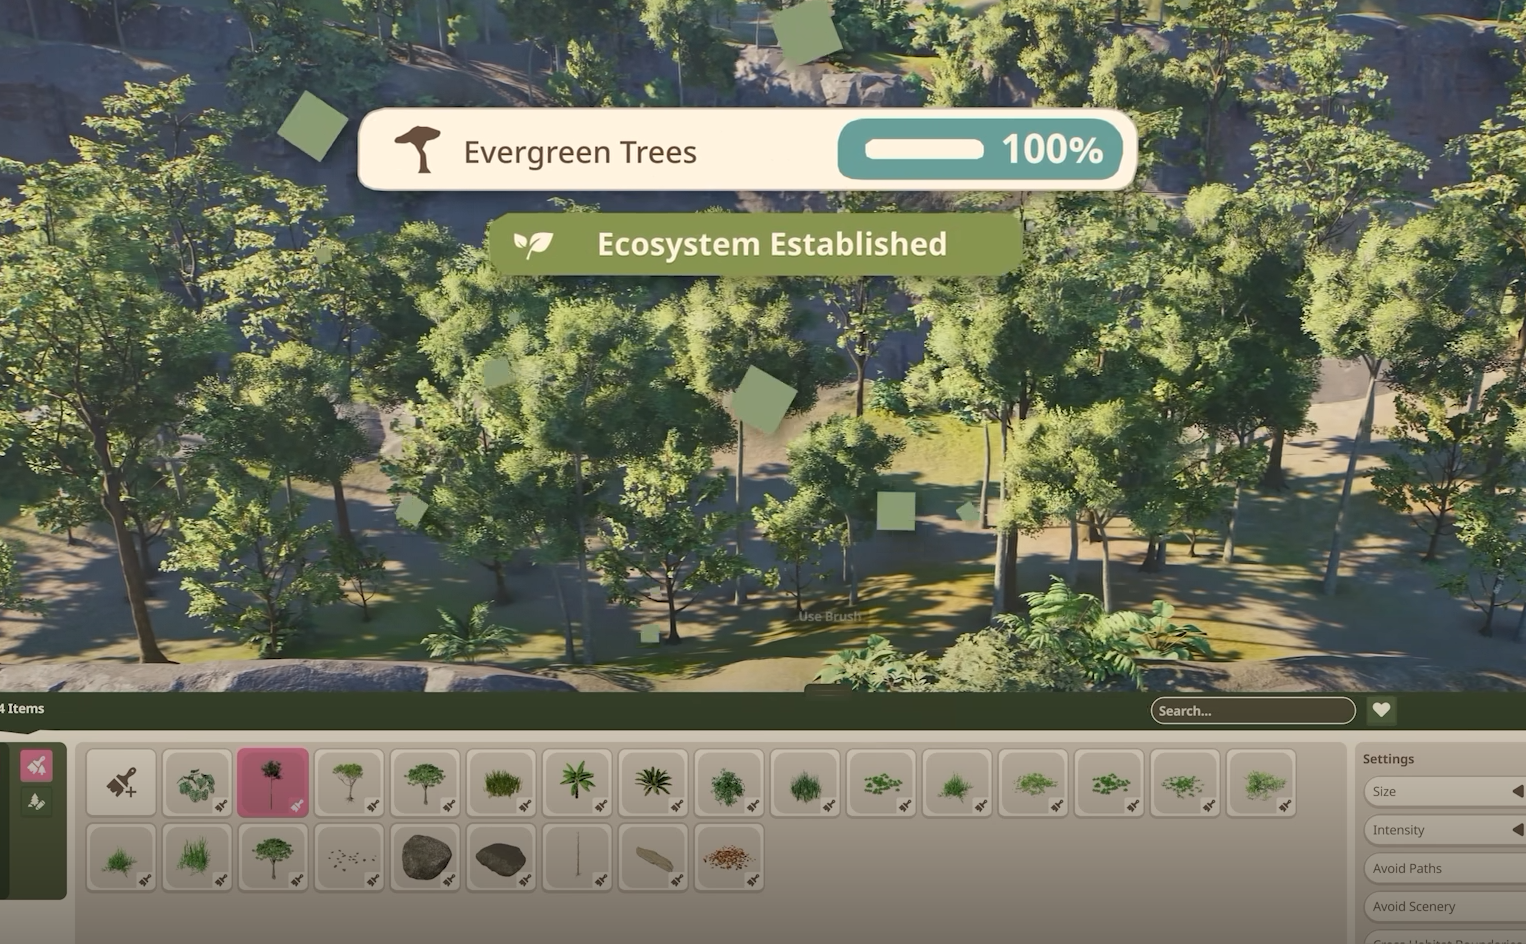
The Nature Brush is best used for establishing the broad vegetation of an area rather than producing the final landscape in one pass.
Use a preset or saved custom brush to lay down the background foliage and rocks quickly, then manually refine the places that matter most. Clear important sightlines, add deliberate trees around viewing areas, and use individual rocks or plants to frame paths, shelters, and habitat features.
This gives you the speed of painting hundreds of natural objects without leaving every part of the habitat with the same random density.
Saving your own Nature Brush combinations can also help different habitats within the same themed district feel related. They can share a foliage palette without requiring identical individual placement.
Use Transport Rides to Create Separate Zoo Districts
Transport becomes much more useful when it influences the zoo layout from the beginning instead of being squeezed into whatever space is left at the end.
Guests will use transport when another station is located near somewhere they want to visit, which means a large zoo can support more widely separated districts without forcing every visitor to walk the entire map.
The ride can also become a viewing attraction itself. Guests can see nearby animals from transport routes, so a line passing through or above several habitats can double as another way to experience that part of the zoo.
Place stations near major destinations and give the surrounding area enough room for the queue and exiting guests. Ride Queue Paths do not function as normal navigation routes, so every station still needs proper connections to the regular path network.
Pause the Zoo Before Major Rebuilds
If you are about to replace a major path, move habitat infrastructure, rebuild a staff area, or tear apart part of an operating zoo, pause the game first.
Planet Zoo 2 lets time continue while you are building, which means guest needs, staff workloads, animal welfare, and the zoo's finances can all keep changing while an area is temporarily broken.
Pausing lets you remove the old layout, test the new footprint, and reconnect everything without forcing the simulation to operate around a construction site that is only half functional.
The undo and redo controls are equally useful during this stage. Large mistakes involving terrain, paths, or objects are often faster to undo immediately than to manually rebuild whatever the edit displaced.
Always Leave an Expansion Seam
When a habitat or district is finished, try to leave at least one side where it could logically grow.
That may be an open edge behind a habitat, a short unfinished Staff Path, spare space beside a utility area, or an unused branch coming off a plaza. You do not need large empty fields everywhere; you just need to avoid surrounding every new enclosure with permanent infrastructure on all sides.
This gives you somewhere to move a barrier when breeding increases the population, somewhere to attach another compatible species, and somewhere to add facilities when the district becomes more popular.
It also prevents one of the most frustrating building problems in a management game: having enough money and space to expand the zoo overall, but no practical way to expand the exact area that needs it without demolishing everything around it.
The strongest Planet Zoo 2 builds are therefore not simply the most detailed. They are layouts where guest movement, staff access, viewing, terrain, and future growth were considered early enough that the decorative work can stay in place when the zoo gets bigger.