We Were Here Tomorrow Laser Puzzle Guide
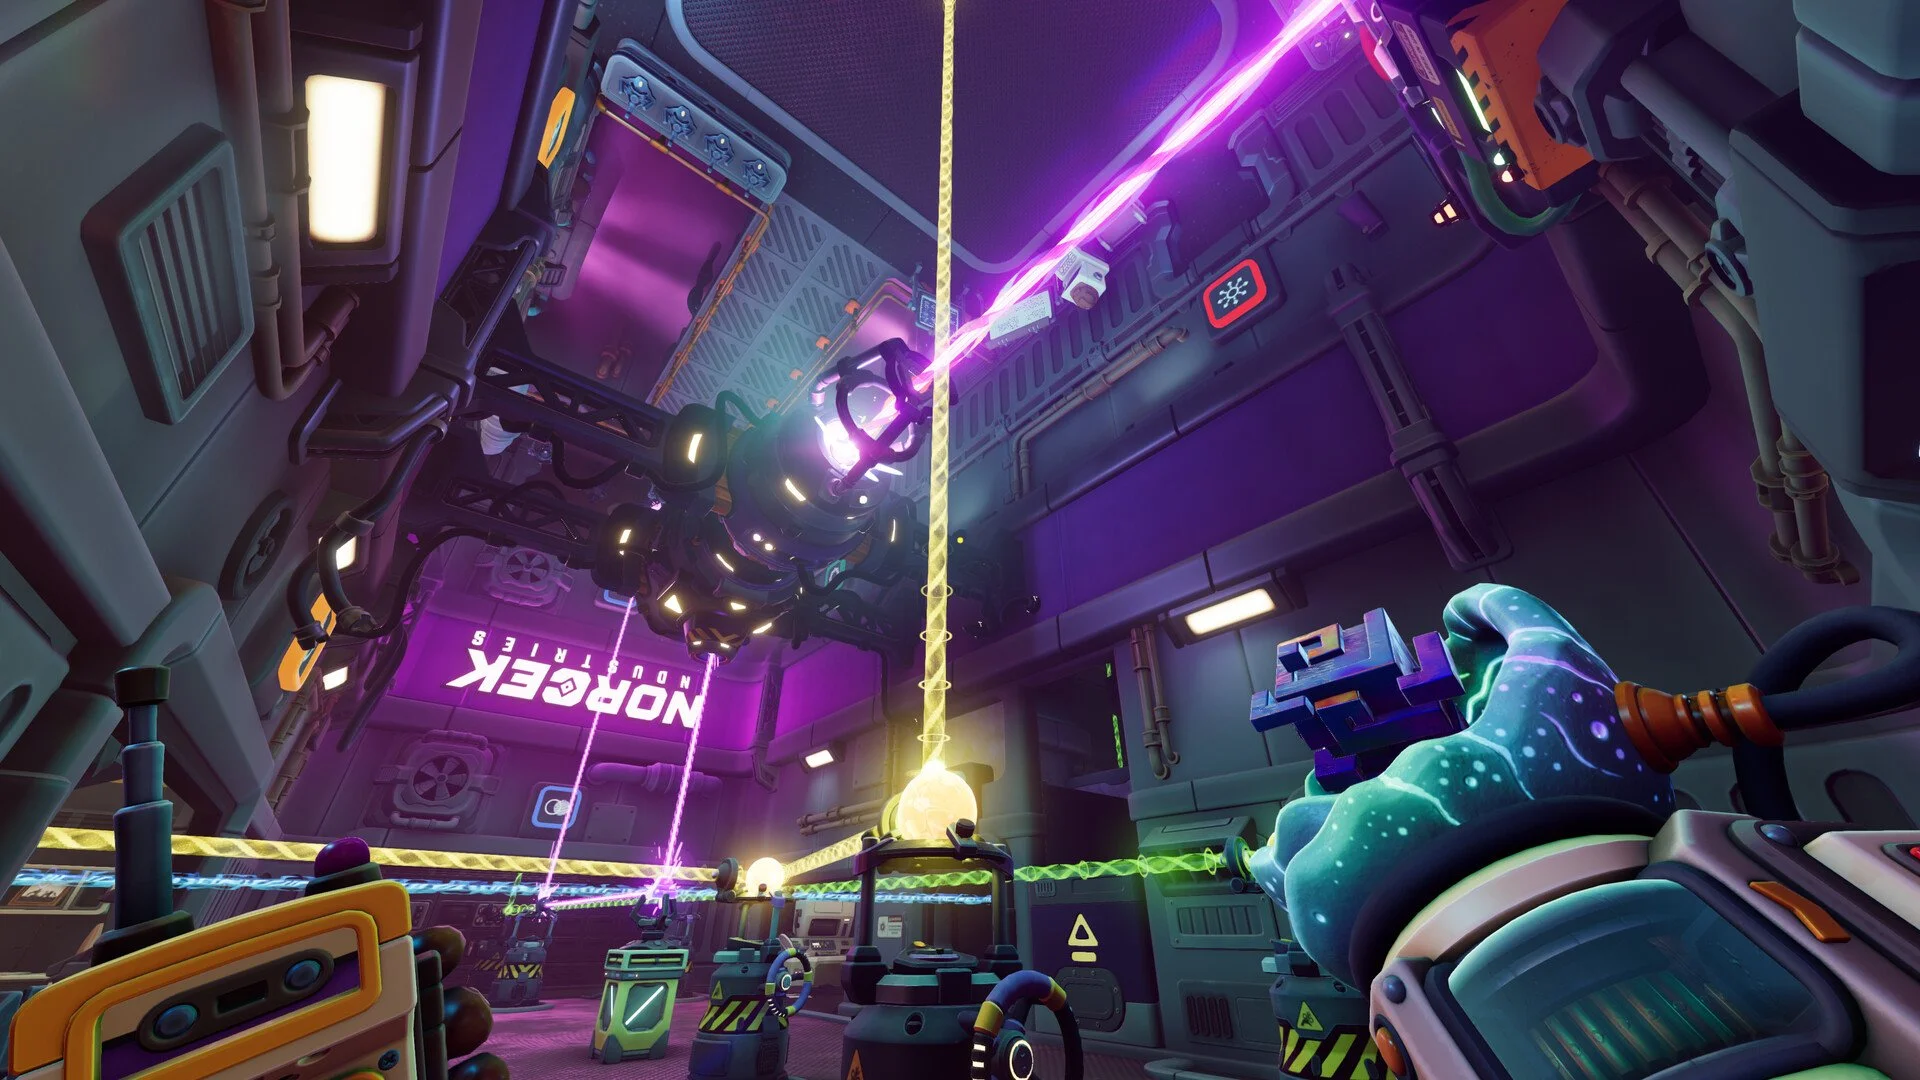
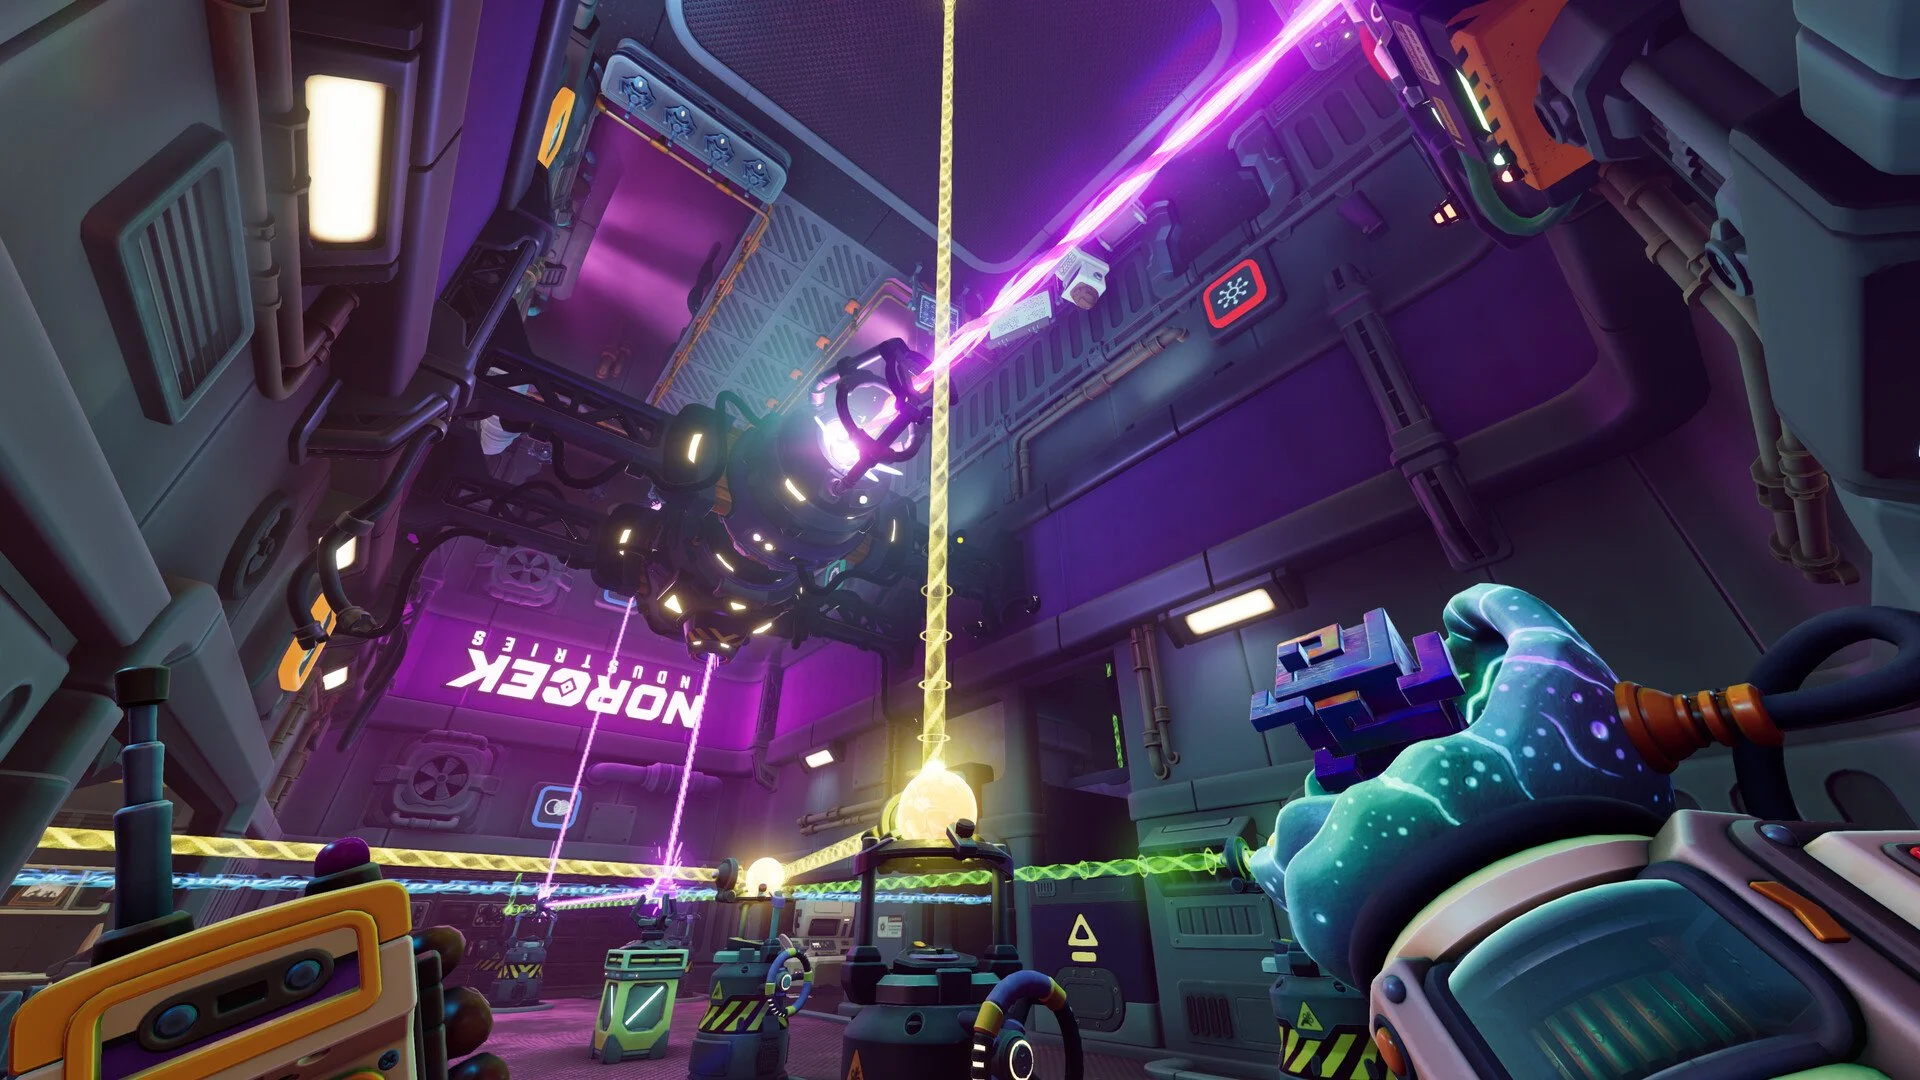
The Optics Lab laser puzzle in We Were Here Tomorrow is one of those rooms where getting the beam to the obvious destination is only part of the job. The laser has to travel through three different crystal effects in the correct order before it reaches the central receiver, so it is entirely possible to build a route that looks right and still have the machine reject it with a Wrong Crystal Configuration message.
Jump To Section:
Laser Puzzle Solution
Correct Crystal Order
How to Route the Laser
Which Crystal to Use
Wrong Crystal Configuration Fix
How to Coordinate the Puzzle
We Were Here Tomorrow Laser Puzzle Walkthrough
To solve the laser puzzle, send the beam through the Mirror or Piercing effect first, the Serene or Stabilizing effect second, and the Fiery or Heating effect last. The physical route should carry the beam through the yellow section before the turquoise section, then through the final crystal stage and into the central receiving apparatus.
Correct Crystal Order:
Mirror / Piercing → Serene / Stabilizing → Fiery / Heating
Correct Room Order:
Yellow → Turquoise → Final Crystal → Central Receiver
The receiver is checking the condition of the beam as well as its destination. That distinction explains why simply bouncing the laser into the middle of the room is not enough. If one of the crystal stages is wrong, or the beam passes through them in the wrong order, the machine will reject the configuration even though the laser itself appears to be lined up correctly.
Correct Crystal Order for the Laser Puzzle
The safest way to approach the Optics Lab is to think of the crystals as three treatments that have to be applied to the beam in sequence. The first stage is Mirror or Piercing, followed by Serene or Stabilizing, with Fiery or Heating finishing the process before the laser reaches the receiver.
Do not treat the crystals as interchangeable simply because several reflector arrangements appear capable of carrying the beam across the room. The puzzle cares about which effects the laser has passed through, so a more direct-looking route can still be completely wrong.
That also makes it worth leaving any reflector that is already doing its job alone. Changing several pieces at once can produce a new beam path without making it clear which adjustment actually broke the crystal sequence.
How to Route the Laser Through the Optics Lab
Instead of beginning at the emitter and rotating everything in sight, start at the central receiver and work backward. Find the reflector capable of delivering the final beam into the machine, then identify what can feed that reflector. Continue tracing the path in reverse until you have a workable line back through the crystal rooms.
This is much faster than testing every mirror because not all of the reflectors have the same freedom of movement. Some can be rotated while others effectively anchor the route, and those fixed connections narrow down the possibilities considerably.
Once the path is clear, send the beam through the yellow section first. From there, use the available reflectors to carry it into the turquoise section, preserve the required crystal order, and then direct it through the final heating stage before turning the finished beam into the central receiver.
Beam Route:
Emitter → Yellow Section → First Crystal → Turquoise Section → Second Crystal → Final Heating Crystal → Central Receiver
If both players can see the laser reaching the receiver but nothing happens, stop adjusting the final mirror. At that point, the route is doing its job and the problem is almost certainly somewhere in the crystal configuration instead.
Which Crystal Do You Need for the Laser Puzzle?
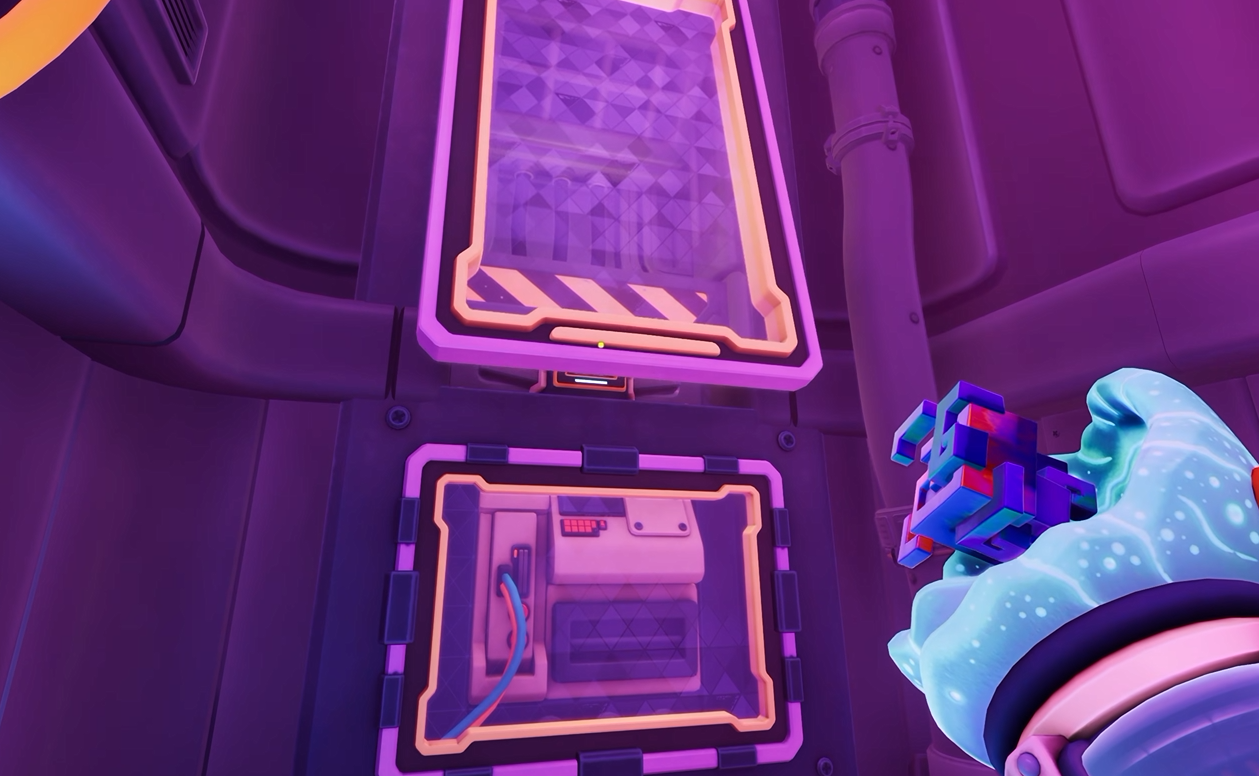
The most troublesome choice is between Pingosso Crystallo and Pingosius Crystalis. Their names are close enough to invite a mistake, and their shapes are similar enough that a quick glance does not help much either.
The one you want is Pingosius Crystalis.
Look at the upper spikes rather than relying on the overall silhouette. Pingosius Crystalis has additional small growths around the top, including rounded protrusions that distinguish it from Pingosso Crystallo.
This is worth checking carefully because choosing the wrong specimen does not necessarily make the entire setup look broken. You can still build a convincing beam route and reach the central machinery, only to have the calibration fail at the very end.
How to Fix Wrong Crystal Configuration
If the machine displays Wrong Crystal Configuration while the laser is already hitting the receiver, leave the final reflector alone and go back through the crystals.
First, make sure you selected Pingosius Crystalis rather than Pingosso Crystallo. Then verify that the beam reaches the yellow section before the turquoise section and passes through Mirror or Piercing, Serene or Stabilizing, and Fiery or Heating in that order.
Wrong Crystal Configuration Fix:
Use Pingosius Crystalis instead of Pingosso Crystallo.
Route the beam through yellow before turquoise.
Keep Mirror / Piercing first.
Use Serene / Stabilizing second.
Finish with Fiery / Heating before the receiver.
If the laser is not reaching the receiver at all, then you still have a routing problem. If it reaches the receiver and gets rejected, you have a crystal problem. Keeping those two failures separate saves a lot of unnecessary mirror adjustments.
How to Coordinate the Laser Puzzle
The Optics Lab is easier when both players describe fixed landmarks instead of relying on left, right, up, and down. The two Explorers can be looking at the machinery from different positions and orientations, so a direction that sounds perfectly clear on one screen can be almost useless on the other.
Call out the yellow room, turquoise room, receiver, crystal holder, or a particular reflector instead. Make one adjustment, watch where the beam goes, and only then decide on the next move. That gives both players a clear picture of how each reflector changes the route instead of leaving you with half a dozen altered mirrors and no idea which one caused the problem.
When the beam disappears, return to the last reflector where both players know it was correct and continue from there. When the beam reaches the central apparatus but fails calibration, stop working on the mirrors and inspect the crystals instead.
That is the part of the puzzle worth remembering: the Optics Lab has two separate checks hidden inside what looks like one laser challenge. You have to build a valid route to the receiver, but you also have to deliver a beam that has passed through the right crystal effects in the right order. Once those are treated as two different problems, the room becomes much easier to untangle.