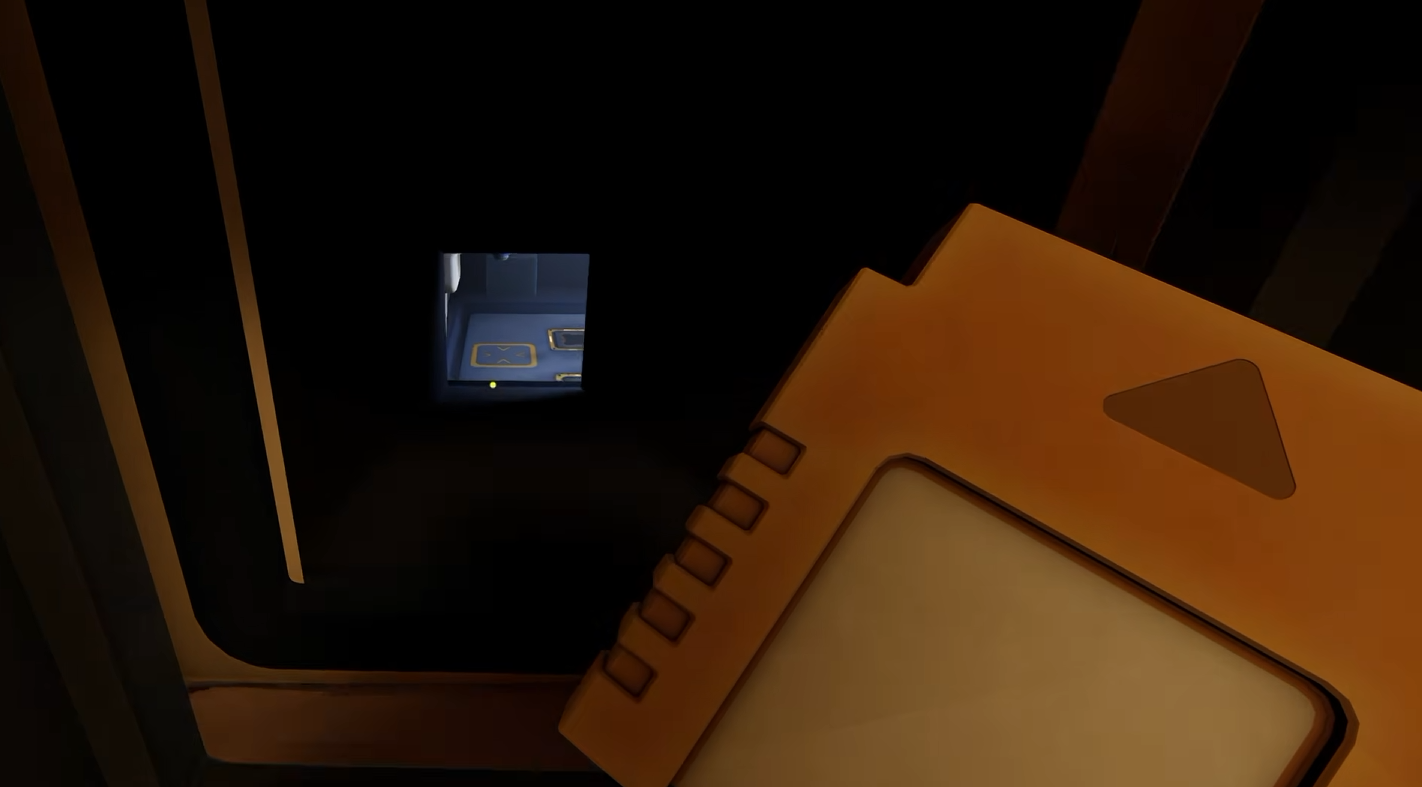
We Were Here Tomorrow Symbol Puzzle Guide

The symbol puzzle in We Were Here Tomorrow appears during the Particle Accelerator section, where the two explorers are split between a clue display and a 4×4 panel of unfamiliar symbols. The sequence can change after a mistake, so this is not a puzzle you solve by copying one fixed combination. You need to identify the symbols your partner currently sees, enter them in order, then complete the three numbered dials that follow.
Jump To Section:
Symbol Puzzle Solution
How to Describe the Symbols
How to Use the 4×4 Grid
What Happens After a Wrong Input
Three-Dial Puzzle Solution
We Were Here Tomorrow Symbol Puzzle Solution
One player should read the symbols shown on their display while the other finds those same symbols on the 4×4 button grid and presses them in the exact order shown. Once the full symbol sequence is accepted, the puzzle moves to three numbered dials, each of which must be set to the position indicated by the partner's current display.
- Have the clue player read the displayed symbols one at a time.
- Match each symbol to the corresponding button on the 4×4 grid.
- Press the buttons in the same order they appear on the clue display.
- If the sequence resets, stop and read the new symbols before trying again.
- After the grid is complete, move on to the three numbered dials.
- Set each dial to the position currently shown to your partner.
The puzzle is much easier when the player describing the symbols focuses on their actual features instead of trying to invent names for them. Several icons look similar at a glance, but small differences in arrows, centers, and surrounding lines are enough to separate them.
How to Describe the Symbols
Good communication matters more here than speed. Before pressing anything, have the player with the clue display describe the first symbol in enough detail that the player at the grid can confidently rule out the lookalikes.
Start with the center. Say whether it is filled or hollow, then describe any arrows, spokes, curved sections, or lines passing through it. If arrows are present, include which direction they point. If the symbol looks like a sun, mention the number or arrangement of the spokes rather than simply calling it “the sun one.”
- Filled or hollow center.
- Number and direction of arrows.
- Sun-like spokes around the outside.
- Lines crossing through the middle.
- Curved or horn-shaped sections.
- Whether similar shapes point inward or outward.
Once both players agree on the symbol, press it and move to the next one. Taking an extra second to confirm the icon is faster than rebuilding the whole sequence after a bad input.
How to Use the 4×4 Symbol Grid
The player at the controls has 16 symbol buttons arranged in a 4×4 grid. Do not press every familiar-looking icon as soon as you recognize it; the order matters just as much as choosing the right symbol.
Work through the sequence from left to right as it appears on the other player's display. The clue player should call the first symbol, wait for the grid player to confirm it, then move on to the second. Repeating that rhythm keeps both players synchronized and makes it obvious which position you were on if something goes wrong.
It also helps to give the grid itself a simple coordinate system. Calling the buttons top-left, top-middle, bottom-right, or even row and column numbers gives the player at the panel a quick way to remember where recurring symbols are located without trying to rediscover them every attempt.
Once the complete sequence is entered correctly, the Particle Accelerator accepts the input and moves you into the dial portion of the puzzle.
What Happens If You Press the Wrong Symbol?
A wrong button can reset the symbol sequence and replace it with a new one. If that happens, do not keep entering the combination you were just using.
Have the clue player check the display again and start from the first symbol of the new sequence. The reset is why memorizing a solution from somebody else's run does not help much here; the puzzle expects you to match the information currently shown in your own session.
- Stop pressing buttons immediately.
- Read the clue display again from the beginning.
- Do not reuse the previous sequence.
- Confirm each symbol before entering the next one.
If you keep failing on two similar icons, change how you describe them. “Circle with arrows” is rarely specific enough; “hollow center with two arrows pointing outward” gives your partner something they can actually compare against the grid.
How to Solve the Three-Dial Puzzle
After the symbol grid, the machinery presents three dials. Each dial uses numbered positions from 1 to 5, while the other explorer can see the information needed to determine the correct setting.
Have the clue player read the required position for the first dial, set it, then repeat the process for the second and third. Just like the symbol grid, this is based on the current display rather than a fixed combination that works for every playthrough.
- Read the active indicator for Dial 1 and set it from 1 to 5.
- Repeat for Dial 2.
- Repeat again for Dial 3.
- Do not copy numbers from a previous attempt if the puzzle has reset.
Once all three dials are correctly positioned, the Particle Accelerator sequence completes and the next passage opens. The entire symbol puzzle comes down to keeping both players on the same piece of information: describe one icon clearly, enter it, confirm it, and only then move on.