Best OSRS Ironman Guide in 2025: Tips and Essential Strategies
Last Updated: 1/25/2025
Image Credit: Jagex, Old School RuneScape (OSRS)
Note: You can find our full OSRS Ironman Moneymaking Guide here.
Playing Old School RuneScape as an Ironman is the ultimate test of reliance upon oneself, and two of our writers have happened to maxed out in Ironman Mode so we thought we’d write a guide on how to go about it as an ironman. Because you don’t have the ability to trade other players or use the Grand Exchange, getting the items and achievements you want is entirely on you and what would otherwise be easy feels incredibly rewarding. This in-depth guide covers everything you need to know, from early-game planning to mastering end-game bosses so you can thrive as a self-sufficient Ironman.
Ironman in Old School RuneScape (OSRS) is often broken down into three main phases: early game, mid-game, and end-game. Be sure to bookmark this page and come back as you progress and need additional information!
Jump To Section:
Early-Game Essentials for Ironman: Transportation Tips and Key Skills
Transportation is a huge priority in Ironman mode. Moving around efficiently will save countless hours, especially early on when teleports are limited and run energy is precious. Here’s how to improve travel early in the game:
Training Agility Early: Agility training does more than unlock shortcuts; it also improves your run energy recharge rate. Try to aim for at least level 40-50 Agility early which will get you access to helpful shortcuts and the potential for graceful gear. The full Graceful Outfit—earned through Agility rooftop courses—will further reduce your weight and allow you to run longer, making every journey faster and easier.
Teleportation Options: Ironmen have limited teleports at the start, so unlock as many as you can. Here are some early-game teleports worth aiming for:
Ardougne Cloak 1: Complete the Ardougne Easy Diary for unlimited teleports to the Ardougne Monastery. It’s close to a bank, fairy ring, and spirit tree, which gives great access to many parts of the map.
Ring of Dueling: Crafting or obtaining a Ring of Dueling is a game-changer for Ironman, as it provides quick access to Castle Wars (for banking) and the Ferox Enclave (for restoring stats).
Fairy Ring Network: Once you unlock fairy rings through Fairytale I - Growing Pains, you’ll have access to a huge teleport network that can take you all over the map. This is crucial for Ironmen looking to cut down on travel time.
Drakan’s Medallion: After completing A Taste of Hope, Drakan’s Medallion has unlimited teleports to Ver Sinhaza near the Theatre of Blood, a bank, and restorative areas. It’s particularly helpful for mid- and late-game travel.
Image Credit: Jagex, Old School RuneScape (OSRS)
Other Useful Transportation Methods
Log Canoes: While you’re in the early game, log canoes are a simple yet effective way to move between Lumbridge, Varrock, and Barbarian Village. They don’t require any resources or runes, making them accessible from day one, and you can always use Home Teleport to get back to Lumbridge for easy access to the canoe system.
The Chronicle: Purchase the Chronicle from Django in Draynor for 300 coins. Charges cost 150 coins each and teleport you to the Champions’ Guild near Varrock, which is convenient when you’re low on Law runes or teleport jewelry.
Grouping Teleport: Through the Grouping tab, you can teleport to various minigames with a 20-minute cooldown. It’s particularly handy for reaching areas like Barbarian Assault or Clan Wars, even if just to bank quickly.
Essential Early Game Teleports and House Setup
Teleport spells are incredibly useful for Ironmen, but each cast costs Law runes (something you won’t have an abundance of early on). Here’s how to get the most out of your early teleports:
Law Rune Acquisition: The best source of Law runes early is through shop purchases, though they’re expensive (around 240 coins each). An alternative is to runecraft them at the Law Altar after 54 Runecrafting and completing Troll Stronghold.
Portal Chambers in the Player-Owned House: A player-owned house (POH) is vital for Ironmen, and setting up a portal room can save significant Law runes over time. You can direct portals in your POH to specific destinations for free teleports after paying the initial rune cost, cutting down on repeated spellcasting expenses.
Expanding Your POH Teleport Network
Your POH can eventually become your own teleportation hub, which is invaluable since Ironmen can’t visit other players’ houses. Focus on building the following features:
Portal Rooms: Each portal can be directed to a different location, and over time, you’ll have access to portals for key areas like Varrock, Falador, and Camelot. This setup reduces the need for costly teleport runes.
Jewelry Box: This can store jewelry like Rings of Dueling and Games Necklaces, allowing you to access teleportation without using up any items. It’s a mid-game investment but very worthwhile.
Superior Garden: Place a Spirit Tree and Fairy Ring here to further expand your teleport options. The Spirit Tree requires high Farming and Construction levels, so it’s a long-term goal, but it’s incredibly useful once unlocked.
With these essential transportation tips and POH investments, your Ironman will be equipped to navigate the map with ease, saving time and resources for other important areas like skilling, questing, and combat.
Image Credit: Jagex, Old School RuneScape (OSRS)
Ironman Money-Making Essentials: Building Wealth Without the Grand Exchange
Note: You can find our full OSRS Ironman Moneymaking Guide here.
In Ironman mode, building wealth requires quite a different approach from regular accounts. Since Ironmen can’t trade or use the Grand Exchange they rely entirely on self-sufficient methods to generate coins. This part of the guide covers the top ways to generate money as an Ironman, including High Alchemy, thieving, and efficient skill-based methods that don’t require trading.
High Alchemy: The Core of Ironman Money-Making
High Level Alchemy is a staple for Ironmen, turning unneeded items into pure cash. For a typical account, valuable drops could be sold on the Grand Exchange, but Ironmen don’t have this luxury. For example, while a standard player could sell a Tanzanite Fang from Zulrah for millions, Ironmen would only get 66,000 coins from its High Alch value. Here’s how to make the most of High Alchemy as an Ironman:
Items to Alch: Focus on alching items you obtain through skilling, bossing, and Slayer, like rune items, platebodies, and jewelry. Be sure to save items like rune platelegs, dragon items, and alchable clue scroll rewards.
Maximize "Zero-Time" Alching: To be efficient, cast High Alch during activities with downtime. Ideal moments include farm runs, birdhouse runs, questing, or training Agility, where you have pauses that allow for alching without interrupting your main task.
Unlocking Alch at 55 Magic: Make reaching 55 Magic a priority, as it allows for profitable alching with nature runes, which you can gather from Slayer, runecrafting, or shops. It’s an investment that will pay off over time.
Early Game Money-Making Techniques
For new Ironmen, earning money without access to High Alch can be challenging, but several methods can kickstart your funds:
Thieving: Thieving is excellent for quick cash. At level 45 Thieving, you can start blackjacking for significant profit. Blackjacking may require focus but yields both cash and fast XP. Alternatively, stealing from valuable stalls (requires 50 Thieving) is less intensive but still profitable. It also gives minor Prayer XP with certain items like blessed bone statuettes.
Agility Pyramid: For Ironmen struggling to reach 55 Magic or needing fast cash, the Agility Pyramid is a reliable option. Available from level 30 Agility, each artifact sold to Simon Templeton yields 10,000 coins. It’s worth reaching level 60 Agility before farming the Pyramid to reduce failure rates and collect Marks of Grace for the Graceful Outfit. Sticking with the Pyramid through Agility training up to 99 can yield millions over time with little to no setup cost.
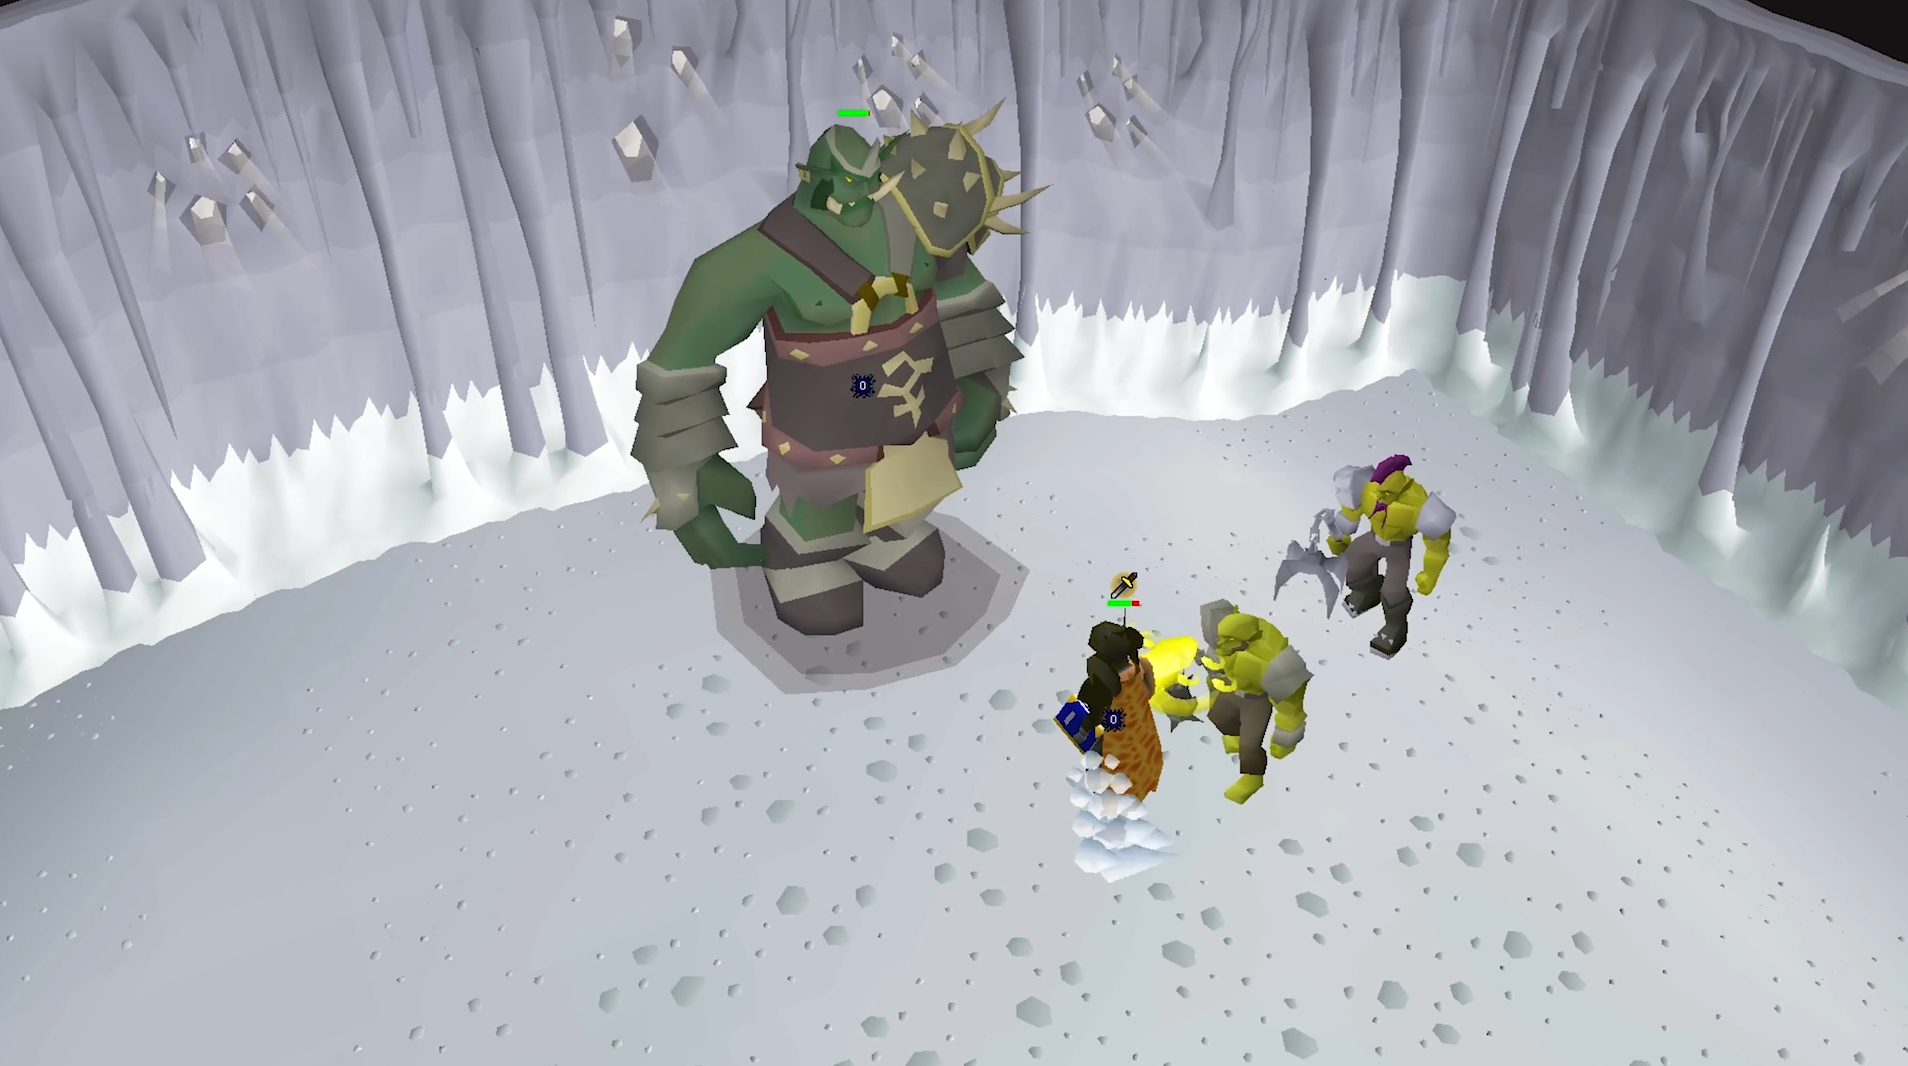
Wintertodt: The Wintertodt boss provides solid income and skilling supplies with low requirements. While the rewards aren’t as lucrative as those at higher levels, they scale with your skills and brings a steady income. With at least level 60 Woodcutting, players can access the Woodcutting Guild for better axes and additional woodcutting options, saving time in resource gathering.
How to Spend Your Ironman Earnings
Coins in Ironman mode are primarily spent on skilling supplies, upgrades, and repairs, making every GP count:
Skilling Supplies: Coins are essential for purchasing items like nails for Construction, bars for Smithing, and runes for Magic. NPC shops become your best friends for items like planks, bolts, and even ores.
Equipment Repairs: As you progress, degradable gear will need repairs, and these costs add up. Save a portion of your funds to keep your best-in-slot items in top shape for when you need them.
Quest Requirements: Some quests require item purchases or upgrades. For example, Iban’s Staff requires repairs, and items like a mithril grapple may need to be crafted if you can’t find them in drops.
Image Credit: Jagex, Old School RuneScape (OSRS)
Early Skill Training: Efficient Experience with Multi-Purpose Resources
For Ironmen, skill training is about efficiency, finding ways to maximize resources without wasting items or time. Completing quests is the most effective way to jump-start your skills early on, bypassing tedious low-level methods.
Certain quests give huge XP boosts and items that otherwise take time to earn. For instance:
Waterfall Quest and The Feud both give significant combat XP and gear upgrades without hours of training.
Priest in Peril unlocks Morytania, giving access to useful Slayer and skilling locations like Canifis and the Haunted Mine.
These quests allow you to level up much faster than grinding, providing skill boosts that are useful for getting around Ironman limitations.
Multi-Skill Training Techniques
Combining skill training with resource gathering can make Ironman gameplay much more efficient. Here are a few top methods:
Mining and Smithing: Mining iron ore is a common Ironman method. Instead of dropping ores, you can smelt them with coal in the Blast Furnace to produce steel bars, which can then be turned into items for training or alching. Steel bars can be crafted into dart tips (for Ranged training), cannonballs (for Slayer), or platebodies (for alching).
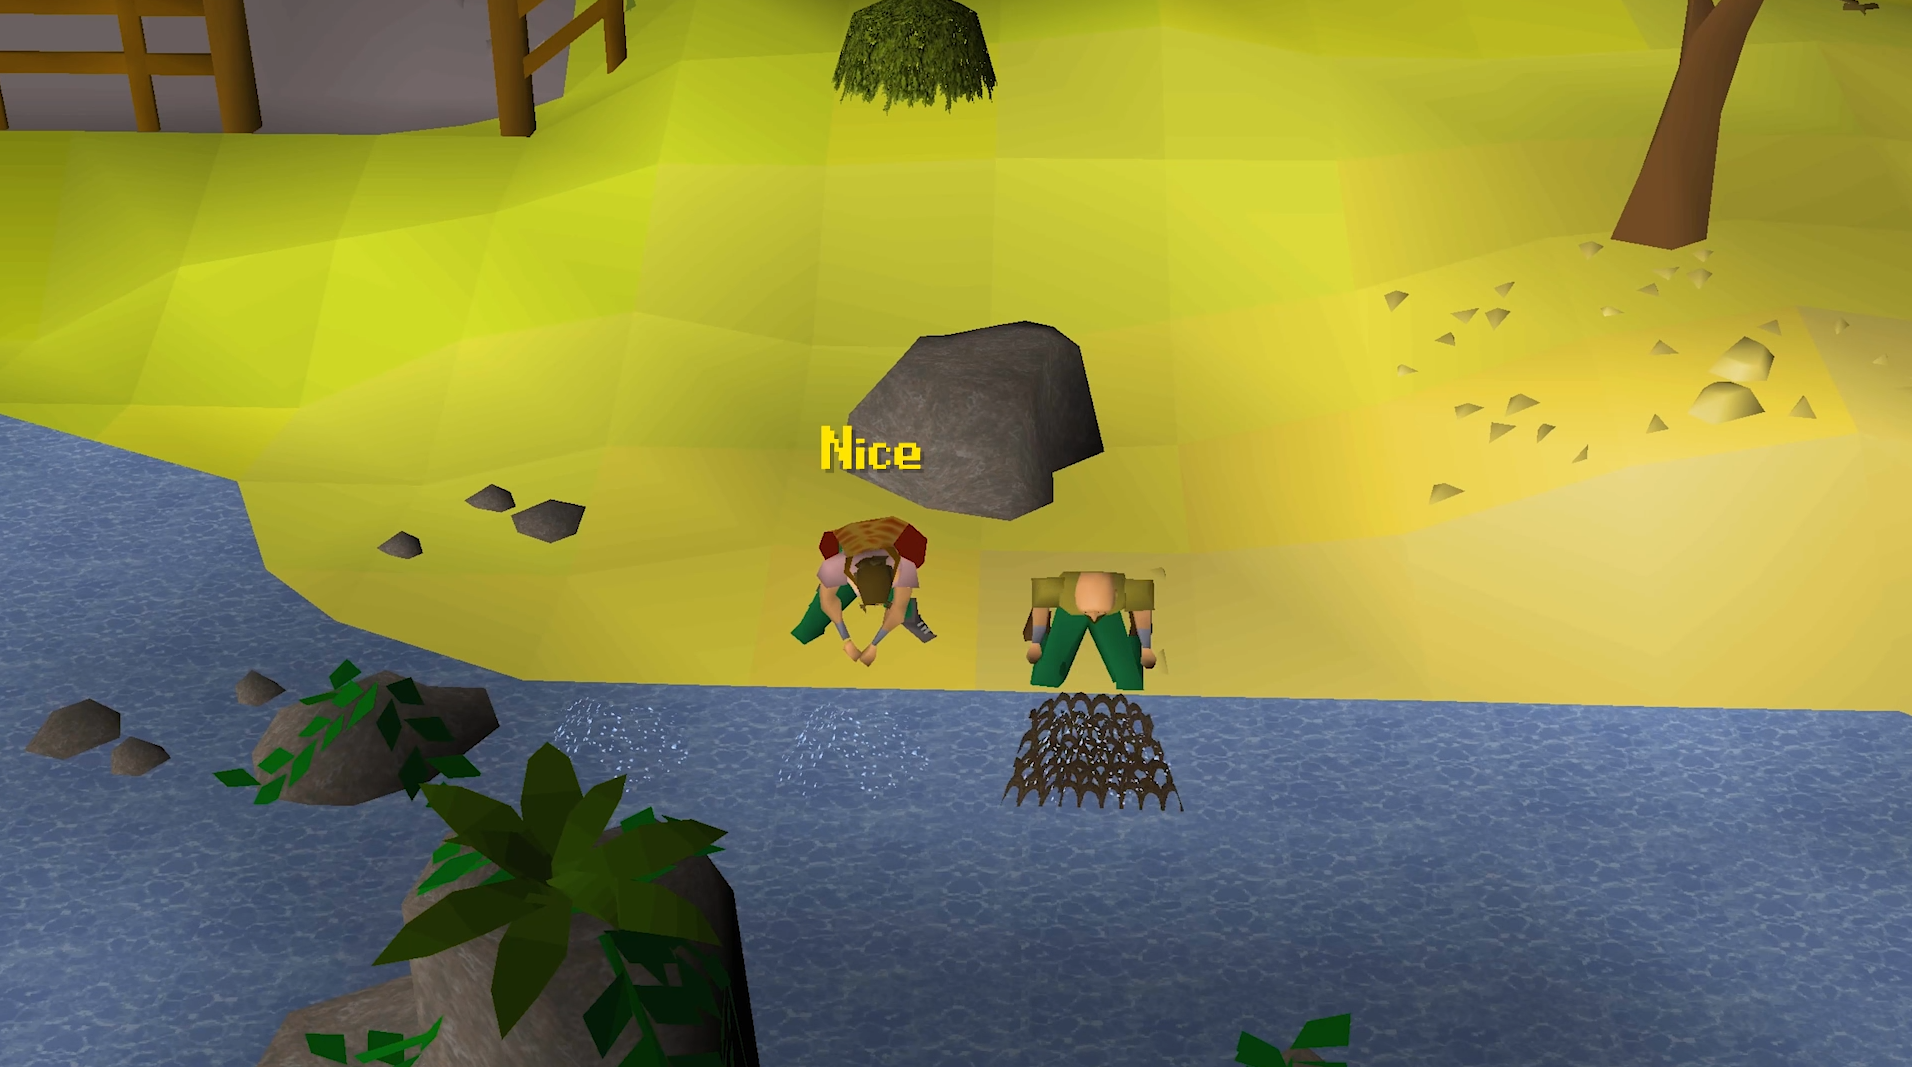
Barbarian Fishing: This method trains Fishing, Agility, and Strength simultaneously, helping you build valuable secondary skills while fishing for food. Training from level 58 to 99 Fishing can yield level 74 in both Agility and Strength—an efficient way to improve combat readiness without separate training for each skill.
Tempoross: Fishing with Rewards
Starting at level 35 Fishing, Tempoross has consistent rewards like fish, planks, and jewelry, which scale with your level. This boss is ideal for mid-level Ironmen as it provides a blend of Cooking, Strength, and Construction experience, all while giving rewards that can’t be obtained easily elsewhere.
Important Early Game Unlocks and Questing for Ironmen
Certain quests provide long-term benefits for Ironmen, unlocking new areas, items, or transportation. Here are some of the most critical quest unlocks for Ironman accounts:
Bone Voyage: Unlocks Fossil Island, where you can start birdhouse runs for consistent Hunter XP and ultracompost for Farming. Fossil Island also gives access to Ammonite Crabs, an excellent training method for early combat stats.
Lost City: Grants access to Zanaris and fairy rings after completing Fairytale I - Growing Pains. It also allows you to wield the Dragon Dagger and use Chaeldar, a mid-level Slayer master.
In Aid of the Myreque: Unlocks Temple Trekking, a minigame that provides a variety of skilling supplies. Completing Darkness of Hallowvale increases its efficiency.
Questing in Ironman is an important decision that sets up your account for easier mid/end-game progression by unlocking resources and equipment without needing high-level skill grinding.
By leveraging efficient questing, High Alchemy, and multi-skill training methods, Ironmen can steadily build wealth, create necessary supplies, and prepare for the challenges of mid/end-game content.
Image Credit: Jagex, Old School RuneScape
Mid-Game Ironman Guide: The Essential Grind for Upgrades and Bossing
The “mid-game” in Ironman mode is a bit of a gray area—it’s essentially the stage when you’ve locked down early-game necessities like money-making, basic combat gear, and transportation, and are now moving into more advanced content. While some players define the mid-game as starting after completing Recipe for Disaster, others see it as a natural progression once early objectives are consistently manageable. Generally, the mid-game is where Ironmen focus on Slayer, unlock crucial gear upgrades, and start tackling more challenging bosses.
Slayer Training: The Backbone of Mid-Game Progression
Slayer is a pivotal skill for Ironmen in mid-game, and for a good reason. It provides combat experience, valuable loot, and key gear upgrades that Ironmen rely on for higher-end PvM (Player versus Monster) activities. Key gear unlocks tied to Slayer level include:
Abyssal Whip (Level 85 Slayer): One of the best melee weapons in the game for Ironmen and the go-to option for training Attack and Defense.
Trident of the Seas (Level 87 Slayer): Essential for magic-based PvM, particularly for bosses like Kraken.
Alchemical Hydra Drops (Level 95 Slayer): Drops components for the Dragon Hunter Lance, a top-tier weapon for dragons and hydra tasks.
Slayer tasks also provide materials and items that will come in handy for skilling and alching, making it a well-rounded skill to focus on during this stage.
Slayer Skip and PvM Rush Alternatives
Some Ironmen opt to skip extensive Slayer grinding in favor of what’s often called a “PvM rush.” This strategy emphasizes bossing and combat-focused progression over leveling Slayer right away, relying on gear from alternative sources rather than just Slayer drops. The PvM rush approach can be exciting and provide early access to boss gear, but it’s generally more challenging and requires higher-level support skills like Prayer and Herblore for consistent success.
Barrows: The Gateway to Tanky Gear
The Barrows “minigame” is an ideal activity for mid-game Ironmen, providing some of the most effective armor sets you can get. Each set offers unique benefits, making Barrows equipment a priority for Ironmen looking to handle tougher PvM encounters and higher-level Slayer tasks. Here’s a look at the main pieces to aim for:
Dharok’s Set: Great for strength training and risky PvM encounters where low health amplifies strength.
Guthan’s Set: Self-healing capability makes this set highly useful for Slayer tasks and low-supply bossing.
Karil’s Armor: High Ranged defense and a reliable crossbow, bridging the gap between the rune crossbow and toxic blowpipe.
Keep in mind that completing a full Barrows set can take hundreds of runs due to RNG, so patience is key with this in particular since there is such a variety of equipment.
Optimizing Barrows Efficiency
Unlock Barrows Teleport: At 78 Magic, adding the Barrows teleport to a portal room in your POH (player-owned house) will significantly cut travel time.
Complete Morytania Hard Diary: This grants 50% more runes from Barrows chests, which is incredibly valuable for Ironmen, as runes are in high demand.
Combat Achievements: Completing the medium tier of combat achievements allows you to equip Ghommal’s hilt 2, which prevents Barrows’ prayer drain, making runs easier and more cost-effective.
Image Credit: Jagex, Old School RuneScape (OSRS)
Mid-Game Bossing: Expanding Your Combat Skills and Gear Collection
Mid-game bossing is where Ironmen start to develop their bossing skills and gather valuable loot drops to bridge the gap between mid- and end-game gear. Let’s go through some of the most beneficial bosses for mid-game Ironmen:
Recommended Bosses for Mid-Game Ironmen
Scurrius: This boss is a good introduction to high-level mechanics without an overwhelming difficulty. It’s a solid starting point for honing your skills while receiving competitive combat XP.
Sarachnis: With weapons like the Dragon Mace or Leaf-bladed Battleaxe, Sarachnis is achievable for mid-level Ironmen. Sarachnis drops red spider eggs, a crucial Herblore ingredient, making it a popular choice for resource collection.
Giant Mole: Post-Hard Falador Diary, the Giant Mole becomes a consistent source of bird’s nests, which are invaluable for Farming and Herblore.
Wilderness Bosses: For non-hardcore and non-ultimate Ironmen comfortable with the risk of PvP, certain wilderness bosses like Crazy Archaeologist and Calvar’ion have a low entry requirement and drop valuable items. To minimize risk, only take three valuable items and be ready to teleport if needed.
Dagannoth Kings: Reaching the Dagannoth Kings can be tough for mid-level Ironmen, but with some setup, it’s possible to safespot Rex for his Berserker Ring. This ring is one of the best in slot for melee training and a strong asset in PvM.
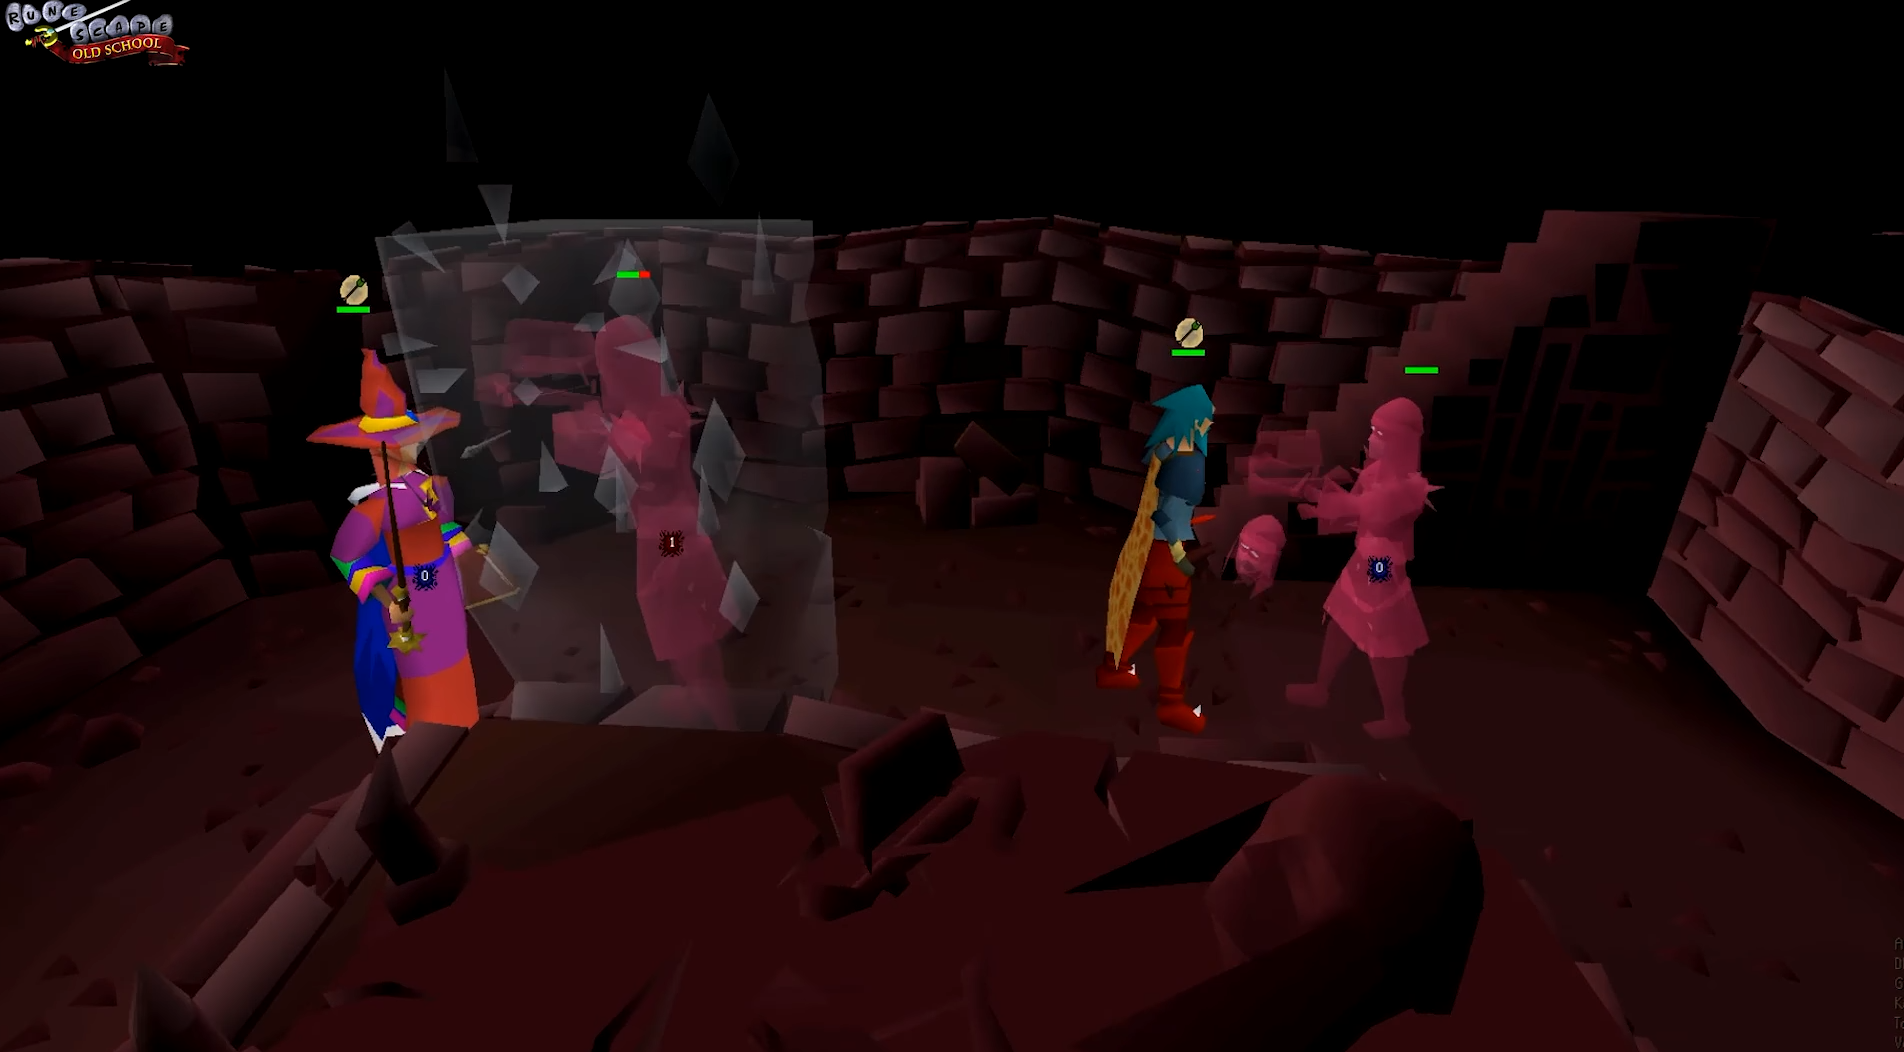
Tombs of Amascut (Low Invocation): If you’ve completed Beneath Cursed Sands, you can attempt Tombs of Amascut at low-invocation levels. Raids like these are rewarding and accessible to mid-game Ironmen, and as an Ironman, you can receive loot even when running with experienced players. It’s a great way to earn supplies and familiarize yourself with more challenging PvM mechanics.
Essential Mid-Game Milestones
The mid-game is all about setting up your Ironman for end-game readiness. As you tackle Slayer, complete Barrows, and take on challenging bosses, keep these milestones in mind:
Gear Upgrades: Aim for Barrows armor, Guthan’s or Dharok’s in particular, to improve survivability during Slayer tasks and bossing.
Herblore and Farming: Continue gathering herbs and doing farm runs, as higher Herblore levels will be crucial for Saradomin brews and other potions required in PvM.
Combat Levels: Strengthen your combat stats through a mix of Slayer, bossing, and melee training to ensure you’re prepared for high-level bosses.
Ironman mid-game is a balancing act between Slayer, bossing, and equipment upgrades. By taking on the right activities and consistently working toward better gear, you’ll position your account to handle the hardest content OSRS has to offer.
Image Credit: Jagex, Old School RuneScape (OSRS)
Approaching Late-Game: Preparing for OSRS’s Greatest Ironman Challenges
The late game for Ironmen is the pinnacle of OSRS progression. By this stage, your account will be well-prepared to tackle OSRS’s most demanding PvM content, and you’ll also be focusing on achieving the Quest Point Cape and possibly the Max Cape if you’re aiming for all 99s.
Quest Point Cape: A Key Milestone for Late-Game Ironmen
The Quest Point Cape (QPC), awarded after completing all quests, is one of the most valuable tools in the late-game toolkit. It provides unlimited teleports to the Legends' Guild, which has convenient access to a fairy ring as well.
However, the path to the QPC isn’t easy. Desert Treasure II and its bosses, The Forgotten Four, are challenging and require a solid understanding of PvM mechanics. These bosses are designed with progressively harder phases, helping players gradually adjust to end-game bossing tactics. For players unfamiliar with these encounters, detailed guides and plugins can help you navigate each phase, and we recommend utilizing them for sure when you start out.
Bossing: Taking on OSRS’s Most Difficult Foes
Late-game Ironman bossing can be pretty intense with some encounters requiring specialized gear, high stats, and good food/potions. Here are some bosses you’ll likely want to tackle as you approach late-game:
Phantom Muspah: A valuable boss for Ironmen, Phantom Muspah drops the Ancient Sceptre and components for the Venator Bow.
Vorkath and Zulrah: After obtaining anti-venom (a crucial supply for surviving their poison-based attacks), these two bosses open up. Vorkath’s Ava’s Assembler and Zulrah’s Toxic Blowpipe are top-tier items for both PvM and Slayer, significantly boosting your damage and overall ability to survive.
God Wars Dungeon Bosses: God Wars Dungeon (GWD) bosses are another crucial part of the Ironman journey. They drop unique items that serve as some of the best-in-slot gear for both melee and ranged. Keep in mind, however, that without high-end gear like Justiciar Armor or Tumeken’s Shadow (something that normal accounts can just buy on the Grand Exchange), these encounters can be resource-intensive, requiring substantial preparation and stockpiled supplies.
The Gauntlet and The Corrupted Gauntlet: For Crystal Gear
The Gauntlet is a mini-game that rewards persistence and contains end-game crystal gear like the Bow of Faerdhinen and Crystal Armor. Many Ironmen commit to mastering The Corrupted Gauntlet with its improved rewards and alchable drops at a much higher difficulty.
Preparing for the Gauntlet
If you’re attempting the Gauntlet for the first time, start with the standard version to get comfortable. Building strong armor (tier 2 or tier 3) reduces damage, making it more forgiving while you practice. Since the Gauntlet doesn’t consume your resources, you can repeat runs at no material cost, making it a great training ground for practicing the following:
Prayer Switching: Accurate prayer switches are crucial to minimize damage.
Weapon Switching: Choosing the right weapon based on Hunllef’s weaknesses is essential for you to deal maximum damage.
Movement Mechanics: You’ll need to dodge attacks by staying off glowing floors and avoiding tornadoes.
If you find the standard Gauntlet manageable, work toward the Corrupted Gauntlet. While it’s significantly harder, it’s also a faster route to crystal equipment and provides valuable practice for other high-intensity PvM encounters. Achievements from combat tiers, like the Crystalline Hunllef challenges, also help boost skills in a progressive way.
Image Credit: Jagex, Old School RuneScape
Late-Game Raids: Chambers of Xeric, Theatre of Blood, and Tombs of Amascut
Raiding is a major part of OSRS’s end-game content, and while it’s especially challenging for ironmen it is insanely rewarding. Each raid has distinct mechanics and rewards that will really take you to the next level.
Tombs of Amascut (ToA): This is one of the most accessible raids for Ironmen due to its customizable difficulty levels. Starting with low invocations allows players to get a feel for raid mechanics without overwhelming difficulty, while increasing the invocations later provides better rewards.
Chambers of Xeric (CoX): This raid scales with the highest-level player, allowing Ironmen to join with other similarly leveled players to manage the difficulty curve. CoX drops gear like the Dragon Hunter Crossbow and Twisted Bow.
Theatre of Blood (ToB): Known for its punishing mechanics, ToB is often the most challenging of the raids. Its rewards, like the Scythe of Vitur, are absolutely unparalleled in terms of strength, especially for high-end PvM. Once you’ve developed solid raiding skills, ToB is where you should be.
Grouping with other raiders in dedicated worlds or chat channels is helpful as it provides opportunities to learn from others and practice raid mechanics in a supportive environment.
Maxing Out: Reaching All 99s and Achievements
For those who are completionists, the late game may also be the time to pursue the Max Cape which is achieved by reaching level 99 in all skills. The Max Cape is a unique accomplishment that unlocks perks such as combining all skill capes’ functions into one, freeing up inventory space and consolidating your account’s progression into one item.
Similarly, the Achievement Diary Cape rewards players who complete every achievement diary, offering helpful teleport options and skill bonuses for each task’s area. Both capes mark the ultimate level of self-sufficiency and dedication in OSRS, representing the hard-earned mastery of every aspect of the game.
As you approach the late game in Ironman mode your account will take on a life of its own. With each boss slain, each piece of gear earned, and each skill leveled to 99, you’re steadily building one of the most impressive accounts in OSRS (be proud of it!). With that said, again, enjoy the journey and don’t feel rushed.
Image Credit: Jagex, Old School RuneScape (OSRS)
Essential Item Checklist for Ironmen: Key Quest Items, Useful Gear, and Early-Game Supplies
As an Ironman, obtaining specific items can be a bit more challenging, especially when those items are essential for quests or helpful in leveling your account. Here’s a comprehensive look at crucial items for quests, achievement diaries, and general Ironman progression, along with ways to acquire them.
Must-Have Quest and Achievement Diary Items
Certain quests and diaries require specific items that may not be immediately accessible for Ironmen. Here’s how to find or craft these items to meet quest requirements:
Mithril Axe: Essential for Animal Magnetism, the mithril axe can be purchased from the Woodcutting Guild, though this requires level 60 Woodcutting. If you don’t have this level, alternative sources include:
Blue Dragons in Taverley Dungeon (can be safespotted)
Tree Spirits in the Enchanted Valley
Isle of Souls Dungeon Chest (requires 28 Thieving)
Smithing your own with level 51 Smithing
Yew Bow or Better: Needed for the Temple of Ikov quest. A yew shortbow, longbow, or composite bow can be obtained through:
Completing medium clue scrolls (magic versions can be found in hard clues)
Rare drops from young implings
Crafting a yew shortbow yourself with 65 Fletching
Mith Grapple: Used in multiple achievement diaries, this grapple is best crafted by Ironmen. You’ll need level 59 Smithing and Fletching to make one. Without these levels, you can try killing Barbarian Spirits in the Ancient Cavern, though this area can be dangerous for low-level players.
Magic Logs: Often needed for high-level quests like Desert Treasure I. Early sources include:
Wintertodt (one of the best places for early access)
Nature Implings (level 58 Hunter required)
Cutting magic trees with 75 Woodcutting
For players with the Medium Wilderness Diary completed, Calvar’ion in the Wilderness drops noted magic logs in quantities of 60.
Agility Potion: Required for Tai Bwo Wannai Trio. If you lack the 34 Herblore needed to make one, try holding an irit leaf and waiting for the Dr. Jekyll random event, who will trade it for a 4-dose Agility potion.
Useful Early-Game Gear and Weapons
These items are practical for early progression, particularly in combat and resource gathering:
Rune Axe: Ideal for efficient Woodcutting, the rune axe can be purchased from the Woodcutting Guild. Alternatives include:
Lava Dragons in the Wilderness (safespotting recommended)
Tree Spirits in the Enchanted Valley
Rune Scimitar: A staple for low-level Melee training, the rune scimitar is most easily acquired by safespotting Zamorak Warriors in the Ourania Cave. Alternatively, use a rune sword or, after Cabin Fever, the rapier until you can access the dragon scimitar.
Amulet of Strength: Provides a +10 Strength bonus, great for early combat. Obtainable by:
Looting ruby amulets from H.A.M. Store rooms, then enchanting them with level 49 Magic
Alternatively, completing medium clue scrolls for a trimmed version or Shades of Mort’ton silver key chests.
Amulet of Power: Often found in medium clue scrolls, the amulet of power has balanced stats for combat and is ideal until you can craft or obtain higher-tier amulets. Other sources include:
Shades of Mort'ton silver key chests
Crystal Implings or certain boss drops
Crazy Archaeologist, who also drops the rune crossbow
Boots of Lightness: These reduce weight which is very useful for any traveling or resource gathering. Found in the cellar of the Temple of Ikov, they don’t require the quest to be started. Just bring a light source and a slash weapon to cut through the web blocking the entrance.
Superantipoison (1-dose): This spawn is located near the Observatory Dungeon. Hopping worlds allows you to collect multiple doses, which can be helpful until you can craft your own antidotes.
Food Sources for Ironmen
Efficient healing options are important for questing, training, and bossing. Here are reliable food sources for Ironmen:
Cakes: Stolen from bakery stalls in East Ardougne and Great Kourend, cakes heal a total of 12 HP (4 per bite) and are a solid choice for early quests and skilling.
The Shrimp and Parrot (Brimhaven): This shop offers players a variety of cooked fish, including lobsters, swordfish, and karambwan. They’re useful options for lower-level food needs.
Potatoes with Cheese and Plain Pizzas: Available at the Warriors' Guild Food Shop, these items provide decent healing at 16 HP per potato with cheese and can be upgraded to Pineapple Pizzas (22 HP) by adding pineapples, purchasable from Trader Crewmembers.
Karambwan: After Tai Bwo Wannai Trio, you can catch and cook raw karambwan, which are excellent for food and Cooking XP as they heal 18 HP instantly.
Manta Rays and Sharks: While manta rays (22 HP) are often drops from bosses like Zulrah, Vorkath, and Phantom Muspah, they’re some of the best healing food in-game. Raw sharks are also available for cooking, either from Frankie’s Fishing Emporium or high-level fishing areas.
Blighted Supplies: Available through wilderness monsters or Last Man Standing, blighted manta rays and karambwans are stronger options that can be used in PvP worlds. These items allow for riskier activities but provide superior healing when you’re comfortable with the threat of PvP.
Managing Miscellania: Passive Resource Collection for Ironman Accounts
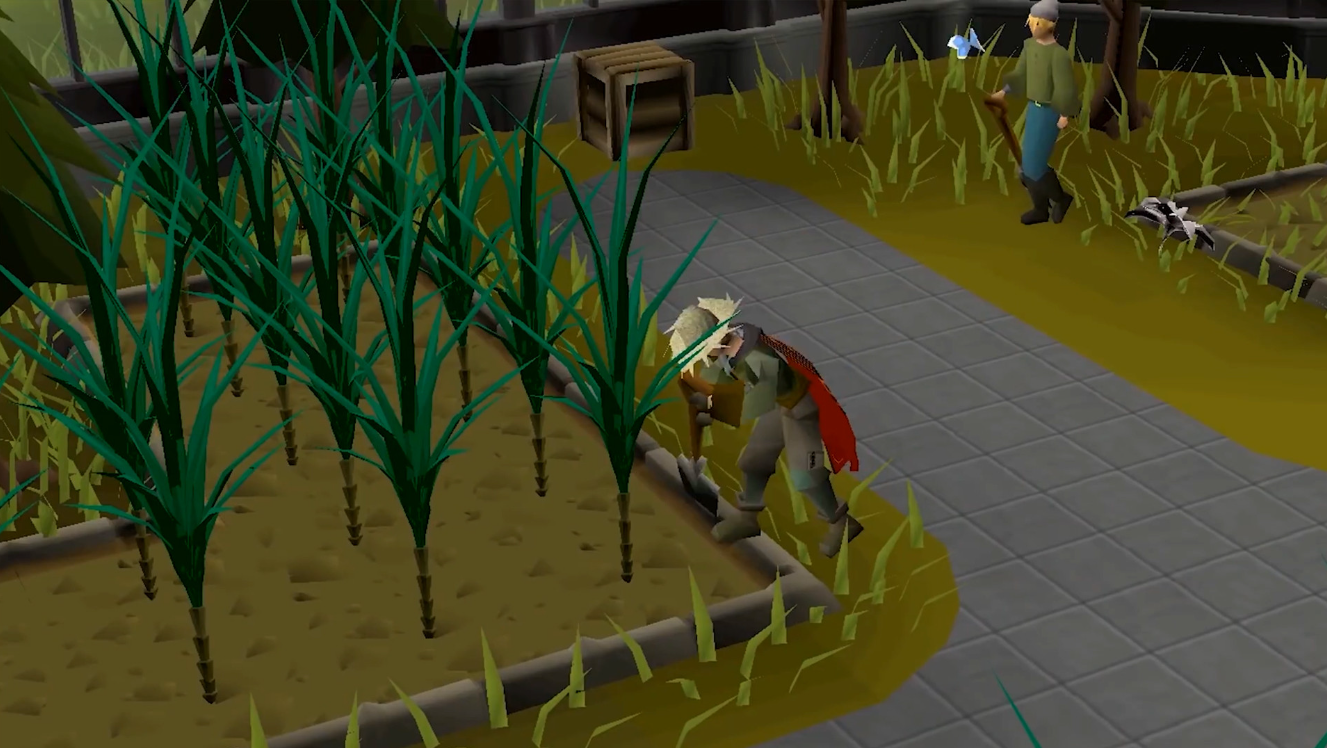
Managing Miscellania, unlocked after completing Throne of Miscellania, is a fantastic method for Ironmen to collect resources passively. Once set up, it provides a consistent supply of essential items for skill training, including wood and herbs with minimal daily maintenance. However, the initial setup and upkeep do require a decent amount of cash, so it’s best to ensure you have a reliable income source or reserve funds to get the most out of this method.
Setting Up Efficient Resource Allocation
To maximize the benefits from Managing Miscellania, allocate your workers based on what resources you need most:
Hardwood Logs: Assigning the maximum number of workers to hardwood logs is often the most effective choice. Teak logs are ideal for constructing mythical cape racks or other furniture if you're focusing on Construction, while mahogany logs are a good alternative if you have the extra funds. Both teaks and mahoganies are highly useful for Construction and can also be repurposed for birdhouse runs if other logs are unavailable.
Herbs: After assigning workers to hardwood logs, allocate any remaining workers to herb production. Herbs are essential for Herblore training, and having a steady supply from Miscellania reduces the need to grind herb drops from combat. Additionally, herb production helps you build a stockpile for potions used in Slayer, PvM, and other activities.
Maintaining the Kingdom’s Coffers
To ensure optimal production, your kingdom needs sufficient funds in the coffers. Here’s how to maintain a high yield:
Initial Investment: Start by depositing a large sum into the coffers—ideally around 500,000 to 750,000 coins (750,000 if you’ve completed Royal Trouble). This upfront deposit will allow you to collect maximum resources without worrying about running out of funds too quickly.
Daily Withdrawals: After Royal Trouble, the kingdom can withdraw a maximum of 75,000 coins per day, which translates into maximum output from your workers. Keeping a reserve of 750,000 coins means you’ll be able to maintain maximum output for ten days without additional deposits, making it manageable for even lower-level Ironmen.
Daily Maintenance: You don’t need to visit the kingdom every day, but checking in periodically to keep your approval rating high will maximize efficiency. A high approval rating (ideally close to 100%) ensures you get the most resources per day, so aim to perform simple tasks like raking weeds or chopping down a few trees when you visit.
Managing Miscellania: Key Benefits for Ironmen
Consistent Resource Supply: Once fully set up, Miscellania becomes a dependable source of resources without daily effort.
Low-Maintenance Upkeep: With a proper initial deposit and periodic visits to maintain approval, Miscellania requires minimal day-to-day interaction. This makes it ideal for Ironmen who want passive income without interrupting their other goals, like Slayer training or questing.
Return on Investment: While the initial setup requires capital, the return on investment is substantial for Ironmen. The resources provided save hours of grinding or gathering supplies, making Miscellania one of the most efficient ways to collect mid- to high-level materials.
Managing Miscellania will reward you with a bounty of valuable resources that keep your Ironman progressing steadily. With teak and mahogany logs for Construction, herbs for potions, and other helpful supplies, it’s one of the best long-term passive income sources available to Ironmen.
With this guide you should be unstoppable and have all of the information you’ll need. Be sure to book mark it and check back as you progress!
Note: You can find our full OSRS Ironman Moneymaking Guide here.


