Mewgenics Guillotina 2 Boss Fight Guide
Guillotina 2 is a two phase boss in your House that punishes poor focus and bad positioning. You must kill the head first, then survive a long second phase where the arena fills with junk. If you split damage early or lack sustain, this fight snowballs fast.
This is a control fight, not a burst check.
How The Fight Actually Works
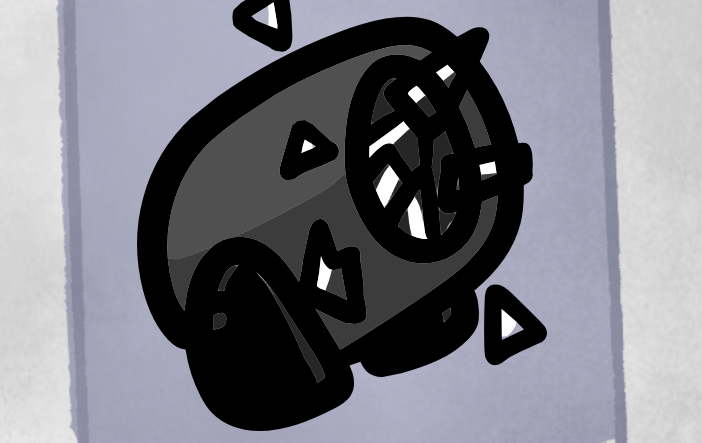
Guillotina starts split into a head and a body.
The head is the real threat at the start. It acts aggressively and can set up combos by repositioning your cats. If you ignore it, the pressure stacks quickly.
When the head goes down, the body powers up instead of ending the fight. The second phase is longer and more chaotic.
Phase 1 Plan: Remove The Head Fast
Your entire early goal is simple. Delete the head.
Focus all damage on the head
Use Tank to body block and absorb hits
Keep squishy cats out of throw range
Do not waste turns hitting the body
Ranged damage is safest here. Hunter and Mage can pressure without exposing themselves. Fighter works if you control space well.
If you own The Tick, this is one of the better places to use it. Reducing boss damage makes the opening much safer.
Phase 2 Plan: Endure And Outscale
When the head dies, the body gains more health and starts using Tantrum.
Tantrum litters the map with junk tiles that damage you when stepped on. The longer the fight lasts, the worse the arena becomes. Movement gets restricted and positioning mistakes hurt.
This phase favors steady damage and sustain over risky burst.
Best Damage Types For Phase 2
Damage over time shines.
Necromancer Leech stacking keeps pressure on without constant movement. Hunter poison builds also perform well. Any build that applies damage and then holds position reduces risk from junk tiles.
Pure glass cannon builds struggle here if they rely on constant repositioning.
Strong Team Structure
A balanced squad is safest:
Tank for protection and control
Cleric for healing and recovery
Hunter or Mage for consistent damage
Necromancer or secondary DPS for scaling
You do not need perfect drafts, but you do need sustain. The second phase is longer than most House fights.
Necromancer Carry Potential
Necromancer can carry this fight with the right setup.
If you increase leeches per hit and stack debuff scaling, end of turn damage ramps quickly. Feeding on corpses to boost leech count lets damage scale even harder.
With enough leech stacks applied, Necromancer heals heavily every turn. If incoming damage stays below that healing threshold, the fight stabilizes.
This works especially well once the arena fills and both sides are locked in place.
Common Errors
Splitting damage between head and body early
Ignoring sustain and bringing only burst DPS
Overmoving during Tantrum and taking avoidable tile damage
Guillotina 2 rewards controlled play. It punishes impatience.
Final Blurb
Guillotina 2 is a focus and endurance test. Kill the head first, then prepare for a messy arena and a drawn out second phase.
Bring steady damage, real sustain, and smart positioning. If you survive the Tantrum phase without losing structure, the fight becomes manageable.
FAQ
Should I ever hit the body first?
No. The head is the priority in phase one.
Why does the fight feel harder after the head dies?
The body gains extra health and starts covering the arena with damaging junk tiles.
Is damage over time better than burst?
Yes in phase two. Consistent damage without heavy movement is safer.
Can Necromancer solo this fight?
With strong leech scaling and sustain, it is possible, but it requires the right draft.