Mewgenics Guillotina 3 (Zombie) Strategy Guide
Guillotina 3 is the final House showdown and it is a layered, multi threat fight. You are dealing with a body that acts three times per round, a separate head with its own attack, and a mid fight Mama Maggot spawn. If you do not control priorities and crowd pressure, this fight collapses fast.
This is the most tactical House boss. You win by managing chaos, not racing damage.
What Makes Guillotina 3 Different
This fight runs on split actions.
The Body acts 3 times per round
The Head acts once per round
The Head cannot move
The Body tries to reconnect with the Head
When you damage the head, the body attempts to close the gap. If the body grabs it, you get punished with Poison and Hex. Hex increases spell costs, which can completely derail caster heavy teams.
On the following sequence, the head is thrown for direct damage and applies Bruise.
That combo alone can snowball a run if not handled properly.
Preparation Phase Matters More Here
You get 7 days before the fight.
Cats that fought previous Guillotina versions cannot participate. That forces roster planning. Do not send every strong cat into earlier House fights.
This is a good time to:
Run Act 1 or Act 2 to level backups
Stockpile consumables for single fight boosts
Lock in a Cleric with Cleanse
Cleanse is not optional comfort here. It directly counters Poison and Hex from the grab combo.
Phase 1: Controlled Pressure
Early on, your goal is stability.
Do not tunnel the head. Hitting it carelessly accelerates the body repositioning. Instead, control space with your Tank and pressure safely with ranged damage.
If the body grabs the head:
Cleanse immediately
Reposition to avoid follow up throw damage
Do not overreact and waste turns chasing
The early phase is about reducing body health while limiting how often the grab sequence occurs.
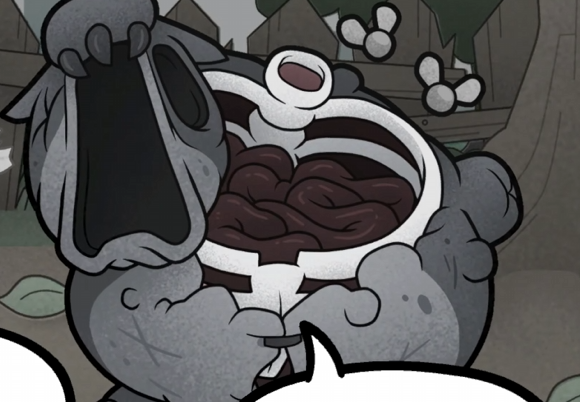
The Half Health Explosion
At around half health, the body detonates and Mama Maggot enters.
This is the real turning point.
Mama behaves like her Alley version. She spawns maggots and enables scaling if left alone. At the same time, Guillotina’s Body begins summoning additional maggots with Shake.
Now you are managing three threats:
Body actions
Mama Maggot scaling
Board clutter from maggots
If you lack area control, this is where runs die.
Correct Kill Order
Winning this fight is about strict target priority.
Guillotina’s Body first
Mama Maggot second
Clear remaining maggots
Guillotina’s Head last
Killing the Body stops the repeated Shake pressure. Leaving Mama alive too long allows maggots to spiral.
The Head becomes trivial once the battlefield is under control because it cannot move.
Best Tools For This Fight
You want:
Tank for anchoring space
Cleric with Cleanse
Reliable ranged damage
At least one source of area damage
Sleep and Stun effects are valuable against Mama Maggot. Even delaying her for a single round can prevent scaling.
Poison and Leech builds work well because they keep dealing damage while you reposition carefully through clutter.
Why This Fight Feels Hard
Guillotina 3 punishes overcommitment.
If you chase damage without managing positioning, you get trapped by Poison, Hex, and maggot swarms. If you ignore the Body and tunnel Mama, Shake pressure overwhelms you.
It demands discipline.
After The Fight
When the battlefield is cleared, Guillotina’s Head drops as an item. You can take it to The Throbbing Domain and place it on the altar for a bonus reward.
That ends her arc.
Final Blurb
Guillotina 3 is the most complex House boss because it layers mechanics on top of each other. Control the Body first, manage Mama quickly, then clean up the Head.
Bring Cleanse, bring area damage, and respect target order. If you stabilize after the mid fight explosion, the rest is execution.
FAQ
Why can’t I use my old Guillotina cats?
House Boss rules prevent reuse of cats that fought earlier versions.
Is Cleanse mandatory?
It is not technically mandatory, but it makes Poison and Hex far easier to manage.
Should I focus Mama Maggot immediately?
Only after Guillotina’s Body goes down. Otherwise Shake pressure continues.
Is the Head dangerous at the end?
Not by itself. Once Body and Mama are gone, it is manageable because it cannot move.