Subnautica 2 Alien Ruins Guide: Location And Angel Comb
The Alien Ruins in Subnautica 2 are a major late Early Access story area connected to the alien observatory door, Angel Comb, Axum Vision Adaptation, alien turbine repair, and the next story tease beyond the Great Trench. The route starts after Tadpole Pens progression and quickly becomes one of the most demanding sections in the current build because it asks for the Bioscanner, Feedback Resonator, deep resource farming, and careful movement through dangerous water.
For more Subnautica 2 resource routes, vehicle upgrades, survival help, and crafting guides, use the complete Subnautica 2 guide hub.
Jump To
- Alien Ruins Location
- What To Do First
- How To Open The Alien Door
- Alien Ruins Angel Comb
- How To Destroy Bloom Cankers
- Axum Vision Adaptation
- How To Repair The Alien Turbine
- Alien Turbine Repair Materials
- How To Activate The Turbine
- Alien Ruins Resources
- Alien Ruins Leviathan Warning
- What Is Behind The Alien Door
- Alien Ruins Angel Comb Video
Subnautica 2 Alien Ruins Location
The Alien Ruins in Subnautica 2 are about 1,100 meters east of the Lifepod and become a key objective after the Tadpole Pens route.
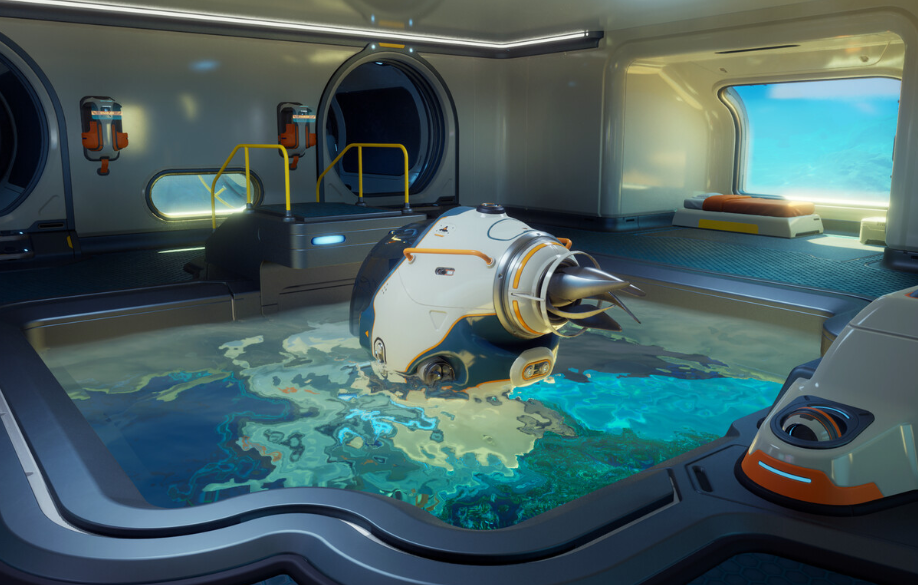
The Alien Ruins are not an early swim out and poke around location. The route is far from the Lifepod, has dangerous enemies along the way, and leads into story systems that require better tools than the early game gives by default. The Tadpole is the clean way to make the trip because it provides oxygen, mobility, and safer travel across open water.
The alien observatory door sits close to the Alien Ruins biome marker. Once the area is reached, the first thing that stands out is the locked observatory doorway and a nearby pedestal. The game makes the problem clear fast: the door needs a massive amount of power, and the huge alien turbine nearby is not ready to supply it yet.
The Alien Ruins route is also where several other systems start connecting together. The Tadpole, Bioscanner, Feedback Resonator, Angel Comb, Bloom Cankers, and processed materials all become part of one larger progression chain instead of separate little tasks.
What To Do First At The Alien Ruins
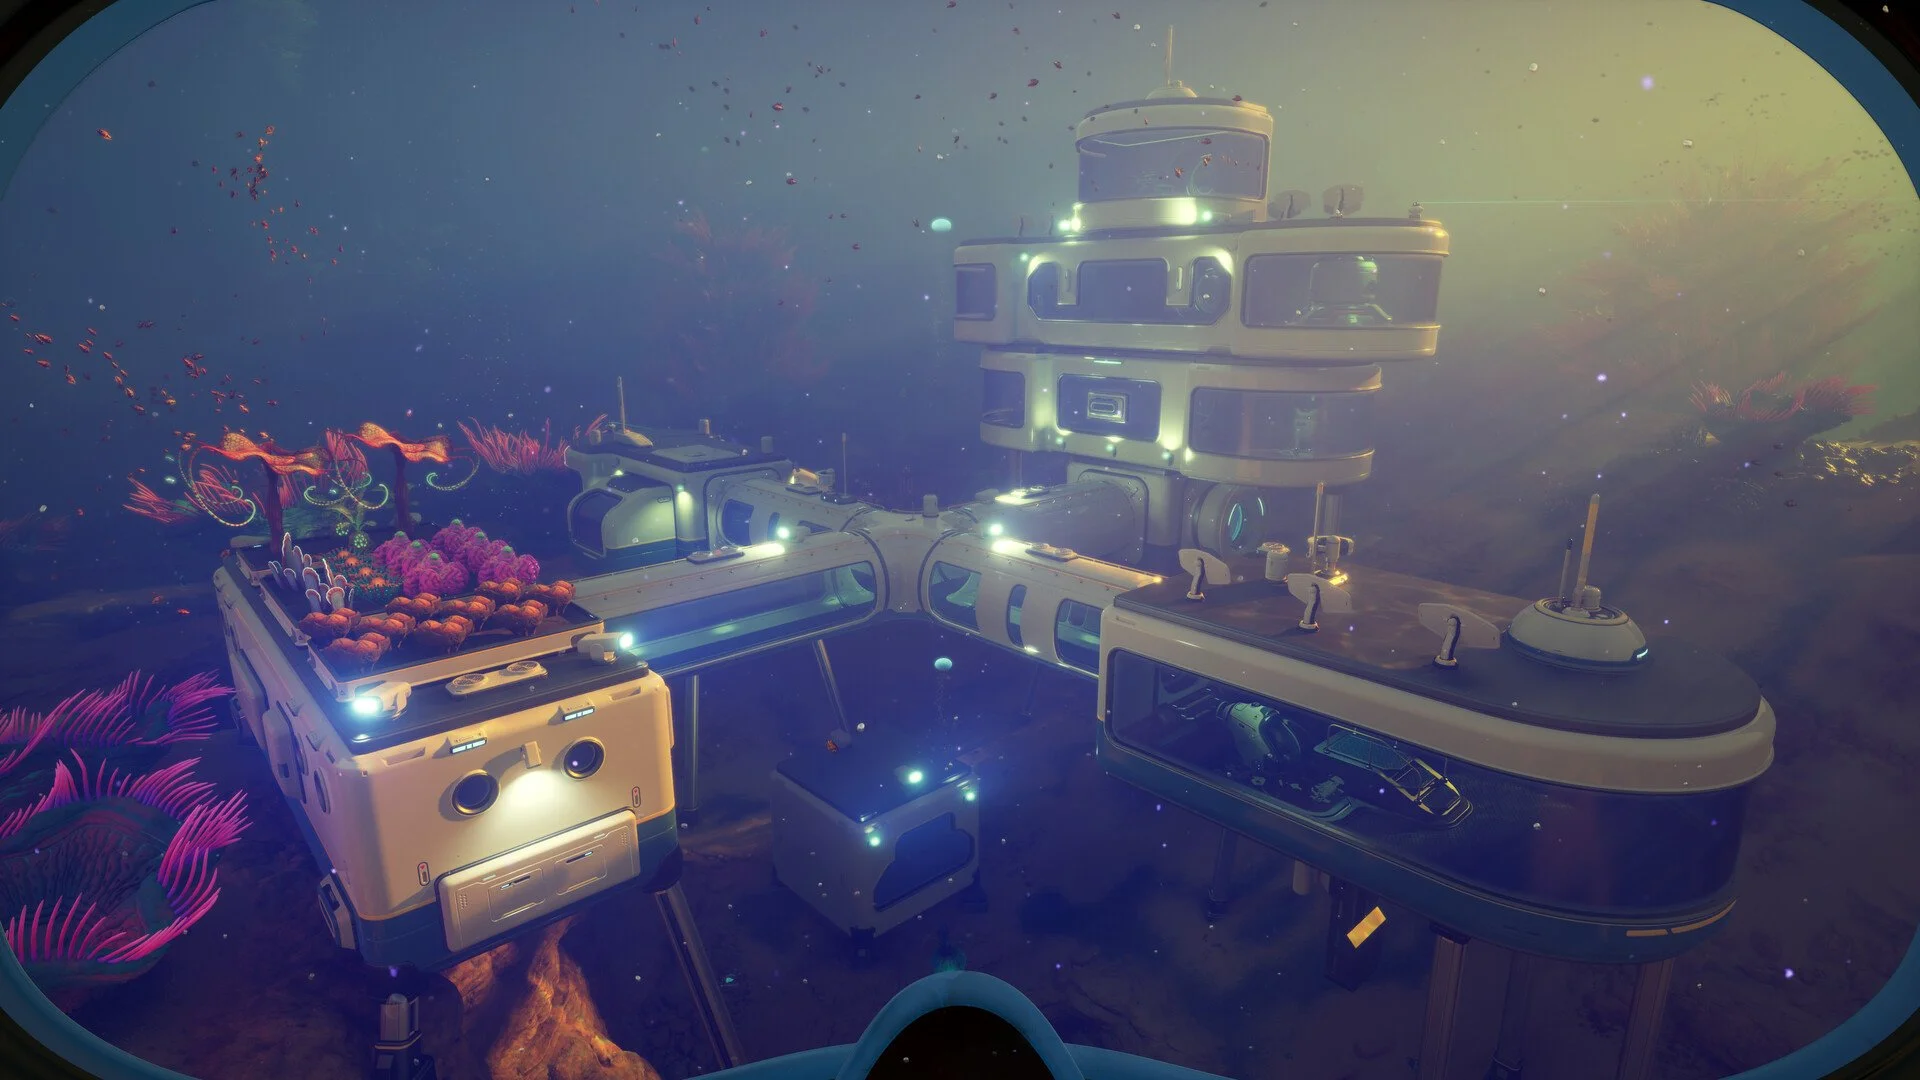
The first thing to do at the Alien Ruins is explore the biome and abandoned base, then prepare the Bioscanner and Feedback Resonator before trying to activate the alien door or turbine.
The door cannot be opened immediately. The nearby pedestal and doorway need power, and the terminals in the control rooms cannot be understood until the Axum Vision Adaptation is unlocked. Rushing straight to the door only confirms that the area is blocked, which is useful for about 3 seconds and then becomes a fancy wall.
The better route is to treat the Alien Ruins as a hub. Explore the abandoned base, follow the blackbox objectives, get the Bioscanner upgrade, build the Feedback Resonator, then return to the Angel Comb and turbine steps once the right tools are ready.
| Alien Ruins Step | What It Unlocks Or Supports |
|---|---|
| Explore the Alien Ruins base | Leads into the later tool and story route. |
| Complete the Iso blackbox objective | Unlocks the Bioscanner upgrade. |
| Craft the Feedback Resonator | Lets sonic projectiles destroy Bloom Cankers from range. |
| Clear Bloom Cankers around Angel Comb | Reveals the pink bulb needed for Axum Vision. |
| Unlock Axum Vision Adaptation | Allows alien inscriptions and glyphs to be read. |
| Repair and activate the turbine | Powers the zone and opens the observatory door path. |
My experience with this section is that it feels messy only when the steps are done out of order. Once the route is treated as tools first, language second, turbine third, door last, the whole Alien Ruins chain makes a lot more sense.
How To Open The Alien Door In Subnautica 2
To open the Alien Ruins door in Subnautica 2, unlock Axum Vision from the Angel Comb, repair the alien turbine, activate the turbine terminals, then return to the observatory door and use the bloom pedestal lever inside.
The locked alien observatory door is close to the Alien Ruins marker, but the door is not the first real task. It depends on the turbine powering the area, and the turbine depends on the player being able to understand the alien controls. That means the door is really the final reward for solving the Angel Comb and turbine chain.
The door route has 3 major gates. The first is the Angel Comb, which gives Axum Vision after the Bloom Cankers are destroyed. The second is the turbine repair, which requires a large set of processed materials. The third is the control room sequence, where the alien terminals must be aligned and activated.
Once the turbine powers the zone, return to the alien observatory door. Inside, interact with the lever on the bloom pedestal to access the interior.
Alien Ruins Angel Comb Guide
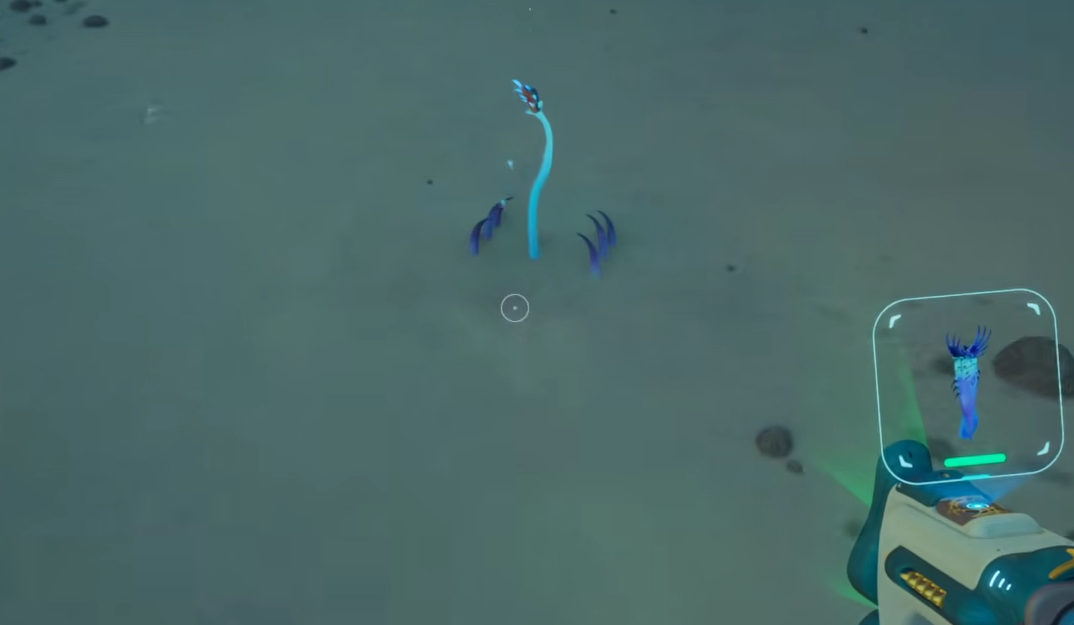
The Angel Comb at the Alien Ruins is the Adaptation objective beneath the massive alien turbine, and it unlocks Axum Vision after the surrounding Bloom Cankers are destroyed with the Feedback Resonator.
The Angel Comb sits in the large open area past the base, directly under the turbine. It has its own marker, which makes it easier to track once the Alien Ruins route is active. The problem is that the Angel Comb is blocked by corrupted growth, and the Bloom Cankers connected to its tendrils cannot be handled properly with close range tool use.
Follow the purple tendrils away from the Angel Comb. These tendrils lead to the Bloom Cankers that need to be destroyed. One branch splits into 2 paths: the left side runs along a ravine, and the other path leads to a cavern below the Alien Ruins base. Another branch leads toward the eerie green pool area known as the Metal Farms.
The Feedback Resonator is required because Bloom Cankers close up when approached. Stay back, line up the sonic projectile, and destroy them from range. After the connected Bloom Cankers are cleared, return to the Angel Comb and blast the final 2 Bloom Cankers to reveal the pink bulb.
How To Destroy Bloom Cankers In The Alien Ruins
Bloom Cankers are destroyed by shooting them from range with the Feedback Resonator, because they contract when approached too closely.
This is the part that makes the Feedback Resonator more than a mining upgrade. The Sonic Resonator breaks large ore deposits, but the Feedback Resonator adds projectile use that solves the Bloom Canker problem. Walking up to the growth makes it close, so the correct play is to stay back and hit it before it reacts.
The Bloom Canker route around the Alien Ruins includes multiple branches. The ravine branch has one set of targets. The cavern below the Alien Ruins base has another set. The Metal Farms branch leads farther out, and the Cicada Wreck Stairway to Heaven section includes a bloom web and more Bloom Cankers deeper inside.
| Bloom Canker Area | What To Do |
|---|---|
| Ravine branch | Follow the purple tendril and destroy the Bloom Cankers from range. |
| Cavern below the Alien Ruins base | Clear the Bloom Cankers connected to the second split branch. |
| Metal Farms branch | Follow the tendril toward the green pool area. |
| Cicada Wreck Stairway to Heaven | Destroy the bloom web, enter the ship, and clear the Bloom Cankers below. |
| Angel Comb return | Blast the final 2 Bloom Cankers and interact with the pink bulb. |
The Cicada Wreck section has several Oxygen Tunics, which makes the lower area less punishing than it first looks. Still, the route is better with a charged Feedback Resonator and enough time to handle each branch cleanly.
For the tool itself, the Subnautica 2 Feedback Resonator guide covers both fragment locations, the upgrade recipe, and why it fixes the Bloom Canker problem.
How To Get Axum Vision Adaptation
Axum Vision Adaptation is unlocked by clearing the Bloom Cankers around the Alien Ruins Angel Comb, revealing the pink bulb, and interacting with it.
Axum Vision is required because the Alien Ruins control room terminals are unreadable without it. Before getting the Adaptation, the terminals are visible but useless. After getting Axum Vision, the alien inscriptions and glyphs can be understood, which lets the turbine activation sequence move forward.
The route is straightforward once the Feedback Resonator is ready. Follow the purple Angel Comb tendrils, destroy every required Bloom Canker from range, return to the Angel Comb, clear the final growth, and interact with the pink bulb. That unlocks the language ability needed for the lower and upper control room steps.
This is the key connection most of the Alien Ruins search intent comes down to. The door, generator, turbine, and Angel Comb are not separate puzzles. The Angel Comb unlocks the language ability, the language ability lets the terminals work, and the terminals bring the turbine online.
How To Repair The Alien Turbine
To repair the alien turbine in Subnautica 2, enter the lower control room, lower the structure, find the Turbine Repair Plan, scan the propeller with the Bioscanner, then use the Repair Tool to see and apply the required materials.
The turbine sits above the Angel Comb, but it cannot be repaired until the area’s alien systems are readable and the repair plan is found. Start by going to the lower control room along the cliffside. Press the terminal button there to lower the turbine structure.
After the structure lowers, swim up toward the propellers. Look for the metal crates left behind by colonists and collect the Databank entry called Turbine Repair Plan. Then scan the propeller with the Bioscanner. Once scanned, switch to the Repair Tool to reveal the required materials.
The Bioscanner is part of the Alien Ruins progression route, so it should be handled before the turbine repair attempt. Trying to force the turbine step without the right tools just leaves the player staring at huge alien machinery like it owes rent.
Alien Turbine Repair Materials
The Alien Ruins turbine repair requires 10 Titanium Ingots, 10 Strontium, and 10 Mangalloy Ingots.
This is one of the biggest material checks in the current Alien Ruins chain. Every major material here uses the Processor, so this step is not just about grabbing loose resources. It asks for processed material planning, deep resource routes, and enough storage to bring back a lot of raw materials.
| Repair Material | Amount Needed | Raw Resource Path |
|---|---|---|
| Titanium Ingot | 10 | Requires 30 Titanium total. |
| Strontium | 10 | Requires 20 Celestine total through the Processor. |
| Mangalloy Ingot | 10 | Requires 10 Titanium Ingots, 10 Atacamites, and 10 Troilites. |
Atacamites are dark crystal nodes on the seabed in the Alien Ruins biome. Troilites come from dark green minerals near the Metal Farms pool. Celestine is also tied to the Alien Ruins region and becomes Strontium through processing.
The Subnautica 2 Celestine guide helps with the Strontium path, while the Subnautica 2 Troilite guide covers the dark green mineral route near Metal Farms. The Subnautica 2 Titanium Ingots guide is also useful before committing to the full repair grind.
How To Activate The Alien Turbine Generator
To activate the alien turbine, use the upper control room, match the terminal symbols to the arrow positions, activate the claw-like switch, then press the central terminal.
After the turbine is repaired, swim to the higher control room on the cliffside. There are terminals on the left and right with several dials or switches. Interact with each one until the symbols line up with the arrow positions. When the symbols are correct, they turn green.
Once both sides are aligned, press the switch with the claw-like symbol to activate the terminals. Then move to the central terminal and press that switch as well. This powers up the turbine and brings the zone online.
| Activation Step | Action |
|---|---|
| 1 | Go to the upper control room on the cliffside. |
| 2 | Use the left and right terminals. |
| 3 | Match the symbols to the arrow positions until they turn green. |
| 4 | Press the claw-like switch. |
| 5 | Press the central terminal switch. |
Once the machine activates, the observatory door can finally be opened. This is the payoff for the entire Angel Comb, Axum Vision, repair material, and control room chain.
Subnautica 2 Alien Ruins Resources
The Alien Ruins biome includes important advanced resources such as Celestine, Atacamites, and other materials connected to turbine repair and deeper upgrade progression.
Celestine is one of the biggest resources in the area because it processes into Strontium, which is required for the turbine repair and several stronger upgrade paths. Atacamites are dark crystal nodes on the seabed and are needed for Mangalloy Ingots. Troilites are found near the Metal Farms pool and are also part of the Mangalloy Ingot chain.
The search result mentions Alien Ruins quartz, but the current reliable route info here is stronger around Celestine, Atacamites, Troilites, and turbine repair materials. Quartz is not the focus of this Alien Ruins chain, so this guide should not pretend the area is mainly a quartz farm without stronger confirmed route detail.
| Resource | Alien Ruins Use |
|---|---|
| Celestine | Processed into Strontium for turbine repair and upgrade crafting. |
| Atacamites | Used for Mangalloy Ingots needed in turbine repair. |
| Troilites | Used for Mangalloy Ingots and found near the Metal Farms pool. |
| Titanium | Processed into Titanium Ingots for repair materials. |
Because these materials stack into a large repair requirement, the Tadpole becomes more useful with upgrade support. The Subnautica 2 Tadpole upgrades guide covers the modules and attachments that make longer Alien Ruins farming routes cleaner.
Subnautica 2 Alien Ruins Leviathan Warning
The Alien Ruins route includes dangerous enemies and a deadly Leviathan threat along the way, so the trip should be planned with vehicle support, charged tools, and a clear escape route.
The most dangerous parts of this progression are not only inside the ruins. The path from the Lifepod to the biome, the Metal Farms route, and the broader edge area all add pressure. The Metal Farms specifically has several enemies and a Leviathan close to the surface, making the second Feedback Resonator fragment and later resource routes more dangerous.
The safest habit is to avoid treating the Alien Ruins like a normal material loop. Bring the Tadpole, check power, keep repair support ready, and do not linger near the Metal Farms if the goal is only a scan or resource pickup.
For the larger creature list and current Leviathan notes, the Subnautica 2 Leviathans guide covers the major threats and how the new roster works.
What Is Behind The Alien Observatory Door
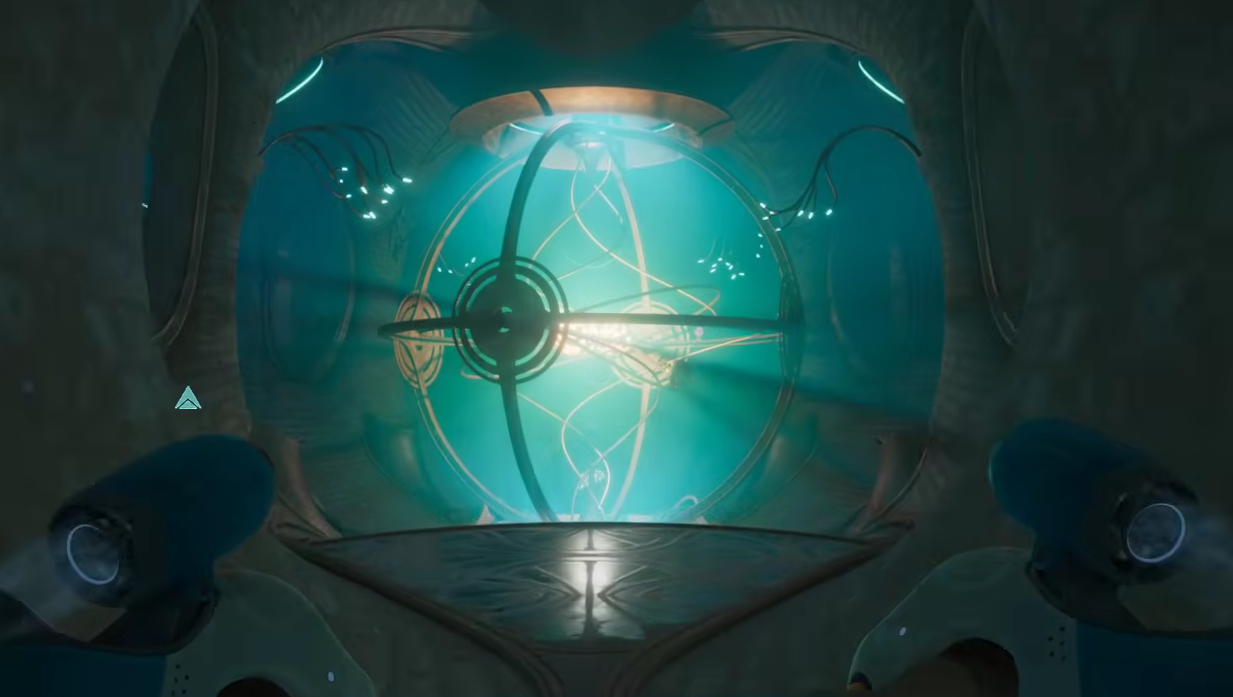
Behind the Alien Ruins observatory door is an interior area with an orrery to scan, another lever, and a hologram that reveals a new region called Xanadu across the Great Trench.
After the turbine powers the zone, return to the alien observatory door and use the bloom pedestal lever to enter. Inside, scan the orrery. Then swim through the gap and pull the next lever to trigger the hologram.
The hologram points toward Xanadu, a region somewhere across the Great Trench. It also warns about dangerous creatures known as Crypters lurking below the depths. This is where the current Early Access story path reaches its big future-facing tease.
That makes the Alien Ruins guide less about a single door and more about the end of the current chain. The area closes out the first major alien progression route while setting up the next biome and threat direction.
Alien Ruins Angel Comb Video
The video below shows the Alien Ruins Angel Comb route, which is the key step for unlocking Axum Vision and moving toward the alien door and turbine activation.
Final Blurb
The Alien Ruins in Subnautica 2 are the center of the current alien door, Angel Comb, Axum Vision, and turbine progression chain. The route starts about 1,100 meters east of the Lifepod, but the real progress comes from getting the Bioscanner, crafting the Feedback Resonator, clearing Bloom Cankers, unlocking Axum Vision, repairing the turbine, and activating the upper control room terminals.
The biggest mistake is treating the Alien Ruins door like a standalone puzzle. It is really the final step of a linked story route. Handle the Angel Comb first, bring the right tools, farm the repair materials, and use the turbine to power the zone. After that, the observatory opens, the orrery scan and hologram reveal Xanadu beyond the Great Trench, and the game gives one more reminder that the safest part of Subnautica is usually the part already behind you.