Crimson Moon Tips & Tricks Beginner Guide
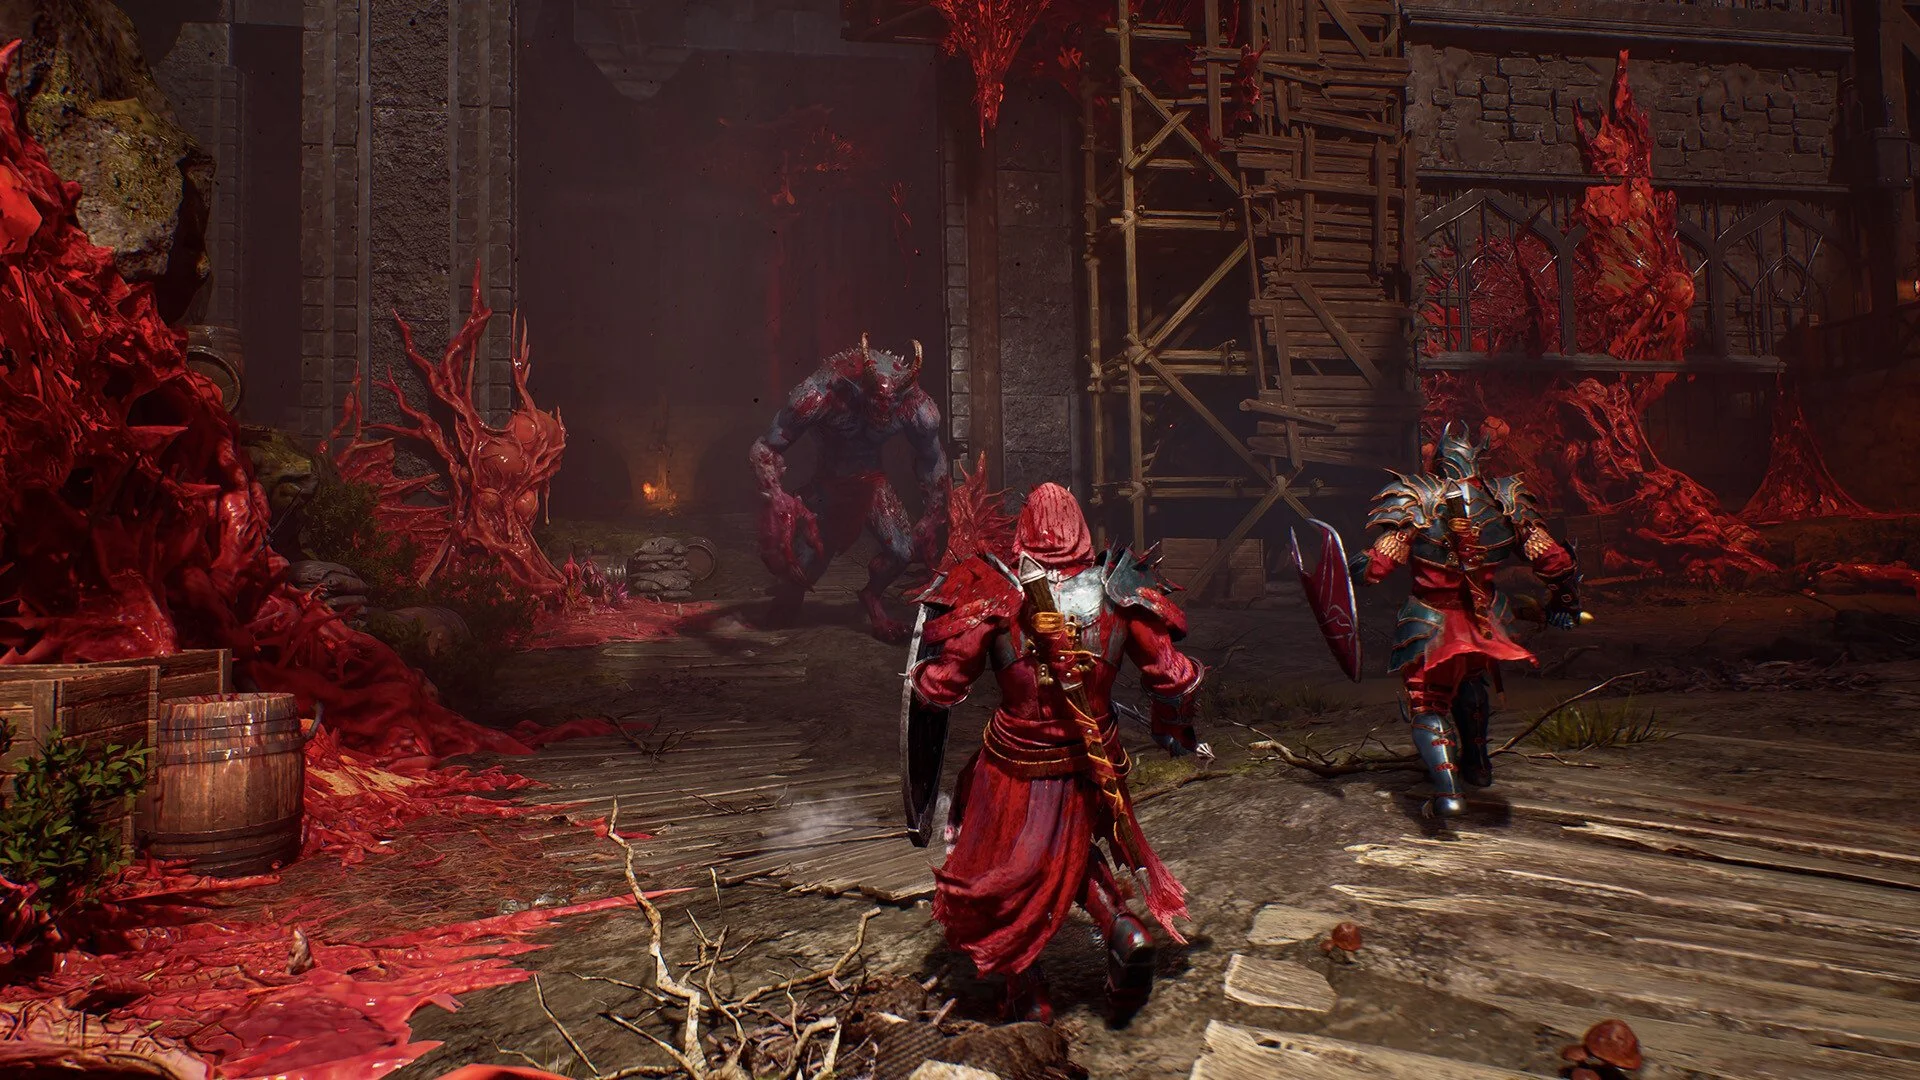
Crimson Moon gets much easier once you stop treating every Hunt the same way. Early in a run, exploring and taking risks can be worthwhile because you're still looking for equipment, Scrolls, and other rewards, but that changes the moment you find an unpurified weapon or armor piece you actually want to keep. Between purification, Boons, armor sets, Weapon Arts, reserve slots, and the fact that death treats Gold and equipment very differently, there are several ways to get more out of a Hunt without simply becoming better at dodging and parrying.
Jump To Section:
Protect Good Unpurified Gear
Think Beyond the Current Hunt
Build in Layers
Use Reserve Slots Carefully
Spend Consumables When the Run Matters
Don't Ignore Scrolls
Understand What Death Actually Costs
Use Higher Difficulties Deliberately
Don't Upgrade Everything
You Don't Always Need to Clear Everything
Check Bounties Before Leaving
Test Weapons by Their Entire Kit
1. Change How You Play Once You Find Gear You Actually Want
One of the most useful things to understand about Crimson Moon is that an unpurified item isn't really yours yet. Equipment found during a Hunt only becomes permanently available for future loadouts after you successfully complete the Hunt and purify it, while dying causes you to lose the unpurified equipment you've collected.
That means your risk tolerance should change during the same run. If you've only found ordinary equipment you don't care about, exploring another dangerous section or challenging an optional enemy has a relatively small downside. If you've just found the weapon or missing armor piece you've been looking for, getting out successfully may suddenly be worth more than one additional chest.
I wouldn't rush directly to the end every time something decent drops, but I would stop treating optional risks as free. The value of surviving a Hunt increases with the quality of the unpurified equipment you're carrying.
2. Judge Loot by What It Adds to Future Hunts
Purification makes equipment progression different from simply finding a stronger item and wearing it for the rest of the game. Successfully bringing new equipment home permanently adds it to the collection, where it can become part of future loadouts. That makes some discoveries useful even if they don't improve the build you're currently running.
If you find a weapon with an interesting Weapon Art or an armor piece belonging to a set you're not currently using, don't immediately dismiss it because its current stats aren't perfect for your build. Purifying it expands the options you'll have when constructing later loadouts, and Crimson Moon has enough weapon types and build combinations that something irrelevant today can become the missing piece of another setup later.
I would therefore think about loot in two categories: equipment that improves this Hunt and equipment that expands what you can build in future Hunts. Both are worth bringing home for different reasons.
3. Build in Layers Instead of Collecting Random Good Effects
Crimson Moon gives you several systems capable of affecting the same build, including your weapon and its Weapon Art, Boons, armor-set bonuses, trinkets, and your Angel. Rather than picking each part independently because it looks strong, start with one part of the build and let the other choices reinforce it.
The weapon is the easiest starting point. If its Weapon Art encourages a particular style of attack or defensive behavior, look for Boons and equipment bonuses that reward the same thing. If several pieces of an armor set provide another effect that fits that playstyle, the build now has multiple systems pushing in one direction instead of several individually useful bonuses that barely interact.
You don't need every bonus to activate the exact same mechanic, but I would rather have three effects that improve something I use constantly than six unrelated effects that each become relevant once in a while.
4. Don't Waste Reserve Slots on Tiny Upgrades
Reserve slots are valuable because they let you hold equipment you might want later instead of immediately committing to it, but their limited space means a slightly better stat roll isn't always worth reserving. I would prioritize items capable of changing the direction of the build: a strong perk, a useful Weapon Art, a missing armor-set piece, or something that would become excellent if you find the right Boon later in the Hunt.
A small numerical improvement to equipment you're already wearing is much easier to evaluate immediately. Either equip it or leave it. Reserve space is more valuable for the item you're not ready to use yet but would regret abandoning if the next few rooms suddenly make it relevant.
If you're trying to clean up unwanted gear during a Hunt, my Crimson Moon how to drop items guide explains how replacing equipped gear works and why Reserved Items can't be manually discarded.
5. Consumables Are Most Valuable When They're Protecting a Good Run
Consumables can be replenished during Hunts through enemy drops and chests, so saving every item indefinitely can leave useful resources sitting unused. I wouldn't burn them on every ordinary encounter either; instead, tie their value to what you're currently risking.
If you're early in a Hunt with little worth protecting, taking a few hits may not justify using everything in your inventory. Once you're carrying valuable unpurified equipment, the calculation changes. Spending a consumable to survive a dangerous encounter may be protecting a permanent addition to your collection rather than merely preserving some Health.
The Merchant in Sanctus Clypeus can also upgrade consumables, which gives them more long-term relevance than one-use emergency items you should be afraid to touch.
6. Scrolls Can Be More Valuable Than Another Random Gear Drop
Lore Scrolls unlock additional Boons that can appear when entering Nexus Gates, so finding one expands the possibilities available to future builds rather than only improving the Hunt where you discovered it. I would therefore go out of my way for a visible Scroll even when my current equipment is already strong enough to finish the area.
This becomes more important as you start experimenting with specific build concepts. The more Boons you've unlocked, the more opportunities you have to find effects that actually complement your Weapon Art, armor set, or preferred attacks instead of simply choosing between whatever basic options you've seen before.
Random equipment can be replaced. Unlocking another tool for the Boon pool changes what future runs can potentially become.
7. A Failed Hunt Isn't a Complete Progression Reset
Death matters, but Crimson Moon doesn't erase everything you've earned during the Hunt. You keep the EXP and Gold you gained, while the major loss is the unpurified equipment you were carrying. Understanding that difference makes failed runs considerably easier to evaluate.
An early Hunt where you're mainly leveling, earning Gold, learning a weapon, or experimenting with enemies can still produce permanent progress even if you die. A Hunt where you're carrying several pieces of equipment you desperately want to purify has much more at stake.
That means there isn't one universal level of caution you should use. Early experimental runs can be played more aggressively because EXP and Gold still come home with you, while a loot-heavy run should become progressively safer as your unpurified haul improves.
8. Don't Increase the Difficulty Just Because You Unlocked It
Clearing an area opens higher difficulty versions that provide more EXP and a better chance at higher-rarity loot, but unlocking a higher difficulty doesn't necessarily mean you should immediately make it your default. The increased reward only matters if you're consistently getting useful runs out of it.
I would first get comfortable enough with the existing area that your build, weapon, and defensive timing aren't being held together by luck. Once you're clearing reliably, the higher difficulty becomes a deliberate loot upgrade rather than simply a way of turning every Hunt into a riskier version of something you were already struggling with.
This is especially important because the most interesting reward isn't always the Gold or EXP you keep after death. If you're specifically farming equipment, repeatedly dying with high-rarity unpurified drops can undermine the entire reason you raised the difficulty in the first place.
9. Upgrade the Build You're Using, Not Everything You've Collected
The Blacksmith becomes available early and can improve your equipment, but the size of Crimson Moon's loot pool makes upgrading everything an easy way to spread resources across pieces you may barely use. Once you've identified a weapon or equipment setup you actually enjoy, concentrate upgrades there first.
This doesn't mean refusing to change gear. If you purify something that fits your build better, replacing an older piece can absolutely make sense. The point is to avoid treating every newly discovered item as another mandatory upgrade project when you're only bringing nine pieces of equipment into a Hunt.
I would rather have one coherent loadout that has received meaningful investment than a collection full of partially upgraded experiments.
10. You Don't Always Need to Fight Everything You See
Exploration is useful because areas can contain equipment, resources, Scrolls, and other rewards, but that doesn't mean every enemy needs to die before you're allowed to move on. Some objectives only require enough progress to open the next area, which gives you another decision to make once the route forward becomes available.
If you're still searching for equipment or Scrolls and your resources are healthy, continuing to explore can make sense. If you've already found the item you came for, your consumables are running low, or the build is starting to struggle, there is little reason to turn a successful Hunt into a failure just for the satisfaction of clearing another group.
This ties back into the extraction-style way I approach Crimson Moon: exploration has value, but that value should always be compared with what you're already carrying.
11. Check the Knight Commander Before Starting a Hunt
Before leaving Sanctus Clypeus, check the Knight Commander for available bounties and quests. They can provide additional EXP and Gold, which means a Hunt you were already planning to complete may be able to progress another objective at the same time.
This is one of those habits that's easy to forget because preparing the actual loadout feels more important. I would make it part of the pre-Hunt routine: check available objectives, adjust the loadout if necessary, then head to the Hunt. Even if you don't complete every bounty immediately, knowing what's available can influence which area or playstyle gives you the most useful progression.
12. Don't Judge a Weapon Only by Its Normal Attacks
Crimson Moon has 30 weapon types, and each weapon has its own Weapon Art, so switching weapons can change much more than attack speed and damage. Some Weapon Arts favor aggression, others have defensive uses, and equipment effects can further reward particular attacks or mechanics.
When testing a new weapon, I would give it enough time to understand the entire loop before deciding whether it's bad. Look at how the Weapon Art fits between normal attacks, whether the speed works with your preferred defensive timing, and whether your available Boons and armor can reinforce what the weapon wants you to do.
A weapon with slightly weaker basic numbers can still be the better option if its Weapon Art and the rest of your build consistently produce more value. With that many weapon types available, figuring out which combat loop feels natural is more useful early on than immediately committing to whichever item has the highest visible stats.
A Better Crimson Moon Hunt Routine
The routine I'd use is fairly simple. Before the Hunt, check available bounties and quests, choose a weapon and equipment setup built around a specific idea, and leave some flexibility for upgrades you might find during the run. Early in the Hunt, explore aggressively enough to find equipment, Scrolls, and other resources while learning what the current build can handle.
Once valuable unpurified equipment drops, reassess. Optional fights that made sense five minutes earlier may no longer be worth the risk, while consumables become easier to justify because successfully finishing now permanently adds something useful to your collection. After returning to Sanctus Clypeus, purify the equipment you brought back, evaluate whether any of it meaningfully changes the build, concentrate upgrades on the pieces you're actually using, and then decide whether you're ready to push a higher difficulty.
That approach makes each Hunt less about blindly clearing everything on the map and more about knowing what you're trying to accomplish. Sometimes the goal is EXP, sometimes it's discovering new equipment, and sometimes you've already found exactly what you wanted and the smartest move is simply making sure it gets home.