Minecraft Dungeons 2 Best Builds: 6 Endgame Setups
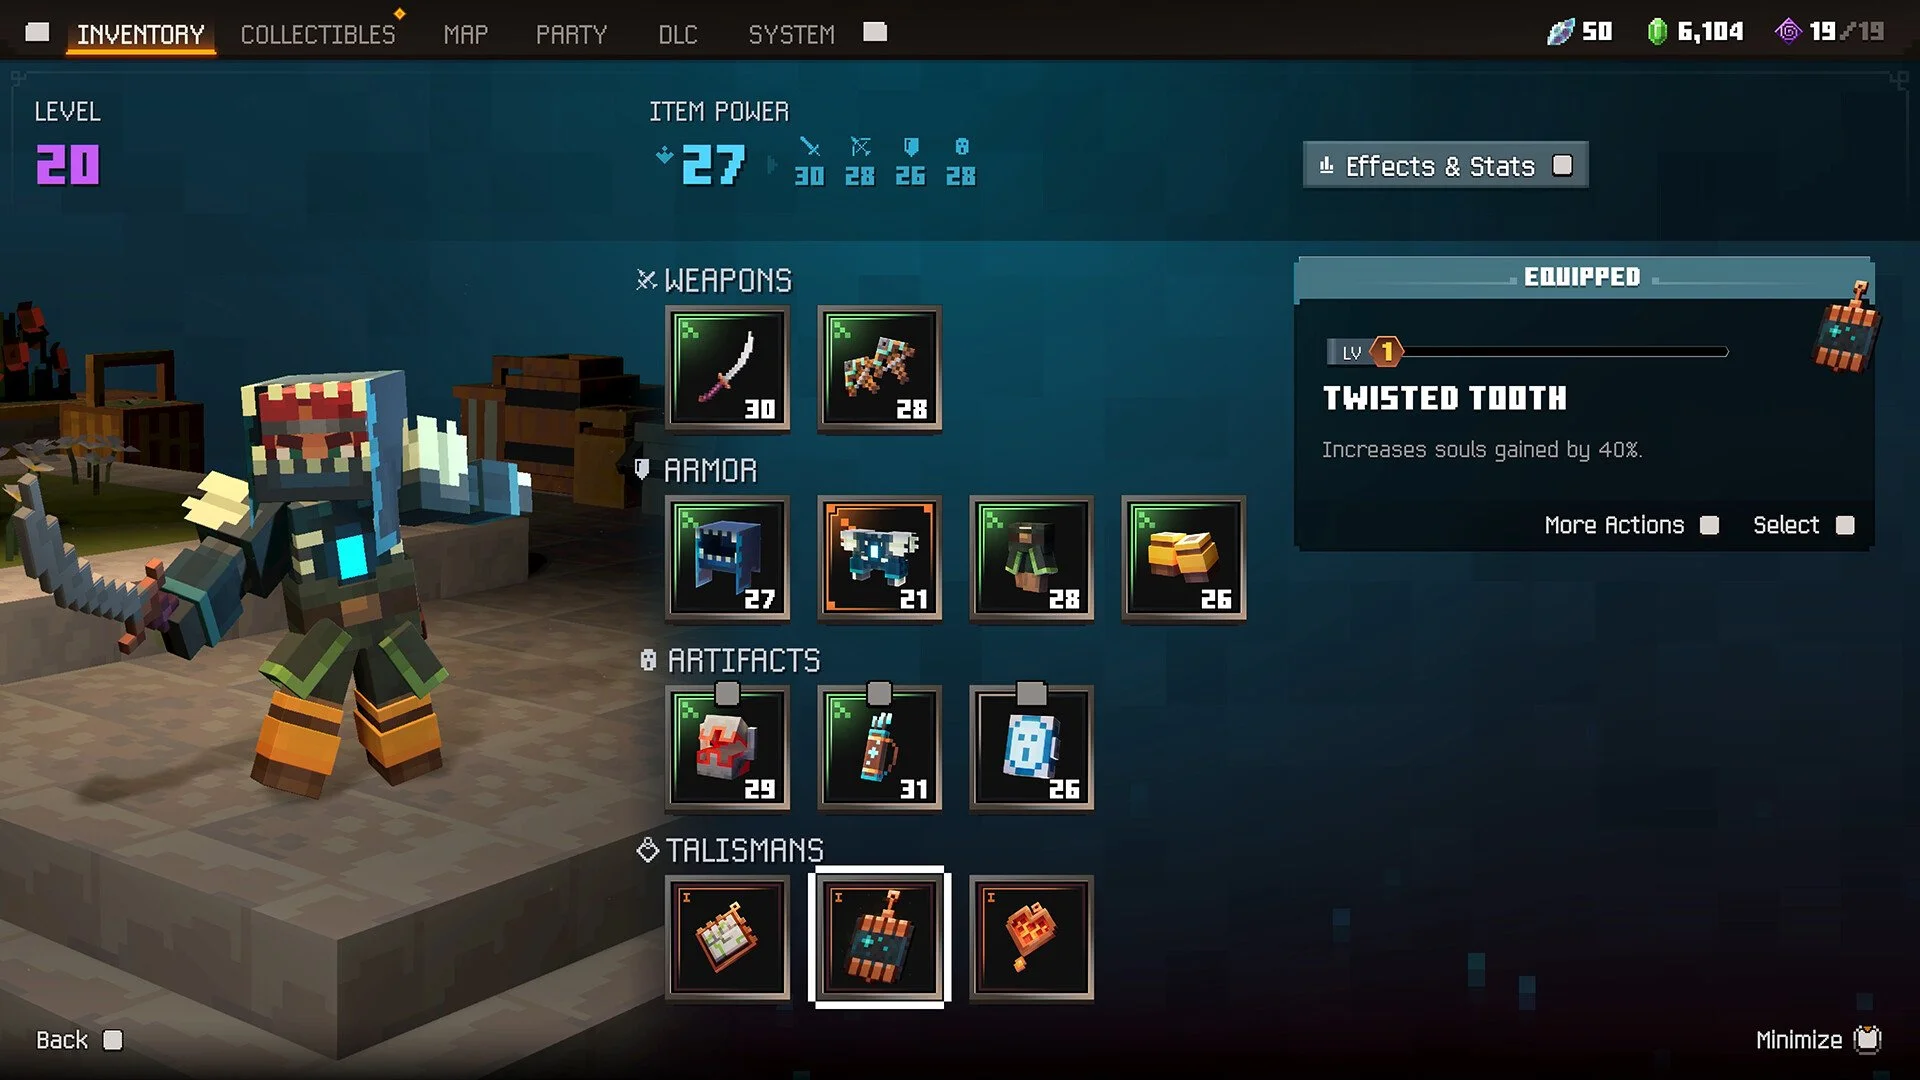
Minecraft Dungeons 2 has enough overlapping gear systems that the best builds aren't necessarily the ones stacking the largest individual damage bonuses. The stronger approach is to find one interaction that can be repeated constantly, then make your weapons, armor, enchantments, Talismans, and Artifacts reinforce that loop.
That's how I've approached the builds below. Instead of separating everything into generic melee, ranged, tank, and support categories, each setup is built around a specific mechanic: disappearing after kills and loading up the next strike, pulling entire packs into freezing attacks, turning rolls into huge jump-attack bursts, converting Health Potions into an Artifact resource, fighting around defensive potion zones, or letting your Emerald stockpile become a damage stat.
Jump To Section:
Best Builds Overview
Veiled Executioner
Permafrost Vortex
Meteor Hammer
Alchemy Reactor
Potion Citadel
Bankroll Berserker
How to Replace Missing Gear
If you're not ready for the endgame setups yet, the Minecraft Dungeons 2 best early game builds guide has simpler campaign-ready setups that work with smaller gear cores and naturally transition into stronger late-game builds.
The Best Builds Are Built Around a Repeatable Loop
Before worrying about perfect gear, identify what action actually makes the build work. That's the piece I wouldn't replace.
Best Build Concepts
• Veiled Executioner — Kill, disappear, reposition, and load the next hit
• Permafrost Vortex — Pull enemies together before freezing the entire pack
• Meteor Hammer — Stack roll bonuses and cash them out through a jump attack
• Alchemy Reactor — Turn Health Potions into Souls and Souls into Artifact casts
• Potion Citadel — Turn your Health Potion into a defensive position you can fight around
• Bankroll Berserker — Convert a large Emerald reserve directly into combat power
Some of these can be assembled relatively early in a rough form, while others need secret Talismans or later-game enchantments before the full interaction comes online. The useful part is that each has a minimum core: once that core works, every later upgrade is improving an existing build rather than trying to create one from scratch.
Veiled Executioner: Shadowcloak Burst Build
Veiled Executioner is built around turning the downtime after a kill into preparation for the next one.
Shadowcloak gives melee kills a chance to grant Shadowcloaking, which makes you undetectable until you attack. Instead of immediately breaking the effect, use that window to reposition, roll, and prepare an amplified opening strike.
Dynamo is what connects the two mechanics. Rolling increases the damage of your next melee or ranged attack and can stack through additional rolls. Shadowcloaking gives you breathing room to perform those rolls without immediately committing to another fight.
Veiled Executioner Setup
• Melee: Pride of the Plains or another hard-hitting melee weapon
• Melee Enchantment: Shadowcloak
• Armor Enchantment: Dynamo
• Armor: Twisted Warden pieces are especially useful for Shadowcloaking support
• Talismans: Fist of Iron, Medallion of Momentum, Sigil of Beeswax
• Artifact Direction: Damage buffs or defensive tools for difficult engagements
At Tier III, Shadowcloak has a 35% chance to activate after defeating an enemy. Dynamo reaches 40% amplification for the next attack after rolling, with repeated rolls capable of building the effect further.
The Twisted Warden set is particularly interesting here because its Shadowcloaking-duration support gives you more time to decide where the next strike should land instead of treating invisibility as a passive bonus that immediately disappears.
Combat Loop
• Defeat an enemy and trigger Shadowcloaking
• Move toward the next priority target while undetected
• Roll to build Dynamo
• Use the amplified opening melee attack
• Finish another enemy and attempt to restart the loop
This is less about maximum sustained DPS and more about controlling when the next fight begins. Against normal packs, you repeatedly disappear and re-engage. Against harder targets, the same setup lets you convert rolls into a stronger opener.
Permafrost Vortex: Pull-and-Freeze Crowd Build
Permafrost Vortex solves one of melee combat's biggest problems by making enemies come to you.
Gravity Pulse pulls nearby enemies inward whenever you activate an Artifact. Frost Crescent then rewards jump attacks and final melee hits with an ice wave that damages and freezes enemies, slowing both their attacks and movement.
Those effects naturally solve each other's weaknesses. Frost Crescent is much more valuable when several enemies are standing together, and Gravity Pulse gives you a repeatable way to create exactly that situation.
Permafrost Vortex Setup
• Melee: Greatsword or another weapon with strong area coverage
• Melee Enchantment: Frost Crescent
• Armor Enchantment: Gravity Pulse
• Talismans: Essence of Efficiency, Fist of Iron, Sigil of Beeswax
• Artifacts: Favor useful effects with frequent activations
• Optional Mobility: Armadillo Amulet can replace a defensive Talisman
Gravity Pulse scales dramatically with its enchantment level, pulling enemies from within 4 blocks at Tier I, 8 blocks at Tier II, and 10 blocks at Tier III.
Frost Crescent's wave deals 10%, 15%, and 20% weapon damage across its three tiers while applying the freeze effect. The damage number isn't the main reason to use it here. The build wants the attack and movement slowdown after the pack has already been condensed into melee range.
Combat Loop
• Activate an Artifact
• Gravity Pulse pulls the nearby pack inward
• Jump into the group or finish your melee combo
• Frost Crescent freezes and slows the clustered enemies
• Use the control window to clear the group before it spreads again
Essence of Efficiency belongs here because reducing Artifact cooldown means more opportunities to trigger Gravity Pulse. The build doesn't need an Artifact to deal the damage itself; activating one is already part of the crowd-control engine.
Meteor Hammer: Roll-to-Jump Burst Build
Meteor Hammer combines three mechanics that all reward deliberate movement before an attack: rolling, Dynamo, and jump attacks.
Dynamo amplifies the next attack after you roll. Ocelot's Paw increases jumping melee damage. Crash Landing makes jump attacks create an impact around you that deals additional damage and increasingly heavy knockback.
Instead of attacking constantly, the idea is to load damage into one committed jump.
Meteor Hammer Setup
• Melee: War Hammer, Heartbreaker, or another heavy melee weapon
• Weapon Enchantment: Crash Landing
• Armor Enchantment: Dynamo
• Talismans: Ocelot's Paw, Armadillo Amulet, Fist of Iron
• Optional Armor Enchantment: Somersault on another piece for additional consecutive rolls
At Tier III, Ocelot's Paw increases jumping melee attack damage by 35%. Dynamo reaches 40% amplification per roll effect, while Crash Landing adds its impact and 200% knockback at Tier III.
Somersault can grant up to three additional consecutive rolls, giving a more specialized version of the build extra opportunities to build Dynamo before committing to the jump attack.
Combat Loop
• Roll before entering the pack
• Add additional rolls when there's room to charge Dynamo further
• Jump attack the priority target or center of the group
• Cash out Dynamo and Ocelot's Paw on the same attack
• Crash Landing adds nearby damage and heavy knockback
• Reset your positioning and repeat
This is a different way to use a heavy weapon. Instead of standing still and trading slow attacks, you're constantly creating space, charging the next impact, and diving back into the fight.
Alchemy Reactor: Potion-Fueled Soul Build
Most Soul setups naturally focus on gaining Souls by fighting. Alchemy Reactor adds another source entirely: your Health Potion.
Ancient Alchemy allows you to drink a Health Potion even at full health and grants Souls when you do it. At Tier III, that's 60 Souls per potion activation.
Those Souls can then be fed directly into your Artifact rotation.
Alchemy Reactor Setup
• Armor Enchantment: Ancient Alchemy
• Additional Armor Enchantment: Artifact Amplifier
• Additional Armor Enchantment: Health Synergy
• Talismans: Twisted Tooth, Soul Chip, Essence of Efficiency
• Melee Option: Soul Reaper or another Soul-oriented weapon
• Artifact Direction: Soul Harvester, Cinder Scepter, Corrupted Beacon, or a defensive Soul spender
The build is really four resources feeding one another.
Ancient Alchemy gives you a controlled Soul injection. Twisted Tooth improves Soul generation, Soul Chip increases how many Souls you can hold, and Essence of Efficiency reduces Artifact cooldowns.
Artifact Amplifier rewards the Artifact usage itself, while Health Synergy converts Artifact activation into healing. At Tier III, Health Synergy restores 35% of maximum health whenever you use an Artifact.
Combat Loop
• Build Souls normally while clearing enemies
• Use Ancient Alchemy when you want another Soul injection
• Spend Souls through your Artifacts
• Artifact Amplifier rewards continued Artifact use
• Health Synergy turns those activations into healing
• Refill the Soul pool and repeat
The important distinction is that the potion isn't just your emergency healing button anymore. Ancient Alchemy lets it become part of the build's resource economy even when you're already at full health.
The Minecraft Dungeons 2 Talismans guide has the full Twisted Tooth, Soul Chip, and Essence of Efficiency effects and locations.
Potion Citadel: Health Potion Defense Build
Potion Citadel takes almost the opposite approach. Rather than turning the Health Potion into fuel for offense, it makes drinking one the signal to stop retreating and establish a defensive position.
Barrier Brew creates a Fortifying well when you use your Health Potion, and the potion can be activated even while you're at full health. Bottomless Brew increases the number of Health Potions available, while Glowstone Flask reduces potion cooldown based on the currently documented effect.
Potion Citadel Setup
• Armor Enchantment: Barrier Brew
• Additional Armor Enchantment: Bottomless Brew
• Optional Armor Enchantment: Health Synergy
• Talismans: Glowstone Flask, Sigil of Beeswax, Healing Heart
• Melee: Heartbreaker, War Hammer, or another weapon suited to holding close range
• Artifact Direction: Defensive or crowd-control tools
Barrier Brew's Fortifying well lasts 2 seconds at Tier I, 4 seconds at Tier II, and 6 seconds at Tier III. Bottomless Brew scales from one extra potion to three.
Sigil of Beeswax adds up to 35% maximum health, while Healing Heart restores health after you've remained outside combat for five seconds. The result covers both halves of survivability: surviving the fight and recovering before the next one.
Combat Loop
• Enter normally and hold your potion until pressure builds
• Drink the potion to create the Fortifying well
• Fight from that protected area instead of immediately retreating
• Use Bottomless Brew's additional potion capacity across longer encounters
• Recover between fights through Healing Heart
Buddy Brew can also replace Barrier Brew if you'd rather create a Regenerating well instead of a Fortifying one. That changes the build from damage prevention toward sustained recovery without changing the potion-centered concept.
Bankroll Berserker: Emerald-Powered Damage Build
Bankroll Berserker treats money as equipment.
Thrifty Pendant increases your damage based on the number of Emeralds you're currently holding. At Tier III, it can provide up to a 50% damage bonus when your reserve reaches 9,000 Emeralds.
That completely changes the value of spending. Every large purchase has the potential to reduce the passive damage you're getting from the Talisman until the stockpile recovers.
Bankroll Berserker Setup
• Main Talisman: Thrifty Pendant
• Economy Talisman: Emerald of Good Fortune
• Third Talisman: Sigil of Beeswax or Fist of Iron
• Melee: Pride of the Plains, Twilight Dagger, or another consistent primary weapon
• Weapon Enchantment: Fire Aspect for straightforward additional damage
• Armor Sustain: Health Synergy is a strong option for staying healthy without spending the build's damage slot
Emerald of Good Fortune fits because it gives a chance to receive additional Emeralds, reaching 25% at Tier III. It isn't directly multiplying the Thrifty Pendant bonus; instead, it helps the build accumulate and restore the currency reserve that Thrifty Pendant cares about.
That creates an economic decision most builds don't have.
Bankroll Rule
• Treat 9,000 Emeralds as part of the finished Tier III loadout
• Spending below that point can reduce Thrifty Pendant's damage contribution
• Prioritize purchases that genuinely improve the build instead of buying every marginal upgrade
• Use Emerald of Good Fortune when rebuilding your stockpile
That makes Bankroll Berserker strongest when you're already established and can comfortably hold a large reserve. It's much less attractive during periods where you're constantly spending everything you earn.
Which Build Should You Use for Bosses?
Boss fights don't require throwing away the build you've already made. The better approach is to keep the core interaction and replace one or two utility pieces that were mainly helping with normal packs.
Veiled Executioner can focus more heavily on Dynamo burst when there aren't enough regular enemies to repeatedly trigger Shadowcloak. Permafrost Vortex loses some value if Gravity Pulse has nothing useful to group, so one utility slot can move toward raw damage or defense. Meteor Hammer naturally retains its roll-to-jump burst because the loop doesn't require killing smaller mobs first.
Alchemy Reactor is especially flexible because its Potion-to-Soul interaction doesn't depend entirely on having a large pack available, while Potion Citadel can use its Fortifying area as a safer place to survive difficult boss phases.
For the current encounter list, use the Minecraft Dungeons 2 bosses guide.
You Don't Need Every Best-in-Slot Item for These Builds to Work
The easiest mistake when copying an endgame setup is assuming it doesn't exist until every slot is perfect. Most builds actually come online much earlier.
Identify the smallest combination that creates the interaction, then treat everything else as an upgrade.
Minimum Build Cores
• Veiled Executioner: Shadowcloak + Dynamo
• Permafrost Vortex: Gravity Pulse + Frost Crescent
• Meteor Hammer: Dynamo + Ocelot's Paw + jump attacks
• Alchemy Reactor: Ancient Alchemy + useful Soul-spending Artifacts
• Potion Citadel: Barrier Brew + reliable potion access
• Bankroll Berserker: Thrifty Pendant + enough Emeralds to sustain its bonus
Once that minimum core works, improve the part of the loop that is failing.
If Permafrost Vortex can't activate Gravity Pulse frequently enough, improve Artifact cooldown. If Meteor Hammer spends too much time waiting for another roll, reduce roll cooldown. If Alchemy Reactor constantly empties its Soul bar, add Soul generation or capacity before adding another damage multiplier. If Bankroll Berserker can't stay above its Emerald target, fix the economy rather than pretending another offensive item solves the problem.
That's the biggest difference between a pile of strong gear and an actual Minecraft Dungeons 2 build: every slot should either start the loop, strengthen it, sustain it, or solve the weakness that prevents you from repeating it.
For exact Tier I–III enchantment values, compatibility, and effects, see the Minecraft Dungeons 2 Enchantments guide. For passive bonuses and acquisition, the Minecraft Dungeons 2 Talismans guide covers the full Talisman system.