The best build in Moon Sweepers depends on whether you want to clear ground yourself, earn more money from collected dust, or let machines handle part of the cleanup. For most players, a Mega Vacuum Rover supported by a reliable unloading system is the strongest long-term active cleaning setup. Before you can afford that, a Household Broom with increased capacity offers a much cheaper starting point.
If you prefer automation, Robot Vacuums and conveyors can collect and transport dust without constant manual hauling. Processing machines can then increase the value of that material, although they introduce additional power and logistics requirements.
Below are three practical Moon Sweepers builds, including their equipment, costs, upgrade priorities, and when each is worth using.
Jump To Section:
Best Builds Compared
Best Early-Game Build
Best Money-Making Vehicle Build
Best Automation Build
Best Upgrade Matrix Choices
Which Build Should You Use?
Best Moon Sweepers Builds Compared
Each setup focuses on a different way of making progress. You don't need to purchase all three, and most of their equipment can be incorporated into a larger operation later.
| Build | Key Equipment | Best For |
|---|---|---|
| Budget Cleaner | Household Broom, Capacity Upgrade | Early money and nearby sectors |
| Mobile Money-Maker | Mega Vacuum Rover, Garage, unloading system | Large-scale active cleaning and dust collection |
| Automated Processing | Robot Vacuums, Conveyors, Pressure Chamber | Fixed-area cleaning and processed material |
The first build is inexpensive enough to start almost immediately. The second requires much more money but greatly increases the amount of ground you can clean while driving. The third is more about building a functioning production system than maximizing personal cleaning speed.
Best Early-Game Build: Household Broom and Capacity
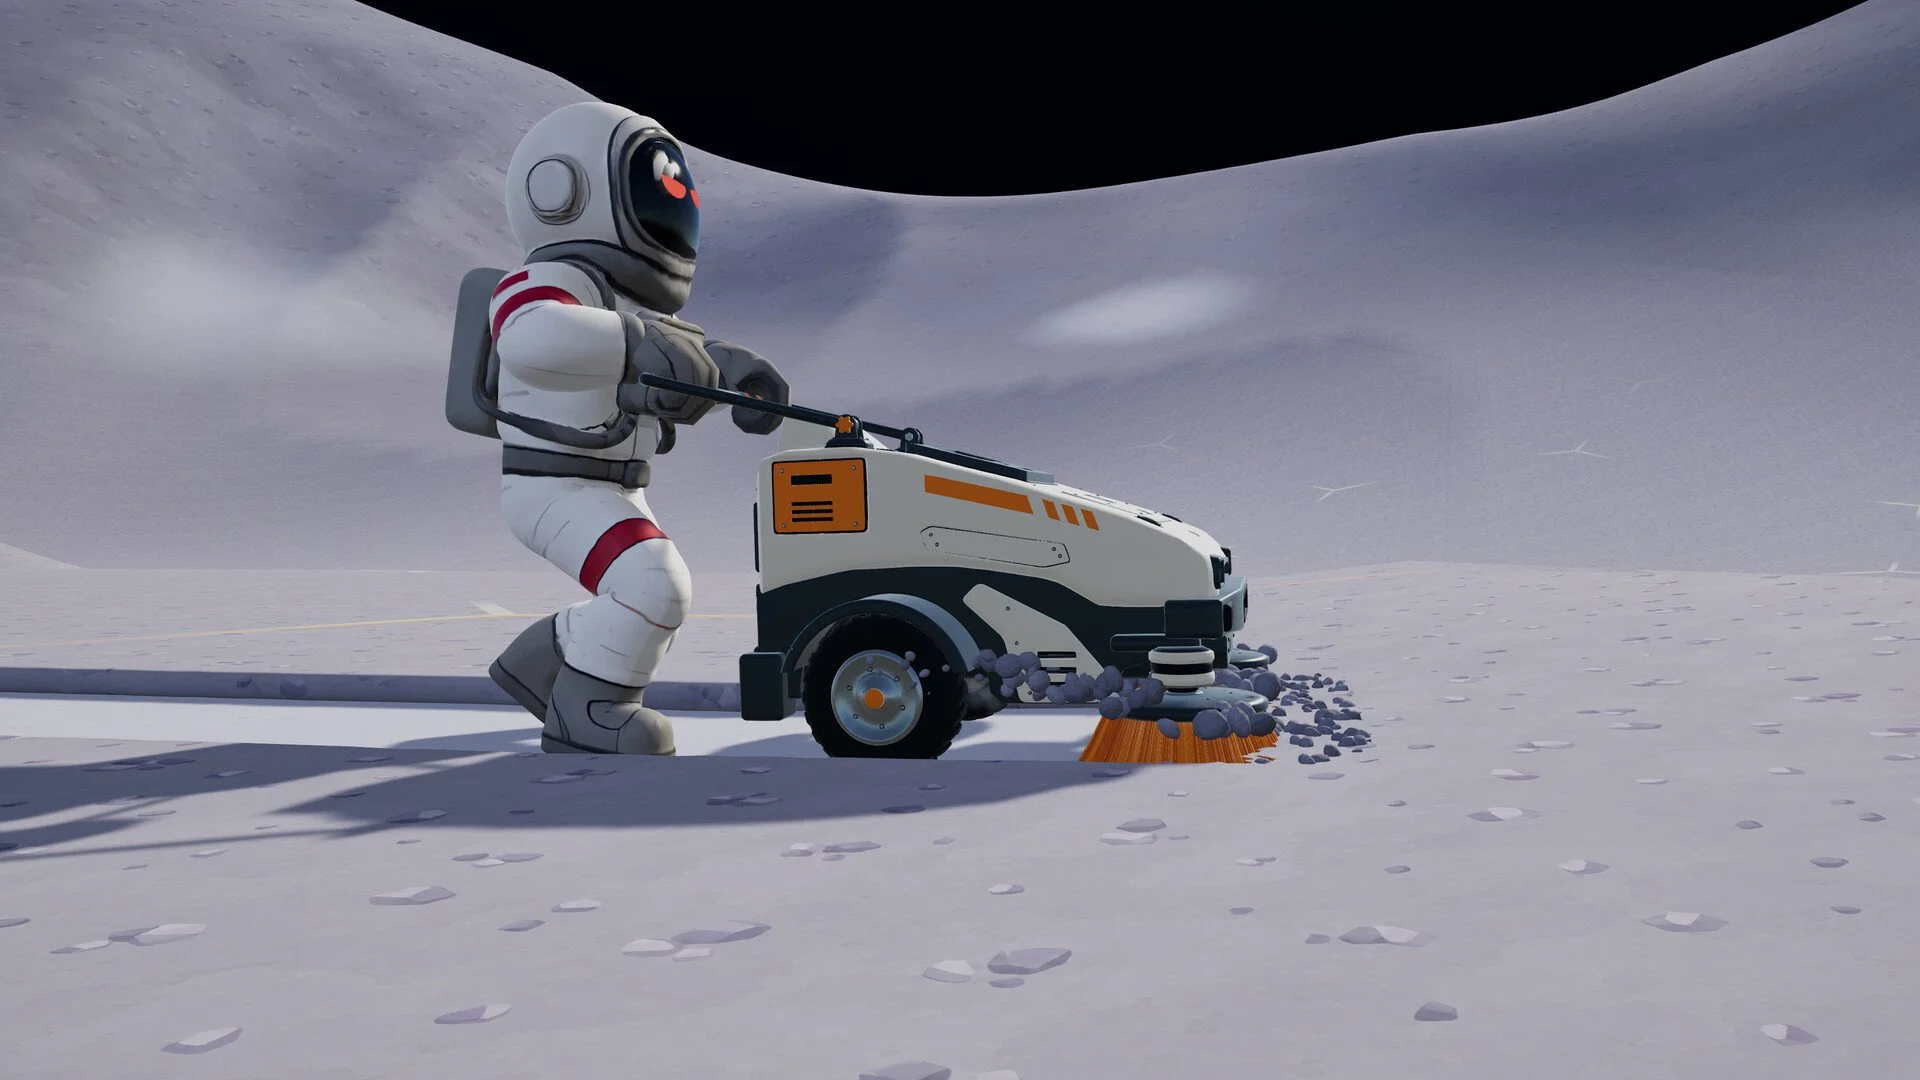
For players who haven't purchased a vehicle yet, the Household Broom is an excellent starting point. It offers a wider cleaning head than the first few brushes without forcing you to spend most of your money on an expensive tool.
- Household Broom — $25
- Household Broom Capacity Upgrade — $30
- Region Bounty — optional Upgrade Matrix investment
- Market Contracts — optional once you're selling dust regularly
The Household Broom's initial container holds approximately 3 kg of dust. Its first capacity upgrade increases that to 6 kg, reducing how frequently you need to stop and package what you've collected.
That combination gives you a more comfortable manual cleaning setup without spending hundreds of dollars on equipment you're about to replace.
How to Play This Build
Concentrate on completing individual sectors instead of leaving several almost clean. The reason is simple: you want the money from dust sales and the separate reward for finishing a cleaning region.
Use the Moon Map to identify partly cleaned sectors and clear their remaining patches before moving too far away.
Once the Household Broom begins feeling too narrow, you have two options. You can upgrade to a Wide Broom for $75 or an Extra Wide Broom for $150, or you can start saving toward vehicle equipment.
I'd avoid spending heavily on every intermediate brush if you're already planning to switch to vehicles soon. The goal of this build is to earn enough money to leave the slowest part of the game behind, not to purchase every handheld tool.
When to Replace This Build
Move on when you're consistently earning money but still spending most of your time sweeping large open sections by hand.
At that point, your cleaning width matters more than another small capacity increase. A vehicle becomes the more meaningful purchase.
Best Money-Making Build: Mega Vacuum Rover
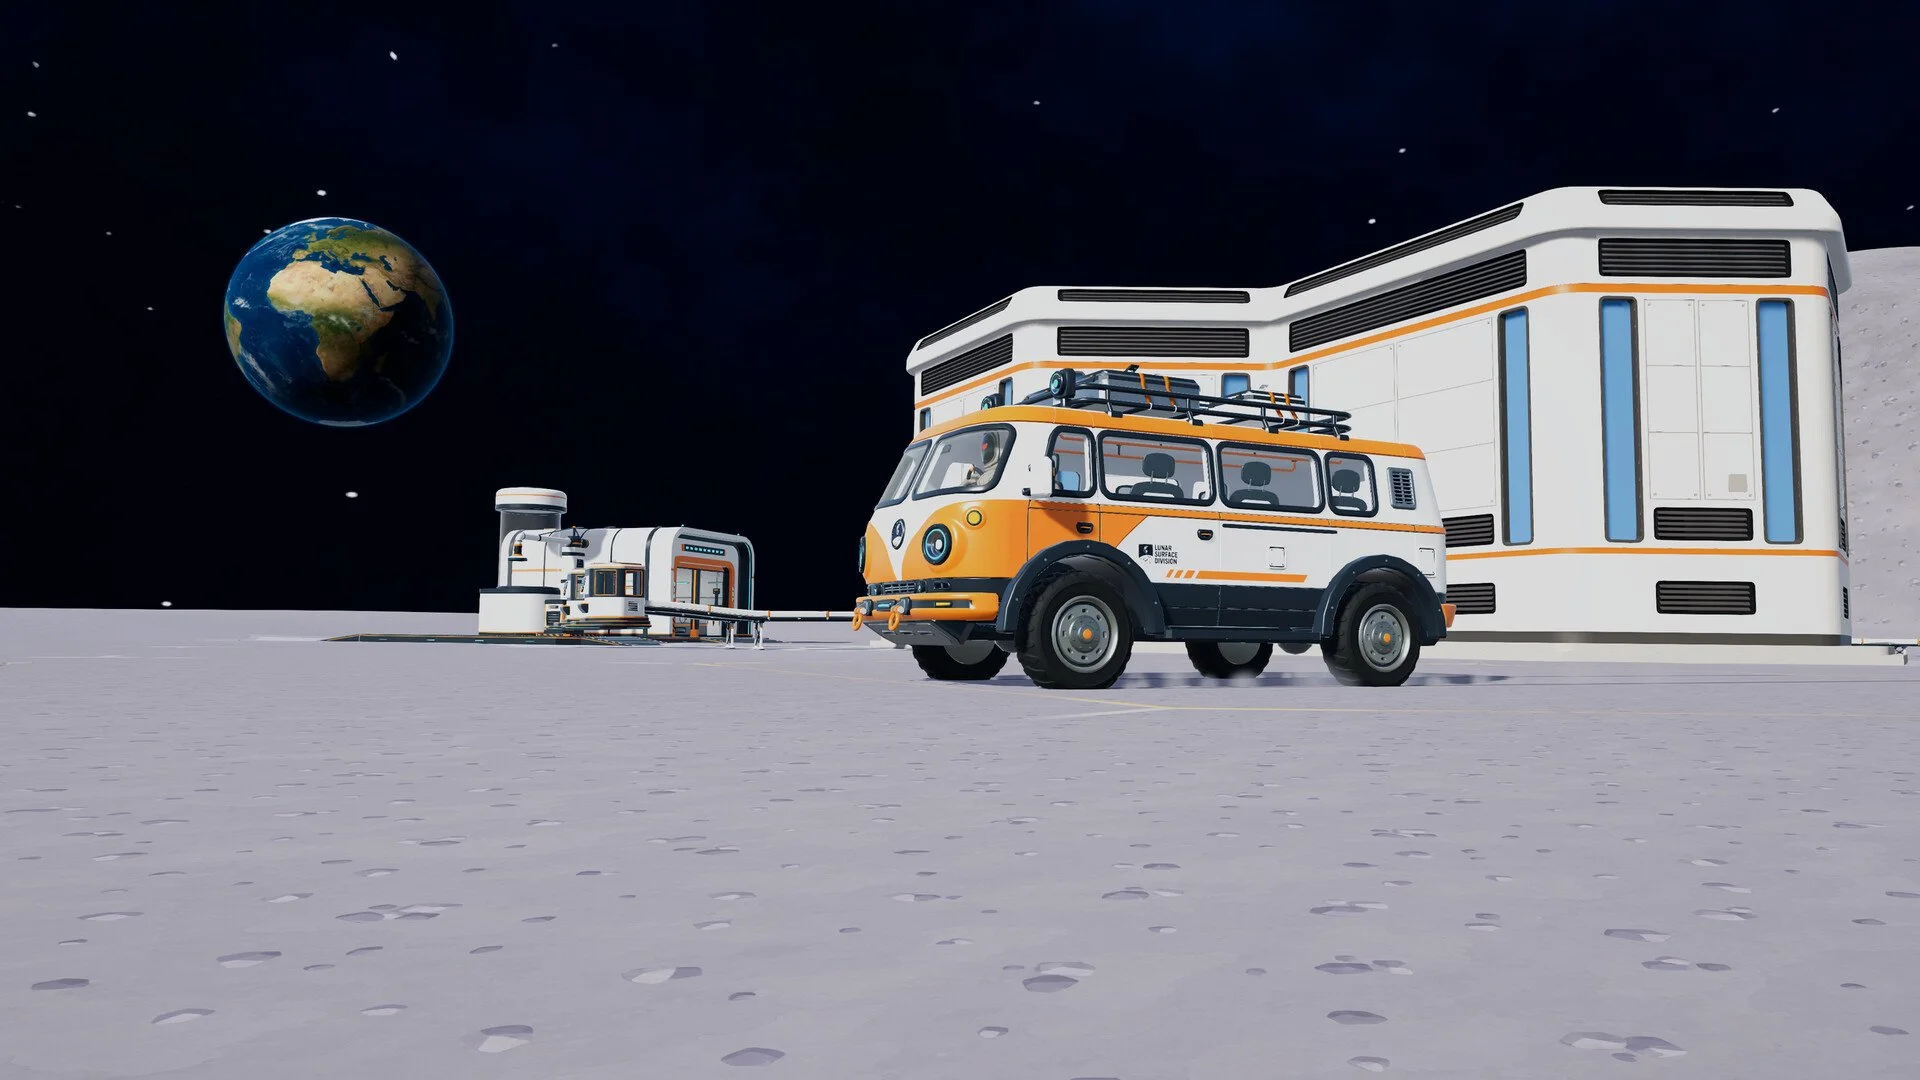
For players who enjoy actively cleaning the Moon, the Mega Vacuum Rover is one of the strongest equipment choices available. It costs $6,000 and starts with a 4-meter cleaning intake and a 3,000 kg dust tank.
Compared with handheld equipment, that provides a substantial increase in the amount of terrain you can cover before unloading.
- Garage — $200
- Mega Vacuum Rover — $6,000
- Collector Pad or suitable vehicle unloading connection
- Conveyor route connected to the Depot
- Suction Control, carrying-capacity, and vehicle performance upgrades
Additional unloading equipment and upgrades are not included in that total.
However, the Rover isn't automatically an effective money-making machine just because it collects enormous quantities of dust. The rest of your setup must be able to receive and sell those loads.
Best Mega Vacuum Rover Upgrades
Instead of purchasing every available vehicle upgrade, prioritize whatever improves your actual cleaning route.
| Upgrade | Why You'd Want It |
|---|---|
| Suction Control | Lets you adjust between wider cleaning coverage and travel speed. |
| Large Bunker / Capacity Upgrades | Helps when the tank fills before you finish a cleaning route. |
| Quick Emptying | Useful when unloading is taking too much time. |
| Tuned Engine | Worth considering when traveling between cleaning areas is slowing you down. |
| Turbo Kit | A later mobility option once collection and unloading are working well. |
For most active cleaning routes, I'd prioritize Suction Control and enough capacity to finish a productive pass. However, if your vehicle already holds more dust than your unloading system can comfortably handle, Quick Emptying and better logistics may be more useful than expanding the tank again.
How to Use Suction Control Efficiently
The Mega Vacuum Rover has a tradeoff between suction width and movement speed. Increasing suction lets you clean a wider area but slows the vehicle down.
Use wider suction when working through dense, untouched terrain where nearly every part of the intake is collecting dust.
When you're traveling across already cleaned ground, increasing speed makes more sense. There's little benefit to maintaining the widest possible suction setting if there's no dust underneath it.
This gives the Rover two different roles: a slower, wide-area cleaner when working and a faster transport vehicle when repositioning.
Don't Ignore the Unloading System
The most important supporting component is a reliable dust delivery route.
A useful layout is:
Mega Vacuum Rover → Vehicle Collector → Conveyor → Depot
Once you have a working unloading connection, you can return with a large haul and send the dust toward the Depot without manually handling every capsule.
If you haven't built that route yet, start with a direct connection before introducing processing machinery.
For the transport setup, see our Moon Sweepers Conveyor Belt Guide.
Is There a Cheaper Vehicle Alternative?
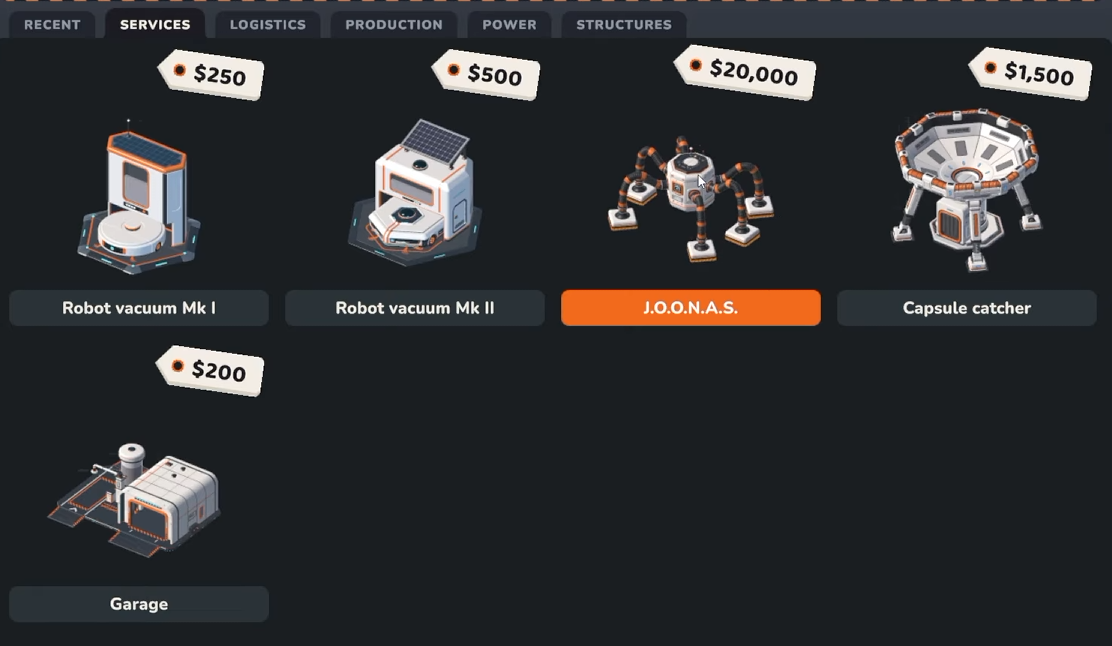
Yes. The Lunar Sweeper costs $2,500 and has a 2.8-meter cleaning strip with a 1,200 kg hopper. Including the $200 Garage, its starting equipment cost is $2,700.
That's a reasonable alternative if you want to begin vehicle cleaning without saving the full $6,200 for the Mega Vacuum Rover setup.
The tradeoff is that you may eventually replace it. If you're already earning enough to approach the Rover's purchase price, saving instead of investing heavily in another vehicle's upgrades can make sense.
Best Automation Build: Robot Vacuums and Dust Processing
If your goal is to have equipment cleaning while you handle other tasks, start with a Robot Vacuum and a direct conveyor route. Add processing machinery only after you confirm that the system is delivering dust consistently.
This is a different type of build from the Mega Vacuum Rover. It sacrifices mobility for automatic cleaning within a defined area.
- Building Tool — $50
- Robot Vacuum Mk I — $250
- Conveyor Belts — $0.50 per meter
- Pressure Chamber — $500, optional processing upgrade
- Solar generation and stored power for processing equipment
- Stone Press — $1,000, optional advanced production
Start With One Robot, Not a Factory
The Robot Vacuum Mk I covers 19 hexes around its dock. Its job is to clean that local area, return with dust, and release capsules that can travel along a conveyor belt.
Connect its dock directly to the Depot before spending more money on processing equipment.
A Robot Vacuum Mk II costs $500 and covers a larger 37-hex area. That extra coverage may be worthwhile later, but a second or larger robot isn't automatically useful if your existing dock has already cleaned most of the surrounding terrain.
Place cleaning robots where their coverage contains plenty of untouched ground. A dock in an already-cleaned area has very little productive work remaining.
Add a Pressure Chamber for Higher-Value Material
After your conveyor route works, you can introduce a Pressure Chamber to convert Moon Dust into Moon Sand.
The chamber costs $500, requires 10 kW of power, and processes up to 5 kg of dust every 12 seconds. Moon Sand has a higher selling value than unprocessed dust, although the actual income benefit depends on how much material your setup supplies and successfully sells.
Connect the incoming dust conveyor to the side of the Pressure Chamber without the handle, then route the finished Moon Sand toward its destination.
Keep in mind that a machine with insufficient power cannot process material continuously. Solar equipment also needs enough stored energy to support production when sunlight is unavailable.
Our Moon Sweepers Pressure Chamber Guide covers the machine's connections and common processing problems.
Upgrade to Moonstone Production Later
For a more advanced factory, the Stone Press costs $1,000 and combines Moon Dust with Moon Sand to produce Moonstone.
It requires both ingredients, so don't send all your dust through the Pressure Chamber.
A practical setup splits the incoming dust into two routes:
- Route one delivers raw Moon Dust directly to the Stone Press.
- Route two sends Moon Dust through the Pressure Chamber and delivers the resulting Moon Sand to the Stone Press.
The Stone Press draws 18 kW, so operating one alongside a Pressure Chamber requires 28 kW for those two processing machines alone. Additional connected equipment will increase the total power demand.
Before expanding to multiple machines, test the output of one working Stone Press. This will tell you whether your collection rate, power supply, and delivery network can actually support more production.
Should You Add J.O.O.N.A.S.?
J.O.O.N.A.S. costs $20,000 and provides a more advanced way to clean beyond a fixed Robot Vacuum dock. It fires collected dust capsules toward a Capsule Catcher, which costs $1,500 and can feed those capsules into a conveyor network.
That makes the combination appealing for large-scale cleanup, but there's an important limitation in the current version.
The developers acknowledged an issue where J.O.O.N.A.S. units can stop working when players move too far away. As a result, I wouldn't build an entire income strategy around unattended J.O.O.N.A.S. units until their long-distance behavior is working reliably.
If you already have the money, try one unit with a properly positioned Capsule Catcher and confirm that it continues collecting dust under your usual playing conditions before purchasing more.
Best Upgrade Matrix Choices for Each Build
The Upgrade Matrix can improve your economy and equipment independently of your main cleaning machine. Rather than following one universal purchase order, choose upgrades that benefit the build you're using.
| Upgrade | Best Use |
|---|---|
| Market Contracts | Improving the return from regular dust shipments. |
| Region Bounty | Players consistently completing cleaning regions. |
| Supplier Network | Reducing costs before several expensive purchases. |
| Wide Head | Players continuing to clean primarily with handheld tools. |
| Dust Compactor | Increasing carrying capacity across multiple tools. |
| Auto Packer | Reducing manual packing interruptions during cleaning. |
Which Economy Upgrade Should Come First?
If most of your income comes from selling large amounts of dust, Market Contracts is an attractive choice. One early upgrade level has been shown costing $120 for a 6% increase to launch payouts.
On the other hand, Region Bounty is more useful when you're repeatedly finishing cleaning regions. An observed tier provided an additional $15 per completed region.
Supplier Network becomes particularly interesting before expensive purchases. An observed level provides a 5% equipment discount. At that rate, a $6,000 purchase would represent $300 in savings if the discount applies to it.
However, don't forget the cost of buying the discount upgrade itself. The benefit needs to exceed that upfront investment before it becomes a net saving.
For a player saving toward expensive machinery, checking Supplier Network before purchasing everything can be more valuable than buying it after the base is already complete.
How Do Builds Work in Multiplayer?
As of Moon Sweepers Patch 1.0.3, the Upgrade Matrix is shared across the crew. Purchasing a matrix upgrade benefits everyone in the host's world.
This is especially useful for economy upgrades, since teammates no longer need to purchase separate matrix levels for the same shared benefit.
Vehicles and personally owned equipment are different. The shared matrix doesn't mean one player's vehicle purchase automatically gives every teammate a copy.
For co-op, a useful combination is one or more players using vehicles to collect large amounts of dust while another player maintains the conveyor and processing network. This works particularly well once the group has a shared supply of money to invest.
What Is the Best Overall Build in Moon Sweepers?
For active cleaning, I'd choose the Mega Vacuum Rover with Suction Control, sufficient tank capacity, a reliable unloading route, and economy upgrades that improve shipment payouts. It provides a strong combination of wide cleaning coverage, mobility, and large dust storage.
For a new save, the Household Broom with its first capacity upgrade is a much more affordable starting build. There's little reason to spend thousands of dollars before you have a dependable way to generate income.
For players who enjoy building machinery, start with a Robot Vacuum and direct conveyor delivery, then expand into a Pressure Chamber and Stone Press once the basic system is working. Treat J.O.O.N.A.S. as a later addition rather than assuming it can currently handle the entire Moon unattended.
No single build has been proven to produce the highest money per minute in every situation. The strongest practical setup is the one that keeps cleaning, transporting, and selling dust without one part of the system constantly holding up the others.