Risk of Rain 2 Enforcer Build Guide
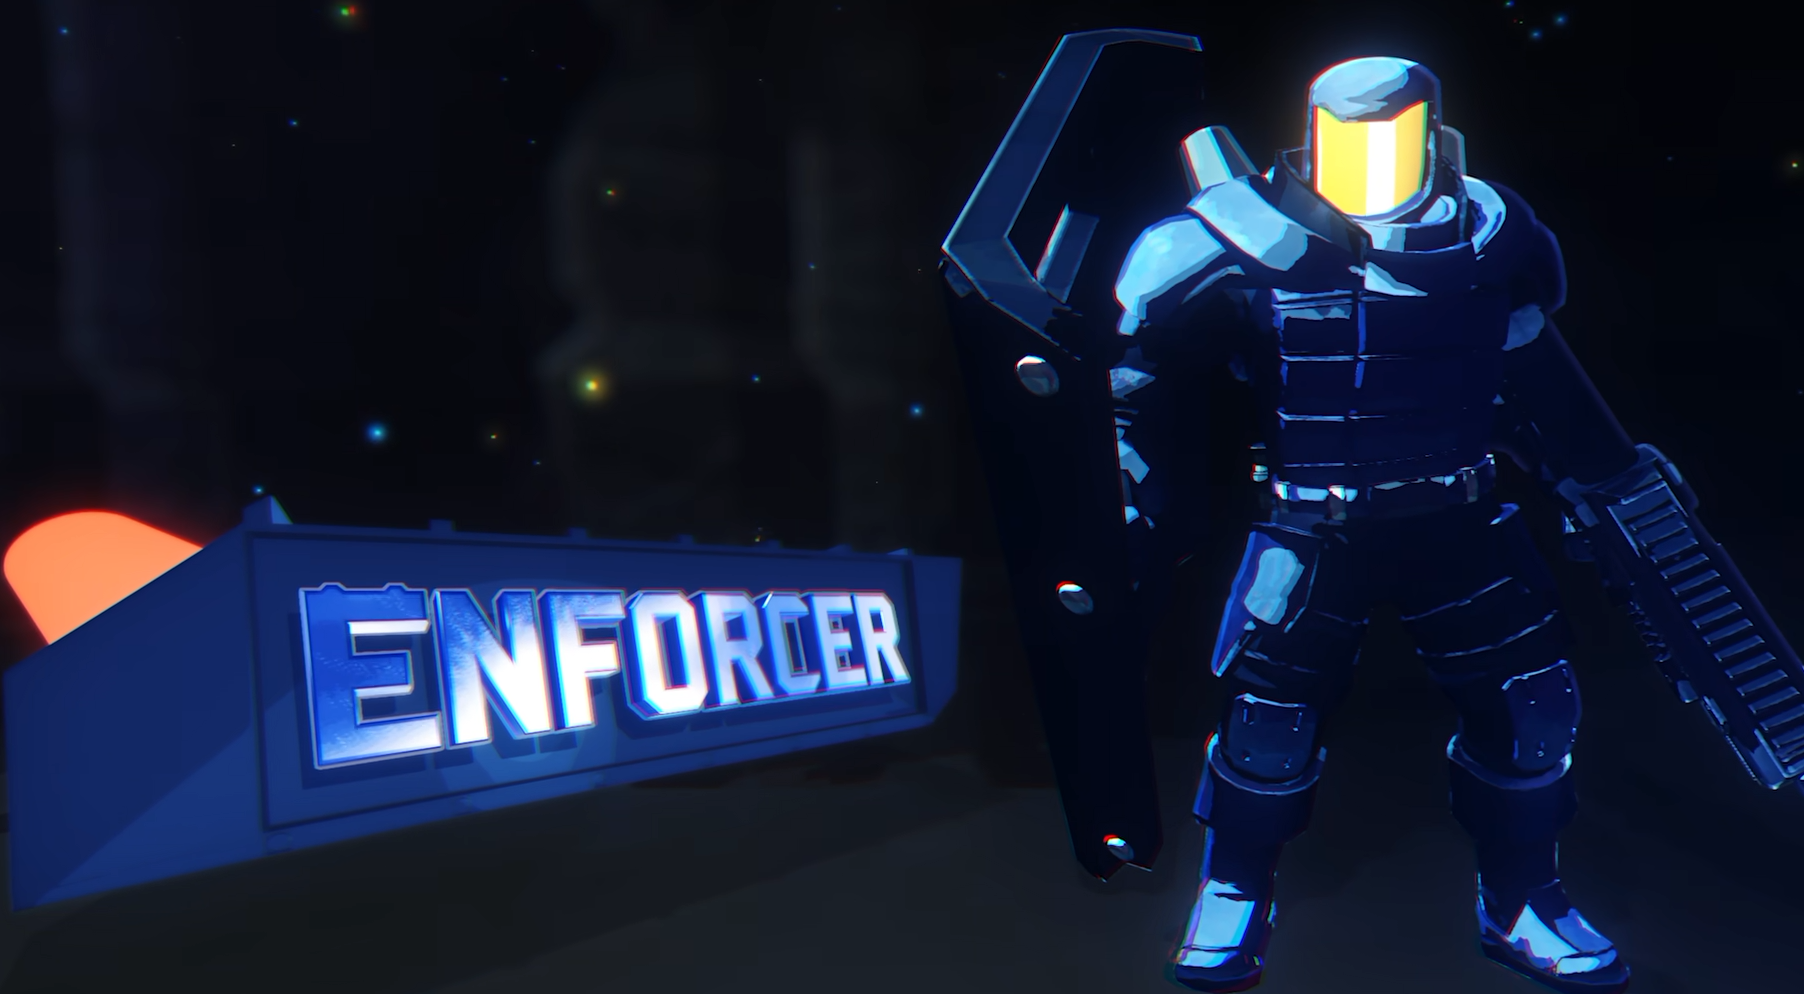
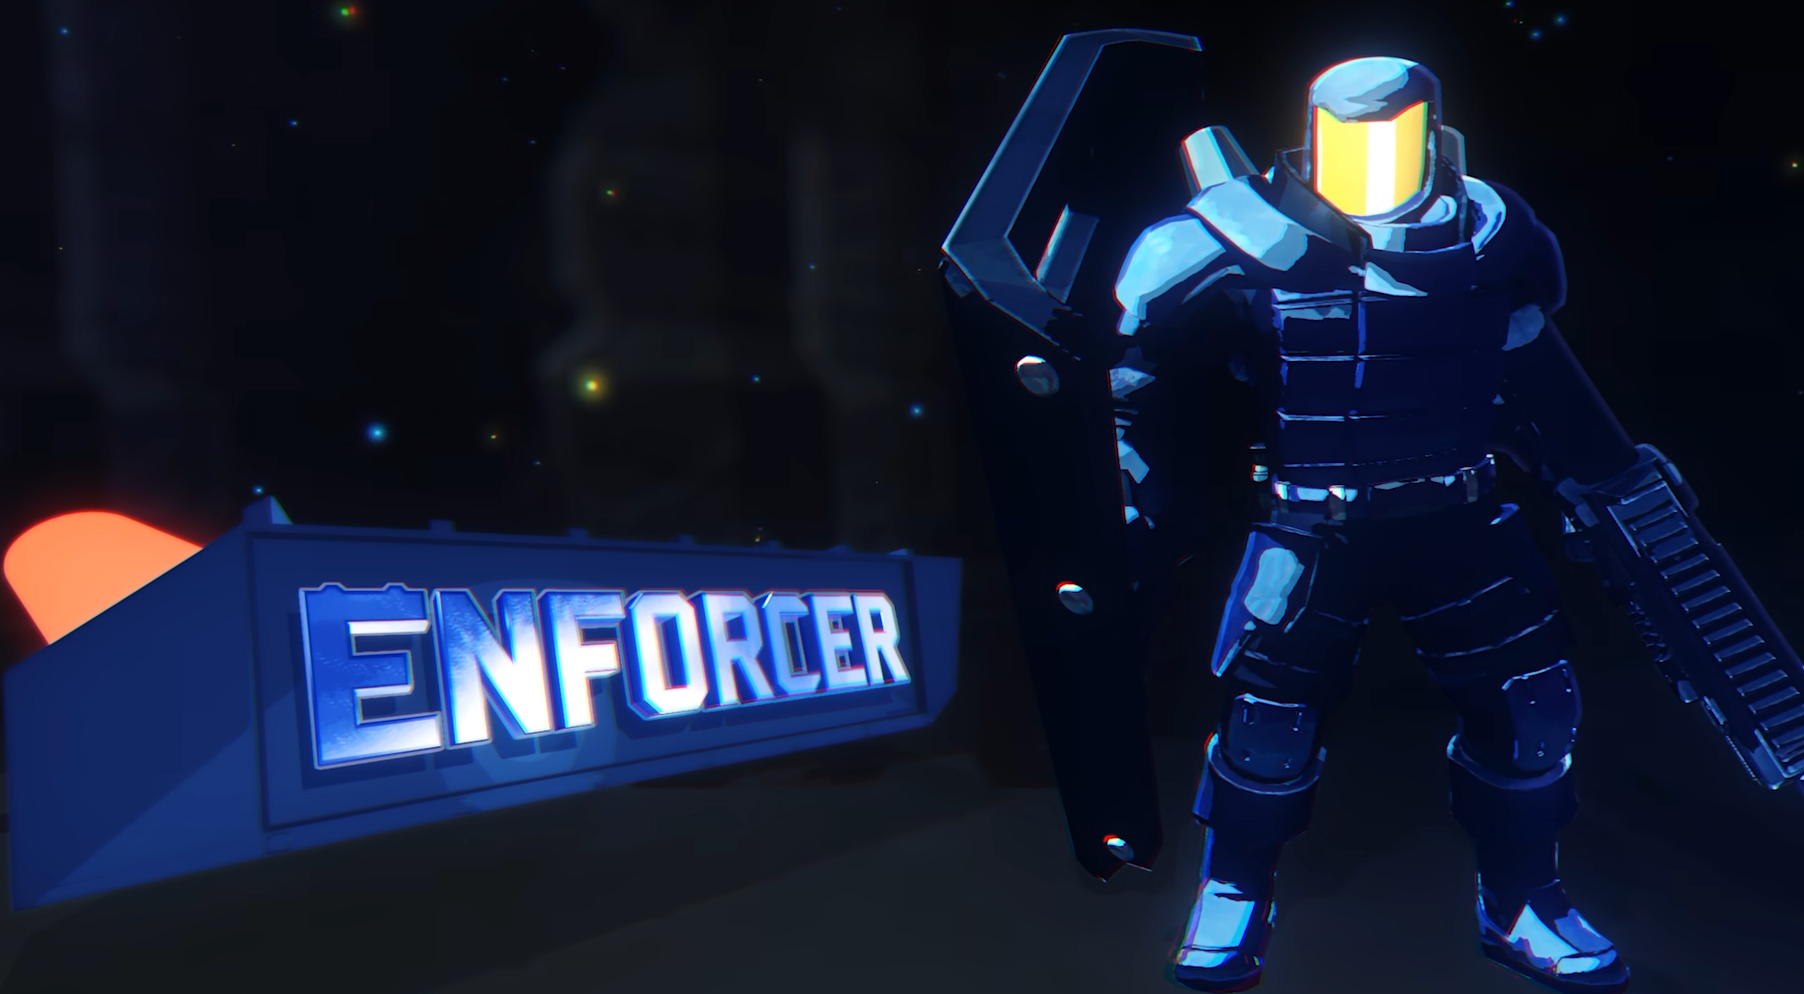
Enforcer is built to absorb pressure that would force most Risk of Rain 2 survivors to retreat, but his shield is only part of what makes the character work. A strong build needs enough mobility to control which direction enemies attack from, attack speed and proc effects to capitalize on Trenchbroom, and items that make Rally Point or Enforcer's alternate barrier mechanics more valuable as a run develops.
Jump To Section:
Best Enforcer Build
Best Enforcer Loadout
Best Items for Enforcer
Steel Protection & Parry
Rally Point Build
Surge Protection Build
How to Play Enforcer
Best Enforcer Build in Risk of Rain 2
The best general Enforcer build uses Trenchbroom, Steel Protection, Shield Tackle, and Rally Point. This keeps the strongest parts of his defensive kit intact while giving him enough mobility to reposition, a fast-firing primary that scales well with attack speed and on-hit effects, and a special that can generate large amounts of barrier during crowded fights.
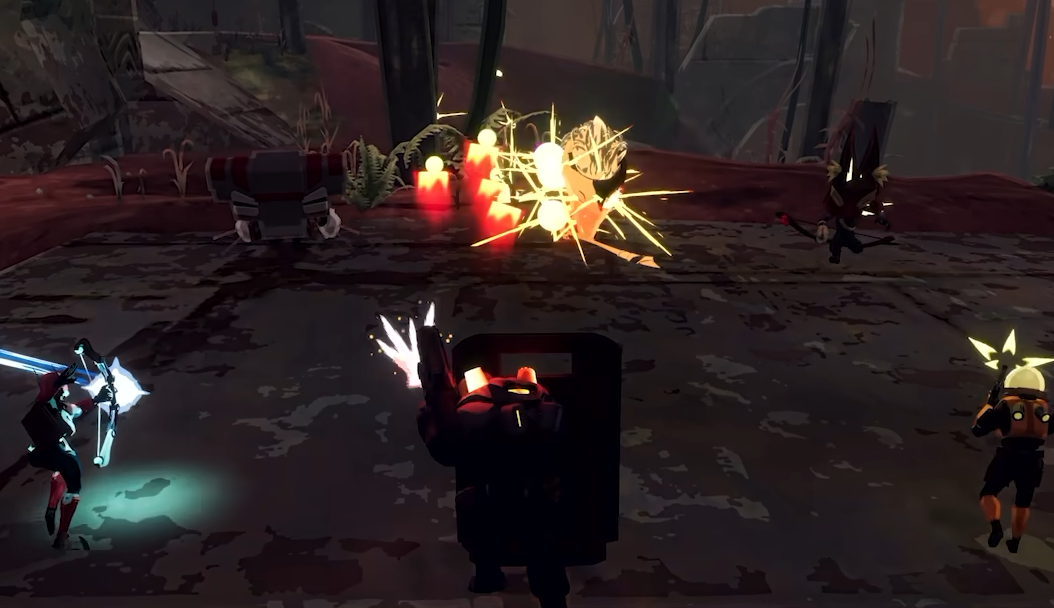
The goal is not to sit permanently behind the shield. Steel Protection is strongest when you can control the direction of incoming attacks, fire from Defensive Stance when the position is safe, then use Shield Tackle to move before enemies surround you. Rally Point gives the build another layer of survivability during teleporter events and other dense fights where kills are coming quickly.
Best Enforcer Loadout
Primary → Trenchbroom
Secondary → Steel Protection
Utility → Shield Tackle
Special → Rally Point
Item Focus → Attack speed, movement, on-hit effects, utility charges, maximum health, barrier
Best Enforcer Loadout
Trenchbroom is the strongest general-purpose primary because its behavior changes when Enforcer enters Defensive Stance. Outside the stance, it fires a 350% damage slug and loads a guaranteed critical Tracer shot when the magazine is completely filled. Inside Defensive Stance, it becomes a much faster piercing weapon that fires six 70% damage pellets at a time.
Attack speed improves both its firing cycle and reload speed, making it one of the most natural stats to build around. The Defensive Stance version also creates repeated opportunities to trigger on-hit effects because of how quickly its piercing shells can connect with multiple enemies.
Steel Protection remains my preferred secondary because it provides the mechanic that defines Enforcer: an unrestricted Defensive Stance that can be exited with a shield bash and timed parry. Shield Tackle then solves one of the biggest problems created by that stance by giving Enforcer two charges of forward mobility that can also block attacks from the front during the charge.
Rally Point rounds out the loadout with a large holdout area that provides barrier when placed and additional barrier as enemies are killed. It is especially effective in teleporter fights, where Enforcer can establish a position and turn every kill inside the beacon into more protection for himself and nearby allies.
Best Items for Enforcer
The best Enforcer items are those that improve attack speed, mobility, proc frequency, utility availability, and the barrier generated by Rally Point. His shield already handles a large amount of frontal damage, so itemization is most useful when it fixes the things the shield does not solve on its own.
Best Enforcer Item Priorities
Attack Speed → Soldier's Syringe, Mocha
Movement → Paul's Goat Hoof, Energy Drink, Hopoo Feather
On-Hit Damage → Ukulele, AtG Missile Mk. 1 and similar proc items
Utility → Hardlight Afterburner
Rally Point → Warbanner, Lepton Daisy, maximum-health items
Barrier Builds → Topaz Brooch, Aegis and other barrier or shield sources
Attack speed is particularly efficient because Trenchbroom's firing and reload timings both improve with it. The same is true for Shrapnel Grenade if you decide to use the alternate primary, so attack speed remains useful regardless of which offensive loadout you prefer.
Movement speed deserves just as much attention. Defensive Stance reduces Enforcer to a fraction of his normal walking speed and prevents sprinting, which means poor positioning becomes increasingly dangerous as enemy density rises. Movement bonuses also increase Shield Tackle's travel distance, giving speed items value both when moving normally and when using the utility skill to escape.
Hardlight Afterburner has one of the clearest direct synergies in the kit. Shield Tackle can consume additional utility charges to extend the duration and distance of the charge, so adding another utility charge gives Enforcer substantially more control over how far he can reposition.
On-Hit Items Work Well With Trenchbroom
Defensive Stance turns Trenchbroom from a slower slug weapon into a rapid sequence of piercing shells, with each pellet retaining a 0.7 proc coefficient. That makes conventional on-hit items much more appealing than they may look when judging Enforcer only by his normal primary attack.
Ukulele, AtG Missile Mk. 1, and other effects triggered by repeated hits benefit from that volume of fire, especially when enemies are lined up in front of the shield. Piercing also means one firing lane can produce hits on several targets rather than forcing Enforcer to work through a crowd individually.
This is one reason I prefer Trenchbroom for the default build. Shrapnel Grenade offers stronger individual explosions and better burst potential, but Trenchbroom creates a more consistent platform for the large pool of on-hit effects available throughout a normal run.
How to Build Around Steel Protection and Parry
Steel Protection does more than simply reduce incoming damage. While Defensive Stance is active, attacks that reach the shield before Enforcer's body are blocked. Reactivating the skill then produces a 300% damage shield bash that stuns and knocks enemies away.
The important mechanic is the parry window around that bash. Attacks blocked immediately before the bash connects can be reflected back toward the attacker, with reflected attacks dealing six times the damage of the blocked hit. Projectiles are sent back directly, while other eligible attacks are returned as a lightning strike.
That reflected damage is based on the incoming attack rather than Enforcer's own damage stat, and the reflection can critically strike using Enforcer's critical chance. This changes how you should think about a parry-focused build: positioning and timing create the damage opportunity in the first place rather than simply stacking more raw damage and holding the shield indefinitely.
The shield is directional, which is why mobility remains so important even on a survivor designed around blocking. If enemies get behind Enforcer or attacks arrive from several angles at once, Steel Protection cannot replace good positioning.
Best Rally Point Build
Rally Point is much stronger than a simple defensive cooldown. Enforcer leaps into the target area, deals 400% damage, and creates a Holdout Beacon that lasts for 16 seconds. Placing it immediately gives allies inside barrier equal to 20% of Enforcer's maximum health, while each kill made from inside the beacon adds another 10% of his maximum health as barrier to everyone within it.
Maximum-health items therefore have an additional benefit on Enforcer because they increase the barrier Rally Point can provide. Bison Steak and Infusion are examples of items that can improve his health pool while indirectly increasing the value of the beacon.
Rally Point also has several unusual item interactions. Placing the beacon activates Enforcer's own Warbanner, Lepton Daisy, and Corpse Lily effects, giving those items added utility when Rally Point is part of the build.
Warbanner is particularly interesting because Rally Point gives Enforcer another way to establish its buff around a fight rather than depending entirely on the usual level-up activation. Lepton Daisy also gains another opportunity to trigger its holdout-zone healing effect when the beacon goes down.
Shrapnel Grenade Is the Best Alternate Primary
Shrapnel Grenade is worth using when you want to trade Trenchbroom's sustained pressure for stronger area damage. The normal grenade deals 500% damage in an explosion, while Defensive Stance changes it into a cluster grenade that splits into three 300% damage bomblets.
Those larger individual hits also make the weapon better suited to items that reward heavy single attacks. Runald's Band and Kjaro's Band fit this version of Enforcer more naturally than the standard Trenchbroom setup because Shrapnel Grenade can meet their damage requirement without relying on another skill.
The tradeoff is consistency. Trenchbroom gives you more frequent hit and proc opportunities, while Shrapnel Grenade is better when enemies are grouped tightly enough for its explosions to do meaningful work.
Surge Protection Barrier Build
Surge Protection enables a completely different Enforcer build centered around accumulating barrier and shield, then converting that extra health into an explosion.
The stance lasts for up to five seconds and gives Enforcer barrier equal to 50% of the damage blocked by the expanded shield. When the stance ends, all of his current barrier and shield are consumed to create an explosion whose damage and radius increase with the amount spent.
This makes external barrier generation much more important than it is on the normal Steel Protection build. Topaz Brooch can generate barrier as enemies die, Aegis can turn excess healing into another source of barrier, and shield items can contribute because Surge Protection consumes shield as well.
Rally Point also creates an interesting setup for this build. Because the beacon supplies barrier based on Enforcer's maximum health and continues granting more as kills occur, you can build barrier during a crowded fight and later cash that resource into a Surge Protection detonation.
I would still use Steel Protection for the most consistent general build. Surge Protection asks you to manage another resource and deliberately sacrifice your extra health for damage, but it has a much higher payoff when a run gives you enough barrier and shield generation to support it.
Crash Point Is the Best Offensive Special Alternative
Crash Point replaces Rally Point's sustained defensive value with a much shorter cooldown and immediate burst. Enforcer launches into the air and crashes down for 700% damage in a 15-meter radius, stunning enemies and pulling them toward the point in front of his landing.
It is a better fit when you want to keep moving instead of establishing a defensive zone. The short seven-second cooldown also gives Enforcer another way to move vertically, cross terrain, and interrupt groups without waiting for Shield Tackle.
Because Crash Point delivers a large single hit, it also works naturally with Runald's Band and Kjaro's Band. The tradeoff is losing Rally Point's barrier generation, item interactions, and value during longer holdout fights.
How to Play the Enforcer Build
Enforcer works best when Defensive Stance is treated as a position you establish rather than a mode you never leave. Find a direction that keeps most threats in front of you, enter Steel Protection, and use Trenchbroom to pressure enemies through the shield. Once enemies begin spreading around you, leave the stance and reposition before the advantage disappears.
Shield Tackle should be saved as much for escape and angle changes as it is for damage. It blocks attacks from the front while charging and can carry enemies along the route, making it one of Enforcer's best tools for breaking out when a defensive position collapses.
Against dangerous single attacks, practice leaving Steel Protection through the parry window instead of simply blocking everything. A successful reflection can turn an enemy's own heavy attack into one of Enforcer's strongest sources of burst damage.
During teleporter events and other crowded fights, Rally Point gives the default build its strongest sustained position. Drop the beacon where kills will occur consistently, keep enemies in front of the shield, and allow the repeated barrier generation to make the position increasingly difficult to break.
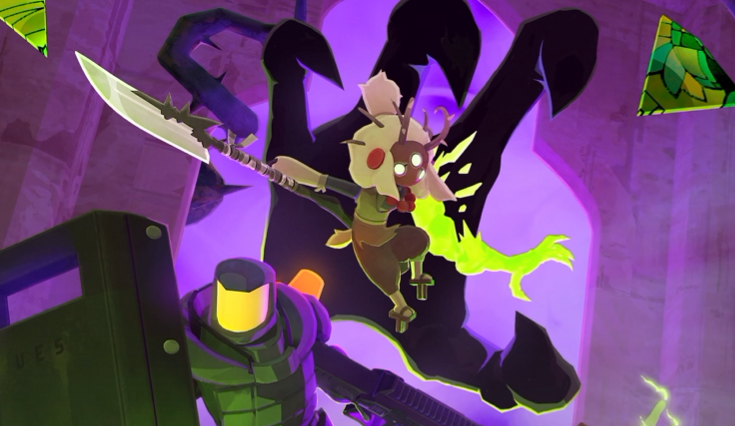
If you are also trying the other survivor introduced with Hallowed Concepts, the Risk of Rain 2 Acolyte build guide covers her best items, loadout, recoverable health mechanics, and Dark Summons build. Players who still need her can use the Acolyte unlock guide first.