Risk of Rain 2 Enforcer Burning Lead Guide
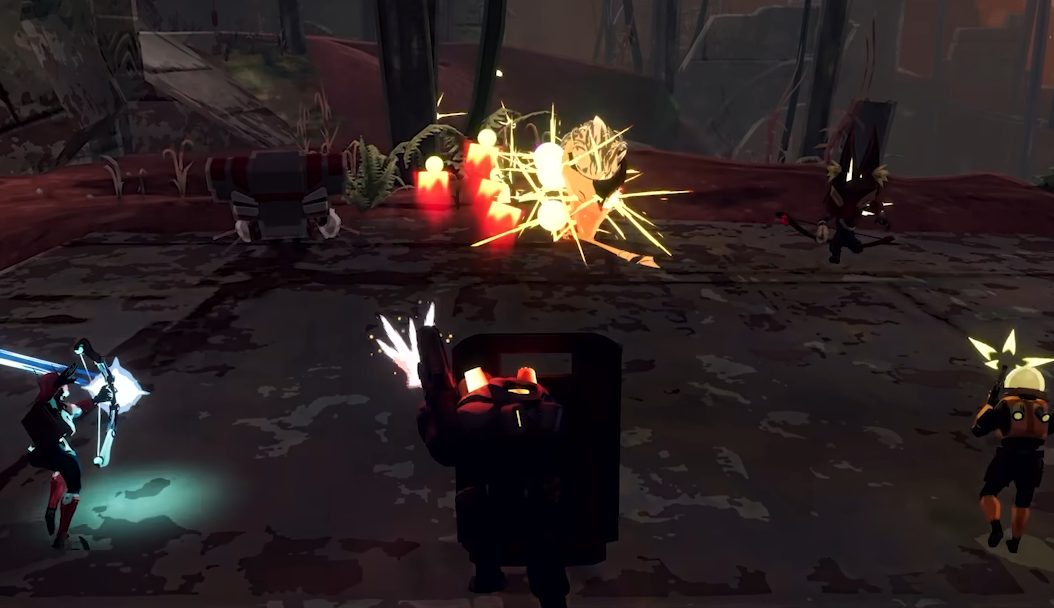
Enforcer: Burning Lead unlocks Shrapnel Grenade for Enforcer, but the challenge description leaves out an important restriction that can make a seemingly successful attempt fail. You need a Magma Worm and enough fire rate to land 24 qualifying Trenchbroom shots in a short window, while also avoiding so much damage that the Worm dies before the counter finishes.
Jump To Section:
How to Complete Burning Lead
Why Your Hits May Not Count
Best Setup for Burning Lead
Finding a Magma Worm
Burning Lead Reward
How to Complete Enforcer: Burning Lead
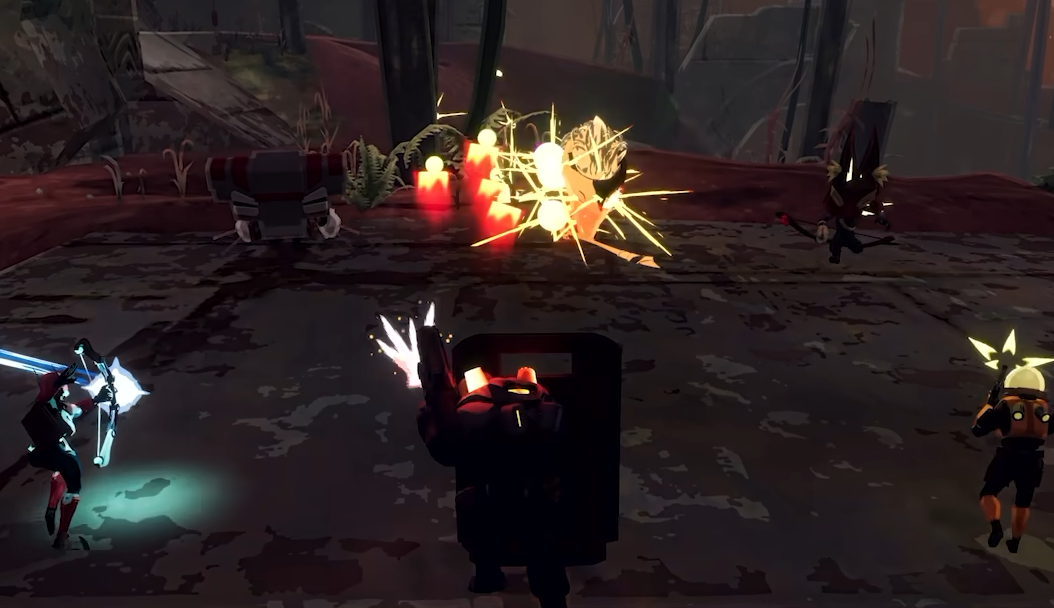
To complete Enforcer: Burning Lead in Risk of Rain 2, hit a regular Magma Worm with 24 Trenchbroom shots within any 12-second window while firing from Defensive Stance. Only the Defensive Stance version of Trenchbroom counts, so normal slugs fired while Enforcer's shield is down will not advance the challenge.
The safest approach is to build attack speed without stacking too much extra damage, wait for a Magma Worm, enter Defensive Stance, and keep Trenchbroom firing into the Worm whenever it surfaces. Completing the challenge unlocks Shrapnel Grenade for Enforcer and awards three Lunar Coins.
Burning Lead Requirements
Play as Enforcer.
Fight a regular Magma Worm.
Enter Defensive Stance with Steel Protection or Surge Protection.
Hit the Magma Worm with 24 Trenchbroom shots within 12 seconds.
Unlock Shrapnel Grenade.
Why Your Burning Lead Hits May Not Count
The biggest trap is that the challenge description does not fully explain which Trenchbroom attacks qualify. Only shots fired while Enforcer is in Defensive Stance count toward Burning Lead.
Outside the stance, Trenchbroom fires its normal 350% damage slug. Those shots do not count at all, even though they are still technically Trenchbroom attacks. You need to activate Steel Protection or Surge Protection first so Trenchbroom changes into its rapid-fire Defensive Stance version.
Each shot also counts only once. Defensive Stance Trenchbroom fires multiple pellets, but landing several pellets from the same trigger pull does not give several points of challenge progress.
There is another positioning issue to watch for: the challenge counts the first enemy pierced by the shot. If another monster is between Enforcer and the Magma Worm, the shot can hit that enemy first and fail to count toward Burning Lead. Try to keep a clean firing lane whenever the Worm emerges.
Best Setup for Enforcer: Burning Lead
Attack speed is the most useful stat for Burning Lead because you are racing a 12-second timer rather than trying to maximize damage per hit. Trenchbroom's firing and reload speeds both improve with attack speed, so increasing it directly makes the challenge easier.
At the same time, avoid turning the run into a high-damage proc build before you find the Worm. The challenge becomes awkward if Ukulele chains, missiles, bands, or other damage effects kill the boss before you have enough qualifying hits.
If you are using Artifact of Command specifically to finish the challenge, prioritize attack speed and utility rather than raw damage. Community players have also had success using Backup Magazines so Enforcer can switch Defensive Stance more freely. Leaving Defensive Stance fully reloads Trenchbroom, which gives you another way to keep shots coming without sitting through a complete magazine reload.
Recommended Burning Lead Setup
Prioritize attack speed.
Avoid unnecessary proc damage.
Keep your overall damage moderate until the challenge is complete.
Use Backup Magazines if available for additional secondary charges.
Keep other enemies out of your firing line.
The Risk of Rain 2 Enforcer build guide covers the normal item priorities and loadouts worth using once you are no longer deliberately building around Burning Lead.
How to Make the Magma Worm Attempt Easier
The other half of Burning Lead is simply getting the right boss at the right point in the run. Only the normal Magma Worm qualifies. An Overloading Worm will not complete the challenge, even if you land more than enough shots.
Ideally, attempt Burning Lead around the middle of the run, when you have accumulated enough attack speed to comfortably fire 24 times but have not yet built enough damage to erase the Worm immediately. Players attempting it naturally have reported good results around Stage 3 or Stage 4 for that reason.
If you are using Artifact of Command, the process is much more controlled because you can deliberately select attack-speed items while avoiding high-damage proc chains. Without Command, scrappers and printers can help reshape an overly damaging build if you happen to find a Magma Worm later than expected.
You Do Not Need 24 Hits From the Start of the Fight
Burning Lead tracks any rolling 12-second window. You do not need to begin counting from the moment the Magma Worm spawns or immediately land 24 uninterrupted attacks.
Instead, focus on the period when the Worm is exposed long enough to maintain contact. Once you begin landing Defensive Stance shots, you need 24 of those qualifying hits to exist within the same 12-second span. Older hits simply fall out of the counter once they are more than 12 seconds old.
This also means a messy first pass does not ruin the attempt. Reposition, wait for another good emergence, and start another sustained firing sequence.
What Does Burning Lead Unlock?
Completing Enforcer: Burning Lead unlocks Shrapnel Grenade as an alternate primary skill for Enforcer.
Shrapnel Grenade changes his primary from Trenchbroom's sustained firearm pressure into a more explosive setup. Outside Defensive Stance it fires an arcing grenade for 500% damage, while the Defensive Stance version becomes a cluster grenade that splits into three 300% damage bomblets.
That makes Burning Lead worth completing even if you prefer the default Trenchbroom for most runs. Shrapnel Grenade provides a substantially different way to build Enforcer, particularly when you want stronger individual hits and area damage instead of rapid piercing fire.