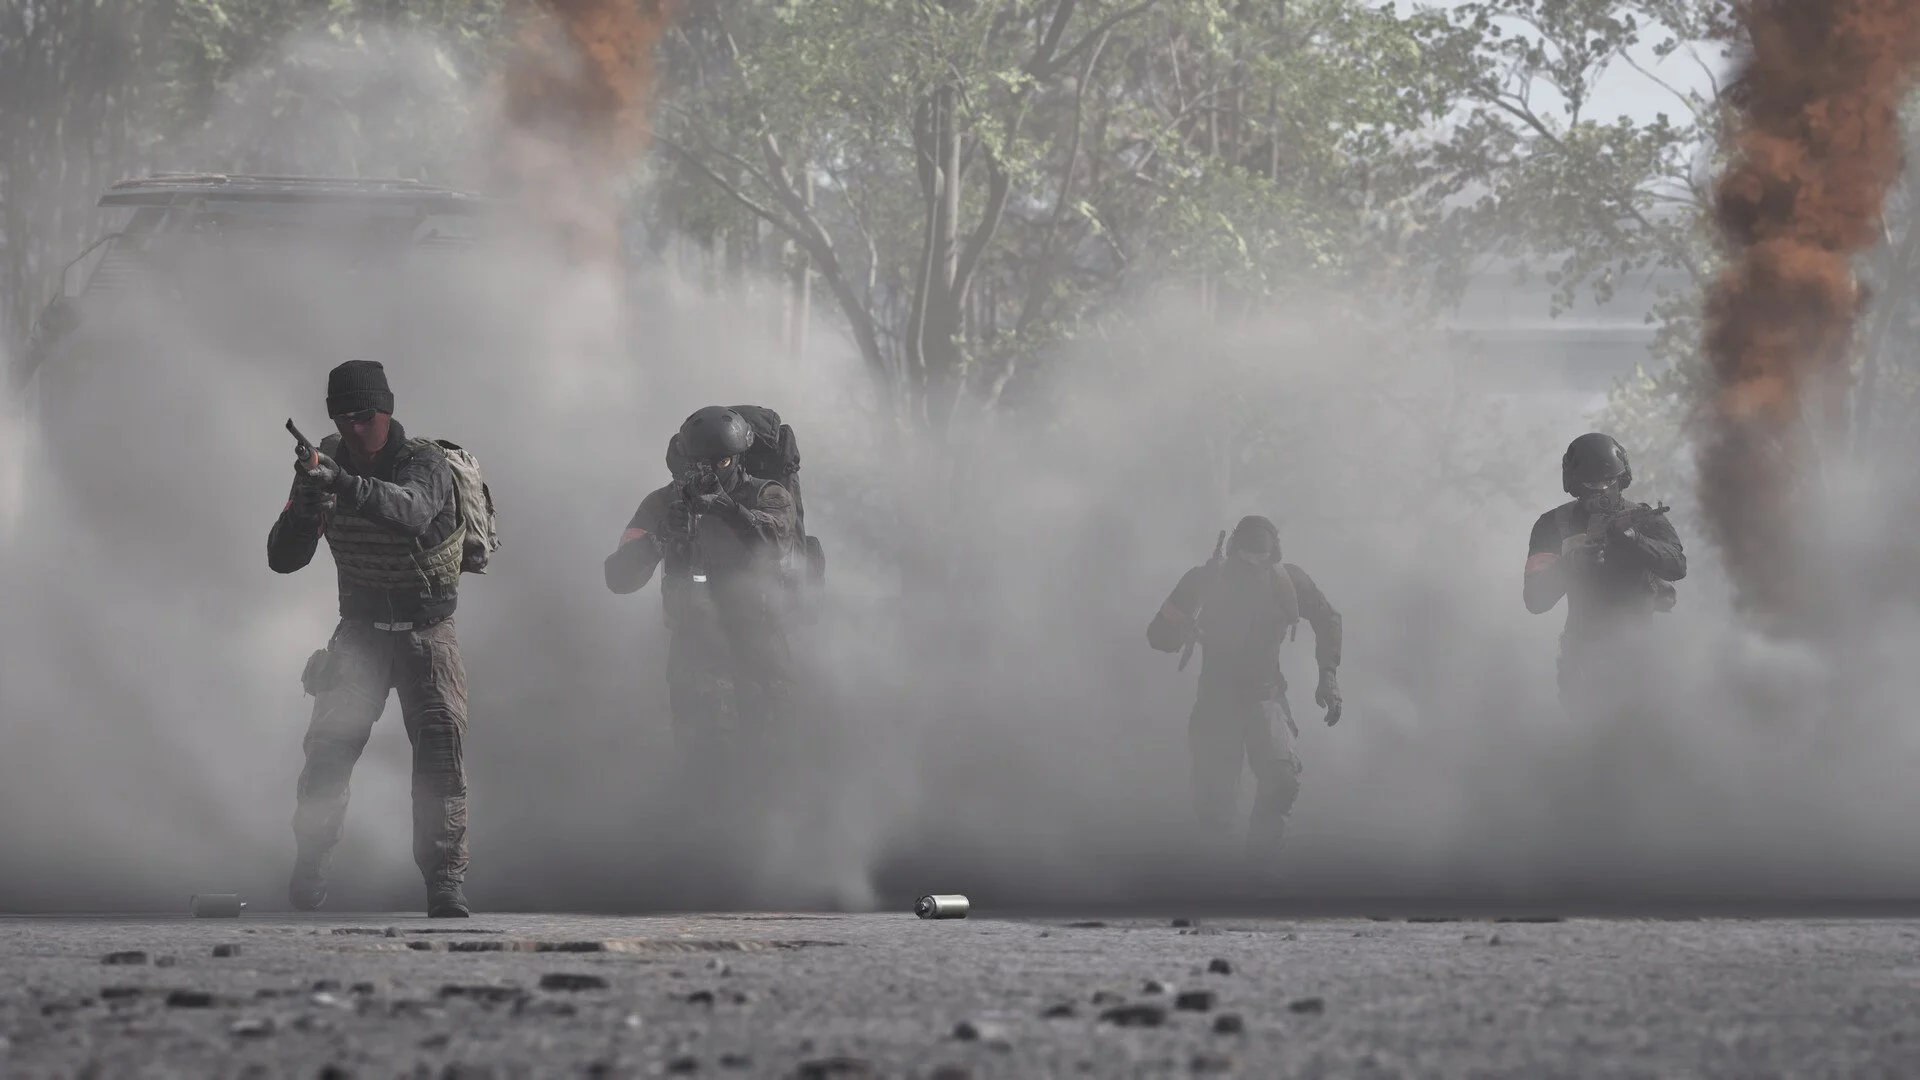
WARDOGS How to Capture a Tower
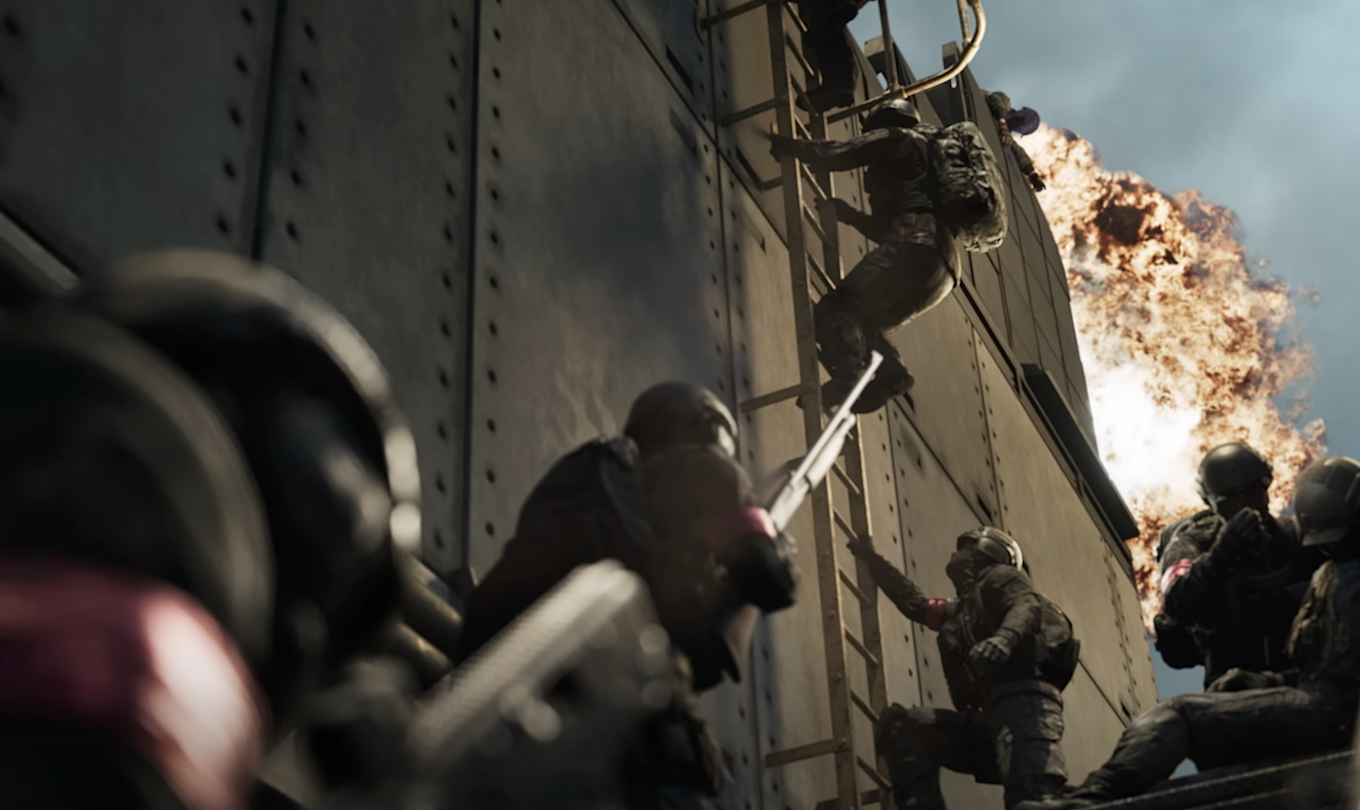
Towers in WARDOGS look like objectives you should capture by occupying the building, but standing inside one won't do anything. The actual interaction is tucked inside the tower, and taking it matters for much more than changing ownership. Towers are tied directly to the code system that lets your faction influence where the Hot Zone moves.
Jump To Section:
Find the Tower Console
What You Get From Capturing It
How Tower Codes Affect the Hot Zone
When to Hold a Tower
Does the Tower Code Change?
Towers Aren't the Only Hot Zone Option
Find the Console Inside the Tower and Press F
To capture a tower in WARDOGS, enter the building and make your way to the server-room area, reported by players to be around the third floor. Look for the large interactive console and press F when the prompt appears.
You do not need to stand inside a capture radius, wait on the roof, or clear every floor and hope a progress bar appears. The console is the objective.
Tower Capture
Enter the tower
Reach the server-room area
Find the large console
Press F to interact with it
Check the console for the revealed code digit
If you've reached the rooftop or sniper positions without seeing anything happen, head back down and check the interior floors. The capture interaction is inside the structure.
The Reward Is a Piece of the Hot Zone Code
Taking a tower reveals a digit used in your faction's Hot Zone code. The information appears on the same panel involved in capturing the tower.
That makes towers fundamentally different from a normal control point. You're not just fighting over territory for the sake of owning it. Each successful capture gives your faction information that can eventually be turned into control over the match's main scoring objective.
Capturing several towers therefore does two jobs at once: it builds your own code while making it harder for the other factions to collect theirs.
Players have also reported that when a map contains enough towers, a faction with most of the digits can sometimes guess the final number instead of taking every remaining tower. Don't count on that every match, though. The number of towers can vary, and maps with fewer towers can force you to collect the complete set.
A Completed Code Lets Your Team Pull the Hot Zone to a Tower
Once your faction has the required code, it can be entered at a tower to attract the Hot Zone toward that position for a period of time.
This is where towers become much more valuable than they initially look. Instead of constantly reacting to wherever the Hot Zone appears, your faction can potentially bring the fight toward ground it already controls.
A prepared tower can give you defenders already in position, nearby fortifications, better firing angles, established transport routes, and a shorter response time when the Hot Zone arrives.
None of that replaces actually occupying the objective. Community testing indicates that players inside the Hot Zone are what ultimately matter for scoring. Pulling the zone to your tower and then leaving it empty defeats the entire point.
Think of tower control as creating a favorable fight, not automatically winning one.
You Don't Need Half the Team Camping Every Tower
Once you've captured a tower, whether you should stay depends on what your faction is trying to do next.
If you're still protecting an important code digit, waiting to activate the Hot Zone, or expecting another faction to contest the console, holding the building makes sense.
If the information has already been secured and the active fight has moved elsewhere, sitting upstairs for ten minutes can accomplish very little.
I would treat towers like infrastructure. Take them when they advance your Hot Zone plan, defend the ones your team actually needs, and leave when your presence would matter more at the scoring objective.
Tower fights also tend to mix close-range interiors with long exterior sightlines. If you're struggling to find something that works in both situations, the WARDOGS best guns tier list covers the current weapon options and where they fit best.
The Community Doesn't Agree on Exactly When Codes Reset
There are conflicting player reports about the lifespan of a tower code.
Some players say the same code remains usable throughout the match or round. Others report that activating the Hot Zone causes the code to change, requiring your faction to collect fresh digits before moving it again.
Because both behaviors have been reported, don't assume an old code is still valid after your team has already used it. Check the captured tower panels again before committing players to another code attempt.
That also makes controlling multiple towers useful even after the first successful Hot Zone pull. If the information refreshes, owning those positions gives your faction a head start on the next sequence.
Later, a Drill Can Give Your FOB Similar Control
Tower codes are not the only reported way to influence the Hot Zone.
At Engineer Level 7, players report being able to build a Drill inside a friendly FOB. Supply it with fuel and the Drill can pull the Hot Zone toward that FOB instead.
The advantage is obvious: you can build around a position chosen by your team rather than relying entirely on fixed towers. The downside is that a Drill needs more infrastructure. You need the Engineer unlock, a functioning FOB, construction, fuel, and enough players to keep the whole setup alive.
Towers are much more immediate. Find the console, press F, secure the digit, and your faction has another piece of the system that controls where everyone may be fighting next.
That is why learning the console location is worth doing early. A tower isn't just a tall building with good sniper angles — it can become one of the main tools your faction uses to stop chasing the Hot Zone and start deciding where the fight happens.