Mistfall Hunter Mercenary Build Guide
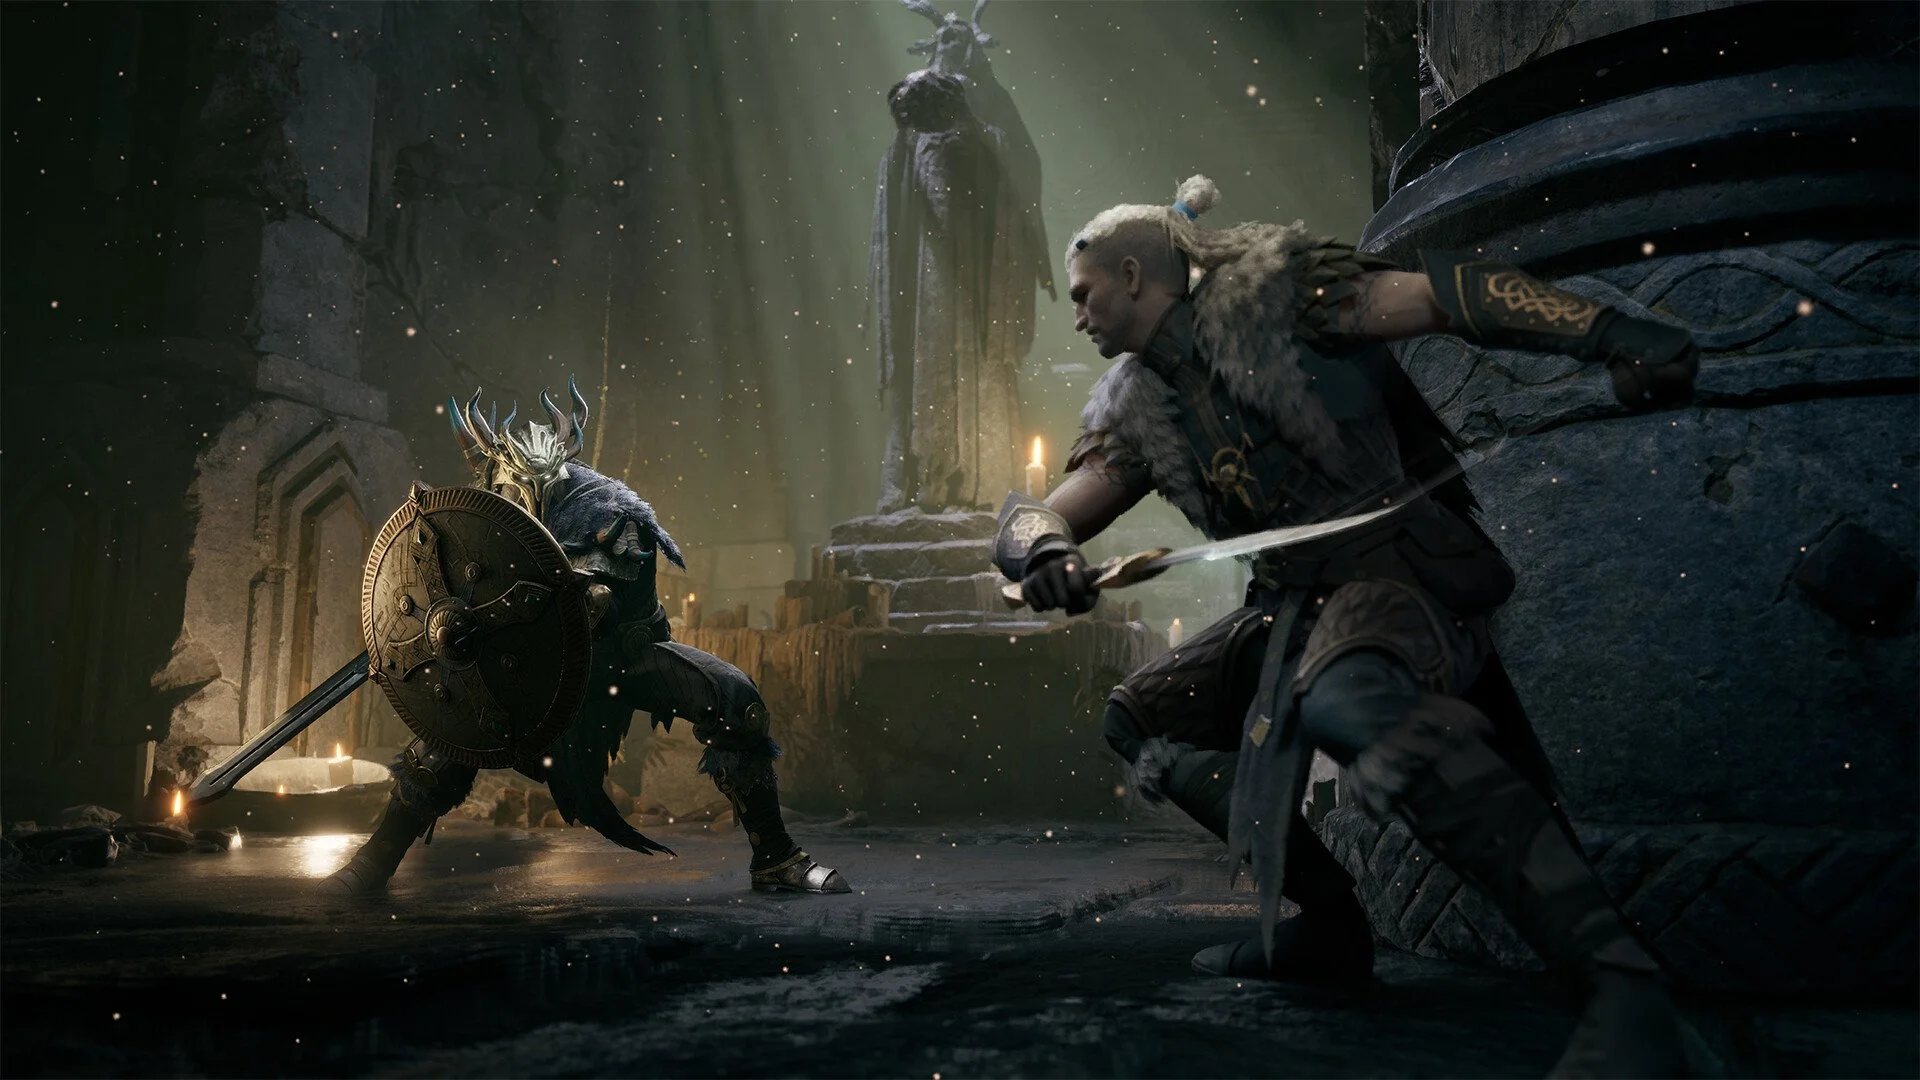
The Mercenary works because it can survive the kind of imperfect fights that regularly happen in Mistfall Hunter. It has enough protection to absorb an unexpected attack, but it can still build toward heavy damage instead of spending an entire encounter hiding behind a shield.
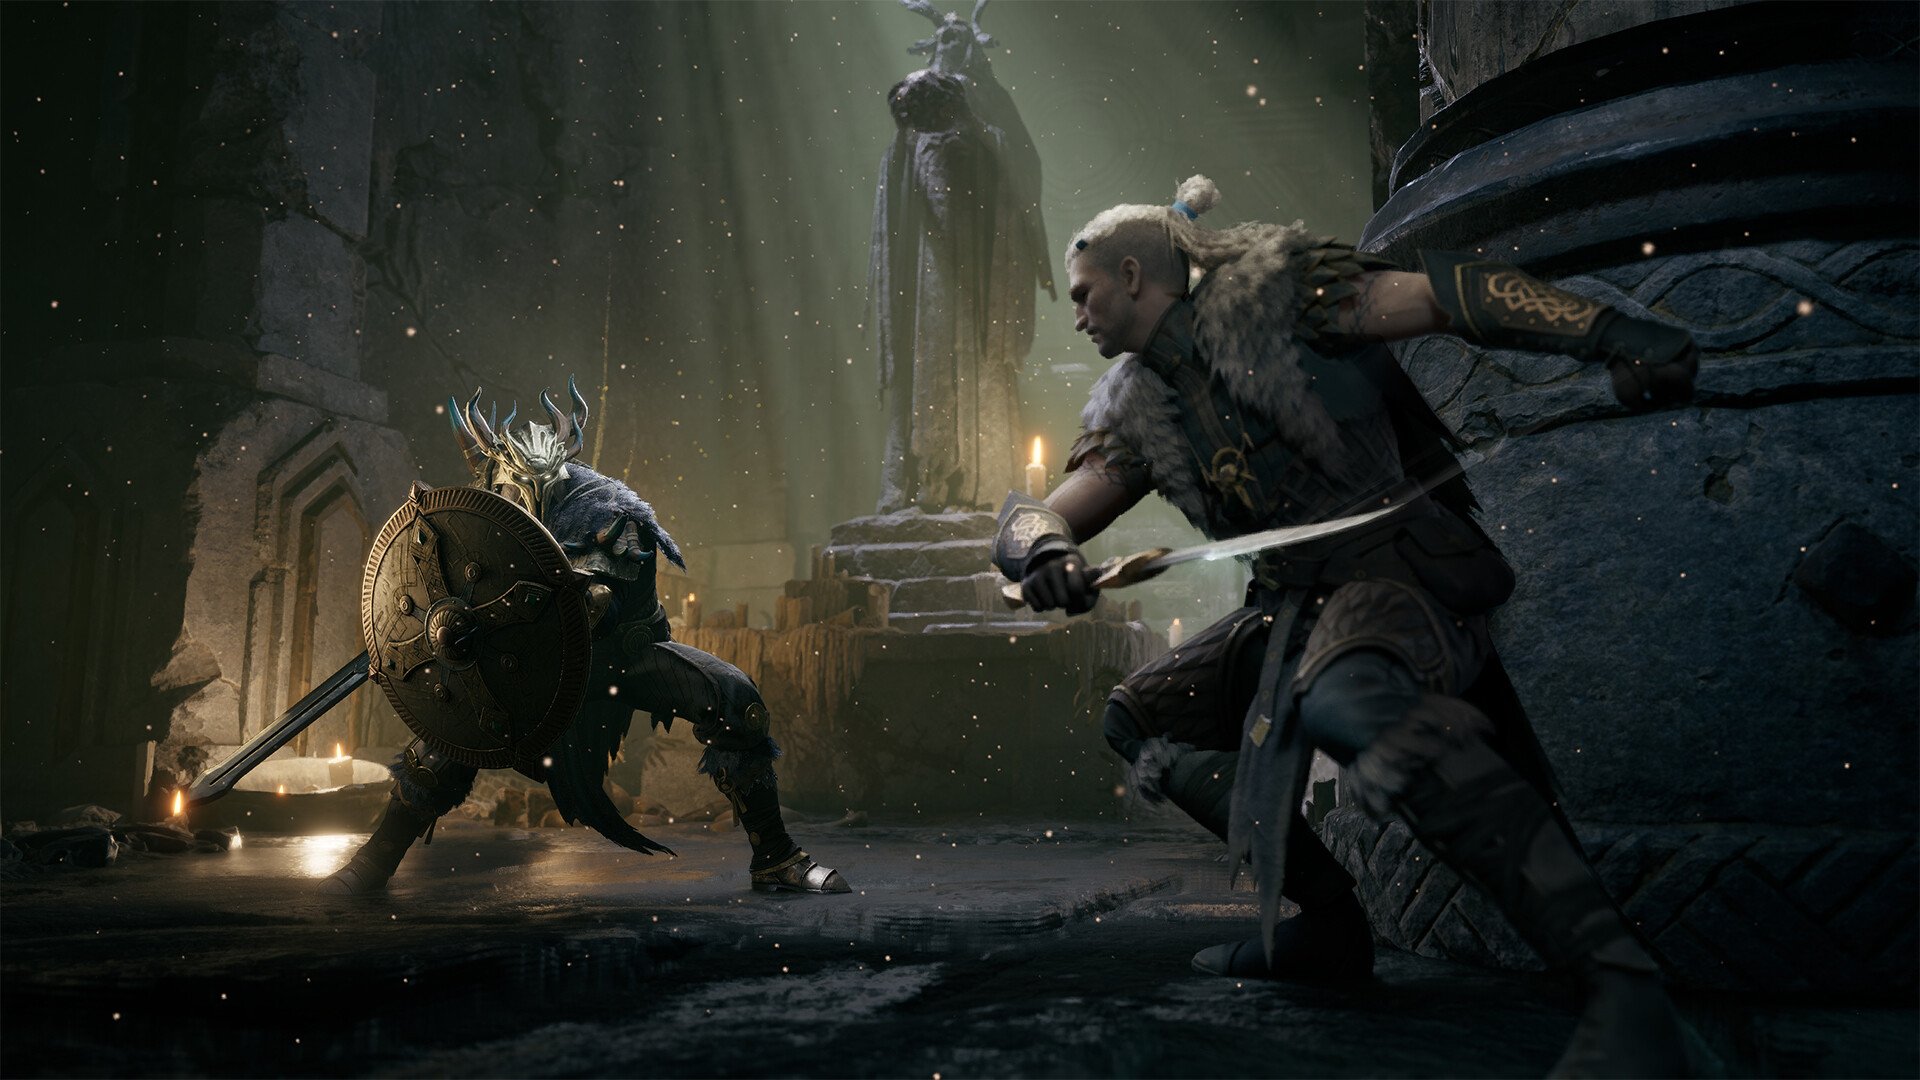
The strongest all-purpose setup uses sword and shield, with Whirling Cut and Shield Slam supporting a Sword Tip build. Rather than turning the Mercenary into a pure tank, this setup uses defense to create safe openings, builds Sword Tip quickly, and then converts those stacks into much stronger attacks through Blade Edge and Strong Edge.
Jump To Section:
Why Sword and Shield?
Mercenary Build Setup
How Sword Tip Works
Best Mercenary Skills
Best Mercenary Talents
Best Affixes
How to Play the Build
Sword or Hammer?
Why Sword and Shield Is the Better Foundation
The hammer offers heavier individual attacks, but sword and shield gives the Mercenary a more complete answer to the different situations encountered during a run. You can pressure ordinary enemies, defend against frontal attacks, move into position without abandoning protection, and still build toward meaningful burst damage.
That consistency is more valuable than maximizing the damage of a single swing. Mistfall Hunter rarely gives you uninterrupted time to attack. Enemies move, bosses force defensive reactions, and another Hunter can enter the fight after you have already committed your strongest abilities.
Sword and shield lets the build move between offense and defense without completely resetting its plan. Blocking an attack or slowing an opponent does not mean giving up on damage. It gives you the time needed to continue building Sword Tip and reach the stronger stages of the weapon mechanic.
This is also why Mercenary performs so reliably across different parts of the game. It may not overwhelm every matchup as quickly as the more specialized classes, but it has fewer situations where its entire kit stops working. Our Mistfall Hunter class tier list compares that consistency with the higher-risk strengths of the rest of the roster.
Best Mercenary Build Setup
The core setup uses sword and shield with Whirling Cut and Shield Slam. The build then takes talents that increase Sword Tip generation, reduce the number of stacks needed to reach the weapon’s stronger stages, and improve the damage dealt while Blade Edge is active.
Stoic and Fervid are the most useful affixes for this approach because they support opposite ends of the Mercenary’s health bar. Fervid rewards you while the run is under control and your health remains high, while Stoic helps stabilize the build when an encounter becomes dangerous.
The result is not a passive defensive setup. Shield Slam and the Mercenary’s durability provide the time needed to assemble the damage loop, while Whirling Cut keeps the class mobile enough to remain on top of enemies or move through a group.
How the Sword Tip Combo Works
Impalement is the main tool for building Sword Tip. Holding the normal attack input performs the move and grants two Sword Tip stacks, allowing you to progress toward the stronger sword stages without relying entirely on slower or more situational attacks.
At six Sword Tip stacks, the Mercenary enters Blade Edge Stage. Building another six stacks advances the weapon into Strong Edge. These stages are where the sword begins paying you back for the time spent generating stacks.
Stacked Slash is performed by following a normal attack with the secondary attack input. It deals heavy damage and serves as the main payoff once the Sword Tip mechanic has been established.
The important part is not simply reaching the maximum stage as quickly as possible. You also need to recognize when the fight gives you enough time to continue stacking and when it is better to spend the damage you already have.
Against a slow boss or an enemy focused elsewhere, you can continue building toward the stronger stage. Against another player or a dangerous enemy already applying pressure, holding stacks for too long may cause you to miss the best opening entirely.
Best Mercenary Skills
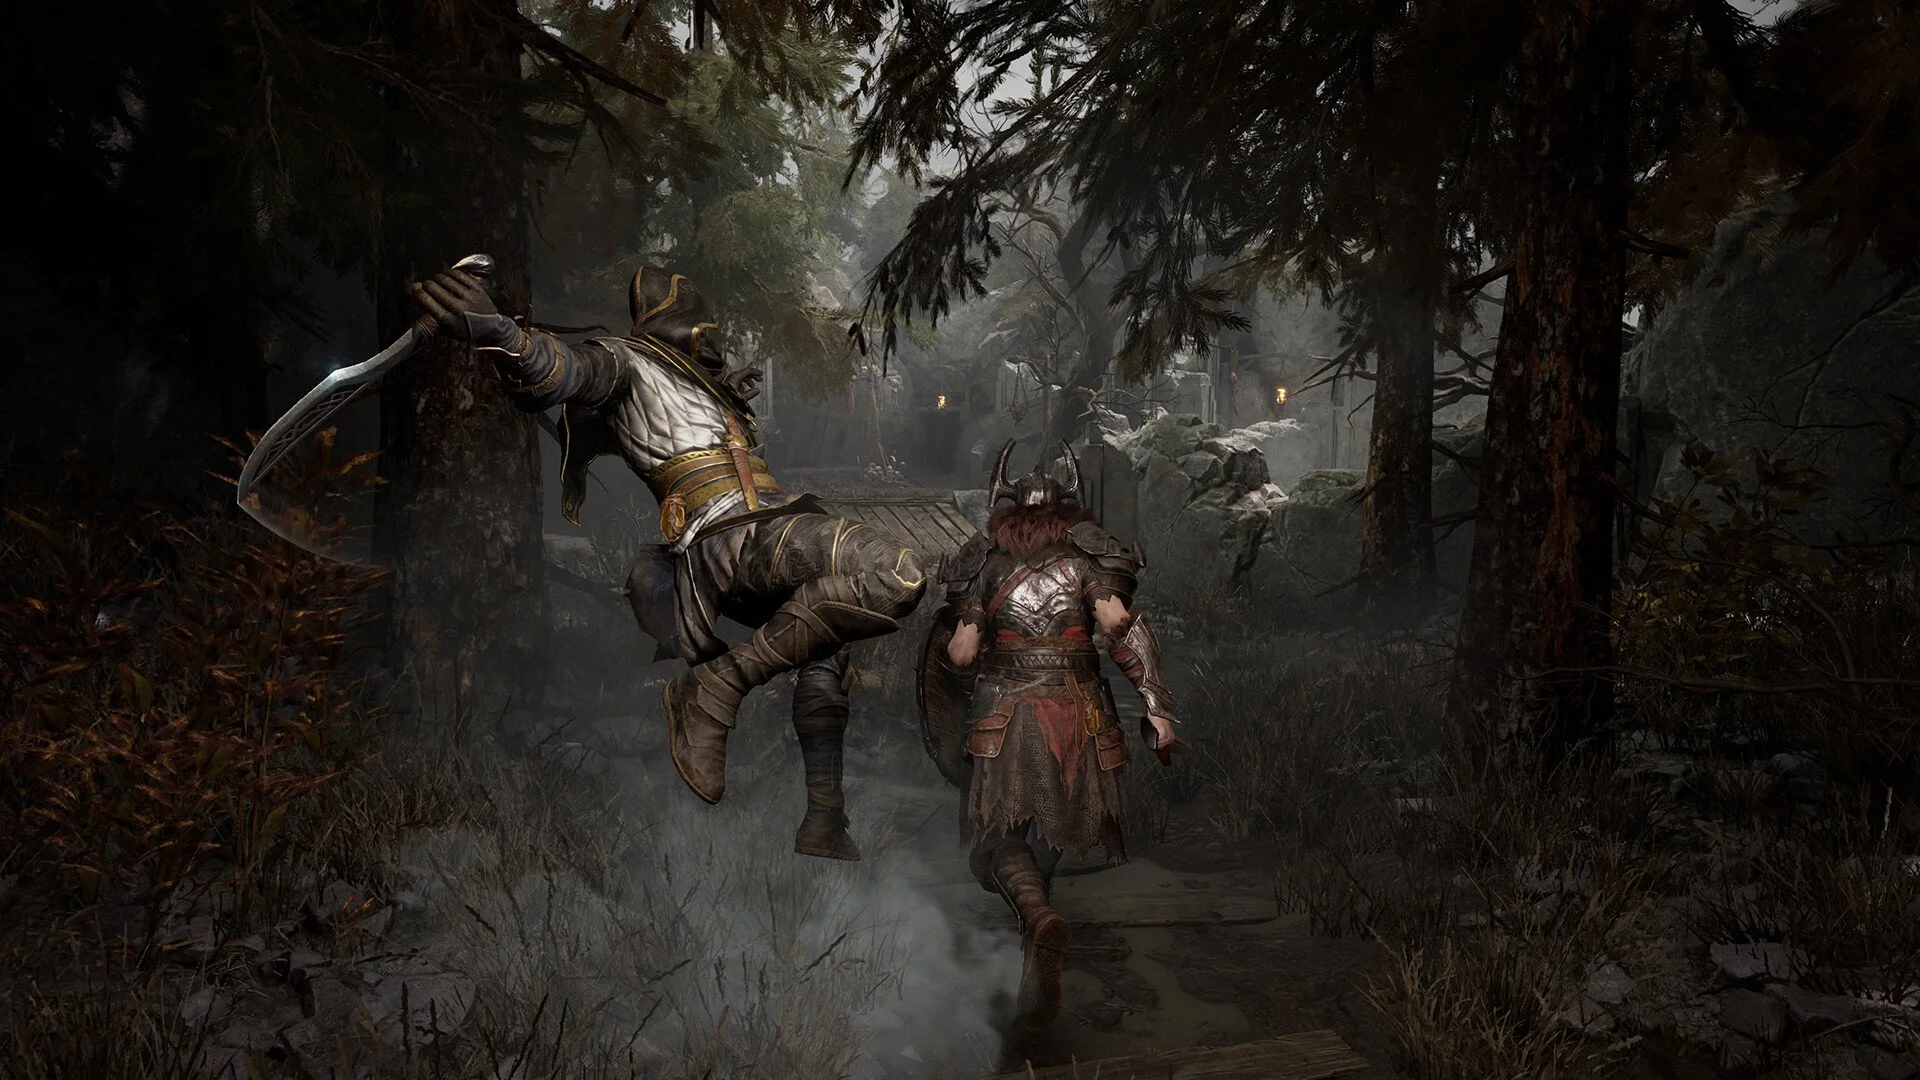
Whirling Cut is the main offensive movement skill for the build. It sends the Mercenary forward with two slashes, dealing physical damage while helping you close distance or continue attacking through a moving enemy.
Its value comes from how naturally it fits between the other parts of the rotation. Mercenary is not especially fast when simply chasing an opponent, so a forward attack gives the build a way to maintain pressure without walking into every ranged attack along the way.
Whirling Cut is also useful when several ordinary enemies begin surrounding the group. The double slash provides better coverage than repeatedly attacking the first target in front of you, while the movement helps prevent the Mercenary from becoming trapped in the center of the pack.
Shield Slam becomes available at Level 7 and provides the defensive control that holds the build together. The Mercenary raises the shield, leaps, and slams into the ground, dealing physical damage and reducing enemy movement speed.
The frontal protection during the jump is just as important as the impact. Shield Slam allows you to move into an enemy attack without taking the full risk normally associated with an aggressive approach. The period of Super Armor also makes the landing more dependable when enemies are already attempting to interrupt you.
Shield Slam should not be treated as another button to press whenever it comes off cooldown. It is most valuable when it changes the tempo of the fight, such as interrupting incoming pressure, slowing a target that wants to escape, or creating the opening needed to continue the Sword Tip loop.
Best Mercenary Talents
Sword Edge improves Sword Tip generation from sword-based skill attacks. This is the first major piece of the build because every later benefit becomes easier to reach when more of your normal combat actions contribute to the stack mechanic.
Blade Charge increases your damage during Blade Edge Stage. It gives the build a meaningful reward before reaching the final stage, which is useful in fights where you cannot safely continue stacking all the way to Strong Edge.
Stacking Blade reduces the Sword Tip requirement for Blade Edge and Strong Edge from six stacks to four. This changes the rhythm of the entire setup. Impalement grants two stacks, so reducing the threshold makes each successful use represent a much larger portion of the next stage.
The lower requirement also makes the build less vulnerable to interruptions. You no longer need as much uninterrupted time before the sword becomes dangerous, which is especially useful in PvP or during boss encounters that frequently force you to disengage.
Bounce should be taken when using Shield Slam. The skill already provides damage, protection, movement, and a slow, so supporting it with its related talent strengthens one of the most useful parts of the Mercenary’s toolkit rather than spreading points across unrelated options.
Best Mercenary Affixes
Fervid works while your health is above 70 percent, reducing skill costs and increasing both physical and magic damage. The build deals physical damage, but the reduced skill cost is also important because Whirling Cut and Shield Slam are central to maintaining pressure and controlling the encounter.
Fervid is strongest when the Mercenary enters a fight prepared and keeps control of it. The bonus rewards clean play, effective blocking, and using Shield Slam before incoming damage becomes difficult to manage.
Stoic takes over when the fight moves in the opposite direction. It increases damage resistance below 50 percent health and automatically heals the Mercenary if health falls below 30 percent.
The two affixes complement each other without requiring the same condition. Fervid improves the build while you are healthy, while Stoic provides a recovery layer after that advantage has been lost. Together, they suit the Mercenary’s role as a class that remains functional across the entire health bar.
Stoic should not encourage reckless play. The automatic healing is an emergency safeguard rather than a resource you should deliberately trigger in every encounter. Entering the lowest part of your health bar still leaves you vulnerable to burst damage that can finish the fight before the build stabilizes.
How to Play the Mercenary Build
Begin ordinary encounters by establishing Sword Tip rather than immediately spending every skill. Impalement gives you a reliable path toward Blade Edge, while normal positioning and shield use keep the enemy in front of you.
Whirling Cut is best used when it solves a movement problem. Use it to follow an enemy stepping out of range, pass through a group, or continue the attack after a target creates a small amount of distance. Spending it while already standing comfortably beside the enemy wastes much of its value.
Shield Slam should create the safer portion of your rotation. Its frontal protection helps you challenge an incoming attack, and the movement-speed reduction makes the following Sword Tip generation or Stacked Slash easier to land.
Once Blade Edge becomes active, judge whether the current opening is long enough to continue toward Strong Edge. A staggered boss may give you the time. A player who is already trying to disengage may not. Taking the available Stacked Slash is often better than losing the entire damage window while chasing the perfect version of the combo.
Mercenary performs particularly well alone because the build can protect itself while continuing to develop its damage. Our Mistfall Hunter best solo class guide explains why that independence makes Mercenary such a dependable choice for solo extraction runs.
Using the Build Against Groups and Bosses
Against groups, avoid becoming surrounded while trying to build the perfect Sword Tip sequence. Whirling Cut can move you through the edge of a pack, while Shield Slam helps control the enemies directly in front of you.
The shield is most effective when incoming attacks remain on one side. Continuing to back into a group makes frontal protection less valuable because enemies can begin attacking from several directions. Reposition before the formation closes around you.
Boss fights provide more time to build the sword stages, but they also punish greed more severely. Use defensive windows to prepare Sword Tip, then spend the damage during a clear opening instead of extending the combo into the next boss attack.
The build is not designed to defeat every boss through a single burst. Its advantage is that it can repeat the cycle while surviving long enough to learn the encounter. Shield Slam creates control, Sword Tip develops the damage, and Stacked Slash converts that preparation into a meaningful hit.
Using the Build in PvP
The Mercenary is more dangerous in PvP when it refuses to chase every retreat. Faster classes may try to pull you into an awkward position, wait for Whirling Cut to be wasted, and then return while your movement option is unavailable.
Use Shield Slam when the opponent commits rather than throwing it out from too far away. The protection, Super Armor, and movement reduction are far more valuable when they interrupt the enemy’s plan instead of merely beginning your own.
Ranged opponents are the hardest matchup because sword and shield does not provide a true ranged answer. Whirling Cut can close a limited amount of distance, but using it predictably allows the enemy to prepare another escape.
Terrain and patience matter more in these encounters. Approach through cover, force the opponent into a smaller area, or make them come closer to contest an objective. The Mercenary is at its best once the fight becomes a sustained close-range exchange.
Common Mercenary Build Mistakes
The most common mistake is building too defensively. Mercenary can survive a great deal of pressure, but stacking protection at the expense of every offensive tool creates long fights that consume more healing and give other players more time to interfere.
Another mistake is holding Sword Tip for an ideal Strong Edge attack that never arrives. Blade Edge already improves the build, and Stacked Slash is only valuable if it is used while the target remains vulnerable.
Whirling Cut is also frequently wasted as a basic damage button. Its forward movement is part of the skill’s value, so use it when you need to close distance or reshape your position.
Finally, do not use Shield Slam solely after taking heavy damage. The skill is better at preventing the fight from becoming dangerous than rescuing you after the enemy already has control.
Should You Use Sword and Shield or Hammer?
The hammer is a viable alternative when you want heavier attacks and are comfortable accepting less consistency. Its damage can be impressive, but slower or less reliable attacks become difficult to justify when another player can dodge, disengage, or punish the missed swing.
Sword and shield is the better general build because it offers damage without giving up mobility, control, or frontal protection. It also has a clearer progression through Sword Tip, Blade Edge, and Strong Edge, allowing the Mercenary to build toward stronger attacks through actions it already wants to perform.
The hammer may become the better choice for a dedicated damage setup or a player who already understands enemy timings. For a build expected to handle solo runs, bosses, ordinary PvE, and unexpected PvP, sword and shield is the more dependable option.
A Build That Uses Defense to Create Damage
The best Mercenary build is not a pure tank and should not be played like one. Sword and shield works because the defensive tools create enough time and control to build Sword Tip, enter Blade Edge, and land Stacked Slash without being forced to abandon the rotation.
Use Whirling Cut to maintain pressure, Shield Slam to take control of dangerous moments, and the Sword Edge, Blade Charge, Stacking Blade, and Bounce talents to make the core loop faster and more rewarding. Fervid supports the build while the fight is going well, while Stoic provides another layer of protection when it is not.
If you decide the Mercenary’s measured melee style does not fit the way you want to play, our guide to switching classes in Mistfall Hunter explains how to change faiths and use additional characters.