Hood Warfare 2 Tips and Tricks
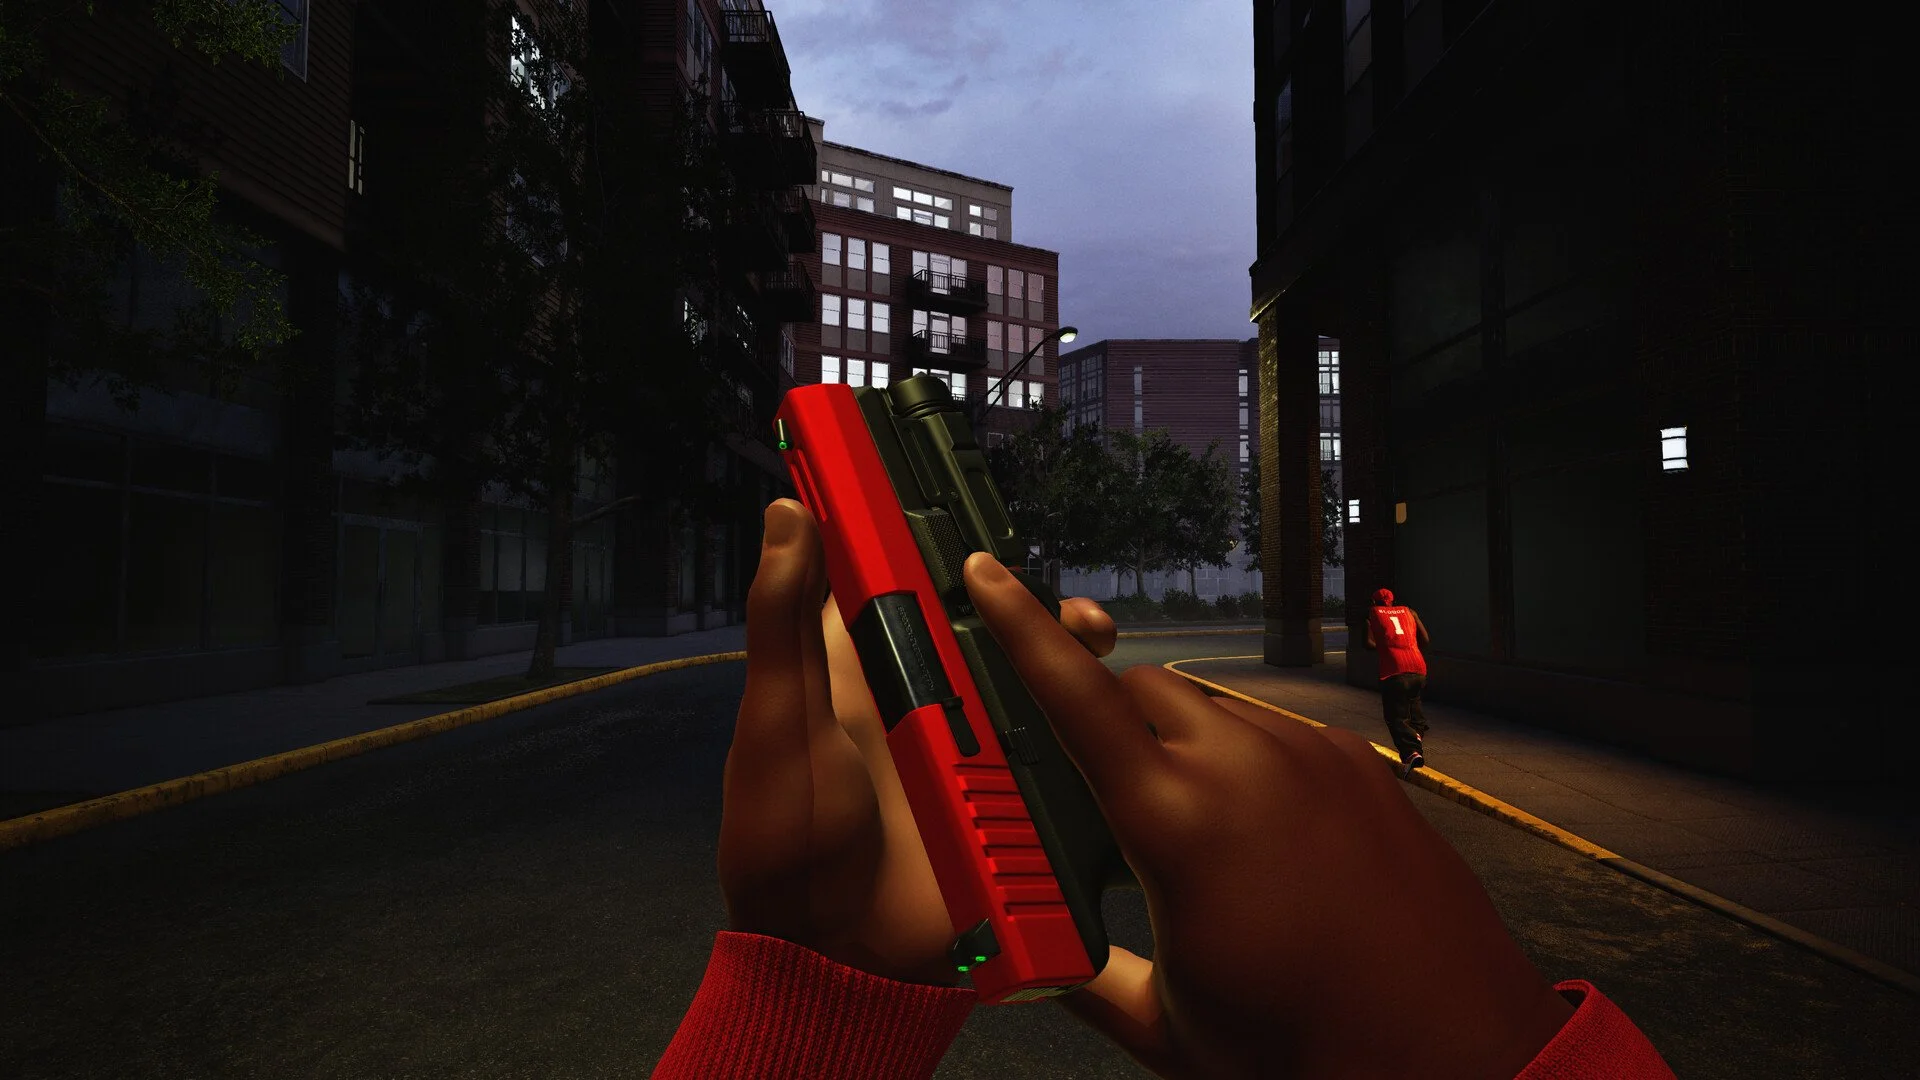
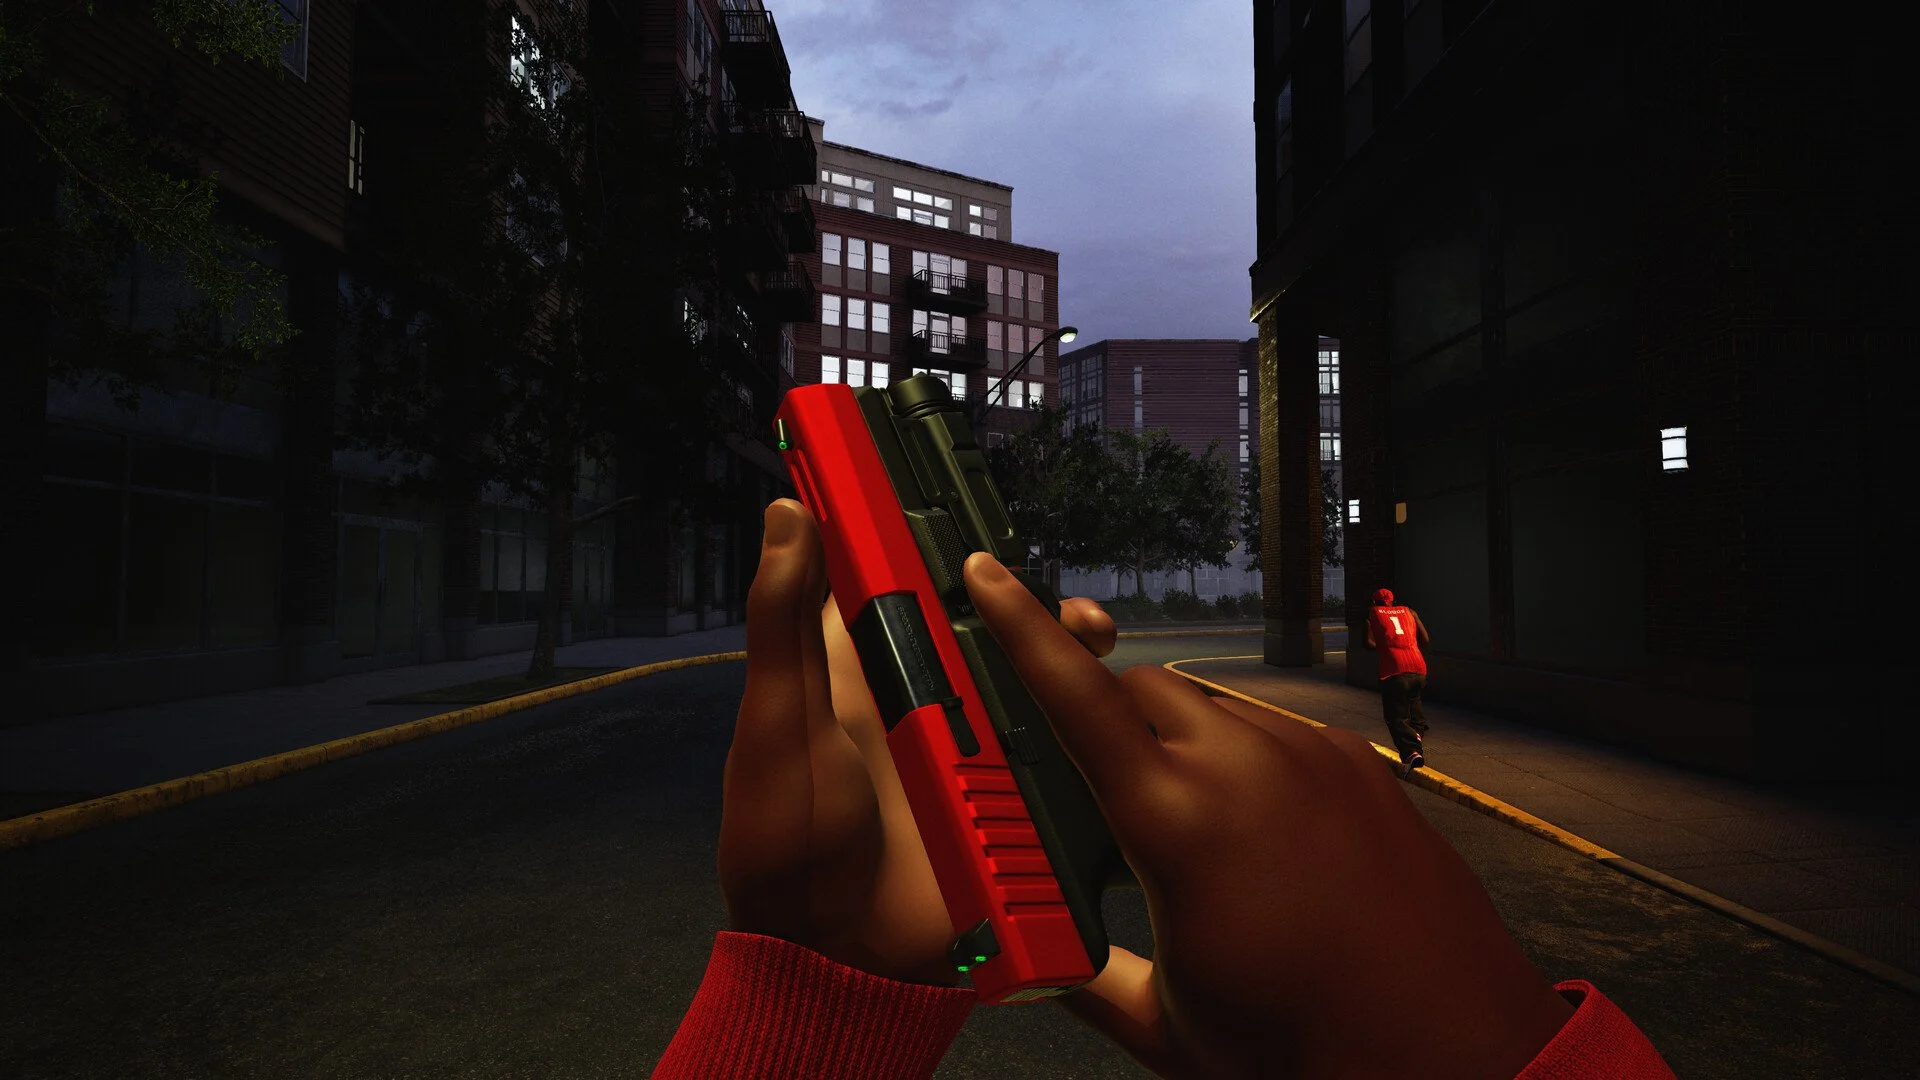
Hood Warfare 2 looks like a game where you can jump in, chase gunfights, and figure everything else out later, but its progression and six modes reward a more deliberate approach. Weapons, attachments, skins, reputation, maps, and objectives all advance in different ways, so the fastest way to improve is to make every match accomplish more than just adding kills to the scoreboard.
Jump To Section:
Best Hood Warfare 2 Tips
Understand the Three Progression Tracks
Stop Switching Guns Every Death
Know What Makes a Kill Valuable
Use Bots as a Practice Tool
Learn Routes Instead of Entire Maps
Choose Attachments to Fix Problems
Change Your Playstyle in Destroy The Block
A Better First-Hour Plan
Best Hood Warfare 2 Tips and Tricks
The best beginner strategy is to learn one weapon, one scoring rule, and one useful route at a time instead of trying to understand the entire game at once. Hood Warfare 2 only has four launch maps, but those maps are reused across six modes that completely change what a useful position or kill looks like.
Pick one main weapon early: Attachment progress is connected to weapon challenges
Know what actually scores: Four of the six modes require more than getting kills
Use custom matches deliberately: Learn one map and mode combination at a time
Do not grind cosmetics first: Weapon skins and useful attachment progression are separate tracks
Build around the fight you expect: A one-life bomb round should not be approached like a respawn mode
Learn routes, not screenshots: Know how to reach, defend, and leave the objective
Hood Warfare 2 Has Three Progression Tracks Running at Once
One of the most useful things to understand early is that playing a match can move three different goals forward, and they are not interchangeable.
Your general reputation and level unlock more weapons and equipment. Weapon challenges unlock attachments. Kills with an individual gun unlock skins for that weapon.
That means a player can gain levels without unlocking the attachment they actually want, or earn a new skin while making very little progress toward a different gun's setup.
Reputation / Level: Broader weapons and equipment
Weapon Challenges: Attachments for that weapon
Kills With the Gun: Weapon skins
The best early matches therefore overlap those goals. Use a weapon you actually intend to learn while playing normally enough to raise your reputation. That way the same match is improving your account and the gun you are likely to keep using.
This is more efficient than treating leveling, attachment grinding, and cosmetics as three separate chores.
Stop Switching Guns Every Time You Die
Trying every unlocked gun is useful eventually, but constantly swapping weapons during your first few matches makes it harder to understand why you lost a fight.
If the weapon changes after every death, so does its recoil, magazine behavior, sight picture, effective fighting distance, and whatever attachments you currently have available. You end up learning none of them long enough to separate a bad position from a bad weapon choice.
There is also a progression reason to commit for a while: attachments come from weapon challenges. Staying with one gun gives you repeated opportunities to advance its challenges instead of spreading your early play across a collection of half-developed weapons.
A better rule is to keep one main weapon until you can answer three questions about it: where you like fighting with it, which part of its handling bothers you, and which attachment would actually solve that problem.
Then experiment with another weapon.
A Kill Is Worth Something Different in Every Mode
The biggest beginner trap is assuming that because Hood Warfare 2 is an FPS, getting the kill automatically means you completed the important part of the encounter.
That is only consistently true in GangBang and Chaos.
In the other four modes, the kill usually creates an opportunity that still has to be converted into the actual objective.
Turf War: The kill creates space to take or hold territory
GangBang: The kill itself contributes directly to winning
Chaos: The kill itself is the objective, but everyone is an enemy
Hit A Lick: The kill creates a route for the bag or removes a defender
Destroy The Block: The kill changes the numbers in a one-life plant/defuse round
Chain Snatch: The kill is incomplete until the dropped chain is secured
This changes where you should take fights.
A kill far away from a Turf War objective can be less useful than forcing one player off the territory for a few seconds. In Chain Snatch, winning a gunfight and dying before anyone grabs the chain can turn a mechanically good play into very little score.
Before each match starts, know what has to happen after the enemy dies.
In Chain Snatch, Plan the Pickup Before the Kill
Chain Snatch is a particularly good example of why kill-first thinking can work against you.
Enemies drop chains when killed, and those chains are what generate the scoring opportunity. You can also recover chains dropped by teammates before the opposing side takes them.
That means the position where the enemy dies matters almost as much as whether you can kill them.
If you take a difficult long-range fight across an exposed area, you may create a chain that nobody on your side can safely collect. Fighting closer to cover or near a teammate can make the same elimination much easier to convert into points.
Start evaluating engagements as kill plus retrieval instead of kill alone. If there is no realistic path to the dropped chain, you may be fighting in the wrong place.
Do Not Make the Bag Carrier Fight Every Battle
Hit A Lick revolves around taking the opposing gang's bag and returning it while also protecting your own.
Once your team has the bag, the carrier and the nearby players no longer have the same job. The person holding the objective needs a path home; everyone else can create that path.
That means the player without the bag should often be the one checking the next corner, taking the first fight, or slowing anyone chasing from behind.
If every teammate simply follows directly behind the carrier, one bad engagement can wipe the entire push at the same location.
Think of the team as a moving objective rather than four independent players who happen to be running in the same direction.
Use Bots to Remove One Unknown at a Time
Hood Warfare 2 lets you create matches against bots while choosing the map, mode, and match settings. That makes bot matches much more useful than simply being an alternative when multiplayer is quiet.
Use them as controlled practice.
If you do not understand Chain Snatch, lock that mode and stop worrying about winning gunfights for a match. Learn where chains appear and what happens after a pickup.
If Chicago Mall keeps getting you lost, play the map with bots and focus entirely on moving between the spawn and objective areas.
If you just unlocked an attachment, use the same map and mode before and after equipping it so you can actually tell what changed.
The value of bot play is that you can remove variables. Public multiplayer changes the opponent, their weapon, their positioning, your teammates, and the objective pressure simultaneously.
One warning: do not assume bot matches provide exactly the same reputation, challenge, or cosmetic credit as online matches unless the post-match screen confirms it. The official game description confirms bot support but does not publish detailed progression rules for bot kills.
Learn Three Routes on Each Map Instead of Memorizing Everything
Hood Warfare 2 launched with Downtown, Suburbs, The Trenches, and Chicago Mall. With only four maps, it is tempting to think you need to memorize every room and corner immediately.
You do not.
For each mode you play regularly, learn three useful routes first:
Approach: How do I safely reach the objective from spawn?
Pressure: Where can I move when the obvious route is being watched?
Exit: Where do I go after winning the fight or grabbing the objective?
The third route is the one beginners often ignore. They learn how to reach the bag, territory, bomb, or dropped chain, but not what to do once they actually get it.
This matters even more because the same physical map can play differently across modes. A route that is useful for reaching Turf may be irrelevant when the important location is the opposing bag or a bomb plant.
Learn maps through objectives rather than trying to memorize them as static arenas.
Choose Attachments to Fix a Problem, Not Fill Every Slot
Hood Warfare 2 includes sights, magazines, grips, suppressors, and other weapon attachments, but having an attachment unlocked does not automatically make it an upgrade for how you are currently playing.
Pay attention to why you are losing fights first.
If you struggle to see targets clearly, experiment with your available sight options. If you repeatedly run dry while fighting multiple players around an objective, magazine capacity may matter more. If keeping shots under control is the issue, test a grip. If you are deliberately working side routes and avoiding direct attention, a suppressor becomes more relevant.
This creates a better attachment progression loop:
Lose a repeatable type of fight: Identify why
Check unlocked attachments: Find one that addresses that problem
Test it: Use the same weapon and familiar map
Keep it only if it helps: Do not assume the newest unlock is automatically best
The point of weapon customization is to make the gun fit the fights you are actually taking.
Do Not Confuse Skin Progress With Weapon Progress
Weapon skins are unlocked through kills with each gun, while attachments come from weapon challenges.
That separation matters because grinding more kills can keep advancing a cosmetic without necessarily unlocking the attachment you want.
If your goal is a stronger or more comfortable setup, check the weapon challenge requirement instead of assuming another hundred random eliminations will eventually produce every attachment.
Conversely, if you only want a skin, you know exactly which weapon needs the kills. There is no reason to farm cosmetics on a gun you plan to abandon unless you specifically want to complete its collection.
Treat Destroy The Block as a Different Game
Destroy The Block has one life per round, which changes the value of almost every normal FPS habit.
In respawn modes, taking a questionable fight can cost a few seconds and another trip from spawn. Here it can remove you from the entire round.
That makes information and survival worth more than forcing the first possible gunfight.
On offense, your team ultimately needs the bomb planted rather than four impressive opening kills. On defense, staying alive near a useful defensive position can be worth more than chasing someone who has already rotated away.
This is also a poor place to experiment with a weapon you have barely used. The limited lives mean you get fewer opportunities to understand a bad loadout before the round is already decided.
Use respawn modes or bots to learn the gun first, then bring a setup you already trust into Destroy The Block.
Use Turf War to Learn Objective Pressure
Turf War is one of the better modes for learning how Hood Warfare 2 changes when the objective matters because the relationship between fighting and scoring is immediately visible.
Your gang earns points from the territory it controls, so every gunfight should be judged by whether it helps take, defend, or retake that space.
That makes Turf War useful for learning a habit that carries into the other objective modes: stop asking only where the enemies are and start asking where they are trying to go.
If you know what they need to reach, you can position around the objective instead of endlessly chasing people through the map.
Spend Your Equipment Where the Match Is Decided
Loadouts include both perks and equipment in addition to the weapon itself.
A common beginner habit in shooters is saving equipment for the perfect moment and then dying with it unused. The opposite mistake is throwing everything at the first enemy you see.
In Hood Warfare 2, the highest-value use is often around whatever location currently determines the score.
Use your available equipment to help enter a contested Turf area, protect a bag movement, survive a chain pickup, or support a bomb push rather than burning it on an isolated fight with no objective consequence.
You are not trying to maximize how many times you press the equipment button. You are trying to spend it where winning one engagement changes the match.
A Better First Hour in Hood Warfare 2
Instead of spending your first hour bouncing randomly between every mode and weapon, use a short learning cycle.
Match 1: Pick one weapon and play a respawn mode. Learn the gun rather than chasing unlocks.
Match 2: Keep the same weapon and play an objective mode. Focus on what converts a kill into score.
Match 3: Use a custom bot match on the map that gave you the most trouble and learn your approach, pressure, and exit routes.
After Match 3: Check reputation, weapon challenges, and skin progress separately before deciding what to work on next.
That gives you four useful pieces of information very quickly: whether you like the weapon, what type of objective play you struggle with, which map needs practice, and which progression track is closest to rewarding you.
From there, choose the next match deliberately instead of simply hitting play again.
Make Every Match Solve One Problem
The fastest way to improve in Hood Warfare 2 is not to grind until everything eventually becomes familiar. Go into each match knowing what you are trying to learn.
If your aim feels inconsistent, keep the same gun and work on it. If you keep losing after grabbing the bag, learn an exit route. If you win Chain Snatch gunfights but never score, position so the chain can actually be recovered. If Destroy The Block keeps ending immediately, practice survival and map knowledge in a mode where mistakes do not remove you for the entire round.
The game already gives you the tools to isolate those problems through four maps, selectable modes, custom settings, bots, weapon challenges, and separate progression tracks. Use those systems together and your early matches become practice with a purpose rather than a pile of unrelated deaths and unlocks.