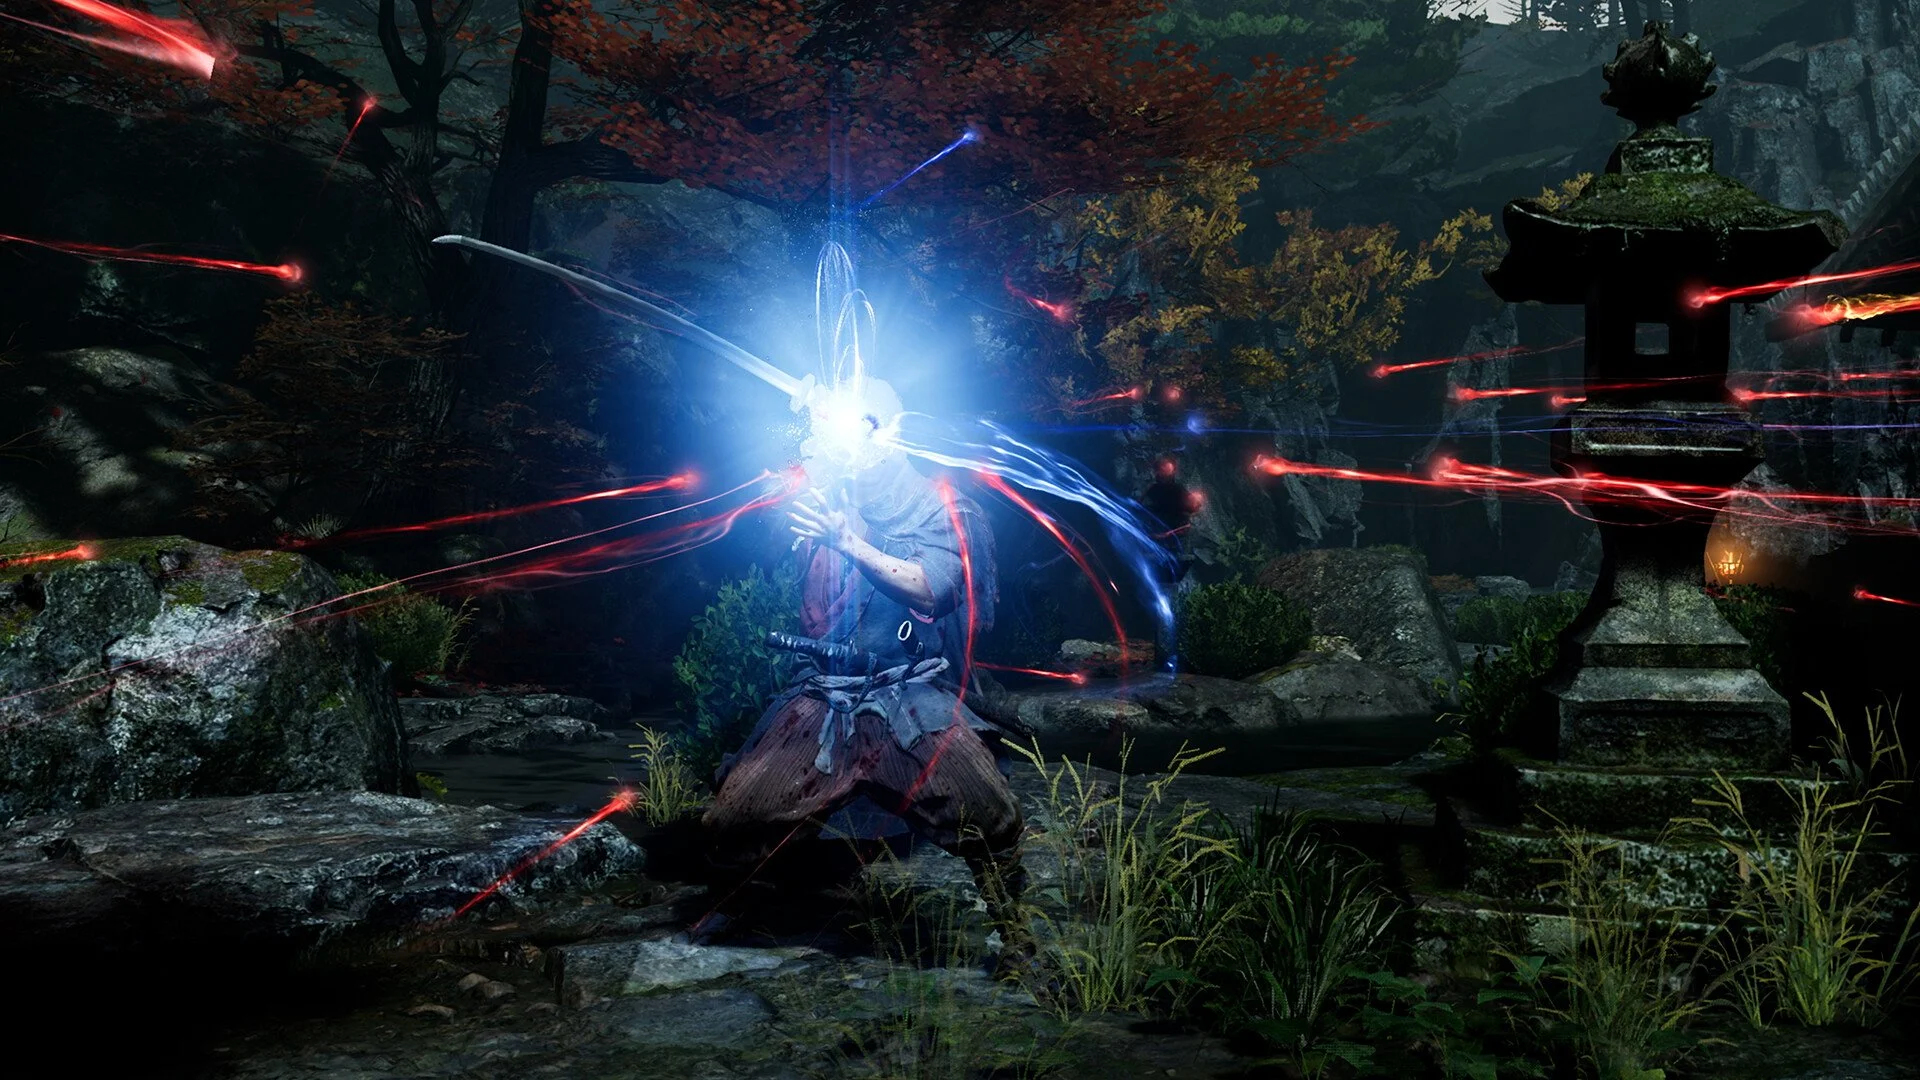
Onimusha Way of the Sword All Bosses & How to Beat Them
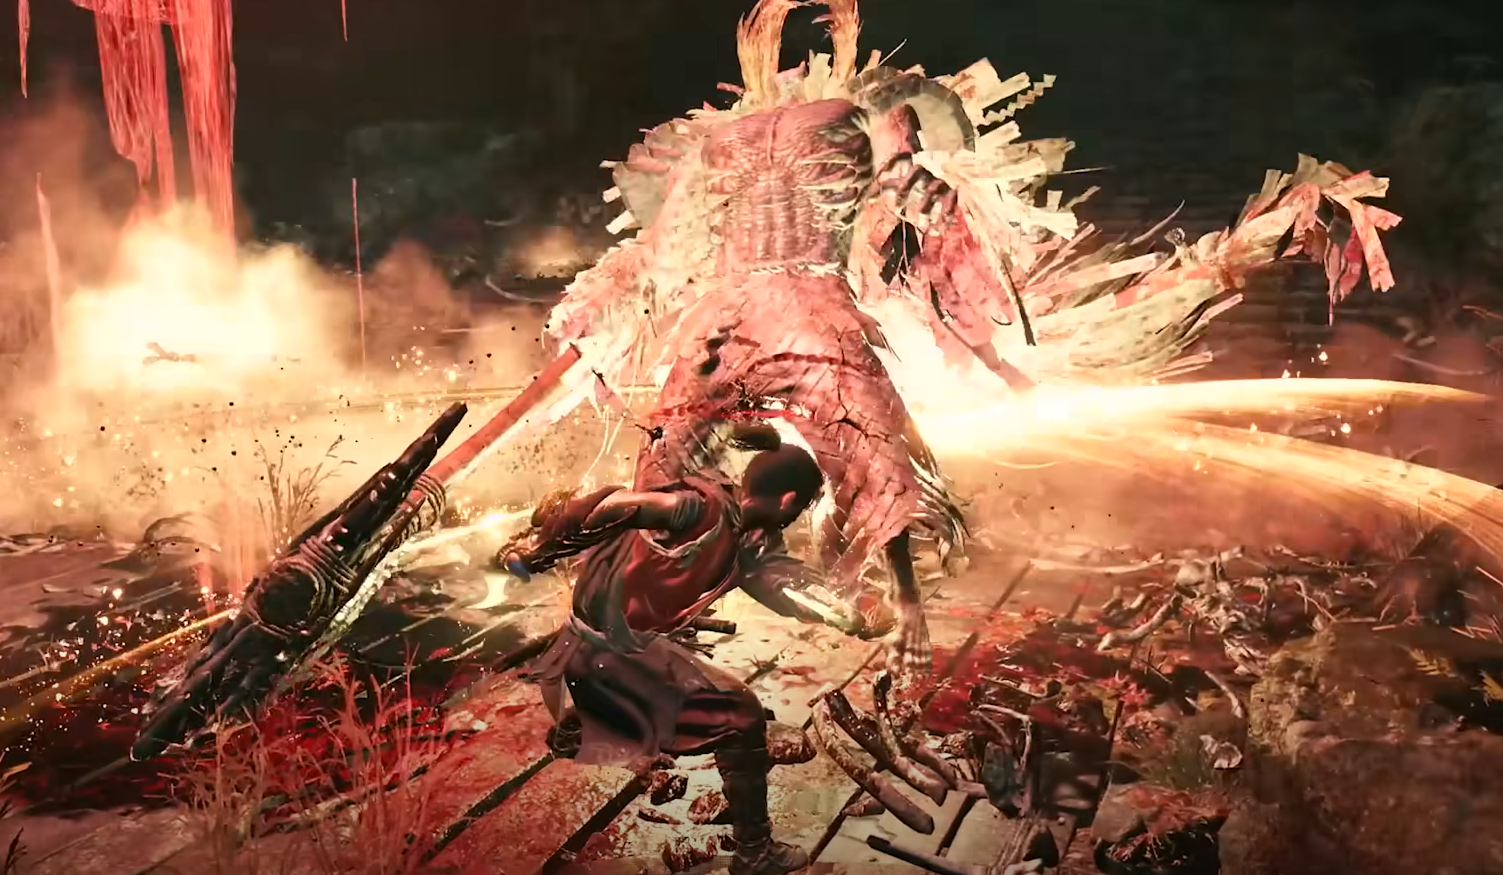
Onimusha: Way of the Sword has a much bigger boss roster than the opening hours suggest, with several enemies returning in enhanced forms that substantially change the fight. Depending on whether those variants are counted separately, you'll see different boss totals online. For this guide, I'm using the full 18-fight Boss Rematch-style roster so every major version you actually need to learn is covered.
Jump To Section:
All Bosses
Best General Boss Strategy
Byakue
Dohatsu-ten
Blue and Red Nue
Sasaki Ganryu
Daidara
Rasho-gan
Greater Nue
Benkei
Ifuu
Burai
Ifuu and Burai
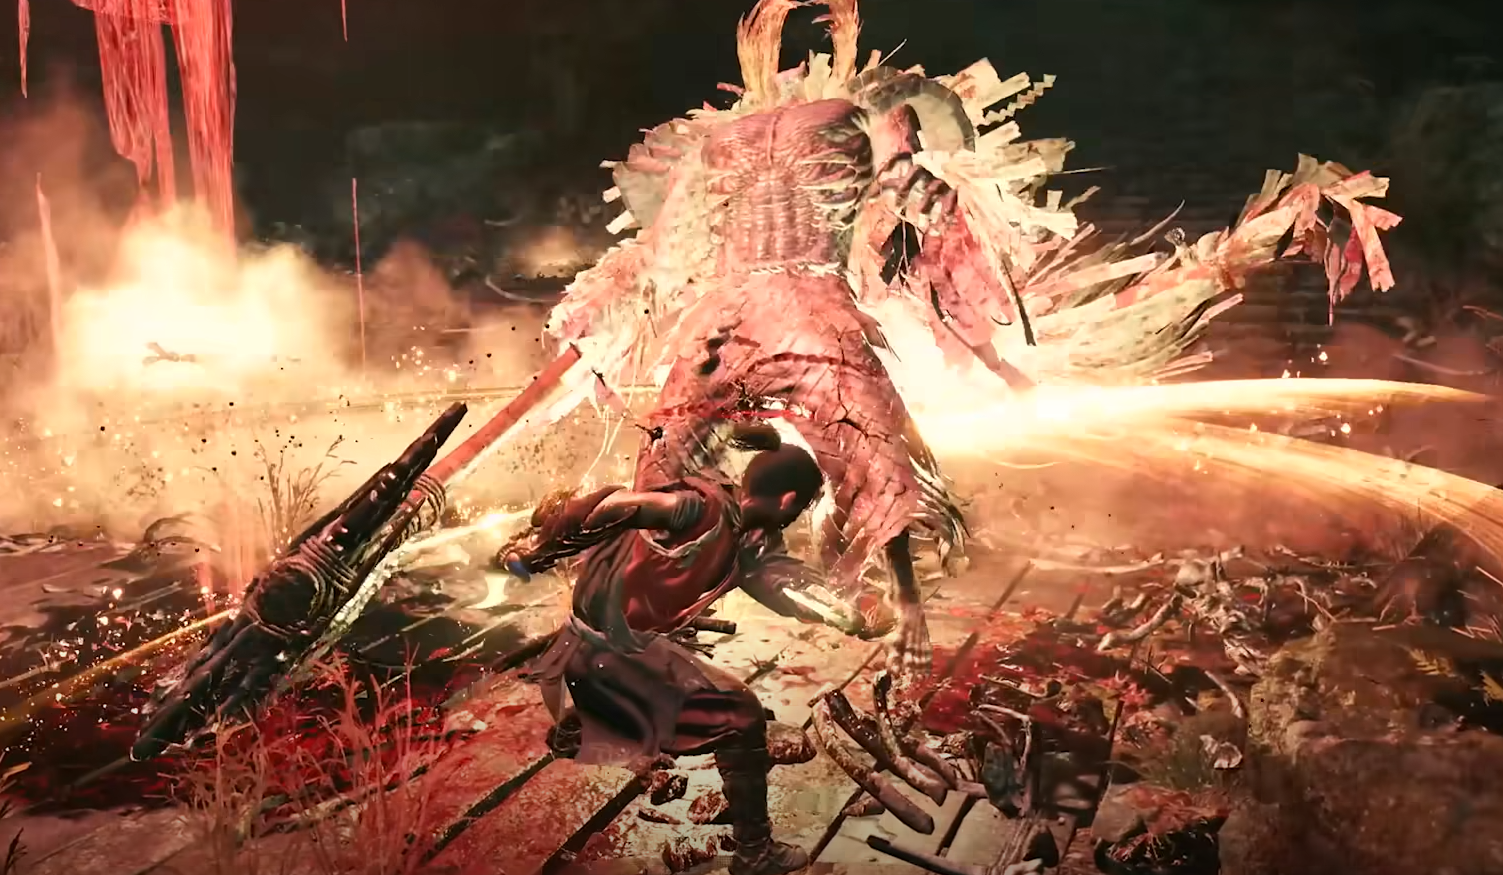
Shuten Doji
Dokyo
Minamoto no Yoshitsune
Hardest Bosses
How Many Bosses Are in Onimusha: Way of the Sword?
The boss count can look confusing because enhanced versions and rematches are sometimes treated as separate fights and sometimes grouped under the original boss. The fullest practical checklist contains 18 boss fights: Byakue, Byakue Enhanced, Dohatsu-ten, Dohatsu-ten Enhanced, Blue and Red Nue, Sasaki Ganryu, Sasaki Ganryu Altered, Daidara, Rasho-gan, Greater Nue, Benkei, Benkei Fully Armed, Ifuu, Burai, Ifuu and Burai together, Shuten Doji, Dokyo, and Minamoto no Yoshitsune.
If you're simply counting distinct named encounters rather than every enhanced variation, you may see a smaller number elsewhere. I wouldn't worry too much about the number itself. From a gameplay perspective, the enhanced versions deserve to be treated separately because several introduce faster attacks, new phases, or outright lethal mechanics.
Best General Strategy for Beating Bosses
The biggest mistake I would avoid is treating every boss as a health bar you need to attack until it disappears. Stamina is often just as important as health in Onimusha, and some of the harder bosses become dramatically easier once you start fighting their stamina bar instead.
Deflect is generally the safest aggressive defensive option because it deals substantial stamina damage. Issen offers a much higher-risk route to huge punishment if you already know the incoming animation. If you're still struggling with the timing, my Onimusha Way of the Sword Issen guide explains exactly when to attack instead of parry.
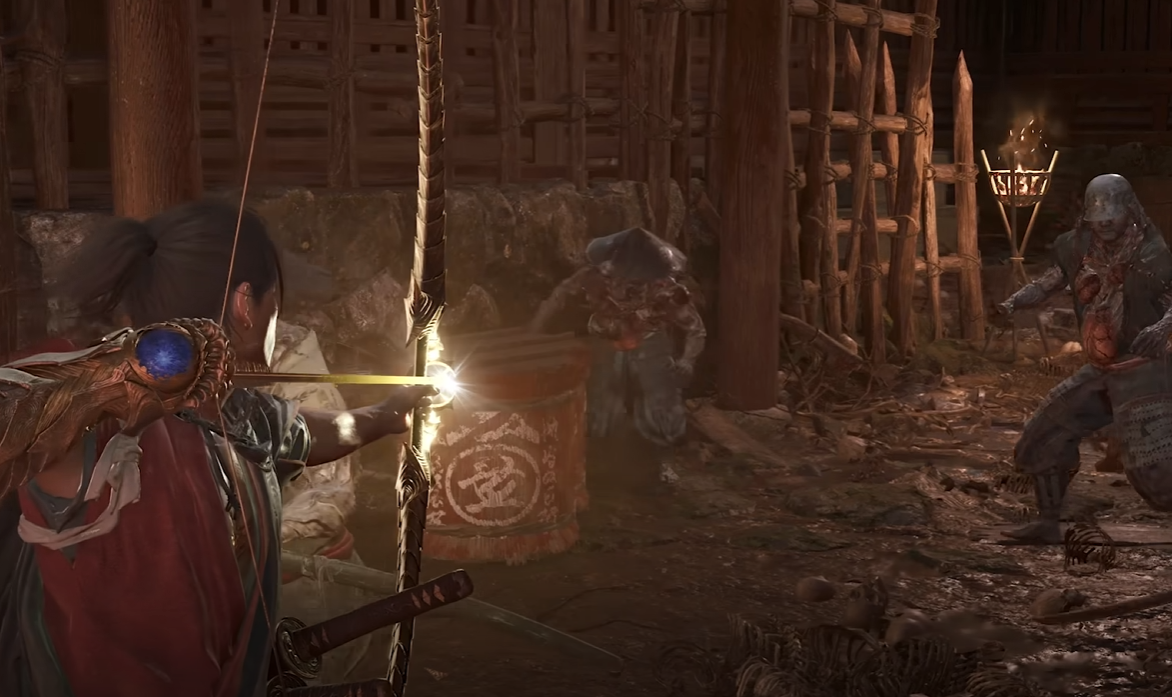
Don't force the same response against everything. White-glowing attacks need to be parried or Deflected, some grabs and non-weapon attacks are better dodged, and certain boss mechanics specifically call for the Oni Bow. The real skill is recognizing which part of Musashi's defensive kit the attack is asking you to use.
Your equipment matters too. If a boss feels like it takes forever even after you're creating good openings, make sure you haven't neglected your weapon and charms. My Onimusha Way of the Sword best build guide covers the setup and upgrade priorities I would use before assuming the solution is simply playing more aggressively.
How to Beat Byakue
Byakue is one of the more straightforward bosses once you separate his weapon attacks from his body attacks. When he's swinging the axe, Deflect is the reliable answer. When he starts using charges and other attacks that aren't normal axe swings, dodge instead.
Most of his regular offense is readable enough that Byakue is also a good boss for practicing Issen. The exception is his shoulder charge and full sprint, where I would rather evade than gamble on an unnecessary counter.
His blue talisman-hair attack needs its specific counter input just before contact. Once you've learned those few categories, the fight becomes much less chaotic: axe equals Deflect, charge equals dodge, and the slower conventional swings are potential Issen opportunities.
How to Beat Byakue Enhanced
The enhanced version keeps most of the original fight intact, so you shouldn't relearn Byakue from scratch. The main difference arrives once his health drops below roughly half and the axe becomes covered in Malice.
He can slam the weapon into the ground or create Malice across parts of the arena. Treat that as a positioning problem rather than a reason to abandon the strategy that already worked. Stay clear of the affected ground, continue Deflecting the readable weapon swings, and don't get baited into attacking through an environmental hazard just because the boss is temporarily vulnerable.
How to Beat Dohatsu-ten
Dohatsu-ten is a much better test of whether you've learned to distinguish normal attacks from special responses. His katana attacks are generally good Deflect targets, but he also mixes in kicks, ranged sword slashes, defense, and white-glowing attacks.
If he starts ignoring your normal offense because his defense is up, use your guard-breaking ability rather than continuing to bounce regular attacks off him. When he creates distance and fires sword slashes, Deflecting them can turn his ranged pressure back against him.
The most important tell is his white-glowing sequence. Those attacks need to be parried or Deflected rather than handled like a normal dodge/Issen opportunity. Audio cues such as his shouted lines can help you recognize the dangerous attacks before the animation fully reaches you.
How to Beat Dohatsu-ten Enhanced
The enhanced Dohatsu-ten fight uses essentially the same rules, except some of the attacks that were previously associated with his stronger state can now appear much earlier.
That means the difficulty increase is mostly about readiness rather than learning an entirely new boss. Go into the encounter already prepared for the faster teleports, Malice-enhanced weapon attacks, and white-glowing strings instead of waiting for a later phase before respecting them.
How to Beat Blue and Red Nue
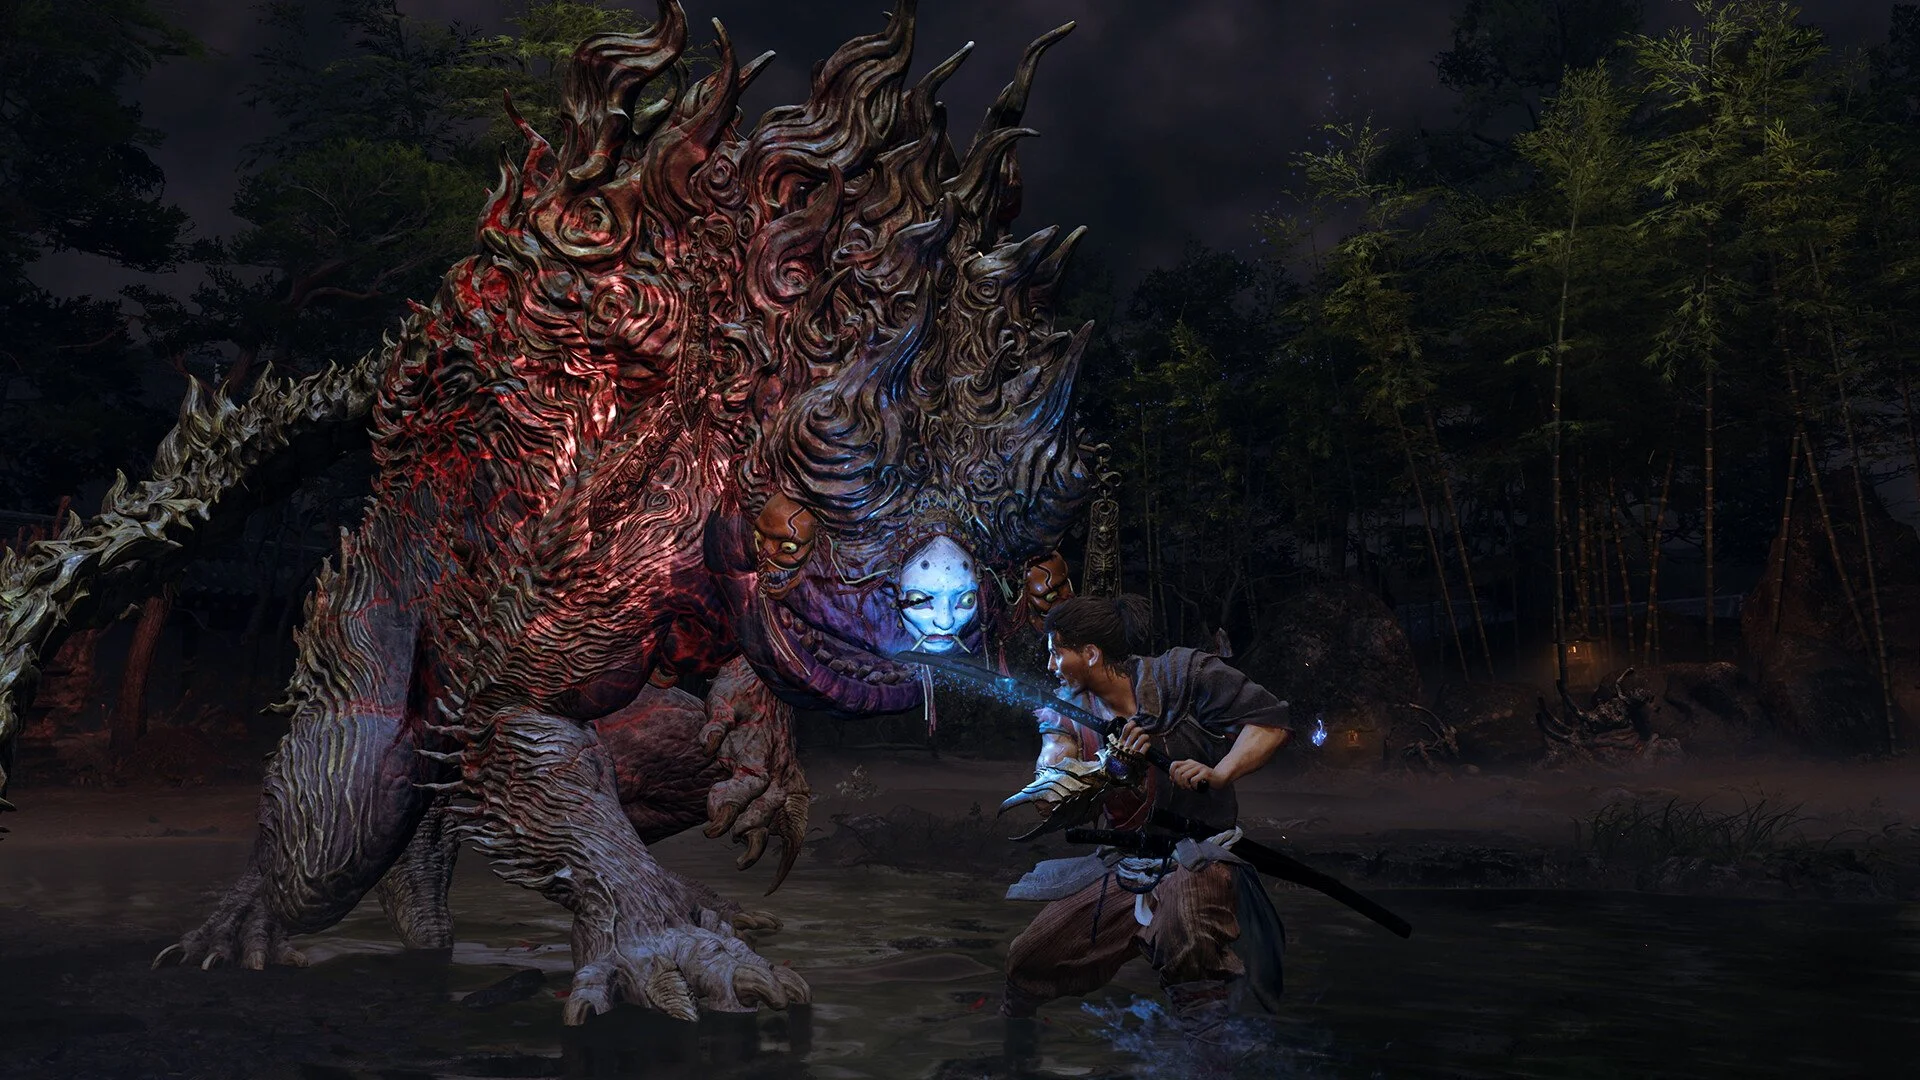
The twin Nue fight is more about awareness than perfect one-on-one swordplay. I would avoid hard-locking the camera onto one of them because the bigger threat is often whichever Nue you're not currently attacking.
Stay aggressive against the nearest target, but keep enough visual space to read incoming claw swipes, lunges, head attacks, and tail slams from both enemies. Perfect dodges are extremely useful here because you're dealing with a lot of physical attacks rather than clean sword exchanges.
Once a Nue drops to around half health, its tail becomes much more active and begins firing electrified projectiles. Those can be Deflected back. If one raises its tail defensively over its face, use your guard-break option instead of wasting regular attacks.
Once the first Nue dies, the encounter becomes dramatically simpler. At that point you can return to normal single-target timing instead of constantly dividing your attention.
How to Beat Sasaki Ganryu
Sasaki Ganryu's first major encounter is essentially a test of clean fundamentals. His attacks mix quick thrusts with slower delayed sword strikes, so the challenge is resisting the urge to respond to every animation at the same speed.
Watch the actual point of impact rather than the start of the animation. His airborne stomp can be dodged or countered with Issen, while his grab requires the correct grab response rather than a standard sword defense.
I would use this fight to get comfortable with deliberate timing. Sasaki looks fast, but most of what he does is telegraphed clearly enough once you stop reacting to the wind-up and start reacting to the attack itself.
How to Beat Sasaki Ganryu Altered
Sasaki Ganryu Altered is where the difficulty jumps dramatically. Gioh joins the encounter, the fight runs through two phases, and Sasaki's familiar attacks become much faster and substantially more dangerous.
Your safest plan is still attacking stamina. Deflect the katana strings you already recognize, then take purple soul opportunities after stamina breaks when you need to refill Oni Power and Awakening. Transforming into Oni gives you a much stronger offensive window and makes Issen substantially easier to execute.
Don't ignore Gioh. Her additional sword attacks can come from awkward angles, and when she stretches toward the red flowers around the arena she can restore Sasaki's stamina. Shoot her with the Oni Bow when she begins that siphon to interrupt it.
Phase two becomes even more dangerous once Gioh starts adding tentacle attacks and empowering Sasaki's katana with Malice. His extremely fast white-glowing strike is one of the attacks I would prioritize learning above everything else because getting greedy when it appears can end the attempt almost immediately on higher difficulties.
How to Beat Daidara
Daidara looks more intimidating than he actually is because his size makes his attacks appear overwhelming. The advantage is that many of those attacks are also slow and heavily telegraphed, which makes him a very good Deflect target.
The more important mechanic is soul management. Daidara can absorb blue souls left floating around the arena, and allowing him to do that repeatedly helps push him toward his enhanced state.
Absorb your resources promptly rather than treating soul collection as something you'll handle when the boss gives you a completely safe break. In phase two, keep respecting the heavier mace attacks and the added grab, but the underlying solution remains the same: read the big wind-ups and punish them with clean defensive timing.
How to Beat Rasho-gan
Rasho-gan mixes normal katana combat with enough projectiles and environmental mechanics that trying to play the entire fight at one range doesn't work particularly well.
At the beginning, use Oni Vision to reveal the cord connected to him and destroy it with the Bow. From there, staying reasonably close reduces how often you need to deal with his more annoying ranged Malice pressure.
Smaller projectiles can be parried or Deflected, while the larger bubble-like Malice projectile is better shot down. His standard katana attacks are comparatively easy to Deflect, so I would use those predictable melee moments as your primary stamina-damage opportunities.
Later, he begins throwing much larger objects and using his cord-like arms more aggressively. At that point, don't get obsessed with countering everything. Some of the huge environmental attacks are much safer to avoid completely.
How to Beat Greater Nue
Greater Nue takes the basic ideas from the earlier Nue fight and turns them into a much more demanding single-target encounter.
The major mechanic to learn is the white-glowing attack. When Greater Nue uses one, you need to parry or Deflect it. Trying to solve those sequences with your normal dodge habit is exactly how this fight starts spiraling.
The opening tail swipe is one of the easiest places to establish the rhythm. Defend it correctly, prepare for the follow-up claw attacks, and use the obvious body slams and charges as dodge or Issen opportunities instead.
Phase two adds lightning to several attacks and creates extra hazards around the tail. Later lightning strikes from above are a movement check rather than something you can simply Deflect, so keep moving instead of waiting for a counter prompt that isn't coming.
How to Beat Benkei
Benkei is different because his armor changes what your damage actually accomplishes. You can't simply stand in front of him and expect normal sword attacks to produce meaningful progress immediately.
Focus on draining his stamina through Deflects. Once you break it, use the red marked opportunities to remove pieces of armor. Continue doing that until enough of his protection is gone for your normal offense to matter.
Issen can still damage both health and stamina, but I wouldn't build the entire strategy around landing razor-thin counters when Deflect gives you a safer route to the exact resource you're trying to remove.
Later white-glowing polearm strings again need parry or Deflect, so don't let the armor-removal objective distract you from the attack color cues.
How to Beat Benkei Fully Armed
Fully Armed Benkei keeps the same stamina-and-armor foundation but adds substantially more dangerous tools, especially in phase two.
Continue Deflecting the polearm attacks and breaking his stamina, but be prepared for projectiles, explosive weapons, and attacks that are far more punishing than anything in the original Benkei encounter.
His thrown cannon is particularly dangerous. Avoid the initial impact and then be ready for the delayed explosion rather than assuming you're safe once the object hits the ground.
He can also prepare a devastating cannon shot that should be interrupted with the Oni Bow before it fires. This is one of those fights where the Bow stops being optional utility and becomes part of your actual defensive plan.
How to Beat Ifuu
Ifuu's giant axe attacks look slow, but his wind abilities make the fight much less stationary than a traditional heavy-weapon boss.
Most of his close-range axe swings are readable Deflect opportunities. When he puts distance between you and sends wind slashes across the arena, those can also be defended rather than simply running away from everything.
Phase two centers more heavily on the strange organ on his back. When he inflates it to create suction or launch himself into the air, use the Oni Bow to shoot the exposed balloon-like target. If you catch him while airborne, you can knock him down and create a much better opening than chasing him around afterward.
How to Beat Burai
Burai is faster than Ifuu and builds his fight around lightning, fast thrusts, and punishing area attacks.
During phase one, close the distance when his eye becomes exposed and use those windows to generate blue souls. Keep moving through the lightning patterns rather than standing still waiting to counter environmental damage.
Phase two contains one of his nastiest attacks: Burai disappears upward before calling down a huge lightning strike and following it with a ground slam. Learn the delay between those pieces rather than dodging the instant he leaves the screen.
Also watch his body language while you're attacking at close range. If he starts raising his leg, stop swinging. That's your warning that a kick is coming, and getting greedy for one extra sword hit isn't worth eating the retaliation.
How to Beat Ifuu and Burai Together
The duo fight combines almost everything you learned from their solo encounters and adds the camera problem of managing both simultaneously.
I would leave lock-on off again so you can keep both brothers visible. Try to reduce their health at a reasonably similar pace, and take advantage of the fact that breaking one brother's stamina while they're standing together can damage both.
Once one enters his enhanced phase, I would temporarily focus more attention on the brother who hasn't transformed yet. Letting one remain relatively untouched while the other moves deep into phase two can leave you dealing with the worst parts of both kits at once.
When both finally reach phase two, prepare for their shared aerial storm attack. Lightning and wind come first, followed by the brothers diving toward you together. The final rush needs a precisely timed parry or Deflect and can be lethal on Carnage.
How to Beat Shuten Doji
Shuten Doji's defining mechanic is regeneration, which changes the normal temptation to back off and play extremely patiently. Give him too much breathing room and he can undo part of the progress you just made.
Stay aggressive enough to limit his recovery while still respecting his delayed greatsword swings. Several of his leaps, bottle attacks, and kicks can be dodged or punished with Issen, while his fire breath should be interrupted with the Oni Bow as soon as you recognize the wind-up.
Phase two adds his severed head as an additional source of attacks. Keep your attention primarily on the body, but don't tunnel vision so hard that the head gets free charges or explosive attacks from outside your view.
When Oni Awakening becomes available, use the transformation for repeated Issen opportunities before spending the finisher. Burning the finisher immediately throws away one of the strongest offensive windows available in the fight.
How to Beat Dokyo
Dokyo is one of the least traditional bosses because the fight is closer to a chase and mechanics test than a normal sword duel.
She spends much of the encounter creating distance, throwing hazards, and forcing you to solve an attack before you earn another short window to hit her. Don't chase recklessly through every projectile. Clear the mechanic, close the gap, land a few attacks, then expect her to reposition again.
The Oni Bow is particularly important. Shoot the explosive balloon during the golden-circle sequence, and use Oni Vision when Dokyo creates a duplicate so you can identify the real version before wasting an attack.
Phase two adds constant projectile pressure and more elaborate versions of her existing tricks. One of the most important survival mechanics arrives when she rises into the air and destroys almost every rock in the arena. Identify the one intact piece of cover and get behind it. On Carnage, failing that mechanic can end the fight immediately.
How to Beat Minamoto no Yoshitsune
Minamoto no Yoshitsune is the final boss and the fight where virtually every major combat system comes together. There are three phases, so resource management matters almost as much as execution.
Phase one is still recognizably a sword duel. Deflect his katana attacks, watch for the delayed grab that can steal souls from you, and learn the tell where he taps the sword against his shoulder before launching an extremely fast thrust.
His white-glowing sword strings are especially dangerous because they restrict your defensive options. If you're already close, I would Deflect rather than panic and try to reposition through a sequence you've already committed to.
Phase two becomes much more mobile. Yoshitsune starts the phase with an aerial slam followed by the ground breaking beneath you, so immediately create distance instead of trying to punish the opening animation.
Deflect becomes my preferred option here because it's more reliable than forcing Issen against every fast attack. His armor also makes normal stamina pressure less effective, which pushes even more importance onto correctly timed defensive interactions.
Whenever you do break his stamina, purple soul rewards are particularly valuable because they refill Oni Power and Oni Awakening. Oni Armaments then create more purple souls, which helps you cycle back into Awakening faster.
Phase three changes the fight completely because normal damage no longer works unless Musashi is in Oni Awakening. At that point, your entire goal becomes building enough blue and purple resources to transform.
You can reach that state through confident Issen counters or by using parries to build Blazing State and extracting the souls needed for Oni Power and Awakening. Once transformed, land as many Issen counters as possible before using the finisher near the end of the Awakening gauge.
This is also where I would finally stop hoarding your strongest consumables. Amulet of Introspection, Stimulants, Sun-Dried Hozuki, Greater Defense and Might Talismans, and Heavy Restoratives are far more valuable here than sitting unused in your inventory after the credits.
What Are the Hardest Bosses?
Minamoto no Yoshitsune is the obvious answer for the hardest overall fight. Three phases, massive damage, resource management, white attacks, soul manipulation, and the phase-three Awakening requirement make it the most complete mechanical test in the game.
Sasaki Ganryu Altered is the other fight I would put clearly above most of the roster. The combination of Sasaki's speed, Gioh attacking independently, stamina restoration, Malice attacks, and the two-phase structure makes it much harder to control than his original duel.
If you're specifically tackling those fights on the highest setting, my Onimusha Way of the Sword Carnage Mode guide covers the build, preparation, soul economy, and defensive habits that matter most once mistakes can become lethal.
Boss Tips That Apply to Almost Every Fight
Don't mash attacks. Bosses constantly turn ordinary offense into situations where you need to parry, Deflect, dodge, Issen, or react to another interaction. If you're already several inputs deep into a combo, you're making that reaction harder than it needs to be.
Blade Barrage is a good example. When your weapon clashes with an enemy's and starts a Barrage, you need to answer with the opposite attack type from the one that caused the clash. My Onimusha Way of the Sword Blade Barrage guide covers that mechanic separately.
Absorb souls when you get the opportunity, especially against bosses that can interact with or benefit from souls left around the arena. Treat Oni Power and Awakening as resources you're supposed to cycle through, not emergency buttons you're saving forever.
Most importantly, learn the attack before trying to maximize damage against it. A boss becomes much easier once you've mentally categorized its moves into Deflect, parry, dodge, Issen, Bow, or simply get out of the way.
All Onimusha Bosses in Simple Terms
If you're trying to clear every major boss encounter, use the 18-fight checklist: Byakue, Byakue Enhanced, Dohatsu-ten, Dohatsu-ten Enhanced, Blue and Red Nue, Sasaki Ganryu, Sasaki Ganryu Altered, Daidara, Rasho-gan, Greater Nue, Benkei, Benkei Fully Armed, Ifuu, Burai, Ifuu and Burai, Shuten Doji, Dokyo, and Minamoto no Yoshitsune.
The common strategy is to stop thinking only about health. Use Deflect to shred stamina, Issen when you confidently know the timing, respect attacks that demand a specific response, use the Oni Bow when a fight exposes a special target, and turn stamina breaks into the soul resources you need for Oni Power and Awakening.
Once you start reading bosses this way, the roster feels much less like 18 completely unrelated fights. Each encounter is testing a different combination of the same combat systems you've been building throughout the game.