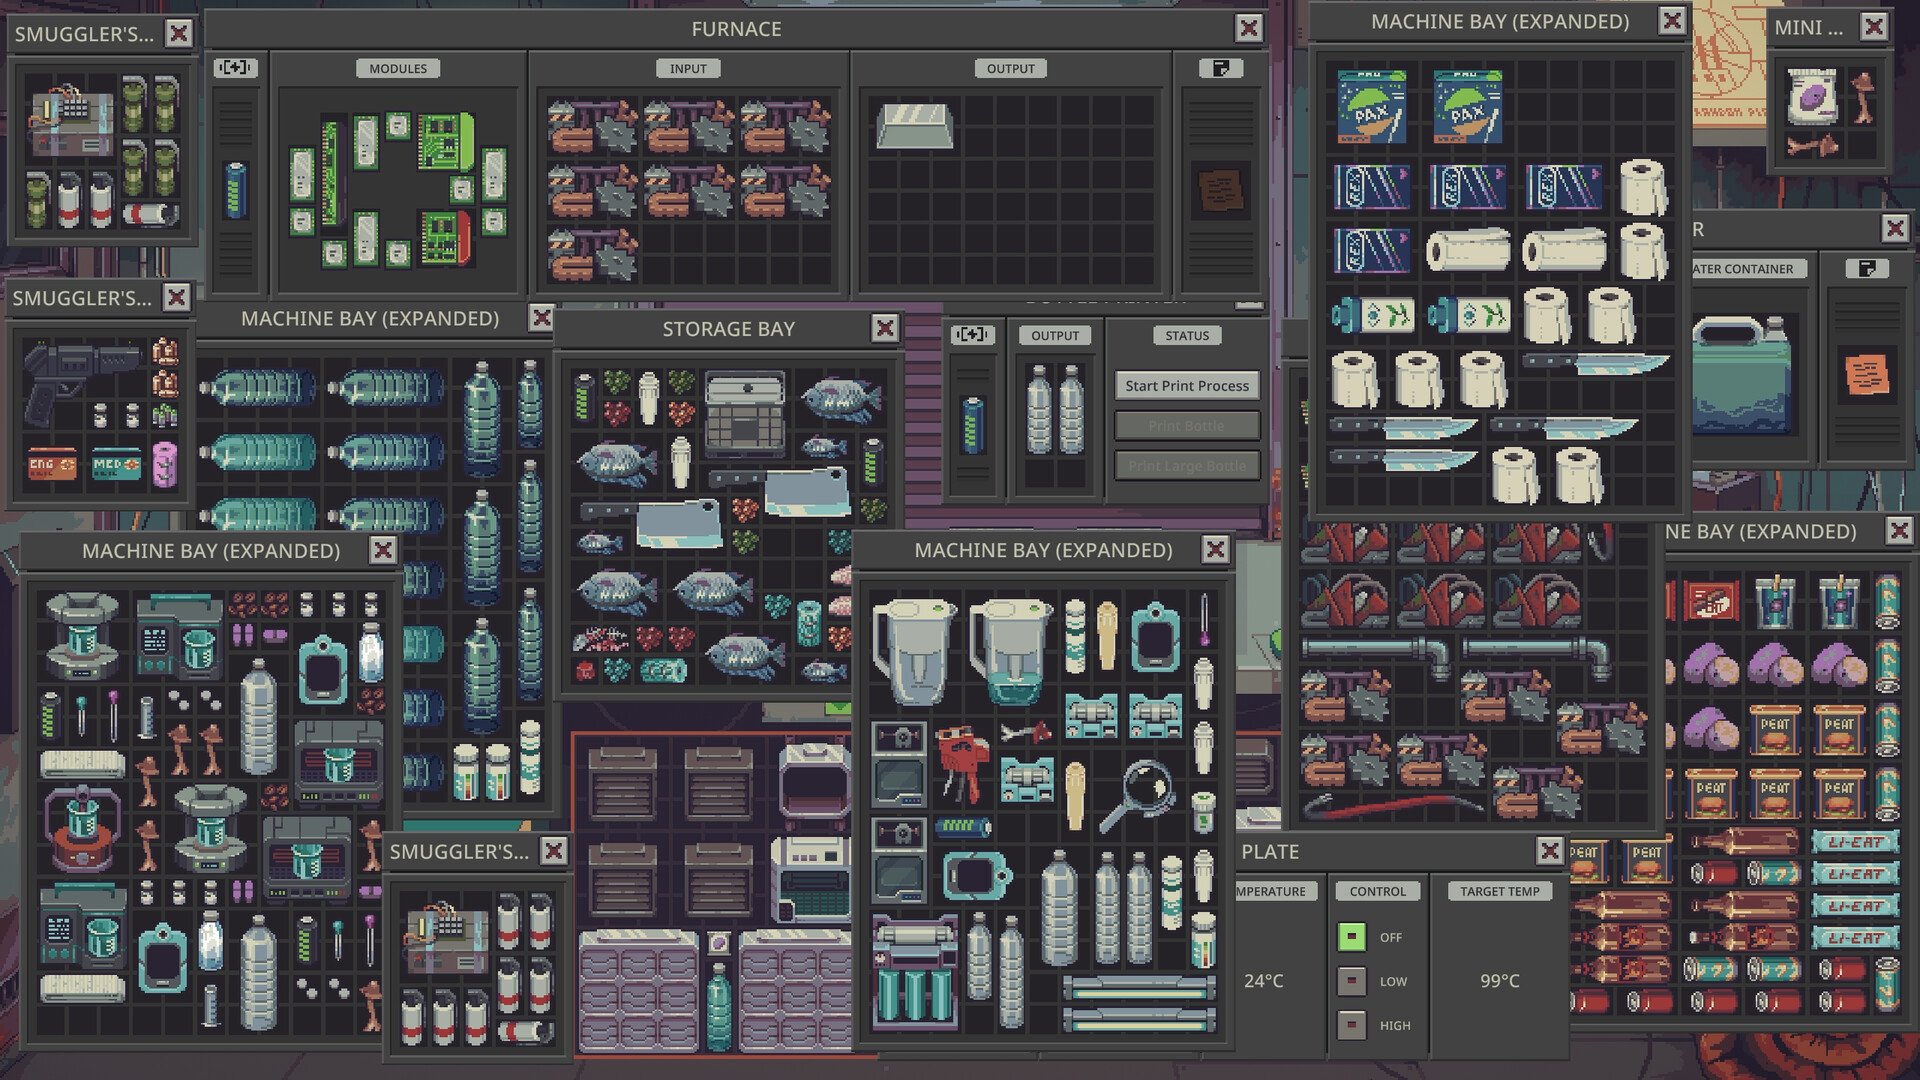
Modules in Probably Stolen can make machines faster, reduce electricity consumption, or improve production quality. However, limited space, stuck modules, and machine-specific penalties make upgrades more complicated than they appear. This guide explains how to choose, install, optimize, and replace modules.
Jump To Section:
How Modules Work
Best Module Optimization
Performance, Efficiency, and Quality Modules
Module Bay Expansion
How to Get and Use a Module Extractor
Corrupted Modules
AI Modules and Neural Cores
How Modules Work in Probably Stolen
Modules are upgrades installed inside a machine's module bay. They modify the machine's operation through three primary stats: Performance, Efficiency, and Quality.
Each module occupies space in the bay, and the stat modifiers from installed modules are combined to determine the machine's final performance.
Not every module fits every machine. Universal modules can be used across compatible equipment, while specialized modules are designed for specific machine types, including printers, furnaces, farms, DNA machines, evaporators, alarms, and chemistry equipment.
What Do Module Stats Actually Change?
| Module Stat | Effect | Best Reason to Prioritize It |
|---|---|---|
| Performance | Increases processing speed. | Your machine is taking too long to complete work. |
| Efficiency | Reduces power consumption. | Energy costs or available power are limiting production. |
| Quality | Improves the quality of the machine's output. | You want better results from the products being processed. |
These bonuses are added together rather than treated as completely separate upgrades.
For example, a machine with a combined +40% Performance bonus operates at 140% of its normal processing speed, provided that machine applies Performance at its full value.
Efficiency works differently. A combined +25% Efficiency bonus reduces power consumption by 25%, subject to the machine's own modifiers and a minimum power requirement of one.
Negative Efficiency does the opposite, increasing electricity consumption.
Best Module Optimization in Probably Stolen
The best module setup depends on which part of your production process is actually limiting you.
I'd avoid automatically filling every machine with Performance Modules. Faster processing is only useful when the increased speed solves a problem, and certain machines don't receive the full benefit of every stat.
Choose Modules Based on Your Production Bottleneck
A useful way to optimize your machines is to identify what happens when you try to increase production.
- If production is too slow, prioritize Performance.
- If your available power is insufficient, prioritize Efficiency.
- If the finished products need better quality, prioritize Quality.
- If the machine works well already, consider whether upgrading another machine would provide a greater benefit.
For example, improving the speed of an already fast machine may do less for your overall operation than reducing the electricity requirements of a more demanding one.
I'd prioritize improvements that remove an actual limitation instead of pursuing the highest possible stat on every machine.
How Module Bonuses Stack
Consider a hypothetical machine with a base processing speed of 10 and a base power requirement of 20.
If its installed modules provide a combined +40% Performance and +25% Efficiency, the calculations work like this:
| Stat | Before Modules | After Modules |
|---|---|---|
| Processing Speed | 10 | 14 |
| Power Requirement | 20 | 15 |
These are illustrative totals, not the fixed stats of an individual module.
The important point is that both improvements can benefit the same machine. You don't necessarily have to choose between faster production and lower power consumption.
Some Machines Reduce Module Effectiveness
One easily overlooked detail is that several machines only receive a fraction of certain module bonuses.
| Machine | Reduced Module Effectiveness |
|---|---|
| 3D Printer | Quality bonuses count at 25%. |
| Mirage Projector | Performance counts at 25%; Quality at 50%. |
| DNA Manipulator | Performance and Quality count at 50%. |
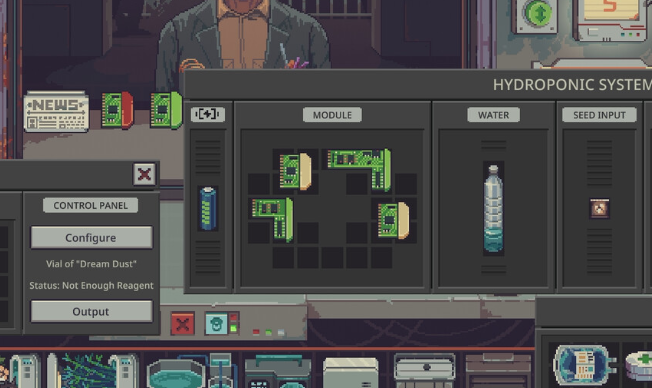
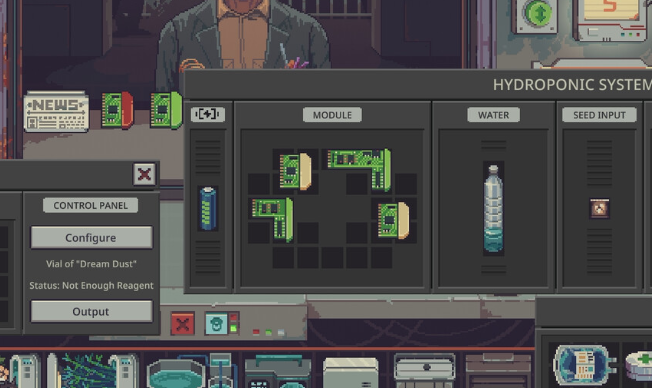
| Hydroponic System | Performance and Quality count at 50%. |
| AgeWell | Performance and Efficiency count at 50%. |
This matters when comparing upgrades between different machines.
For example, a +40% Quality bonus contributes only +10% effective Quality on a 3D Printer, because the machine applies just one-quarter of that stat.
Likewise, +40% Performance contributes only +20% on a Hydroponic System.
I'd consider these penalties before investing in expensive upgrades. A module that delivers its full bonus on one machine might offer substantially less value on another.
If you're building a farming operation, our Probably Stolen BloomBerry Guide covers another part of managing your crops.
Performance, Efficiency, and Quality Modules
The three basic stat-focused modules are useful starting points for understanding machine optimization.
Performance Module
The Performance Module is intended to increase machine processing speed. Its listed item value is 70 Credits.
Since Performance increases speed proportionally to the machine's normal speed, it's most useful when you're trying to complete more processing within the same period.
However, not every machine applies the bonus equally. The Mirage Projector receives only 25% of Performance modifiers, while the Hydroponic System and DNA Manipulator receive 50%.
I'd prioritize Performance Modules on machines that apply the full bonus, unless speeding up one of the reduced-effect machines is especially important to your operation.
Efficiency Module
Efficiency Modules reduce the amount of power a machine consumes. The listed value for the standard Efficiency Module is 70 Credits.
This can be particularly useful when several machines compete for limited energy.
For example, reducing a machine's power requirement from 20 to 15 leaves five additional units of power available in a setup with the same total energy supply.
Remember that low power mode sets a machine's power use to zero, so it's also worth considering how you intend to operate the machine before committing limited module space to Efficiency.
Quality Module
Quality Modules improve the quality of a machine's output and have a listed value of 70 Credits.
Quality bonuses are particularly attractive when your priority is the condition or grade of the finished product rather than processing speed.
However, be careful when using these modules on machines with reduced Quality effectiveness.
The 3D Printer receives only 25% of Quality modifiers, while the Mirage Projector, DNA Manipulator, and Hydroponic System receive 50%.
That makes it important to compare the actual effective bonus before filling a module bay with Quality upgrades.
How to Expand Module Bays in Probably Stolen
Standard machine module bays have a 7-by-5 grid, providing 35 total cells. However, you can't use every cell immediately.
The bay begins with blocked spaces that restrict how many modules can fit inside.
| Bay Stage | Usable Cells | Blocked Spaces |
|---|---|---|
| Stage 1 | 26 | Four corners and the central plus shape. |
| Stage 2 | 31 | Only the four corners. |
| Stage 3 | 35 | None. |
A Module Bay Expansion Kit opens the next stage, meaning a standard machine needs two expansions to reach all 35 cells.
Each expansion also increases the machine's value by 100 Credits.
Where to Get Module Bay Expansion Kits
Dr. Jackson can offer Module Bay Expansion Kits, with a 20% chance per visit.
Additional chances become available as the game progresses, including another roll from Day 20 and another from Day 40.
You can also find two kits in Monday's Special Stock, while one of Serpico's reward choices provides four expansion kits.
When Should You Expand a Module Bay?
I'd expand a machine when you already have useful modules that don't fit inside its current layout.
The first expansion is especially helpful because it opens the blocked central area. This doesn't merely add five cells; it can also make the remaining space easier to organize.
That matters for larger modules, since a bay with enough total free cells may still have an awkward arrangement of unusable spaces.
However, expanding an almost-empty machine doesn't immediately improve its speed, energy consumption, or quality. The added space only becomes valuable when you install modules that use it.
How to Get and Use a Module Extractor in Probably Stolen
Some modules become stuck after being installed in a machine. One example is the Chemical Equipment Module.
To remove these modules without destroying them, you'll need a Module Extractor.
There are two confirmed versions: Basic and Advanced.
Module Extractor Basic vs. Advanced
| Feature | Basic Extractor | Advanced Extractor |
|---|---|---|
| Price | 100 Credits | 350 Credits |
| Uses | 6 | Unlimited |
| Repair | Can be partially refurbished with Electronic Parts. | Doesn't degrade through use. |
| Inventory Size | 2 × 3 cells | 2 × 3 cells |
Where to Find a Basic Module Extractor
The Basic Module Extractor can be sold at your counter by characters including the Retired Chemist, Supplier, Supply Runner, Scavenger, and Revolution Raider.
There are also two other ways to obtain one:
- Dumping Ground searches, with a 0.3% chance per successful search.
- Engineering Foundry Supply Crates, which can contain up to two extractors with a 25% chance for each.
Because the Basic version has six uses, I'd consider it sufficient when you only need to remove a small number of stuck modules.
Where to Find an Advanced Module Extractor
The Advanced Module Extractor can appear through the Rare Merchant, Revolution Raider, and Dr. Jackson.
It also has a 4% chance of appearing in Dr. Jackson's shop, can appear in Monday Special Stock at an increased price, and has a 12% chance of appearing inside an Engineering Foundry Supply Crate.
Its biggest advantage is unlimited extraction without durability loss.
Which Module Extractor Is Worth Buying?
The Basic Extractor costs 100 Credits for six uses, while the Advanced Extractor costs 350 Credits for unlimited uses.
Ignoring refurbishment and other acquisition costs, three Basic Extractors provide 18 uses for 300 Credits. Buying a fourth would increase the total to 400 Credits.
That means the Advanced version becomes the cheaper outright purchase if you expect to need at least 19 extractions and would otherwise keep buying Basic Extractors.
I'd buy the Basic Extractor for occasional adjustments, but consider the Advanced version if you regularly reorganize modules across multiple machines.
Corrupted Module in Probably Stolen
The Corrupted Module is a damaged machine component with negative effects when installed.
It has a listed value of 45 Credits and occupies a 2-by-2 space inside the module bay.
What Does a Corrupted Module Do?
Installing a Corrupted Module applies the following penalties:
- Performance: -8%.
- Efficiency: -5%, increasing power consumption by 5%.
For a machine that normally operates at full speed and power, this means slower processing combined with greater electricity requirements.
Unless you're intentionally experimenting with a particular setup, I wouldn't recommend installing a Corrupted Module as a regular upgrade.
How to Get and Repair a Corrupted Module
Corrupted Modules can be brought to your counter by the Scavenger from the Lower Levels.
The item's description confirms that it can be restored using Electronic Parts and the necessary technical knowledge.
However, the exact restoration procedure isn't specified by the available item information, so don't assume that simply inserting Electronic Parts into a machine will repair the module.
Until you can restore it, the Corrupted Module is better treated as a damaged item than as an improvement to your production equipment.
AI Modules in Probably Stolen: Neural Core Module
The Neural Core Module (Uncapped) is an extremely powerful machine upgrade with major tradeoffs.
Its in-game description identifies it as an unstable AI core housed inside a system module, and it's classified as Critical-Level Contraband.
The module costs 1,500 Credits, occupies a 2-by-2 space, and can be sold at your counter by the Hypertech Smuggler from the Black Market.
Neural Core Module Stats
| Stat | Uncapped Neural Core Effect |
|---|---|
| Performance | +200% |
| Quality | +100% |
| Efficiency | -100% |
On a machine that applies all three stats at full effectiveness, a single Uncapped Neural Core triples its processing speed while doubling its normal power consumption.
It also adds a substantial Quality bonus.
That makes it extremely powerful, but the negative Efficiency can be a serious problem if your operation already struggles with electricity.
Is the AI Module Worth Using?
I'd consider the Uncapped Neural Core a specialized late-game investment rather than an automatic upgrade for every machine.
Its value depends heavily on the machine receiving it.
For example, a Hydroponic System applies only half of Performance and Quality bonuses. Instead of gaining the full +200% Performance and +100% Quality from the Neural Core, it receives effective bonuses of +100% Performance and +50% Quality.
That still provides a large improvement, but it's substantially less than the headline numbers suggest.
The AgeWell reduces both Performance and Efficiency modifiers to half strength, changing how the Neural Core's speed advantage and energy penalty apply.
This is why I'd evaluate the Neural Core using each machine's actual modifiers before spending 1,500 Credits.
What About the Capped Neural Core Module?
A separate Neural Core Module (Capped) also exists, with a listed value of 250 Credits.
However, its exact stat bonuses aren't established here, so it shouldn't be treated as identical to the Uncapped version.
The confirmed +200% Performance, +100% Quality, and -100% Efficiency values belong specifically to the Uncapped Neural Core.
Since the Uncapped version is Critical-Level Contraband, you'll also need to consider the risks of holding illegal inventory alongside its potential production benefits.
Which Modules Should You Prioritize?
For most operations, I'd begin with standard Performance, Efficiency, or Quality upgrades rather than immediately pursuing expensive or unusual modules.
Performance is useful when a machine's processing speed limits your production. Efficiency becomes more important when your electricity supply is under pressure. Quality is worth prioritizing when the output itself needs improving.
Once your machines are performing reliably, Module Bay Expansion Kits offer additional space for more upgrades. A Basic Module Extractor is also worth keeping available before experimenting with modules that can become stuck.
The Uncapped Neural Core offers an unusually large boost, but its cost, power requirements, and contraband status make it a more situational investment.
Ultimately, the best module optimization in Probably Stolen comes from matching the upgrade to the machine. A smaller bonus used at full effectiveness may be more practical than an expensive upgrade whose effects are reduced or whose electricity demands your operation can't support.