Wanderburg Best Builds Ranked
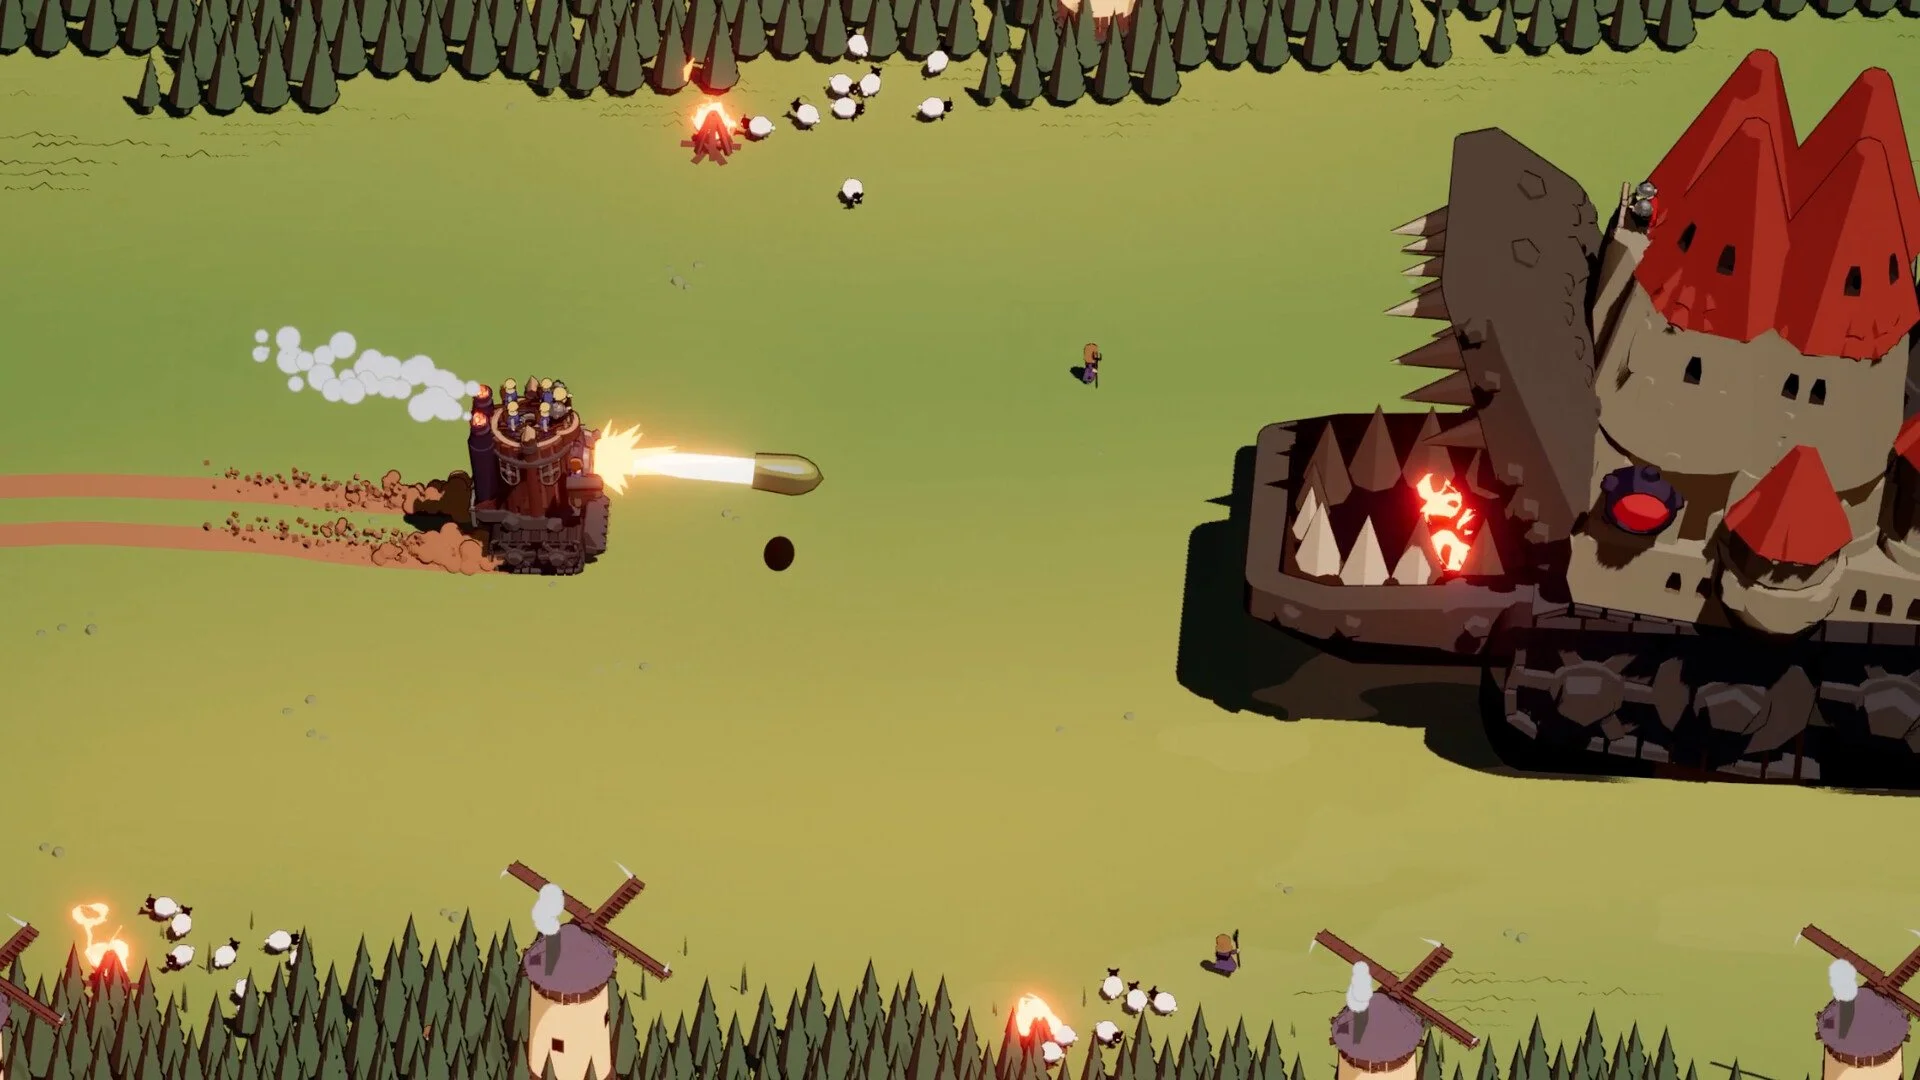
The best Wanderburg builds are not necessarily four modules from the same damage family. I have found the more interesting setups come from giving each slot a specific job: one module kills, another buys time, another punishes enemies for chasing you, and the last covers whatever weakness the first three create. That produces several hybrid builds that can be stronger and much easier to pilot than simply stacking every Arrow, Cannon, or Summon option you see.
Jump To Section:
Best Builds Ranked
Runaway Siege Build
Killbox Control Build
Broadside Kiter Build
Crash and Swarm Build
Best Early Progression Build
How to Make Your Own Build
When to Abandon a Build
The Best Wanderburg Builds I Would Actually Run
My favorite all-around setup is what I call the Runaway Siege build: Mine Layer, Top Mortar, and Side Ballista forming the core. Instead of relying on one huge attack, it deals damage behind you, ahead of you, and passively beside you while the castle keeps moving.
1. Runaway Siege — Mine Layer + Top Mortar + Side Ballista
2. Killbox Control — Mine Layer + Turret Layer + Force Mage + Archer Tower
3. Broadside Kiter — Side Cannons + Mine Layer + Front Cannon
4. Crash and Swarm — Ram + Front Barracks + Side Barracks
5. Early Snowball — Mine Layer + Top Mortar + Front Barracks
I am ranking these by how well the pieces solve each other's weaknesses, not by which combination can produce the biggest number in perfect conditions.
That distinction matters because Wanderburg becomes much harder to control as the castle grows. A setup that theoretically deals enormous damage but requires perfect positioning every five seconds can become worse than a slightly weaker build that keeps attacking while you are busy escaping something enormous.
If you are still getting comfortable with growth, movement, and deciding which upgrades are actually worth taking, my Wanderburg tips for beginners covers those fundamentals separately.
Runaway Siege Is My Best Overall Build
The Runaway Siege setup uses Mine Layer, Top Mortar, and Side Ballista.
Core: Mine Layer + Top Mortar + Side Ballista
Priority: Mine cooldown → Mortar charges → Ballista Auto Attack → Movement
Playstyle: Keep moving and make enemies fight through your wake
This works because each module covers a different piece of space.
Mine Layer makes the area you just left dangerous. Anything chasing your castle has to travel through the exact route where your mines are being dropped.
Top Mortar attacks the opposite side of the problem by reaching targets farther away or ahead of you.
Side Ballista then fills in the downtime between those two abilities with passive pressure that does not need another carefully aimed activation every few seconds.
The result is a build where driving away from danger does not mean stopping your damage.
That is why I prefer this over a pure Mine/Mortar setup once Side Ballista becomes available. Mine and Mortar can both enter cooldown at the wrong moment. Ballista gives the fortress something useful to keep doing during that gap.
My first upgrade target would be Mine cooldown once your existing fields already kill weaker pursuers. After that, Mortar charges are extremely useful because additional shots give the ranged side of the build more uptime.
Movement eventually becomes almost another weapon upgrade. More distance means enemies spend longer crossing your mines while Mortar and Ballista continue attacking.
Killbox Control Turns One Area Into a Death Trap
The Killbox build combines Mine Layer, Turret Layer, Force Mage, and Archer Tower.
Core: Mine Layer + Turret Layer + Force Mage + Archer Tower
Priority: Turret cooldown/duration → Mine coverage → control → ranged damage
Playstyle: Create one dangerous area, then fight around it
This is almost the opposite of Runaway Siege.
Instead of constantly dragging enemies across the map, you create an area where several effects overlap and make that area miserable to enter.
Turret Layer establishes persistent damage. Mine Layer adds another punishment zone around the approach. Force Mage provides control and spacing, while Archer Tower gives you a way to keep reaching targets before they fully enter the setup.
The key is not dropping everything wherever your cooldown finishes.
I would build the killbox around something that enemies actually have a reason to approach: a boss, fortress, crowded combat route, or another location where the fight is likely to remain for more than a few seconds.
Turret duration becomes particularly important here. A turret that stays active through the entire fight has much more value than one placed in an empty section of the map simply because the button was ready.
Force Mage is what makes this build more interesting to me than just stacking four damage modules. Control can give mines and deployed turrets more time to work instead of asking every piece of the setup to win through raw DPS.
Broadside Kiter Makes Cannons Much Safer
The Broadside Kiter combines Side Cannons, Mine Layer, and Front Cannon, with Movement and Nitro treated almost like a fourth module.
Core: Side Cannons + Mine Layer + Front Cannon
Priority: Side Cannon damage → cooldown → Movement/Nitro → projectile effects
Playstyle: Fight sideways, then punish anything that follows
Normal Cannon play wants the enemy beside the castle rather than directly in front of it. That gives your Side Cannons a clean broadside instead of forcing the fortress into a head-on collision.
Mine Layer adds a second layer to that positioning.
When you eventually break the broadside and drive away, enemies pursuing the castle move into the mines you leave behind. Instead of the retreat being a period where your damage disappears, repositioning becomes part of the attack.
Front Cannon is useful here as coverage rather than the centerpiece. It gives you something to fire while establishing the next angle, but I would still put most of the build's identity into Side Cannons.
The biggest mistake is holding the perfect broadside for too long. If incoming Cannon fire is destroying your health, leave. A good firing angle is only good while the trade remains favorable.
I would much rather lose one volley, create distance, drop mines behind me, and rebuild the broadside somewhere safer.
Crash and Swarm Is the Most Aggressive Build
Crash and Swarm combines Ram, Front Barracks, and Side Barracks, with Movement and Max Nitro doing much of the actual scaling.
Core: Ram + Front Barracks + Side Barracks
Priority: Movement → Max Nitro → Ram damage → Barracks uptime
Playstyle: Hit hard, disengage, let the army keep fighting
Ram has one obvious problem: you have to physically put your castle into danger to use it.
Barracks help compensate for that.
The idea is to use speed to line up a strong Ram hit, deploy or maintain your units around the fight, then get the castle back out while those summoned fighters continue applying pressure.
That creates a much healthier rhythm than repeatedly trying to Ram the same enemy every time the cooldown returns.
Your castle handles the burst and positioning. Your units handle part of the sustained damage afterward.
This is also why Movement belongs at the top of the upgrade priority instead of Ram damage. A stronger Ram means very little if your fortress cannot build enough speed to connect properly or cannot escape after the hit.
Approach angle matters too. I would avoid turning every Ram activation into a frontal damage trade against heavy enemies. Circling into the side or rear can let you use the same speed advantage without absorbing the worst possible return hit.
If your run never gives you meaningful Movement or Nitro, I would abandon this build rather than continuing to feed upgrades into Ram. At that point Ram can stay as an emergency mobility tool while another weapon becomes the actual damage engine.
Early Snowball Is the Build I Would Use on a Newer Account
For progression, I would run Mine Layer, Top Mortar, and Front Barracks.
Core: Mine Layer + Top Mortar + Front Barracks
Priority: Mine cooldown → Mortar charges → Barracks cooldown/unit strength
Playstyle: Cover three ranges without requiring a mature permanent account
Mine Layer and Top Mortar already complement each other well because one punishes pursuit and the other handles distant targets.
Front Barracks adds something neither of them provides: independent pressure.
If both active damage modules are temporarily unavailable, your spawned units can still be fighting while you reposition and wait for the next Mine or Mortar cycle.
I like this more for progression than immediately chasing an elaborate late-game synergy because every slot has an obvious job from the moment it becomes useful.
You also do not need to predict the entire run.
If unusually strong Arrow upgrades start appearing, Barracks can remain the support piece while you pivot away from Mine/Mortar. If Mine upgrades become absurd, keep investing there and let the other modules support it.
The build gives you a starting structure without locking you into one damage family before the run has shown you what it actually wants to give you.
The Best Builds Follow a 1-1-1 Rule
If none of these exact combinations fit your current chassis, I would build using a simple rule instead of randomly filling slots.
1 primary damage engine
1 uptime or secondary damage tool
1 movement, control, or pursuit-punishment tool
1 flexible slot if your chassis allows it
For example, Side Cannons can be your primary engine. Mine Layer can punish enemies when you leave the broadside. Movement keeps you alive while establishing the next angle. A Front Cannon or Barracks can then occupy the flexible slot.
The point is that every module should answer a question the rest of the build creates.
If your main weapon has long downtime, add something that attacks during that downtime.
If your main weapon requires close contact, add movement or independent damage that keeps working after you disengage.
If your damage already works but enemies keep reaching you, stop adding more damage and solve the positioning problem.
That is a much better way to build than asking whether four individually strong modules happen to fit on the same castle.
Know When Your Build Is Telling You to Pivot
I would not decide on one build at the start and force it regardless of what upgrades appear.
The opening part of a run is for discovering which system is actually working.
If Mines are deleting everything behind you, that is information. If Side Ballista suddenly has several strong upgrades and is doing most of the damage, that is information too.
The point where I stop experimenting is when one system becomes clearly responsible for killing the dangerous enemies.
From there, new upgrades should either strengthen that engine or solve something preventing it from working.
There are three situations where I would abandon a planned build:
The first is when the required enabling stat never arrives. Ram without speed is the clearest example.
The second is when another module is obviously outperforming the original plan. Do not keep spending upgrades on Mine damage because you decided ten minutes ago that this was a Mine run while your Cannons are currently carrying every fight.
The third is chassis compatibility. Different Wanderburg vehicles can change which module positions are actually available, so a great build on one castle may simply not fit another.
My favorite Wanderburg runs are the ones where the final setup looks intentional even if it was not the build I expected at the start. Pick a damage engine, cover its weakness, and let the run tell you when something better has appeared.