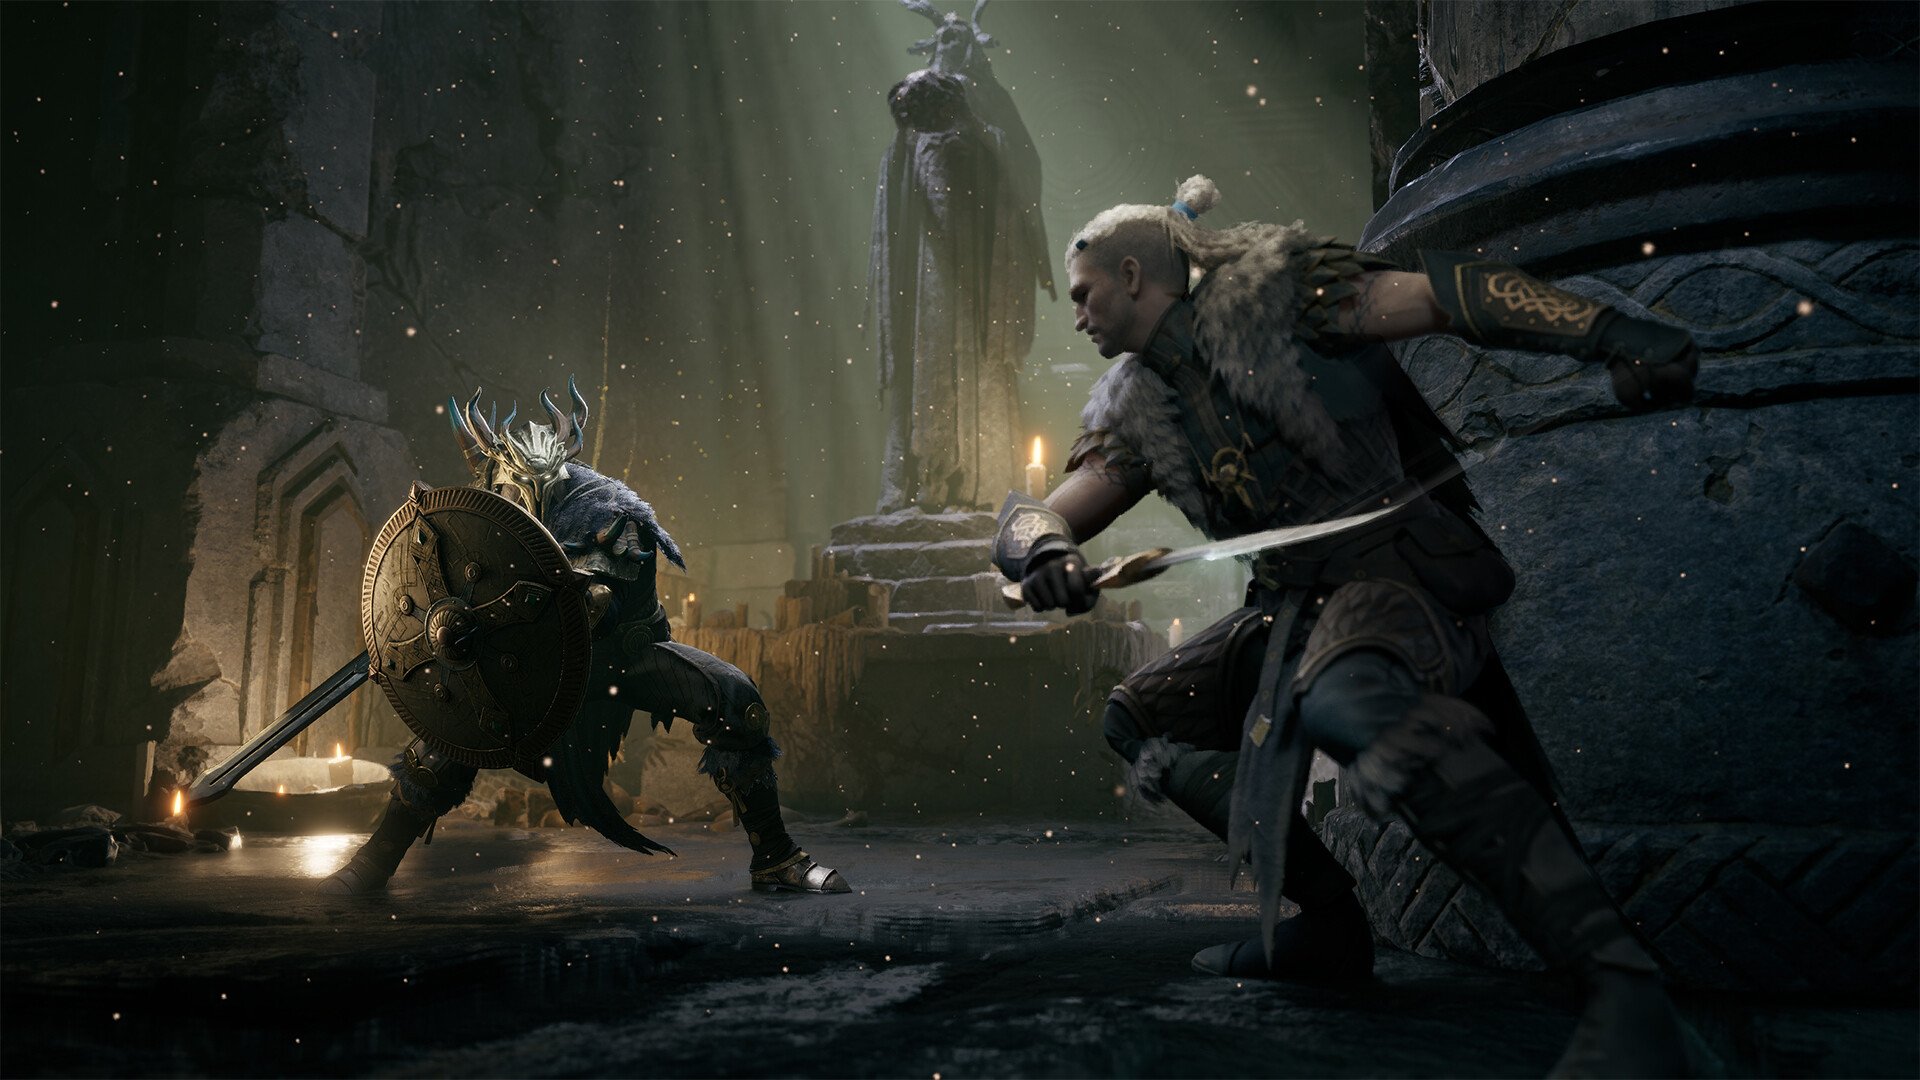
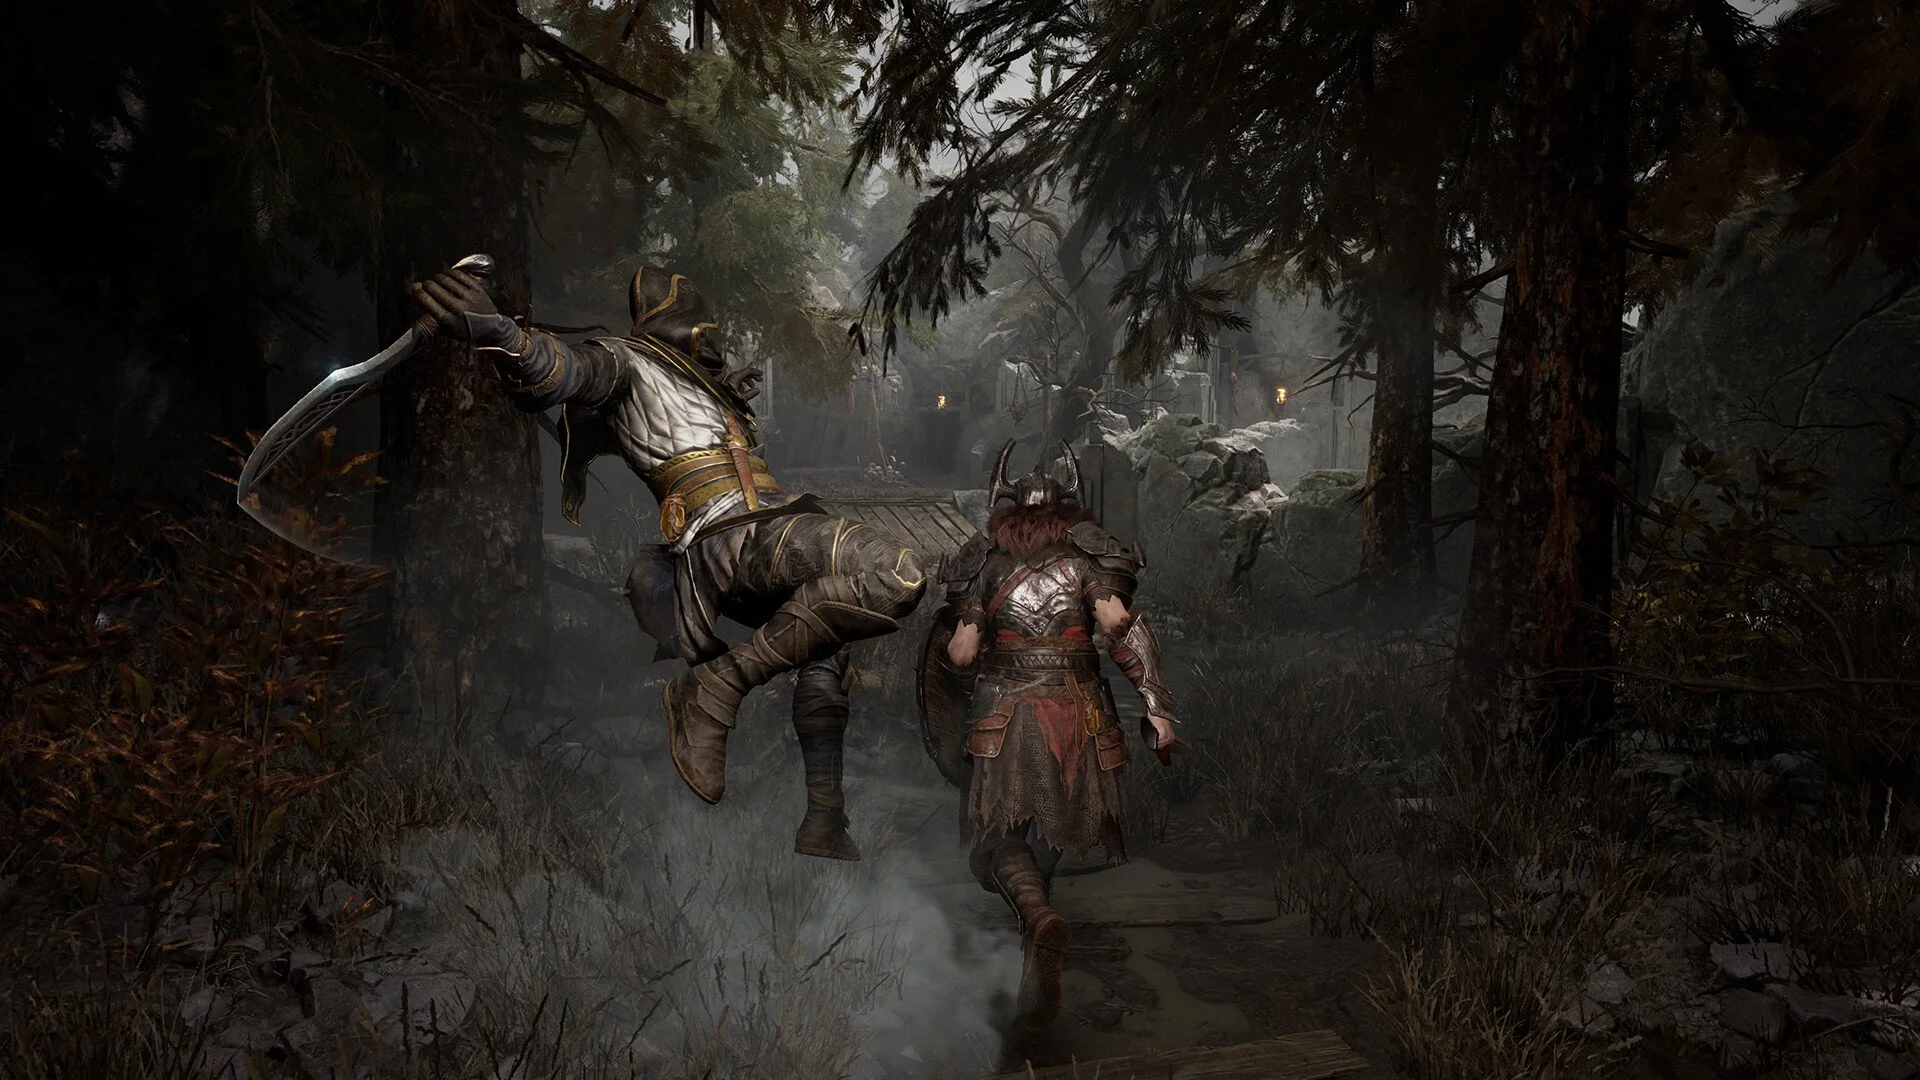
Mistfall Hunter Blackarrow Build Guide
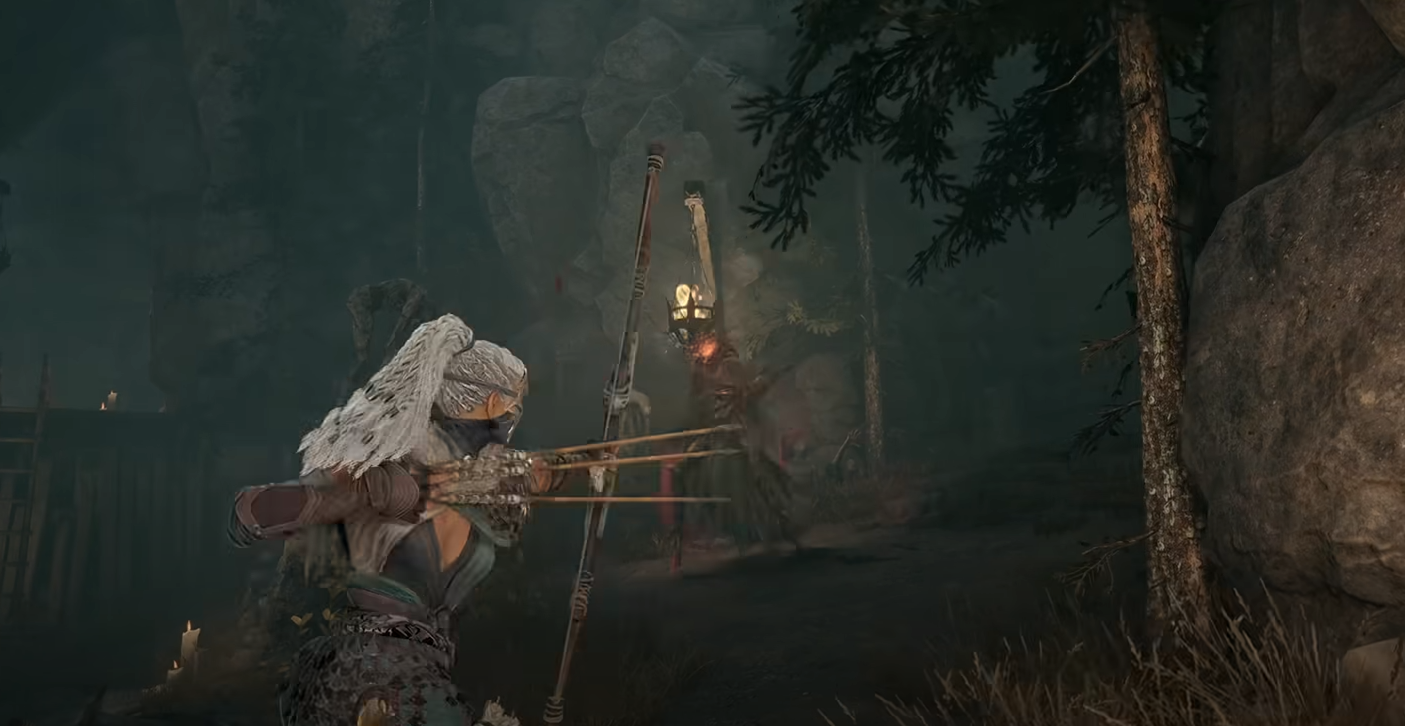
Blackarrow is strongest when it controls the shape of a fight before the enemy reaches striking distance. The class has excellent ranged damage, but its real advantage comes from combining scouting, status effects, traps, and fully drawn arrows so opponents are forced to move through unfavorable positions.
This build uses Bloodfly Arrow and Blood Infection to create Swarm detonations, then supports that damage with Marksman, Measured Pace, and Dodge Power Shot. Scattershot and Sky Piercer handle situations where the full setup is unnecessary, while Predator’s Senses and control items help Blackarrow avoid the close-range fights it is poorly equipped to survive.
Jump To Section:
Build Overview
Arrow Setup
Best Skills
Best Talents
Items and Gear
Combat Rotation
PvE and Bosses
PvP Strategy
Solo and Trio Play
Common Mistakes
Best Blackarrow Build Overview
The foundation of this build is simple: apply Swarm with Bloodfly Arrow, then trigger the detonation with a fully drawn shot. Blood Infection strengthens that interaction by adding more Swarm stacks and allowing the follow-up arrow to produce a much larger burst.
The detonation can critically strike, and part of that critical damage is converted into True Damage. That gives Blackarrow meaningful pressure against tougher enemies instead of relying entirely on ordinary physical damage.
The rest of the build exists to make that sequence dependable. Marksman improves the consistency of fully drawn arrows against moving targets, Measured Pace supports the Energy cost of repeated charged shots, and Dodge Power Shot gives Blackarrow a way to attack while escaping pressure.
This is not a pure Archer build or a pure Hunter build. It borrows the strongest part of each branch. Archer mechanics provide the charged-shot damage and burst, while Hunter tools supply Swarm, control, tracking, and the status pressure needed to keep enemies predictable.
Best Arrow Setup for Blackarrow
Blackarrow can carry several types of arrows, but the loadout should cover different problems rather than repeating the same role three times.
Bloodfly Arrow is the most important choice for this build because it enables the Swarm detonation. Use it against elites, bosses, and rival Hunters that are likely to survive the first shot. Weaker enemies usually do not justify spending the entire setup.
A control arrow should occupy another part of the loadout when available. Barbed, Paralysis, Spore, Concussive, and other status-oriented arrows can slow an approach, apply pressure over time, or make a target easier to hit with a fully drawn follow-up.
The final choice should reflect the content you are entering. A solo player benefits more from scouting and escape utility, while a trio can afford to carry additional stagger or damage because teammates are available to protect the firing position.
Avoid choosing three arrows that all depend on standing still and drawing the bow. Blackarrow already has plenty of damage when a sightline remains open. The better loadout prepares for the moment when that sightline disappears.
Best Blackarrow Skills
Scattershot gives the build a reliable answer to groups. The spread can damage several enemies at once, and larger creatures may absorb multiple arrows from the same use. It is especially useful when a pack has already moved too close for separate fully drawn shots.
Sky Piercer provides direct long-range burst without requiring the full Swarm sequence. It works well as an opener against an unaware target, a finishing move against a weakened enemy, or a punishment when another player crosses an exposed area.
Predator’s Senses adds something the damage skills cannot provide: information. Blackarrow performs poorly when surprised, so learning where an enemy is moving can be worth more than equipping another attack with a similar purpose.
Its limited uses should be saved for places where the information changes your decision. Contested objectives, extraction routes, enclosed buildings, and moments when a player disappears behind cover are better opportunities than activating it during ordinary traversal.
Shadow Step is also important even though the build does not revolve around opening from stealth. Its best use is often resetting an encounter after the enemy has begun closing the gap. Spending it immediately for a slightly better opening can leave Blackarrow without an answer when the first burst fails.
Best Blackarrow Talents
Blood Infection is the defining talent. Bloodfly Arrow applies additional Swarm stacks, and the next fully drawn arrow detonates them for bonus damage. The more stacks applied before the detonation, the stronger the resulting burst becomes.
Marksman gives fully drawn arrows a homing effect against enemies near the crosshair. It does not replace aiming, but it reduces the chance of losing an entire setup because the target moved slightly during the final part of the draw.
Measured Pace improves Energy management by restoring Energy when you immediately fire a fully drawn Normal Arrow while carrying at least two Archer’s Arrows. The talent rewards deliberate shooting and makes it easier to maintain charged-arrow pressure through a longer encounter.
Dodge Power Shot replaces the normal roll with an evasive move that fires a quick-charge arrow. The shot consumes additional Energy and deals less damage than a true fully drawn attack, but it can still activate charged-arrow effects.
That makes Dodge Power Shot more valuable as a recovery tool than as a normal source of damage. Use it when moving is already necessary. Repeatedly dodging for the automatic arrow can drain the same Energy needed for the build’s stronger attacks.
Together, these talents create a clear rhythm. Blood Infection establishes the payoff, Marksman helps the shot connect, Measured Pace keeps the resource economy stable, and Dodge Power Shot preserves some offensive pressure while repositioning.
Best Items and Gear Priorities
Blackarrow does not need one exact eight-piece equipment list for this build to work. The Swarm detonation comes from the skill and talent interaction, so gear should strengthen the parts of the rotation that are currently weakest rather than forcing every character into the same full set.
Deathclaw Hunter is a confirmed high-end weapon option and fits the ranged focus of the build. Use it when available, but do not delay the entire setup because a specific weapon has not dropped. A strong bow that supports your charged-shot play is enough to begin using the build.
Scaleclaw armor pieces can provide a solid foundation, but there is no need to automatically equip the Winged Helm, Armor, Bracers, Pants, and Leather Boots together. Mix the strongest pieces you own and compare their actual effects instead of assuming a matching name makes every slot optimal.
Fully drawn arrow performance, critical damage, ranged damage, and Energy efficiency are the main offensive priorities. After those are covered, look for enough survivability to withstand one failed reposition. Blackarrow will never become a frontline class, but surviving the first hit can provide enough time to use Shadow Step, a trap, or a concussive item.
Ancestral Blessing Ring and Tri-phase Knot Pendant are both confirmed accessory options for a high-end ranged setup. Treat them as pieces to evaluate rather than mandatory slots. Use whichever accessories best support your current Energy, damage, and survival needs.
This mixed approach is also more practical during progression. Equip the best bow available, combine useful armor effects across different pieces, and replace individual slots as better options appear. The build should become stronger through normal upgrades instead of remaining incomplete until one exact Legendary loadout is assembled.
Quick-use items should protect the distance Blackarrow needs. Frostbite Trap is useful for slowing or immobilizing an approach, while Potent Concussive Bulb provides a faster emergency response once an enemy has already moved too close.
Tracker’s Ashes can replace one of those control tools when maintaining information is more important than immediate disruption. Potent Healing Elixir remains the safest recovery option because Blackarrow cannot comfortably remain exposed while recovering in small increments.
A balanced quick-use setup should include healing, one immediate escape or disruption tool, and either another control item or tracking utility. Additional damage items are less important because the class already deals enough damage when its positioning remains intact.
How to Play the Blackarrow Build
Before firing, choose where the next part of the fight will happen. Look for elevated ground, a long hallway, a doorway, or solid cover that allows you to break line of sight while preparing another shot.
Use Predator’s Senses when entering a contested area or after losing track of another Hunter. Once the target is located, apply Bloodfly Arrow and prepare the fully drawn shot that will trigger the Swarm detonation.
Do not remain exposed simply because the setup has started. Swarm gives you time to move, reposition behind cover, and draw the follow-up arrow from a safer angle.
Against ordinary enemies, the full rotation is often unnecessary. Scattershot, Sky Piercer, or a normal charged arrow can clear weaker threats without spending every important resource.
Against elites, bosses, and players, apply Swarm first and wait for a movement you can predict. A slowed enemy, a target leaving cover, or a boss recovering from an attack provides a much cleaner detonation opportunity than releasing the arrow as soon as the draw completes.
After the burst, rotate to another position. Even if the target survives, moving forces it to locate you again and makes the next approach less direct. Standing in the same spot turns Blackarrow’s ranged advantage into a countdown until a melee class reaches it.
Manage Energy Like a Defensive Resource
Blackarrow’s Energy bar does more than determine how often it can attack. It also determines whether the class still has options after the fight changes.
Panic shots are one of the fastest ways to lose control. Releasing arrows early reduces damage, makes Measured Pace harder to trigger, and weakens the Swarm detonation sequence.
When an enemy is too close for a full draw, stop trying to force one. Use Frostbite Trap, Concussive Bulb, Dodge Power Shot, or Shadow Step to regain space first.
Dodge Power Shot deserves particular restraint because its automatic arrow can make the move feel more efficient than it is. The extra Energy cost becomes dangerous when repeated dodges leave the class unable to use the charged attacks that actually finish the encounter.
Entering the next phase of a fight with Energy available is often more valuable than squeezing out one additional weak shot.
Using the Build in PvE and Boss Fights
Large enemies suit this build because they are easier to hit with fully drawn arrows and may take several hits from Scattershot’s spread.
Apply Bloodfly Arrow early, then use the enemy’s attack recovery to prepare the detonation. Drawing while a major attack is already approaching usually results in an interrupted shot or a rushed release that wastes the setup.
Sky Piercer should be aligned with a stable opening rather than fired immediately whenever it becomes available. Blackarrow gains more from landing its major attacks during a stagger, freeze, or long recovery animation than from treating every cooldown as something that must be spent instantly.
Scattershot becomes especially useful when a boss summons additional enemies. It can control the pack without forcing Blackarrow to abandon the main target for an extended period.
Preserve at least one control item for the unexpected. Spending every trap and disruption tool on the boss may produce slightly more damage, but it leaves the class exposed if additional enemies enter from another direction.
Using the Build in PvP
Blackarrow wants PvP encounters to begin at a distance and on terrain it has already evaluated. Predator’s Senses, traps, and long sightlines allow the class to apply pressure before the opponent reaches a position where the matchup becomes more even.
Mercenary can struggle to close long distances without taking damage, while Seer may have difficulty matching Blackarrow’s direct ranged pressure. Both remain dangerous if the fight moves into a confined space, so do not give up open terrain unnecessarily.
Shadowstrix is the most difficult matchup because stealth can bypass the normal scouting advantage and create immediate close-range pressure. Keep Concussive Bulb, Frostbite Trap, or Shadow Step available whenever a Shadowstrix may be nearby.
Withered Knight is also dangerous once it establishes melee range. Begin repositioning before it reaches you rather than waiting until attacks are already interrupting the bow draw.
After defeating another player, relocate before opening the inventory. Bow attacks can draw attention from a considerable distance, and the defeated player’s body is the first place a third party will check.
Solo and Trio Build Adjustments
Solo Blackarrow needs more control and information because there is nobody else available to watch a second route or protect the firing position. Predator’s Senses, Shadow Step, Frostbite Trap, and Potent Concussive Bulb should receive greater priority than another source of damage.
The class performs well alone when the player is willing to abandon bad engagements. Blackarrow does not need to win every fight to have a successful run. Our Mistfall Hunter solo mode guide explains how solo expeditions work and which current content supports them.
In a trio, Blackarrow can lean further into damage because a frontline class can occupy enemies while charged shots are prepared. Mercenary is a particularly useful partner because it can hold close-range pressure without requiring Blackarrow to leave its firing position. Our Mistfall Hunter Mercenary build guide covers the sword-and-shield setup in more detail.
Sorcerer also pairs well with Blackarrow. Deep Freeze, Gravitational Vortex, and area control can hold targets in predictable positions, making Swarm detonations and fully drawn attacks much easier to land. Our Mistfall Hunter Sorcerer build guide covers that control-focused setup.
Predator’s Senses becomes more valuable in a coordinated group when the information is communicated immediately. Tracking an opponent only helps the team if the frontline and support players know where that opponent is moving.
Using Blackarrow at Extraction Points
Extraction areas often contain narrow approaches that suit Blackarrow’s traps and ranged pressure. Place control on the most direct route and hold an angle that allows you to see enemies before they reach the Returner Woodling.
Do not stand beside the bell unless you are beginning the channel. Blackarrow contributes more from a nearby ledge, doorway, or protected sightline where it can interrupt an approaching player.
Predator’s Senses can be used before committing to the extraction when available. If another Hunter is waiting nearby, learning their position before ringing the bell is much safer than discovering them after the channel begins.
During solo runs, leave an exposed extraction when the terrain no longer favors you. Our Mistfall Hunter extraction guide explains the Returner Woodling, the five-second channel, Safe Pockets, and the risk of extraction campers.
Common Blackarrow Build Mistakes
The biggest mistake is releasing every arrow too early. Fully drawn attacks support the damage, Energy recovery, homing effect, and Swarm detonation that make the build work.
Another mistake is using every escape option to secure the opening kill. Shadow Step, Frostbite Trap, and Concussive Bulb can all improve an attack, but spending them together leaves Blackarrow helpless when the opponent survives.
Predator’s Senses should not be wasted during safe traversal. Its limited uses matter most near objectives, extraction routes, and places where locating the opponent changes whether you should engage.
High ground is also not automatically safe. A ledge with one narrow exit can become a trap once a melee class reaches the stairs. The best position combines range, cover, and a second route for rotating after the first burst.
Finally, do not remain in place after landing the Swarm detonation. Blackarrow’s first angle is usually its strongest. Once the enemy knows where the shot came from, moving is part of preparing the next attack.
A Blackarrow Build That Controls the Engagement
The best Blackarrow build combines Blood Infection, Marksman, Measured Pace, and Dodge Power Shot with Bloodfly Arrow, Scattershot, Sky Piercer, and Predator’s Senses.
Deathclaw Hunter is a strong high-end weapon option, but the armor and accessories should be assembled according to their actual effects rather than copied from one fixed set. Scaleclaw pieces, Ancestral Blessing Ring, and Tri-phase Knot Pendant are all useful options to evaluate, not requirements that must occupy every slot together.
The build works by preparing the fight before committing to its damage. Track the enemy, control the approach, apply Swarm, detonate it with a fully drawn arrow, and move before the opponent can answer from close range.
Players comparing Blackarrow with Mistfall Hunter’s other classes can use our Mistfall Hunter class tier list to compare its ranged damage and scouting with Sorcerer’s elemental control and the stronger melee survivability of Mercenary.